This post may contain affiliate links.

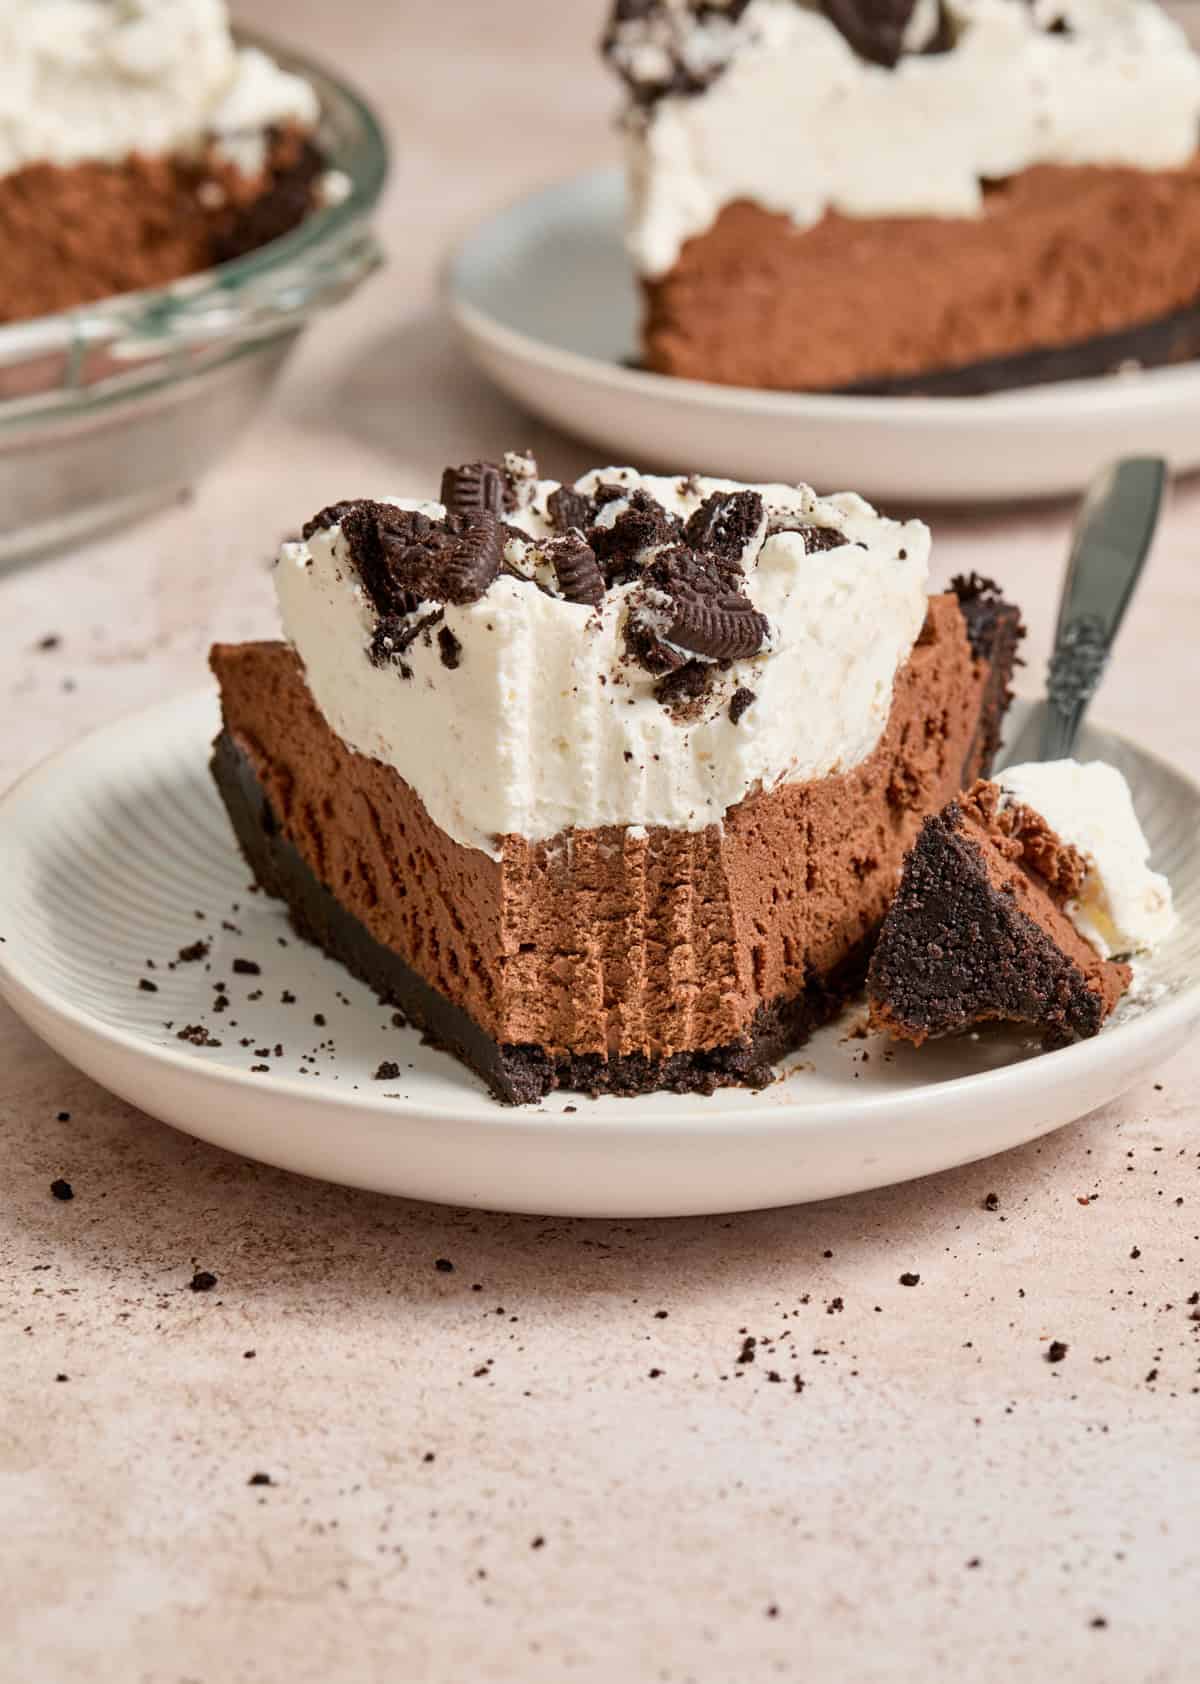
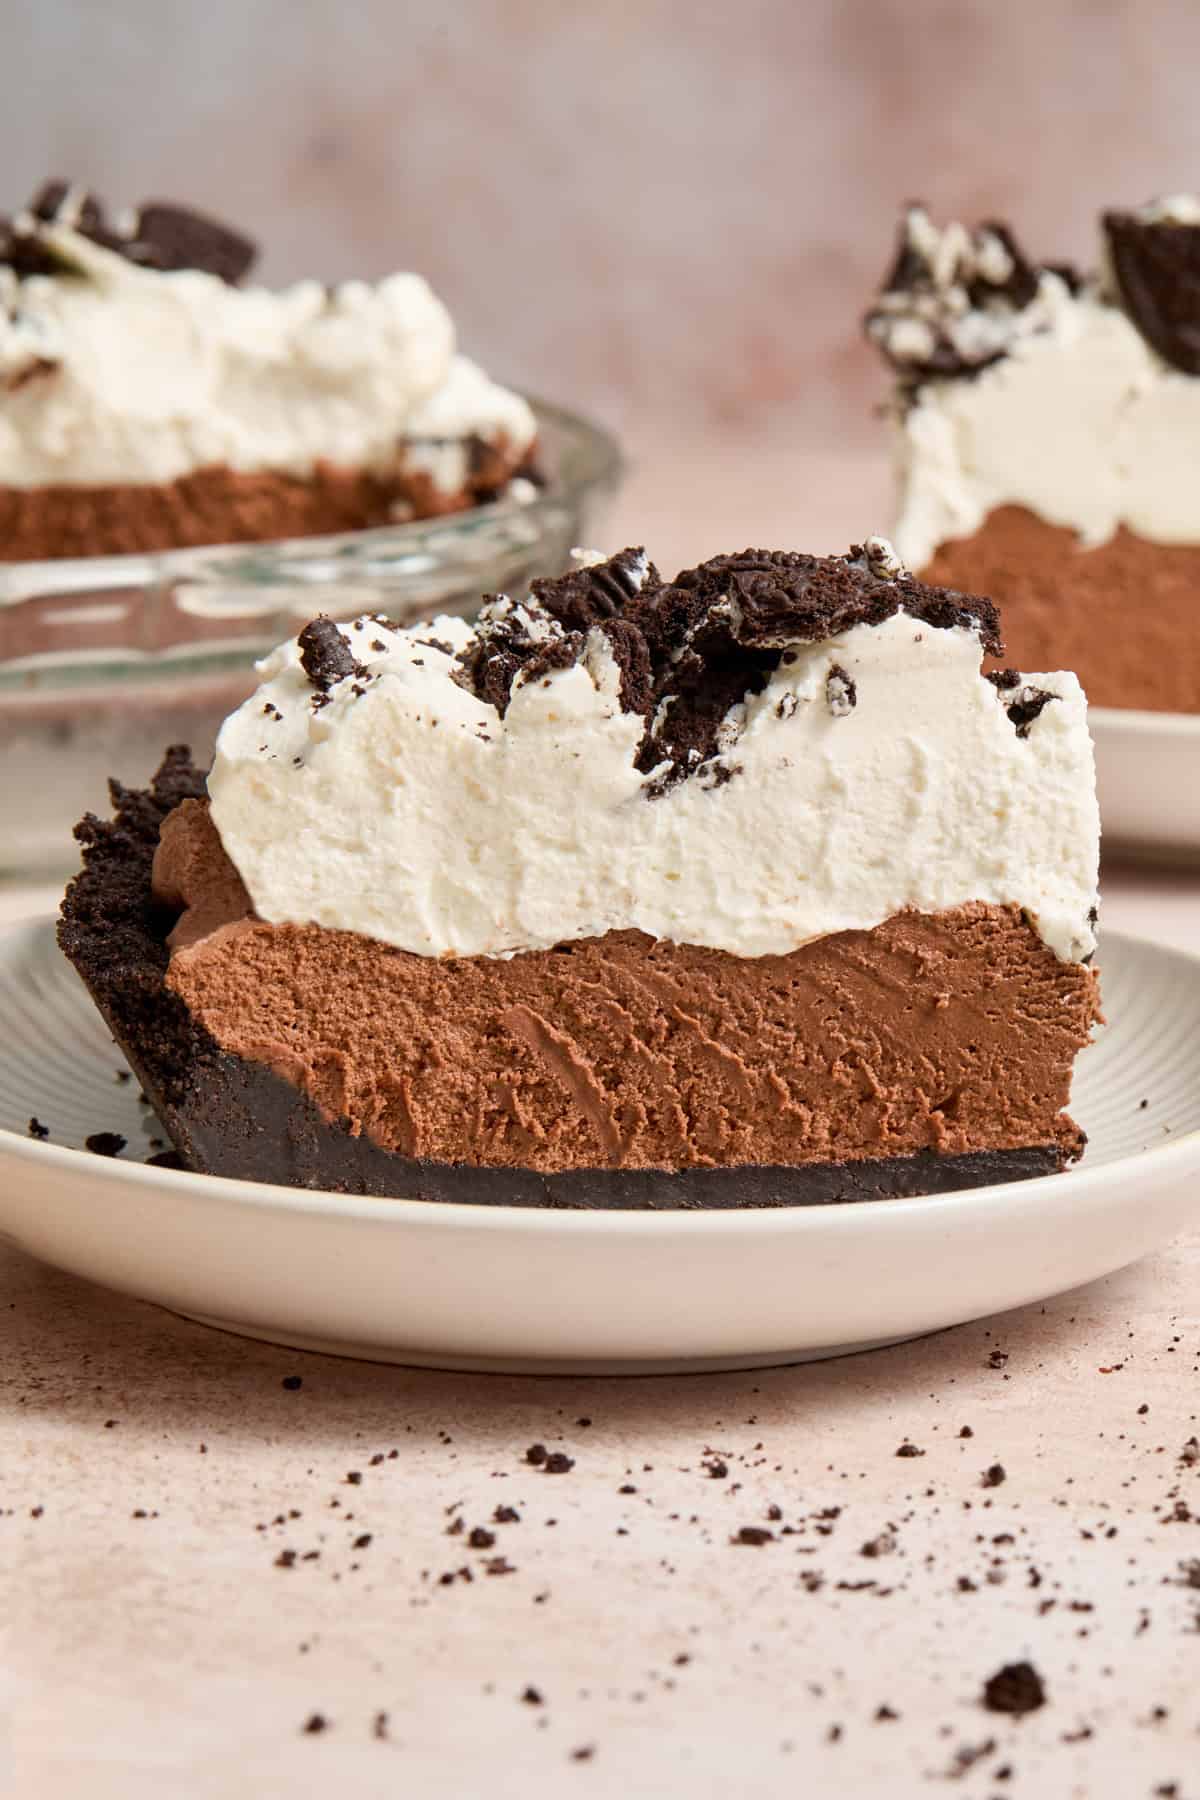
This easy No Bake Chocolate Pie recipe is going to be your new favorite dessert! Dark chocolate ganache folded into chocolate whipped cream in an Oreo cookie crust and topped with freshly whipped cream. No baking required and so rich, thick and creamy!
No baking required is my favorite kind of dessert. And this No-Bake Chocolate Pie recipe is a perfect treat all year long–no need for a special occasion because every occasion calls for chocolate.
Inspired by my Chocolate Whipped Cream and my love for no bake sweets, this one is gonna knock your socks off–promise! It’s a family favorite treat! Oreo No Bake Cheesecake Cups or these No-Bake Lemon Cheesecake Bars are another favorite if you are looking more for a cream cheese dessert!
Chocolate lovers, try these other simple dessert recipes as well: Condensed Milk Brownies, Condensed Milk Brownies, Chocolate Cake Mix Cookies, or these decadent Dark Chocolate Cherry Brownies!
Why You Will Love This No-Bake Chocolate Pie

Minimal ingredients needed. Only 7 ingredients needed for this no bake chocolate pie. That’s right, 7! Mostly pantry staples so you may have it all on any given day–I always do!
No baking required. Music to my ears. Baking always adds a level of complexity to recipes that can blow up in your face. No bake recipes make it much more difficult to ruin and less work overall.
Rich and luxurious. When you fold a rich chocolate ganache into a chocolate whipped cream, the result is a thick, rich and creamy chocolate layer. It makes for the perfectly rich chocolate filling for a decadent pie. It will set well and hold up nicely. The Oreo crust and whipped cream topping make this dessert three layers of heaven! If you are a fan of this crust, try this No Bake Peppermint Oreo Cheesecake as well!
A great recipe to make in advance. Since you need several hours to allow this chocolate pie to set, it is a great dessert to prepare the night before you plan to serve it. That will make for one less thing on your to-do list on the day of your party or gathering!

Ingredients Notes
See full list of ingredients below in recipe card with exact measurements.
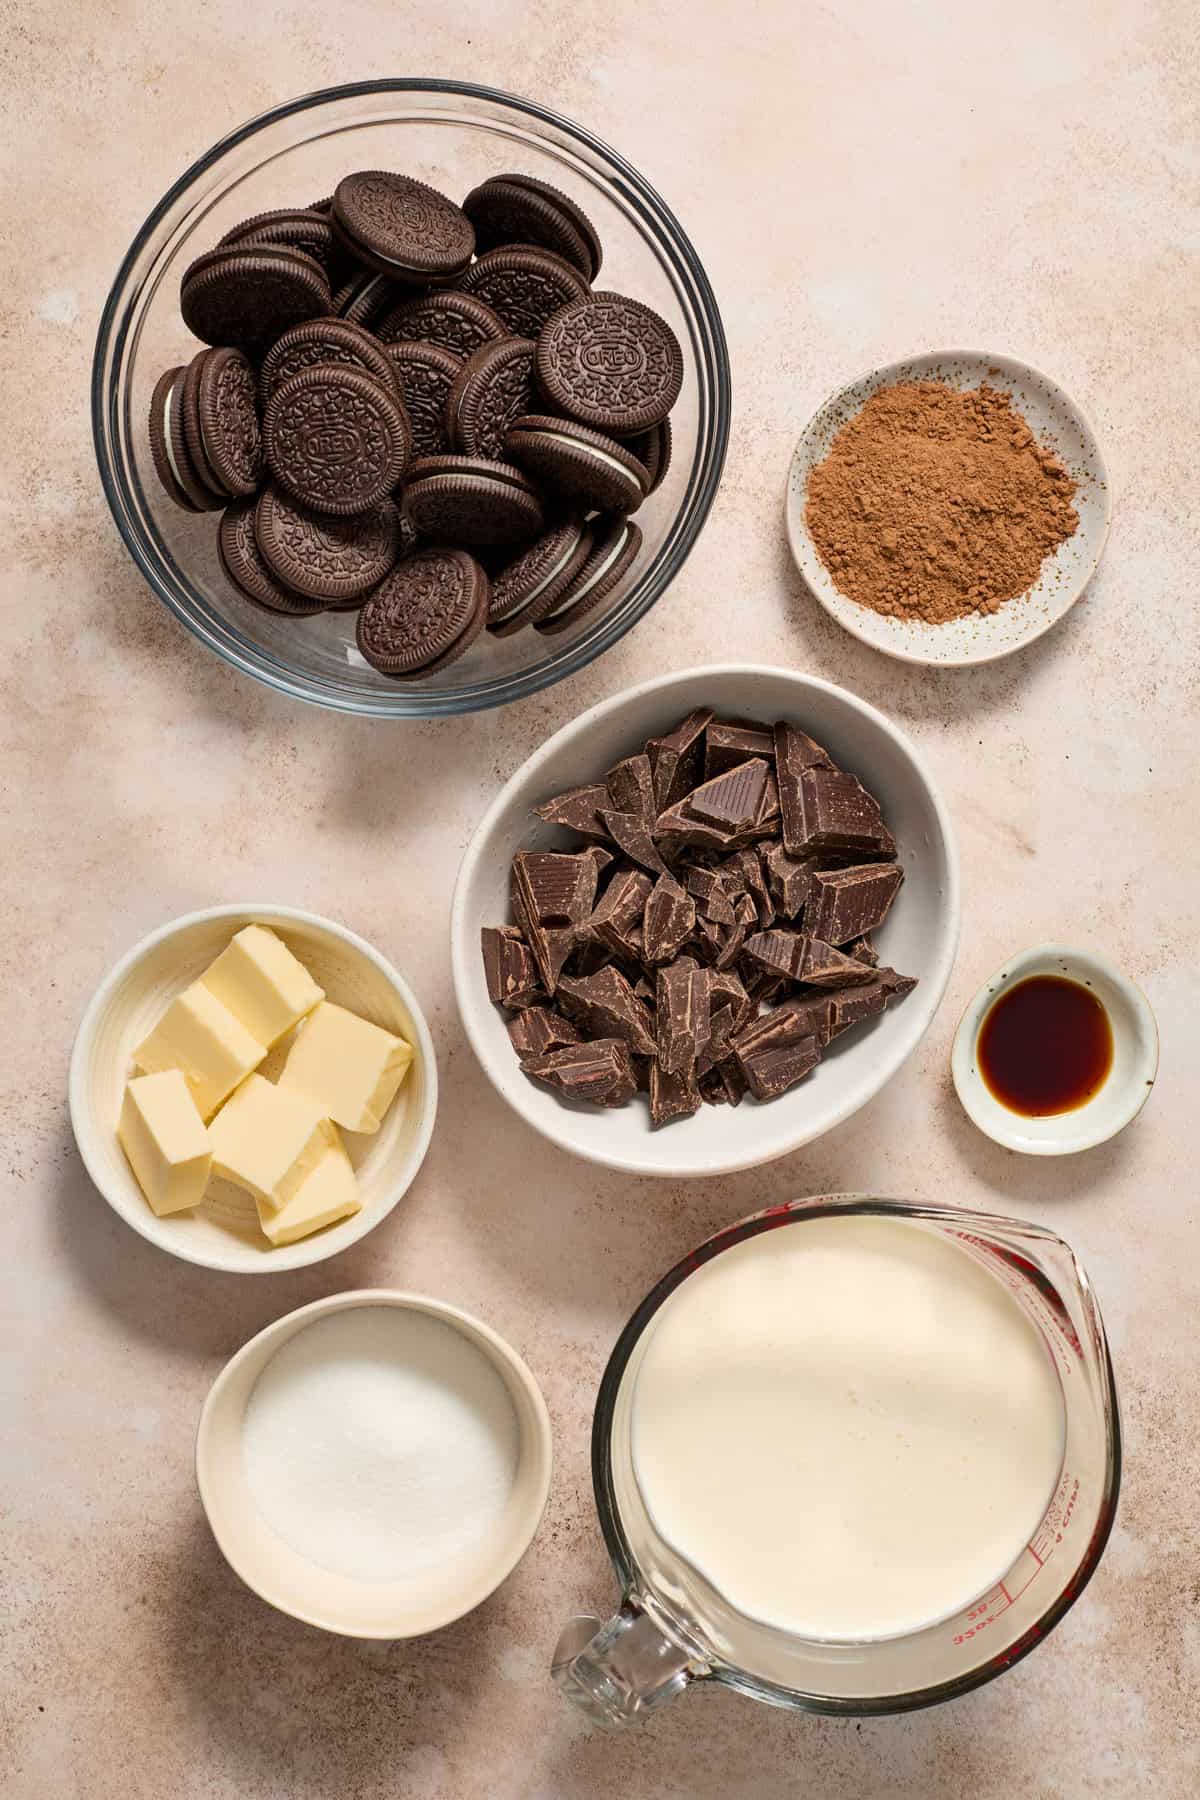
- Oreos: classic Oreos are ideal. Double Stuf will be a bit too much cream for the Oreo crust. You can use the gluten free Oreos to easily make this no bake chocolate pie gluten free.
- butter: melted butter helps hold the crust together. I use unsalted, but salted butter can work.
- heavy whipping cream: for best results, use heavy whipping cream versus just whipping cream. The fat content is higher in the heavy whipping cream or heavy cream and whips up thicker and hold its shape better than just whipping cream. Whipping cream is lighter and airier in texture when whipped so if you want your pie to set well, make sure to use the heavy cream.
- bittersweet chocolate: for best results, use a high quality chocolate. I like Ghiradelli for this recipe. While this chocolate pie is very rich, it is not overly sweet thanks to the bittersweet chocolate. You could use another chocolate if you would like it sweeter. The bittersweet chocolate balances out the sweet Oreo crust and the whipped cream topping. The layers just work so well together!
- sugar: just a touch is needed in each of the whipped cream sections of this pie. A little in the chocolate whipped cream and the whipped topping.
- cocoa powder: classic unsweetened cocoa powder for the chocolate whipped cream that you fold the ganache into.
- vanilla extract: you will use this in each whipped cream part of the recipe. Opt for real vanilla extract versus imitation vanilla for the most vibrant flavor.
- optional ingredient: a teaspoon of espresso powder in the ganache adds a richness to the chocolate flavor if desired. Since it’s not a staple in many homes, I am keeping it as completely optional.
Step-By Step Instructions:
Prepare the Oreo Crust:
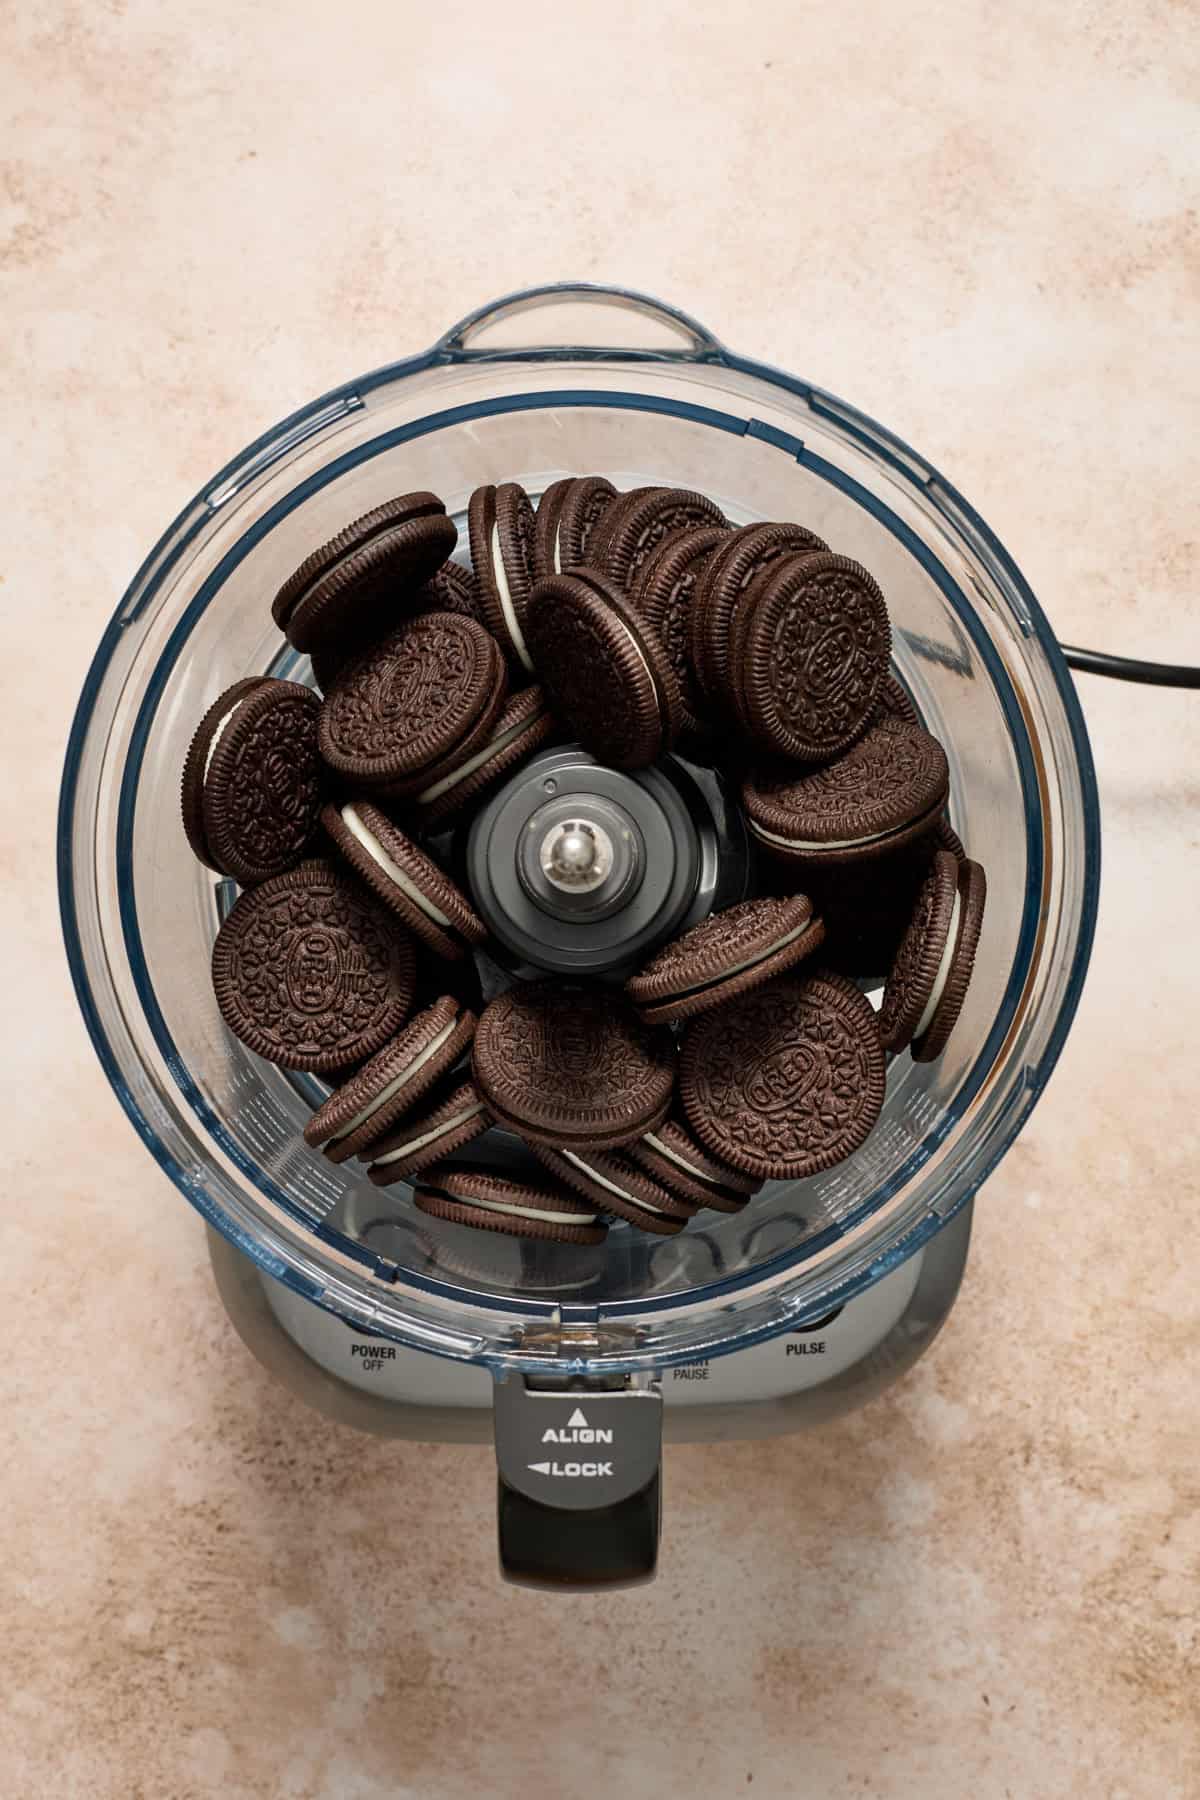
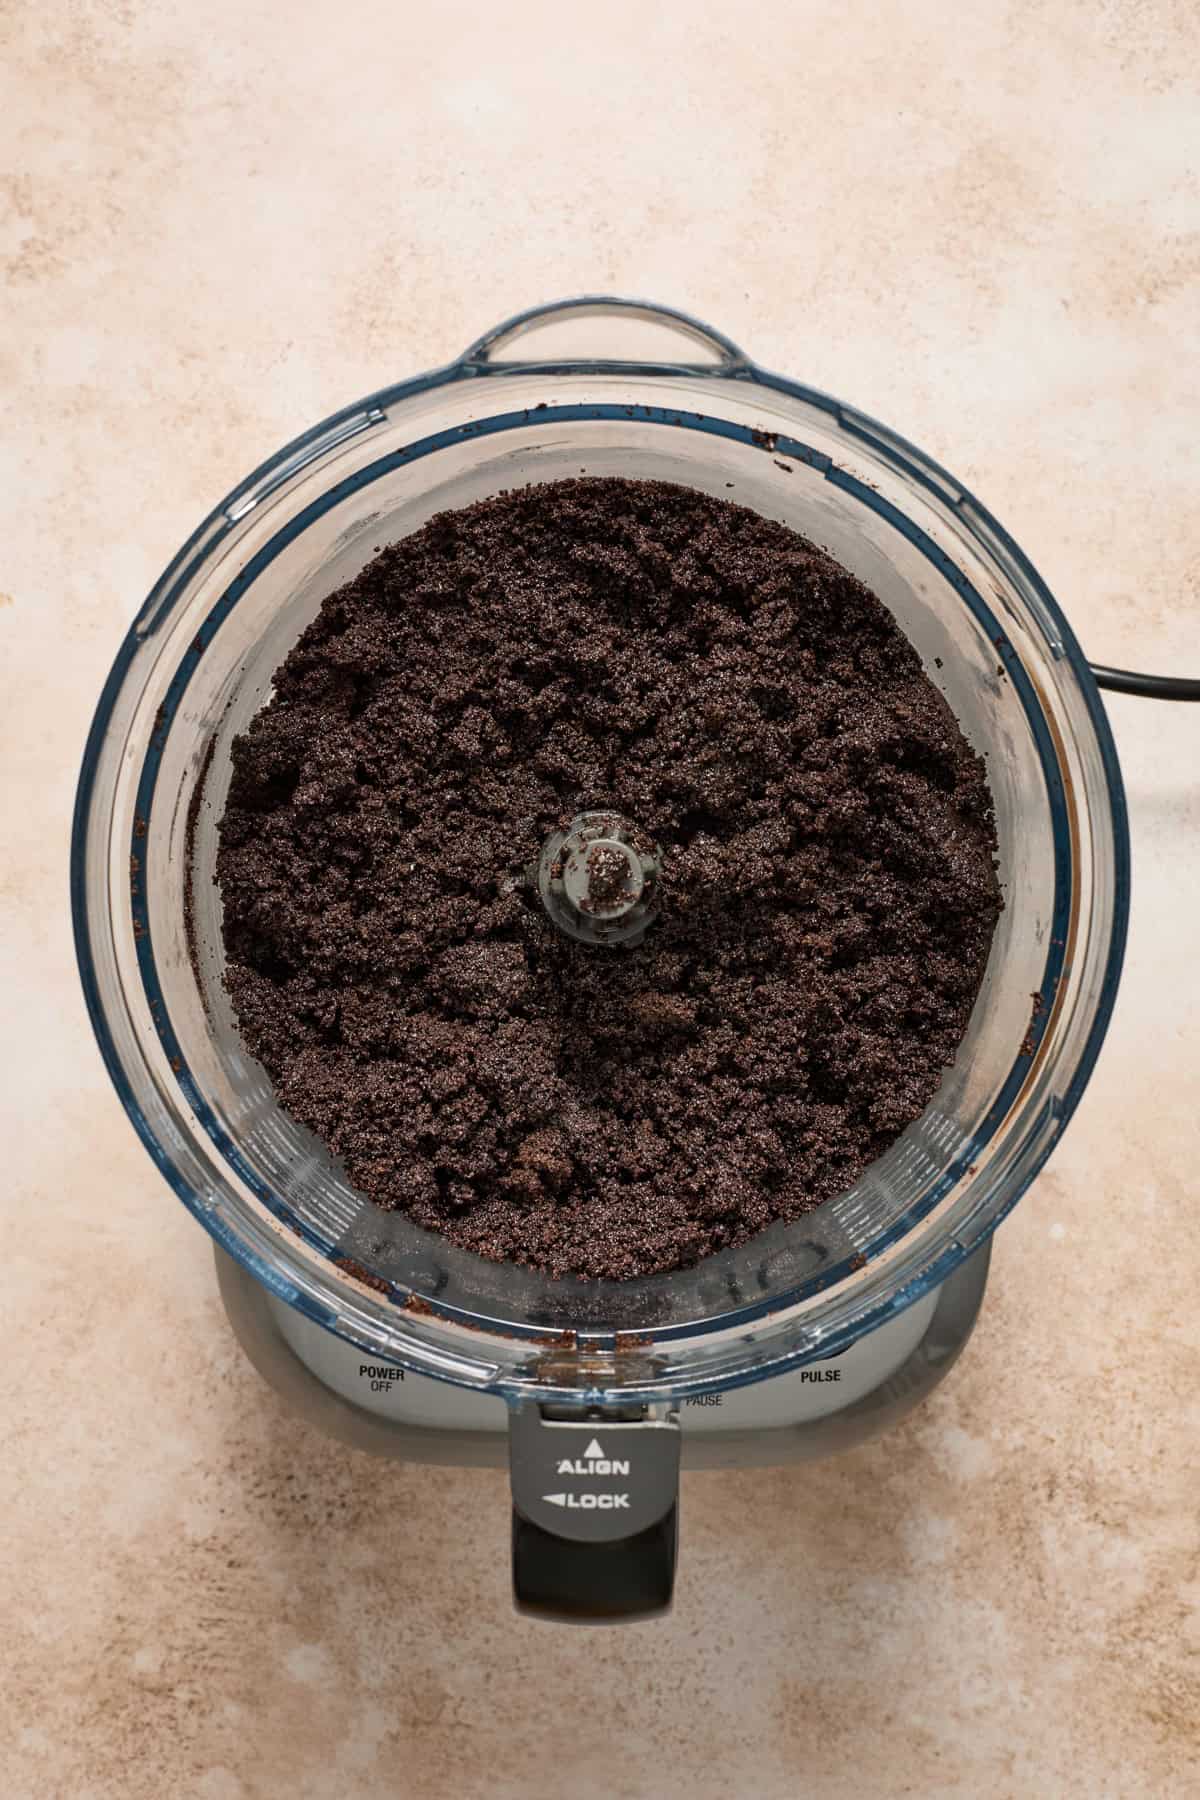

- Melt your butter and allow it to cool slightly while you prep the Oreo crumbs. Place the Oreos into a food processor and process until very small grain like crumbs. Try to make sure all the cookies are broken down and no large chunks remain for easier cutting later on.
- This Oreo crust is a decent amount of crust since pie dishes vary in size. The amount is just right for a nice thick crust in a 9 – 9 1/2 inch pie pan. If using an 8 inch pan you may not want to use it all. It should still be fine for a 10 inch pie pan as well.
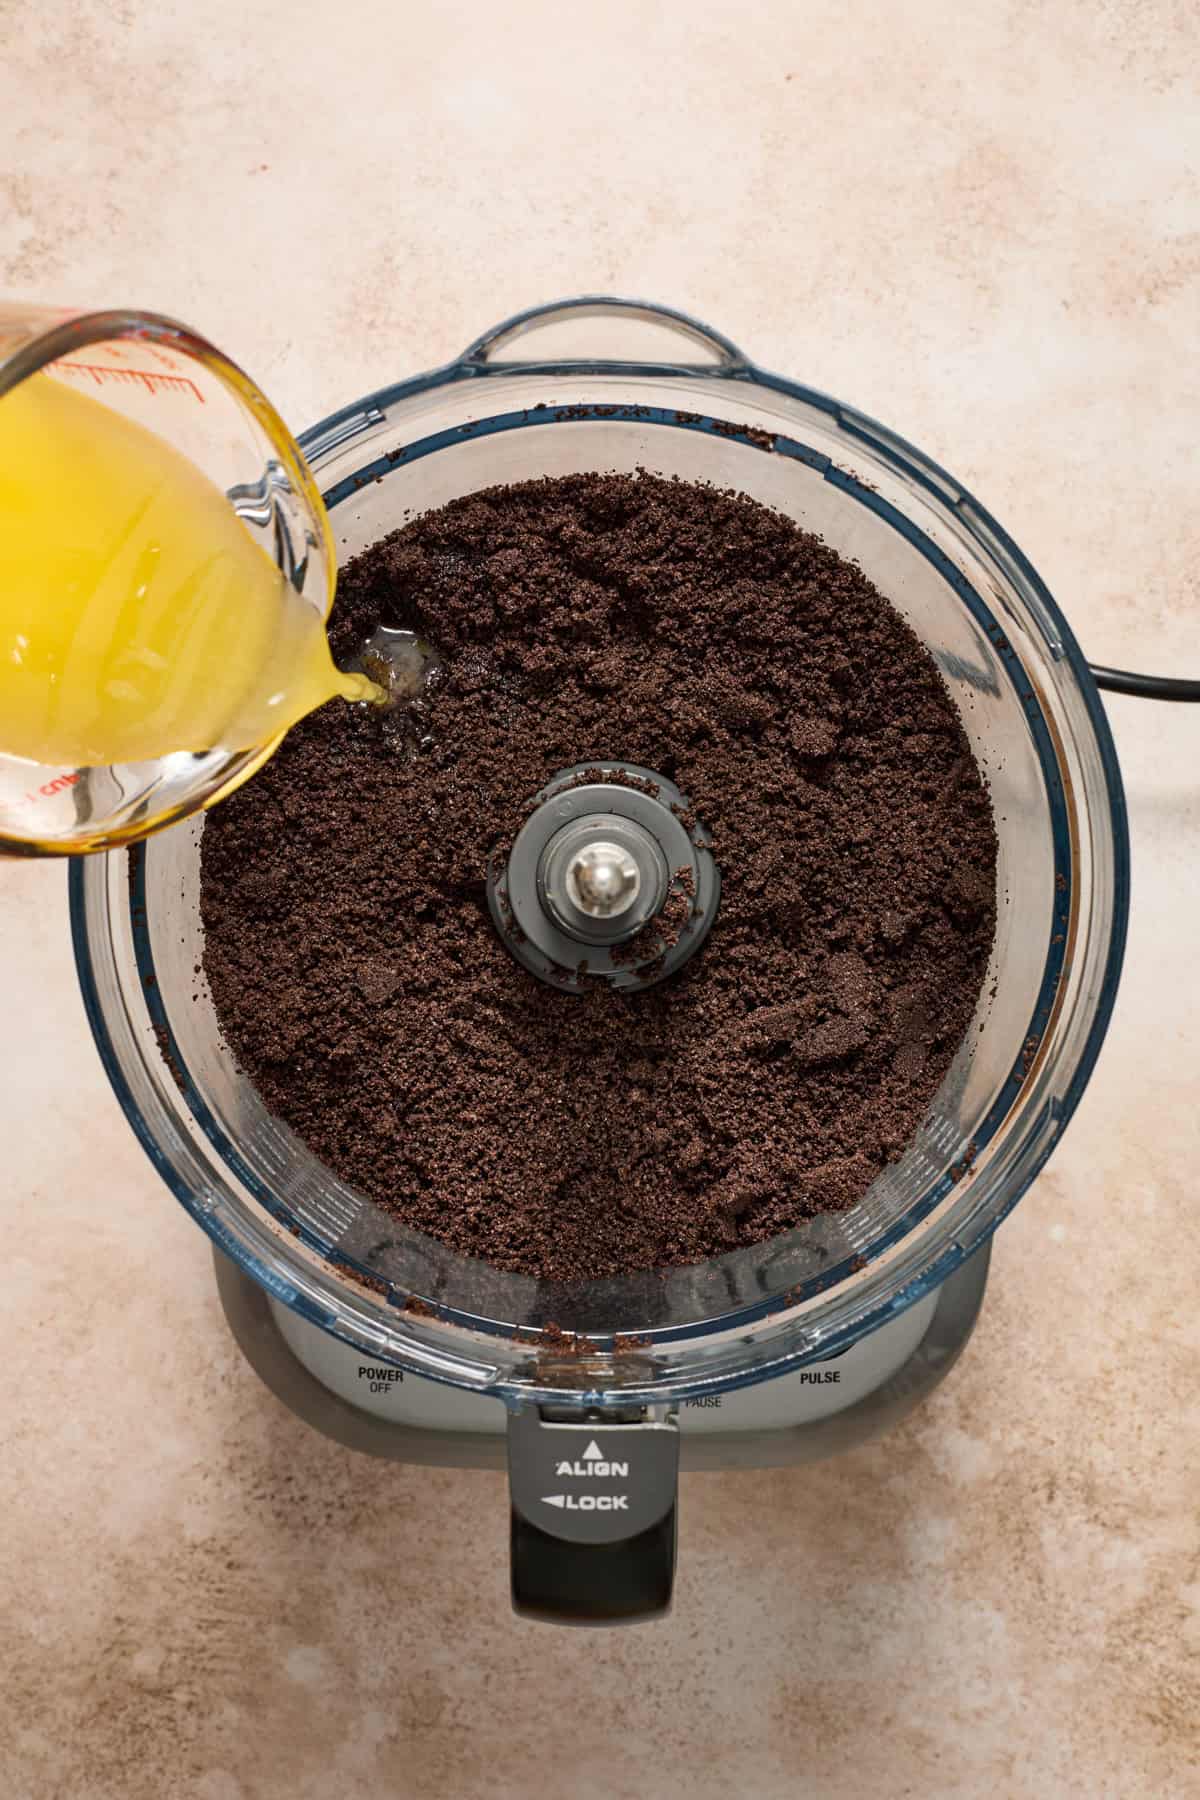
- Mix the melted butter and the oreo cookie crumbs together in a mixing bowl until it is like the texture of wet sand. Press the mixture firmly into the pie pan, using the bottom of a glass or measuring cup to help press evenly.
- Place the crust in the freezer for bout 30 minutes.
*I recently saw the method that Kelli at Everyday Pie uses to press her crust into a pan and can’t wait to test this method out. Let me know if you do it!
Make The Chocolate Layer:
- While the Oreo crust chills, prepare the chocolate filling. I tried to make this as no nonsense as possible so the ganache is very basic.
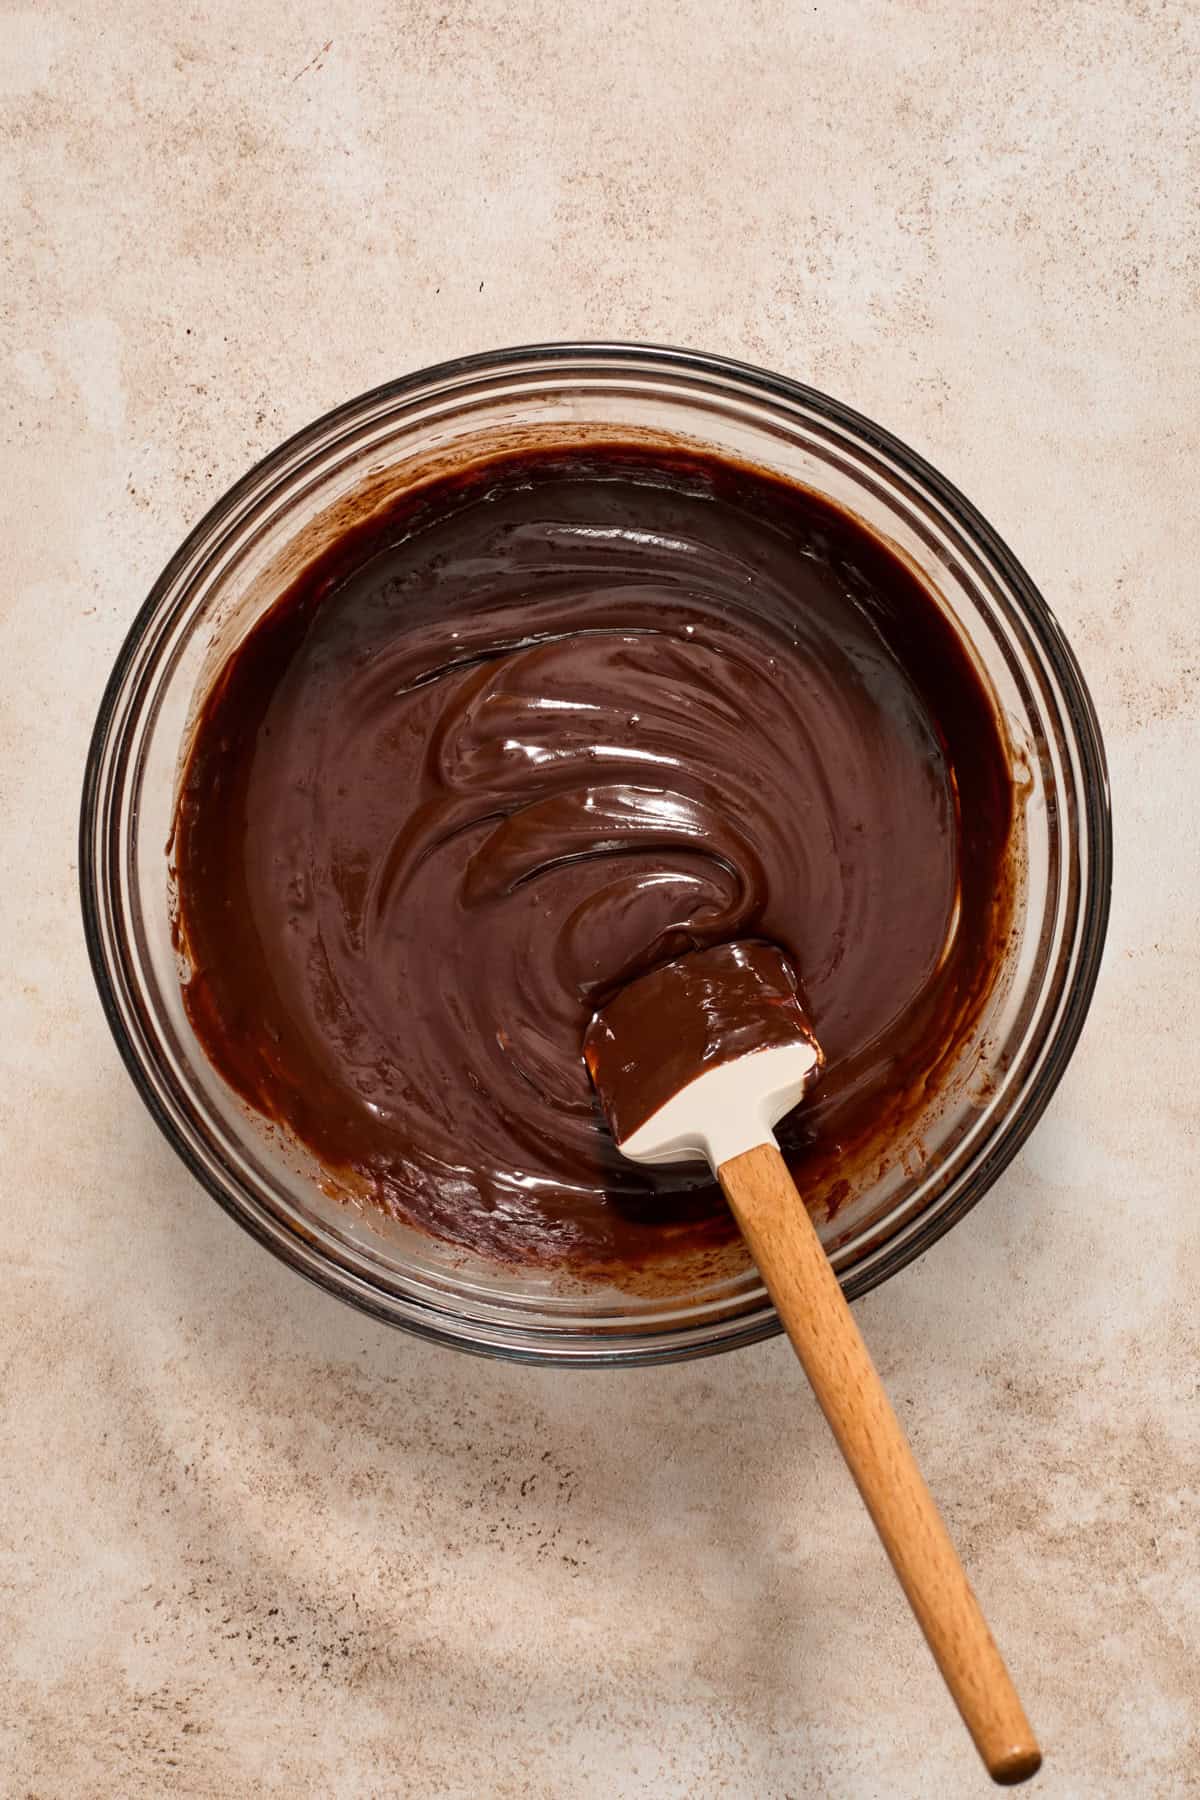
- Combine the chopped chocolate and heavy cream in a microwave safe bowl. Microwave in about 25 second increments, stirring well between each heating. Continue until almost all the chocolate is melted and then continue to stir to melt remaining chocolate.
- Set this melted chocolate mixture aside and allow to cool. This will take about 15 minutes or so. You don’t want it to be too hot when folding into the chocolate whipped cream. You can even prepare the ganache before making the crust to give it more time which is what I added to the recipe card.
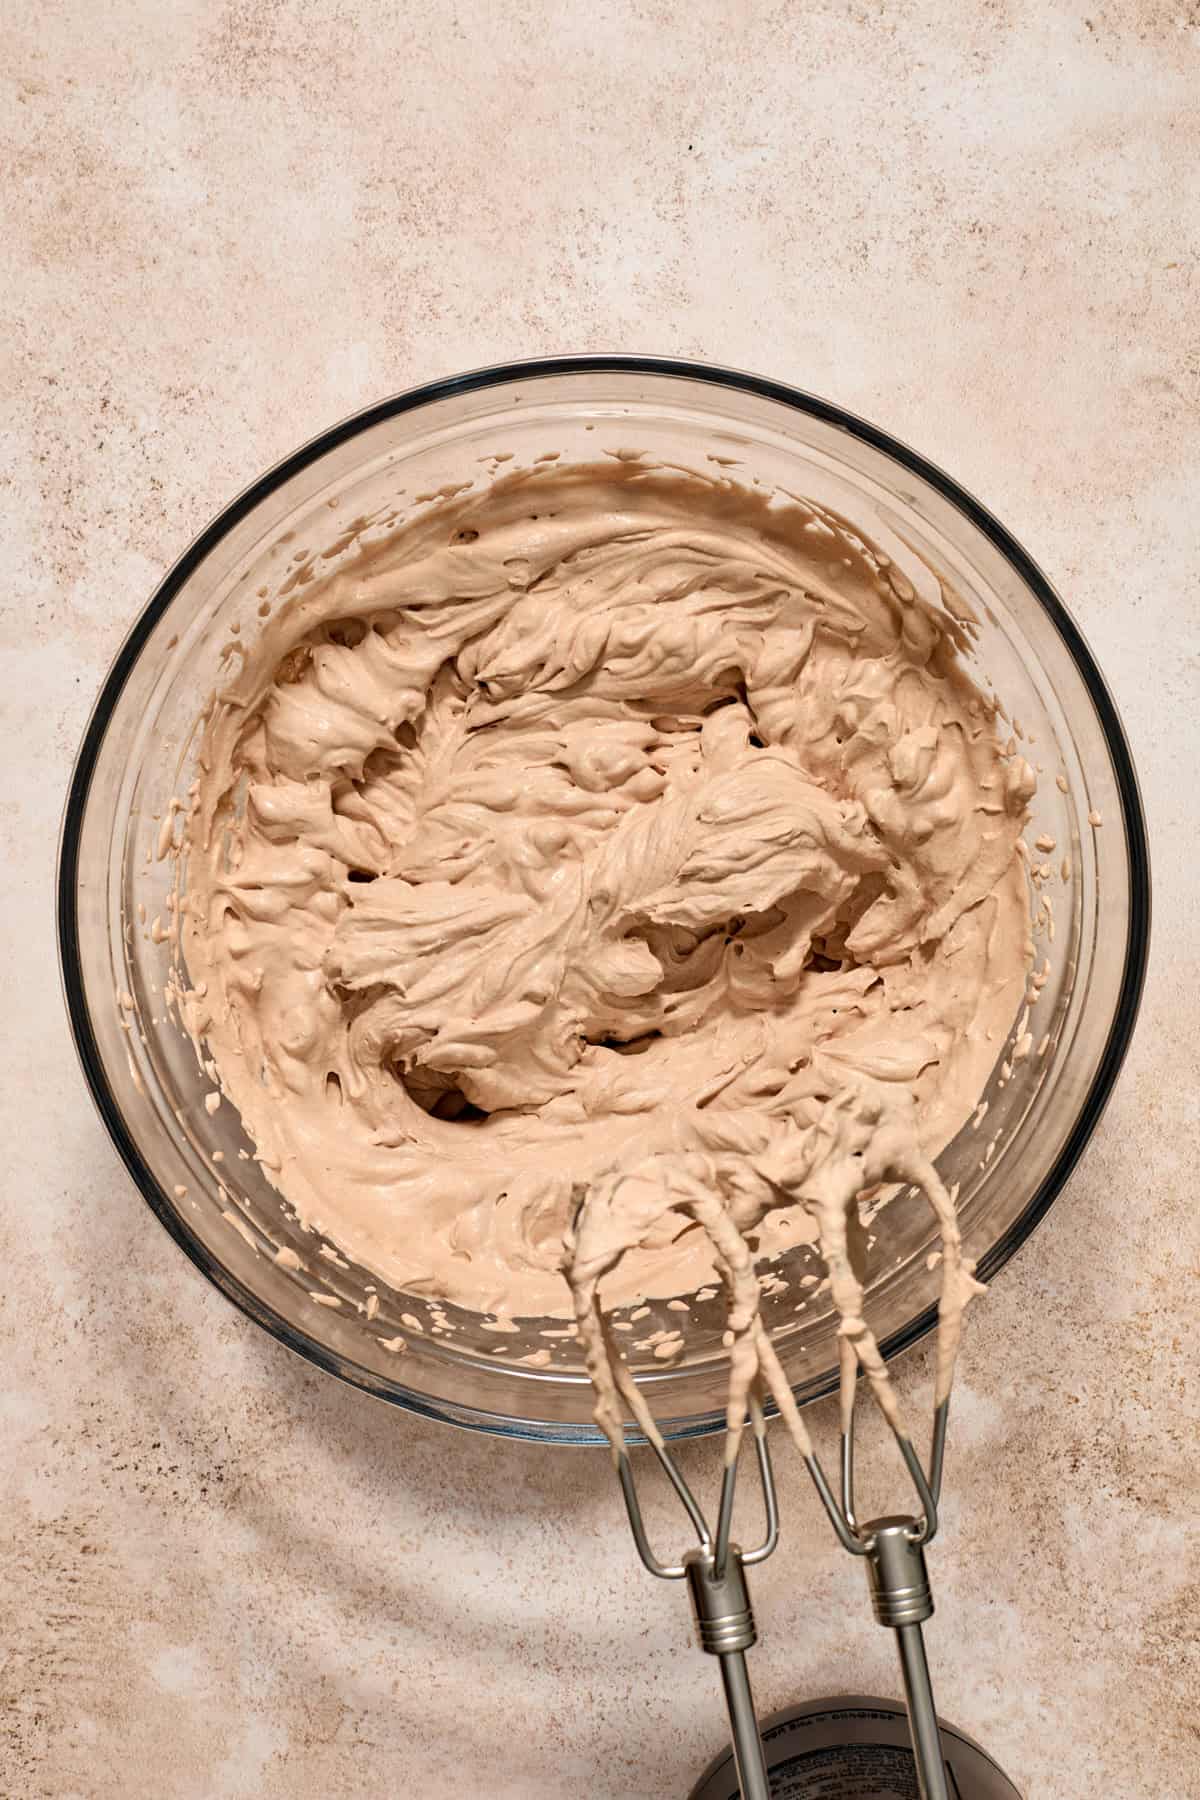
- While ganache cools, add 1 1/3 cup of very cold heavy cream, 2 tablespoons of sugar, vanilla and cocoa powder to a large bowl. You may freeze the bowl prior to preparing the chocolate whipped cream as well.
- Beat the ingredients using an electric hand mixer or stand mixer until stiff peaks begin to form. Make sure not to over beat as it will become a clumpy, butter like consistency. And if your peaks don’t hold up well, then you have not beaten the mixture enough and it will not set well.
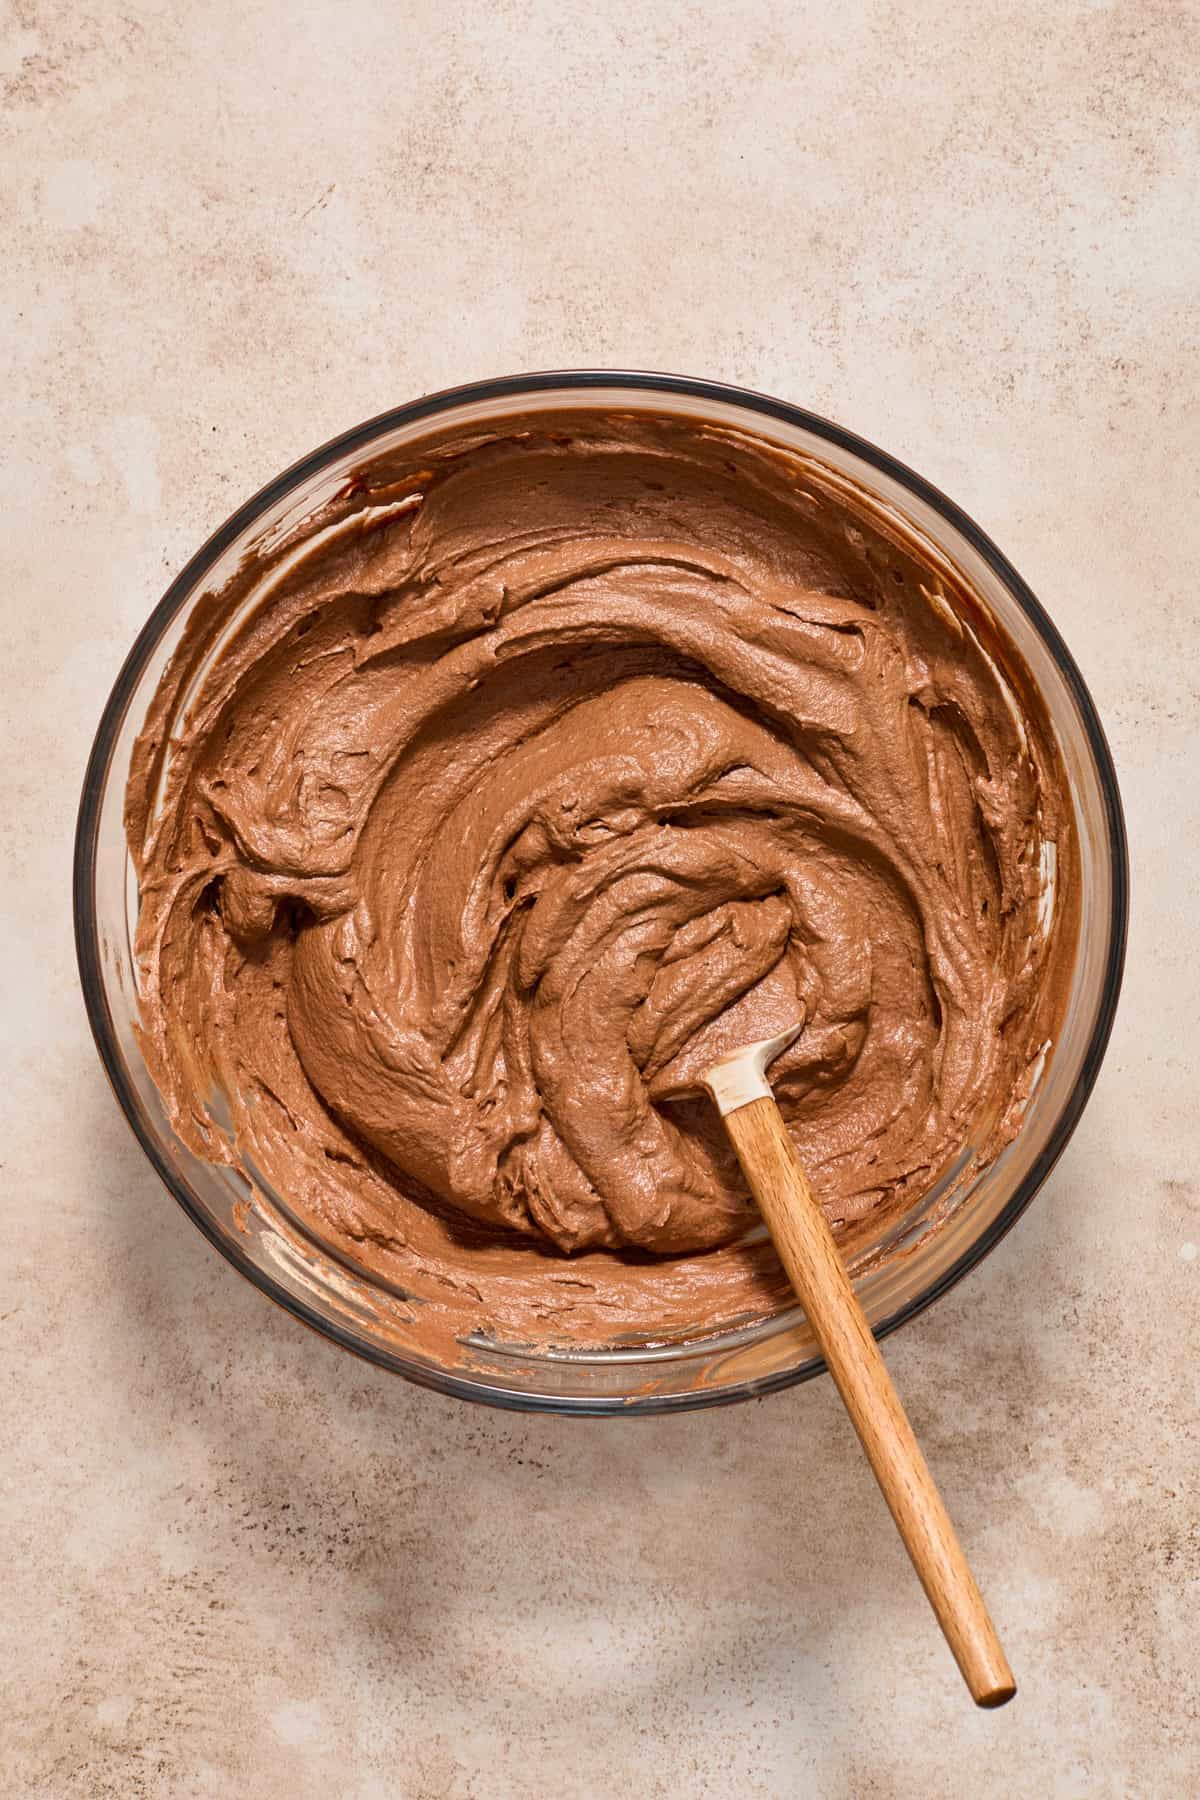
- Once the whipped cream is ready, very gently fold in the chocolate ganache into the chocolate chipped cream until it is mixed in and no streaks are visible.
Assemble the Pie:
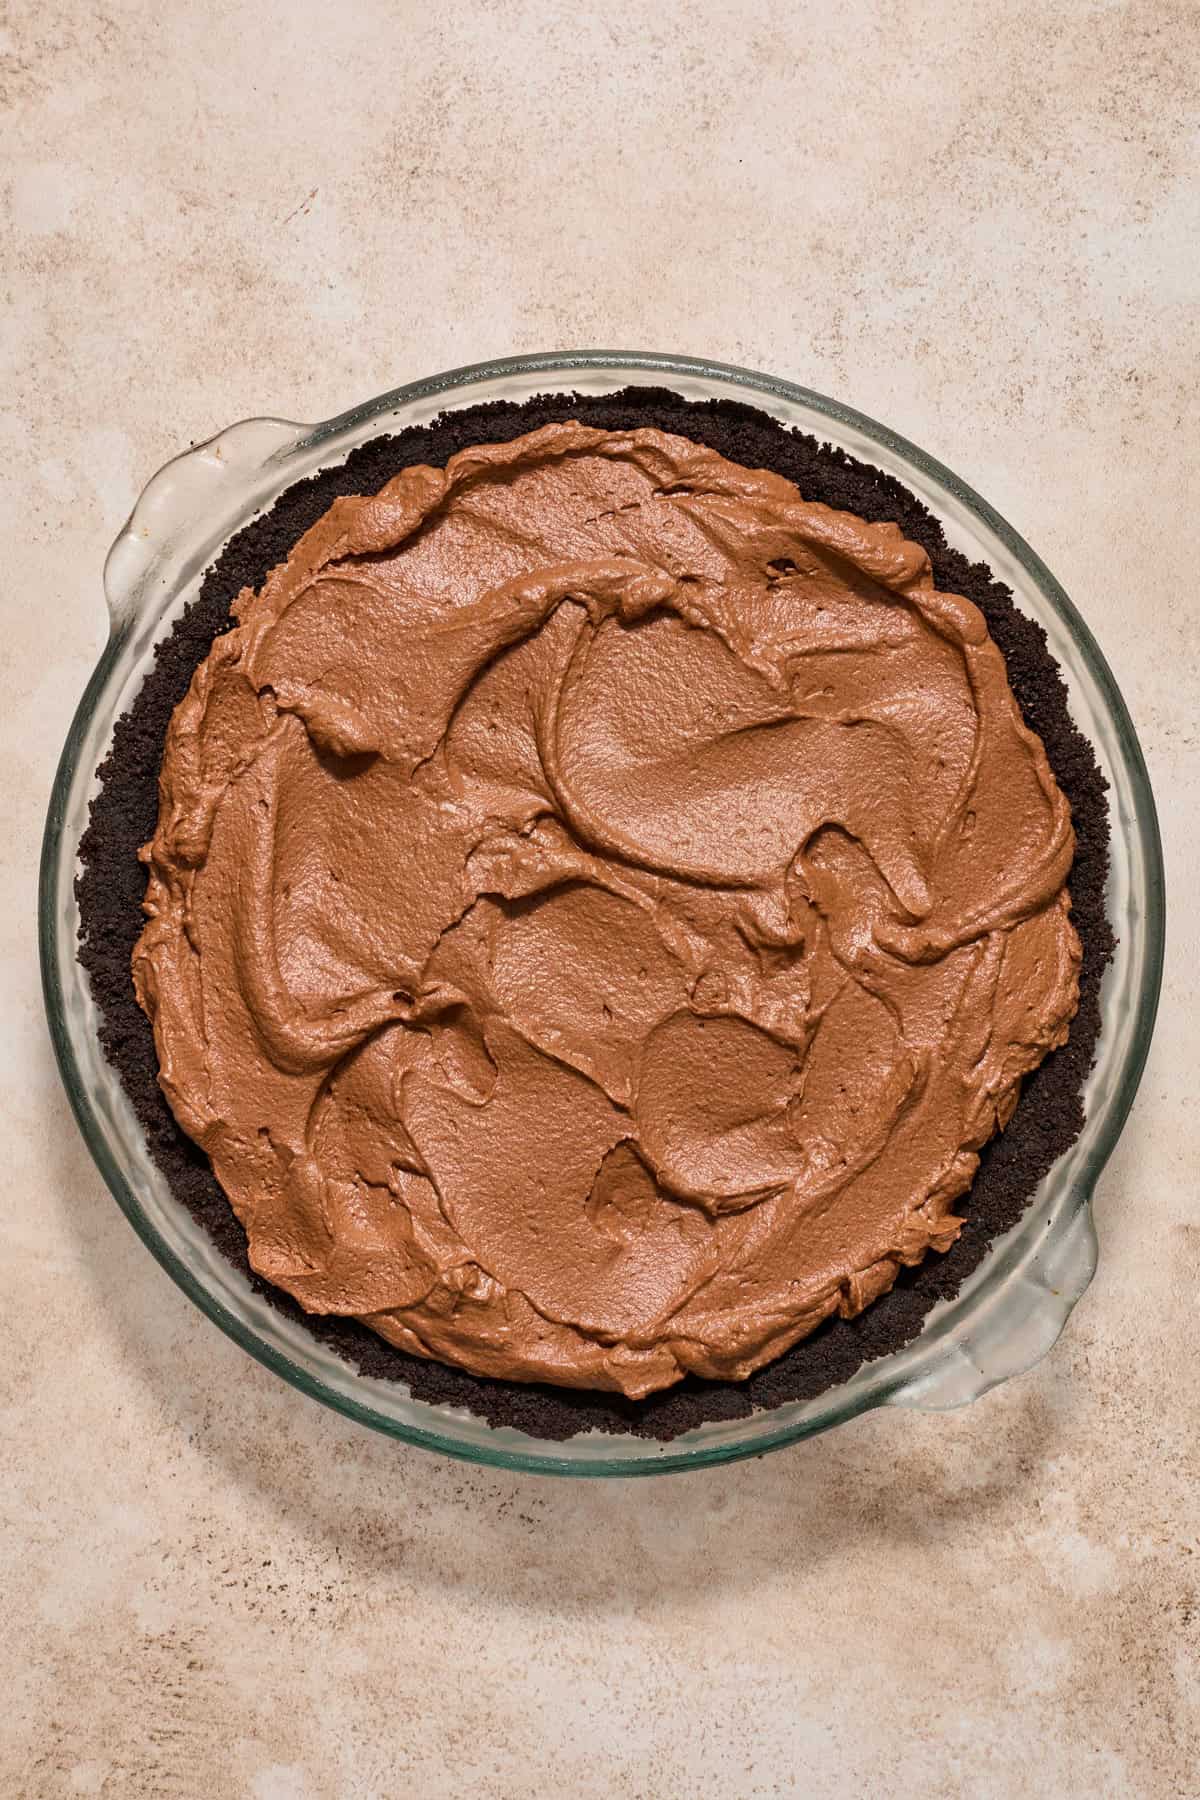

- Once the chocolate cream layer is mixed (make sure to taste a spoonful…or two!) pour it into the chilled Oreo crust and spread it evenly.
- Chill the pie for at least 3-4 hours for best results and to allow the chocolate layer to really firm up.
- While you could technically add the whipped cream layer at this time, I find it best to do after the chocolate has set. It is much easier to spread and the layers won’t mix in together at all.
- When the no bake chocolate pie has had enough time to chill, prepare the whipped cream topping.
- Beat the very cold heavy whipping cream, sugar and vanilla until thickened and stiff peaks form. Spoon the mixture onto the center of the chocolate layer of the pie and spread evenly across the entire top.
- Garnish with chocolate sprinkles, chocolate shavings or crushed Oreos–my personal favorite.
Recipe TipS
- For easier slicing, use a warm knife. Run your knife under hot water for about 30 seconds before slicing the no bake chocolate cream pie. Wipe clean between each slice with a warm, wet paper towel. You can reheat the knife several times. Also, slicing directly from the refrigerator will make for easier slicing.
- You can line your pie pan with parchment or plastic. I did not find in testing this recipe that greasing the pie dish helped make serving it any easier. If you are concerned that your pie crust will break and what the most beautiful cut slices, you have a few options. You can line your pie pan with parchment or double layer of plastic wrap so that you can easily lift the pie out of the pan when ready. You can also use a 9 or 10 inch spring foam pan so the pan lifts off of the pie. Otherwise, you may have some broken crust here and there but I have never heard anyone complain!
- Running low on time? Opt for cool whip on top. If you are pinched for time, spread cool whip on top of the pie instead of fresh whipped cream. It may not firm up quite as much as the regular whipped cream but will still be great!
- If opting for a store bought Oreo Crust, grab two. A Pre-made oreo crust may be smaller than the pan called for in this chocolate pie recipe. While I have not tested it with two store bought crusts, I know the filling amount will be overflowing in just one. Have a second crust on hand just in case! You could also make a graham cracker crust if preferred like the one I used on this no bake caramel apple cheesecake recipe.
- Small slices are the way to go! Since this pie is quite a rich dessert recipe, I have it listed as 10 slices. They will be smaller slices or you can certainly slice the pie into 8 pieces, or really however much you want, but starting smaller is a good idea.
Storage
This no bake chocolate cream pie recipe is a great make ahead dessert and really does freeze beautifully.
- To Refrigerate: Loosely cover in plastic wrap or pack in a sealed airtight container, trying not to smash the whipped cream. Toothpicks can help with that! You can store the pie for up to 4-5 days in the refrigerator.
- To Freeze: You can freeze the pie before or after adding the whipped cream on top. If doing so before adding the topping, cover in plastic wrap and foil tightly after the chocolate has set. If freezing the pie with whipped topping, you can wrap the same way but risk smashing the whipped cream. Instead, I use a large freezer safe plastic container that will fit either the entire pie or pieces I have leftover. You can freeze the pie safely for about 2 months.
Other No Bake Recipes
- No Bake Peppermint Oreo Cheesecake
- No Bake Cookie Butter Cookies
- Samoa Bars
- Caramel Apple Cheesecake
- Cheesecake Bites
- Funfetti Rice Krispie Treats
HUNGRY FOR MORE? Subscribe to my newsletter and follow me on Facebook, Instagram and Pinterest for all the latest!
No Bake Chocolate Pie

Ingredients
Filling:
- 8 oz bittersweet chocolate
- 3/4 c heavy whipping cream, for the ganache
- 1 tsp vanilla
- 1 1/3 heavy whipping cream, for the chocolate whipped cream
- 2 T cocoa powder
- 2 T sugar
Whipped Cream Topping:
- 1 1/4 c heavy whipping cream
- 1.5 T sugar
- 1/2 tsp vanilla
Instructions
- Prepare the Ganache: You want this to have plenty of time to cool, so making it before the crust is ideal. Combine the chopped chocolate and 3/4 cup heavy whipping cream in a microwave safe bowl. Microwave in 25 second increments stirring each time, until almost all the way melted. Keep stirring until remaining chocolate melts. Set aside to cool.
- Prepare the Oreo Crust: Place Oreos in a food processor. Process until a very fine crumb with no chunks. Combine with melted butter and stir until combines. Press the crust mixture firmly into a 9 inch pie pan. Place in the freezer for about 30 minutes.
- Prepare the Chocolate Layer: Combine 1 1/3 cups heavy whipping cream, 2 Tablespoons cocoa powder, 2 Tablespoons sugar and vanilla in a mixing bowl. Beat with an electric mixer for several minutes or until stiff peaks begin to form.
- Very gently, fold the cooled ganache into the chocolate whipped cream until fully combined and no streaks are noticeable. Spread the mixture into the pie pan with the chilled Oreo crust. Refrigerate for about 4 hours to set.
- Prepare Whipped Cream Topping: Once the chocolate layer has set, or just before serving, whichever you prefer, beat the whipped cream topping ingredients together until stiff peaks begin to form. Place the whipped cream in the center of the chocolate layer and spread out to the edges evenly. Garnish with chocolate curls, chocolate sprinkles or chopped Oreos.
- Chill the pie until ready to serve.
Notes
- For easier slicing, use a warm knife. Run your knife under hot water for about 30 seconds before slicing the no bake chocolate cream pie. Wipe clean between each slice with a warm, wet paper towel. You can reheat the knife several times. Also, slicing directly from the refrigerator will make for easier slicing.
- You can line your pie pan with parchment or plastic. I did not find in testing this recipe that greasing the pie dish helped make serving it any easier. If you are concerned that your pie crust will break and what the most beautiful cut slices, you have a few options. You can line your pie pan with parchment or double layer of plastic wrap so that you can easily lift the pie out of the pan when ready. You can also use a 9 or 10 inch spring foam pan so the pan lifts off of the pie. Otherwise, you may have some broken crust here and there but I have never heard anyone complain!
- Running low on time? Opt for cool whip on top. If you are pinched for time, spread cool whip on top of the pie instead of fresh whipped cream. It may not firm up quite as much as the regular whipped cream but will still be great!
- If opting for a store bought Oreo Crust, grab two. Store bought Oreo crusts are smaller than the pan called for in this chocolate pie recipe. While I have not tested it with two store bought crusts, I know the filling amount will be overflowing in just one. Have a second crust on hand just in case!
- Small slices are the way to go! Since this pie is quite rich, I have it listed as 10 slices. They will be smaller slices or you can certainly slice the pie into 8 pieces, or really however much you want, but starting smaller is a good idea.
Nutrition
Nutrition information is automatically calculated, so should only be used as an approximation.
Shop This Post:
 Buy Now →
  Buy Now →
  Buy Now →
  Buy Now →
Is there a video of step by step just get a. Idea of it
Hi! There was a video in the recipe card but I’m not sure why it’s not showing. Let me see if I can figure it out!
I am planning to make this for Thanksgiving! I wanted to make it the weekend before – do you think I should freeze it, or will it last OK? If I freeze it, how long would you recommend to thaw?
Hi!! Probably best to freeze for sure. Allow it to fully set up before freezing for best results. To thaw, I recommend transferring to the fridge about 24 hours before. You can pull it out of the fridge a couple hours before serving if it’s still a bit frozen in the center.
Absolutely loved this recipe. A nice balance on all flavours and textures.
May i ask though, will it be any major difference if i used ghirardelli 70% bittersweet instead of 60%?
Thanks!
Oh wonderful to hear this!!! I love this one! And using 60% versus 70% is no problem. Use the level of darkness you prefer!
Oh thank you for replying! I was just afraid it might be bitter. 60% was just right as you recommended but that particular choc has been out of stock for pretty long! If you have any recommendations on other choc brands do let me know! Thank you 🙂
Sorry for the delay, was trying to research a bit! The Baker’s brand chocolate bar in the baking aisle is another great option. You could even use the semi sweet or the bitter sweet and have great results.
I made this twice. The first time I used more expensive chocolate and mÿ husband liked it better. The 2nd time I made it I used bittersweet chocolate from Aldi and it was very bitter (I liked it, though). I also think I folded the ganache into the chocolate whipped cream too long because the chocolate layer was very dry and crumbly. Any feedback on this issue, please? Thanks!
Lower quality chocolate can tend to have issues when making ganache in general. It can be much more fussy. The likelihood is that or it could be that the chocolate was overheated. Those are probably things that caused the issue. I hate paying extra for a better chocolate but I prefer it to an off putting texture for sure!
I wasn’t crazy about this recipe. The chocolate filling was a bit too light. Basically like chocolate flavored whipped cream. I was hoping for something a bit more dense. I would add a bit more sugar to the whipped cream topping or leave it off entirely and cover top of the chocolate filling with crushed Oreos. It needs that crunchy texture…to offset all the soft whipped cream. Then top each cut piece with a bit of whipped cream before serving if desired.
Thanks for the feedback, Jules! We love the texture, but definitely not going to be everyone’s favorite!
May I freeze this?
Hi! You absolutely can! See storage notes in the post for more details—you can freeze with or without the whipped cream topping.
Make no mistake, we chocoholics love the intense flavor of the recipe, but we also like to eat big pieces 🙂
For a less intense chocolate experience, leave everything the same, but use 4 oz of chocolate in the ganache instead of 8 oz. It will still set firmly.
Glad to know it works with less chocolate!! Thanks for sharing!