This post may contain affiliate links.

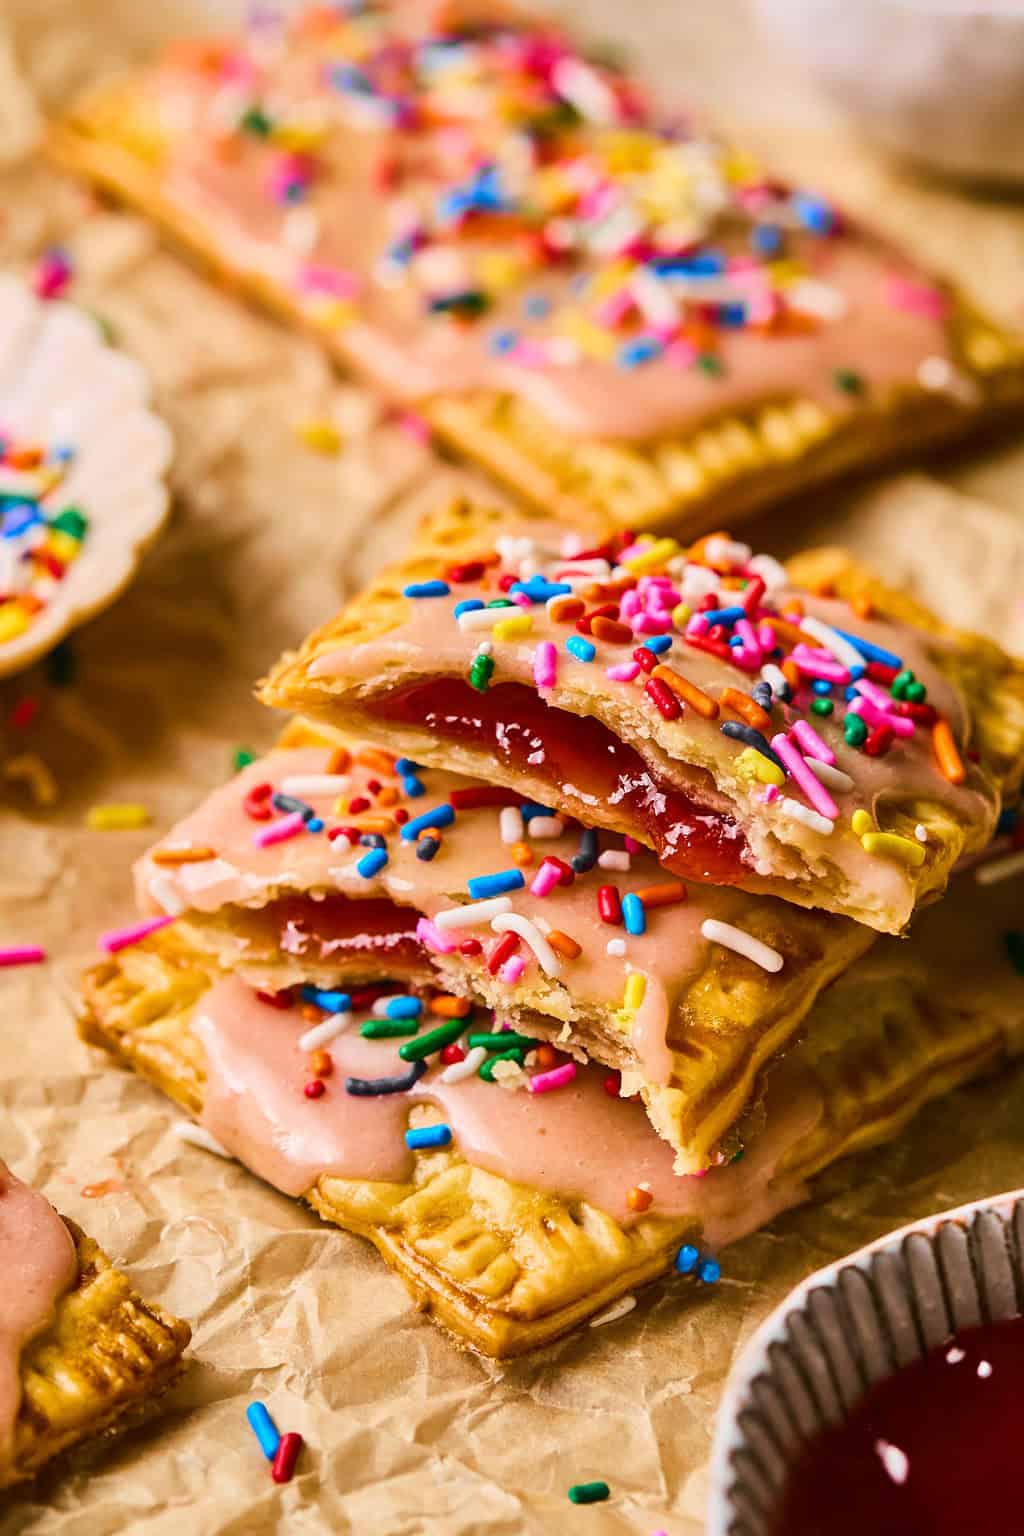
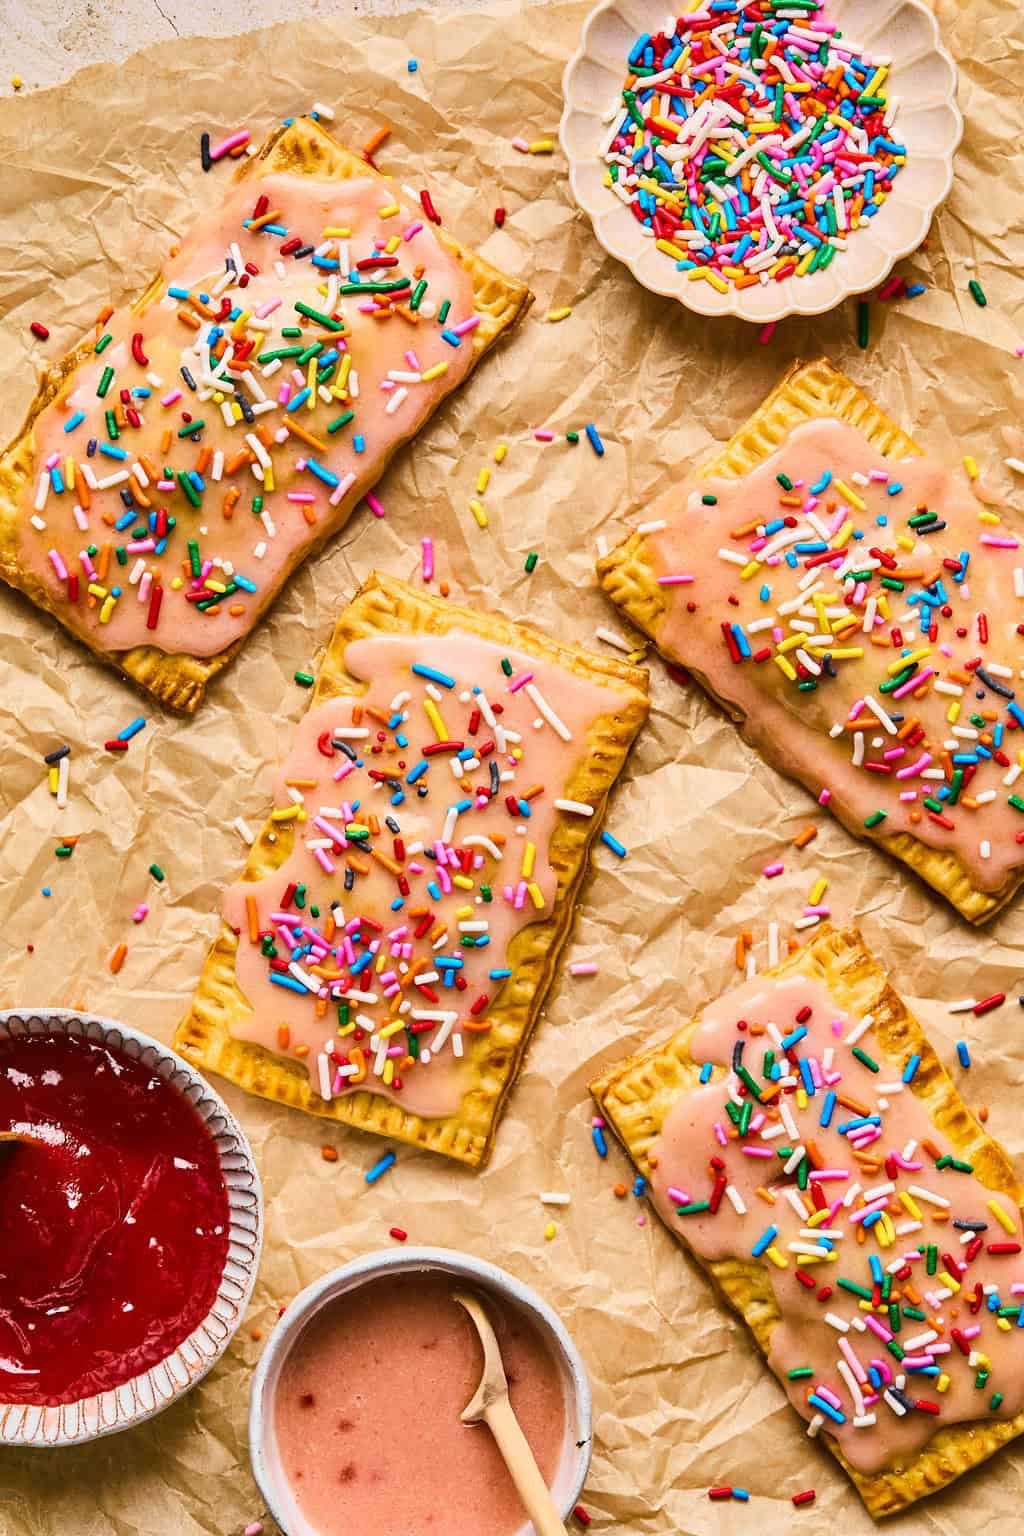
Looking for an easy homemade pop tarts recipe?! Look no further! These delicious and simple Homemade Pop Tarts are made your way and in no time! Use pre-made pie crust or make your own. Have it your way and enjoy this easy breakfast recipe!
This recipe was originally published March 2019 and updated to include step by step photos August 2020.
I have made these delicious homemade pop tarts with pie crust at least 10 times in the past year and have never made the same flavor twice.
This recipe is the EASIEST pop tart recipe you will find and also the most versatile. Fill it with any flavor jam, or maybe even some Nutella. Whip these pastries up without any fancy baking tools and just the basics you can find around your home.
Have the fancy baking supplies? By all means, pull them out! But this pop tart recipe is for the days when the kiddos want a fun little treat to help make, or for a day you are craving a homemade pastry but just don’t have all of the time to invest.
These pop tarts are homemade, but with very little effort and there is NOTHING wrong with that!
Try these other breakfast favorites: Cinnamon Roll Breakfast Cookies, Puff Pastry Apple Tart, Easy Cinnamon Raisin Bagels, or these Blueberry Air Fryer Hand Pies for a treat!
Why you will love these Homemade pop tarts:
- The kids can easily help make them. The fun of making your own pop tarts can really be all about the kids. They can help make their favorite breakfast treat and without much headache. They can cut the dough, spoon the jam, crimp the edges and add the egg wash. Not much they can’t do in this recipe!
- You can make them any flavor. Strawberry, blackberry, blueberry, Nutella, brown sugar–whatever you wish, it can be yours!
- You have full control of the amount of icing. There was nothing worse than opening up a package of store bought pop tarts and realizing you were skimped of a full corner of the icing. Not with these homemade pop tarts! You can smother them and cover them as much as you like!
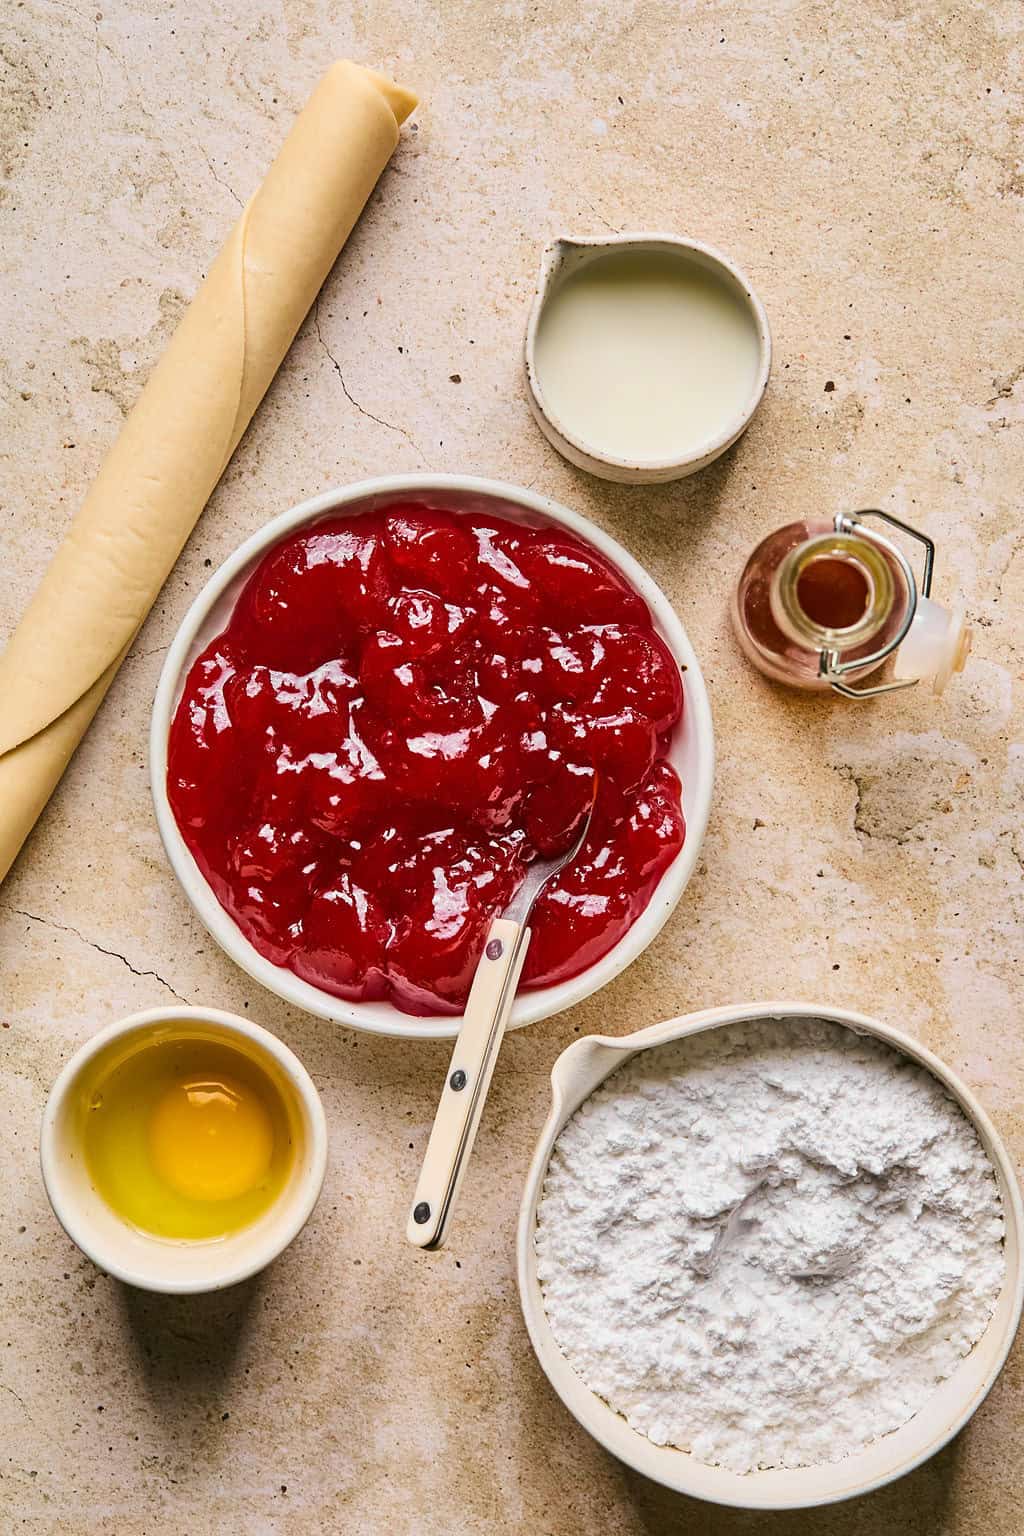
Ingredients and Substitutions:
- If you want to make your own pie crust, by all means, go for it! It will certainly add more time and ingredients, but I certainly agree that nothing beats a homemade pie crust. I use the roll and bake store-bought pie crust for these to save a lot of time and make for super easy homemade pop tarts!
- Cream or milk will work for the frosting. I have used both and they have turned out great.
- For an egg free version of this homemade pop tart recipe, you can use coconut oil, or an almond milk and agave combo to mimic the same results of the wash.
Step-By Step Instructions:
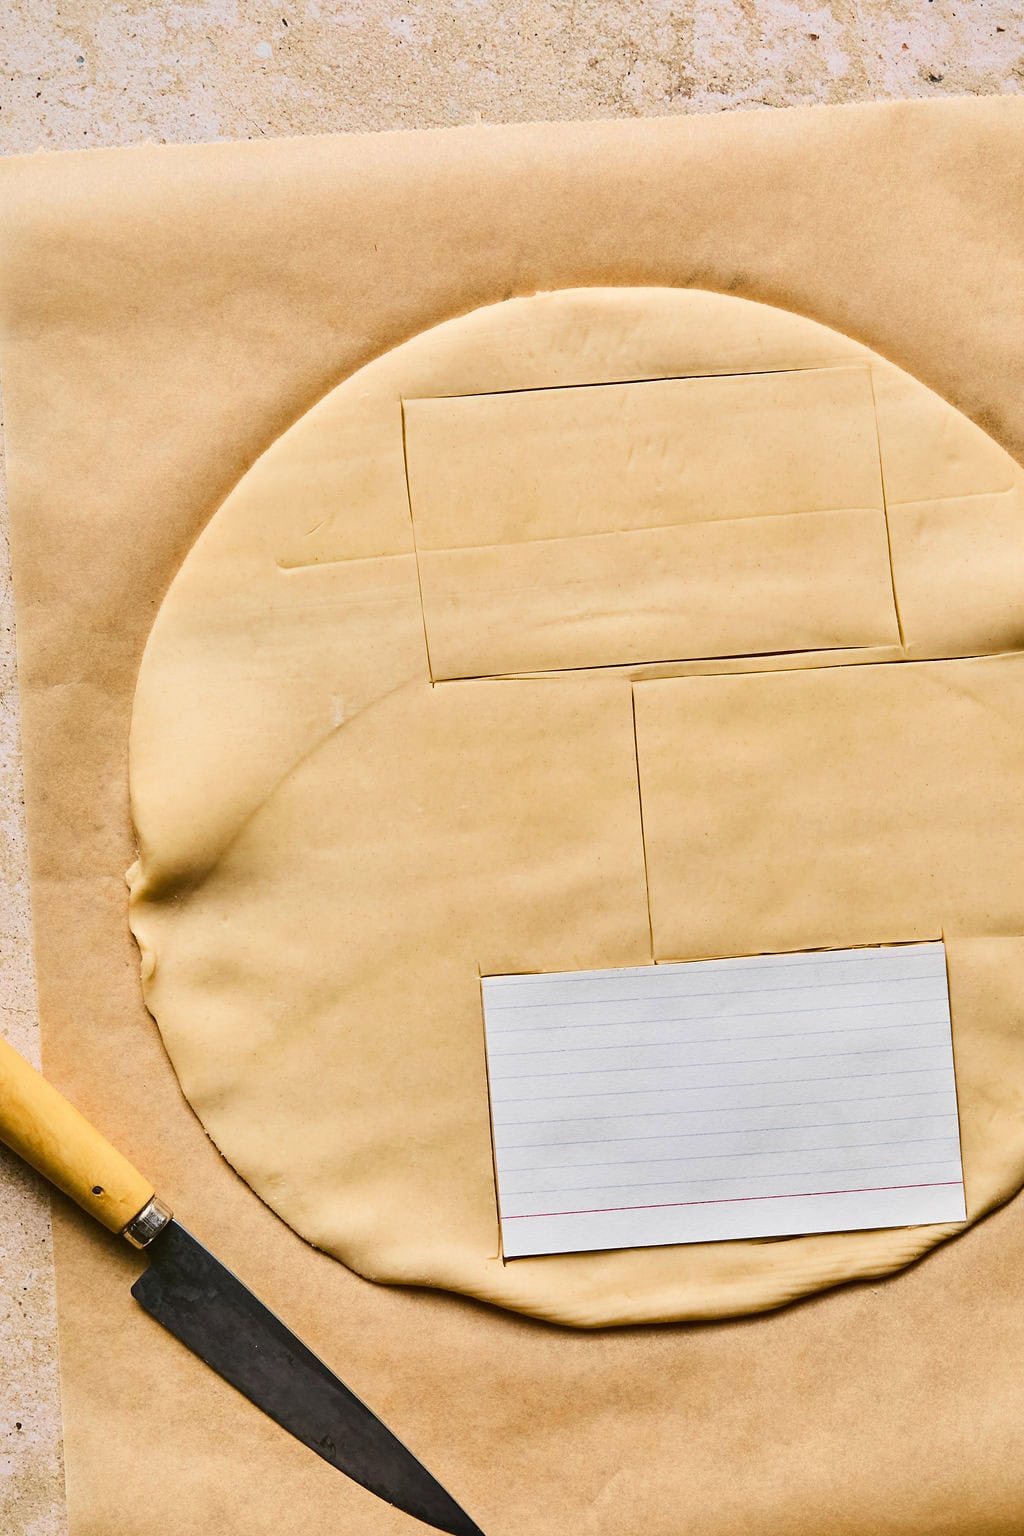
- Allow your pie crust to become room temperature. (I use the pie crust that is in circles.) Stack the two layers of pie crust on top of each other and cut the round section off of the side you plan to start on. I love using a pizza cutter for this but a sharp knife or pastry cutter also work well. Whatever tool works best for you!
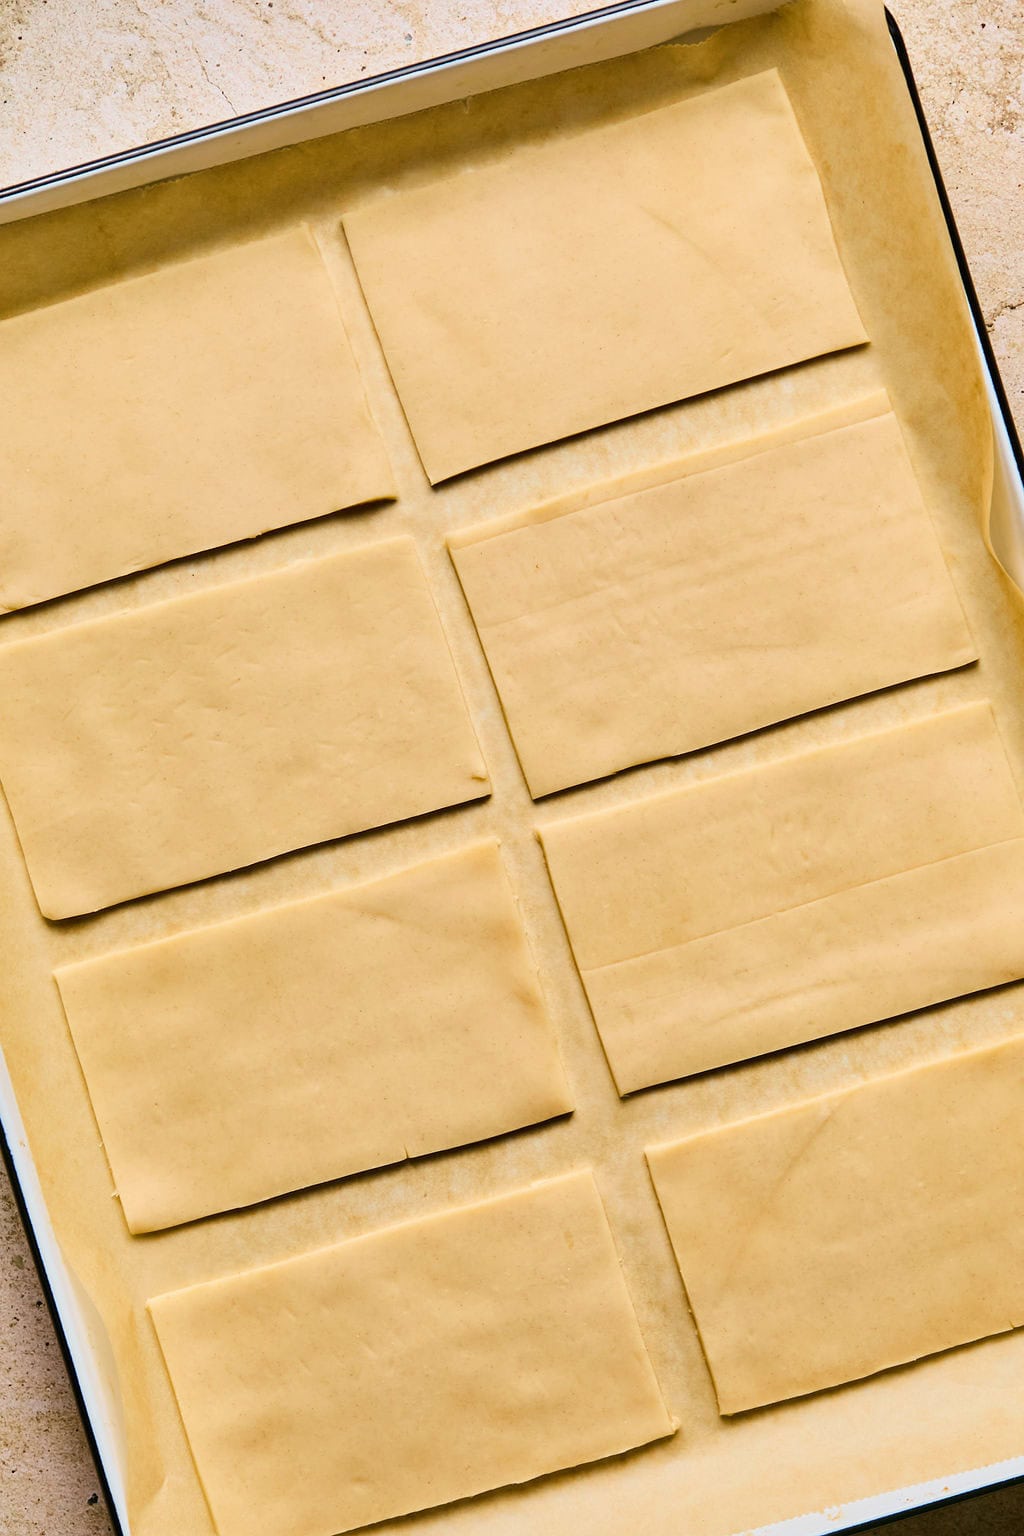
- Using a cutout of a rectangle (approximately 3 inches by 4 – 5 inches) the dough into rectangles and set aside. Pull all of the scraps together and then roll this dough out into about a 1/4 inch layer and cut out remaining rectangles. I actually like to use a biscuit or cookie cutter for the remaining scraps sometimes and make other shapes. Whatever you prefer!
- Line the bottom layers of the pop tarts on a parchment lined baking sheet. (I only placed 4 on mine to help show the images more clearly).
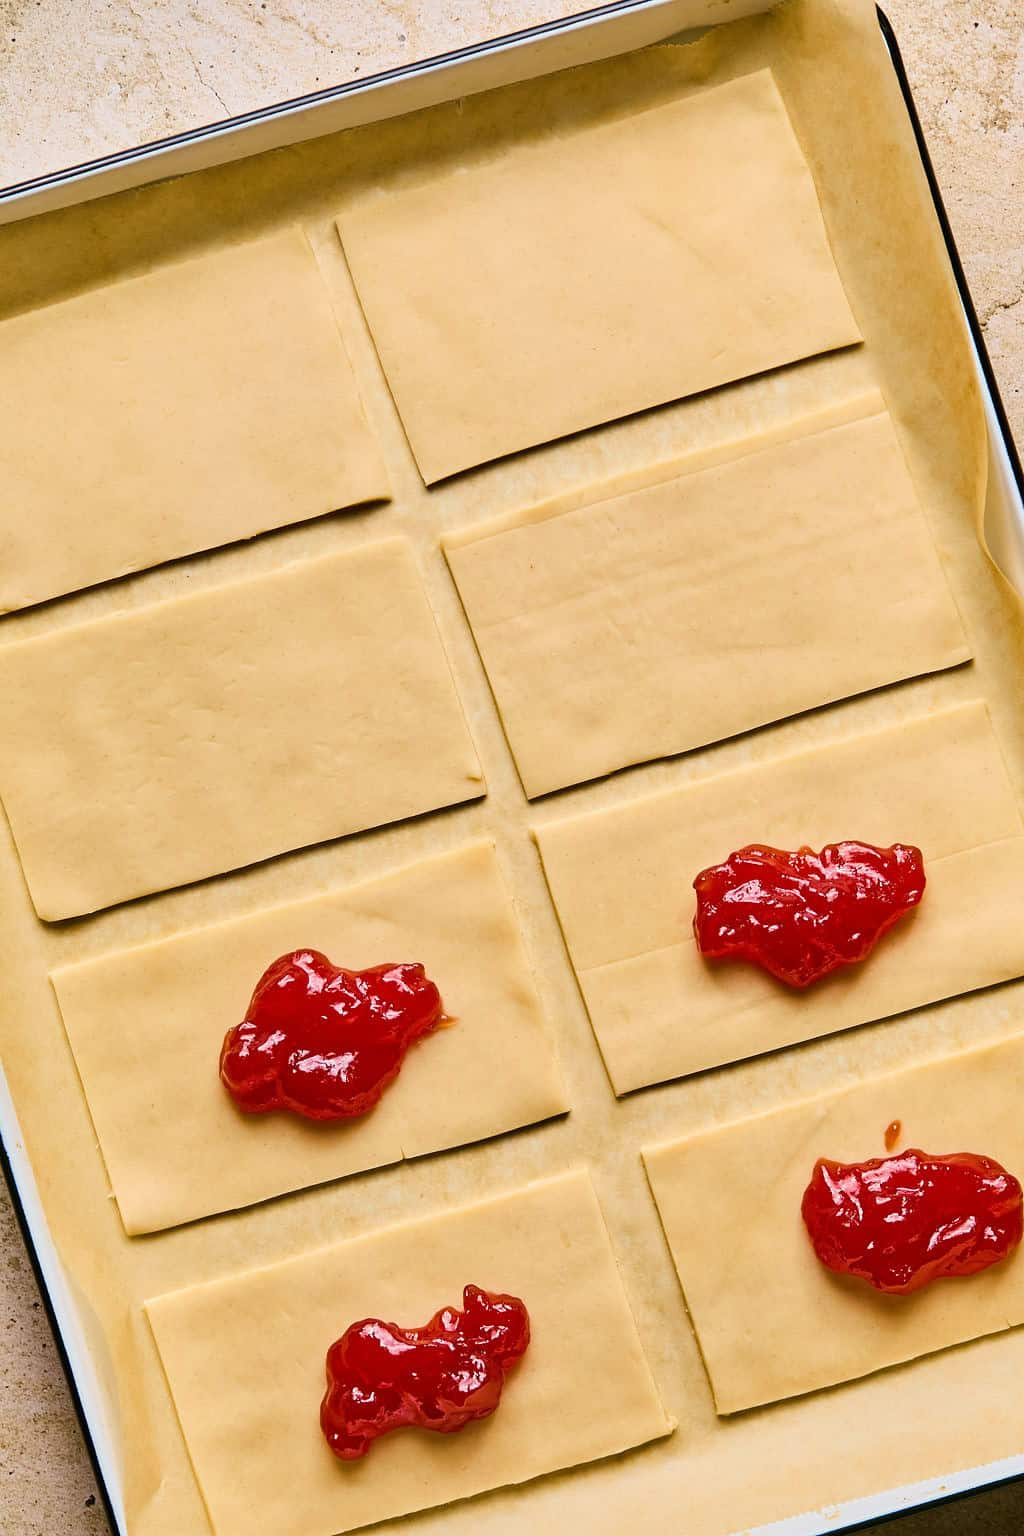
- Place approximately one and a half tablespoons of jam or preserves in the center of each rectangle. You do not need to spread the jam out but just make sure it’s somewhat even.
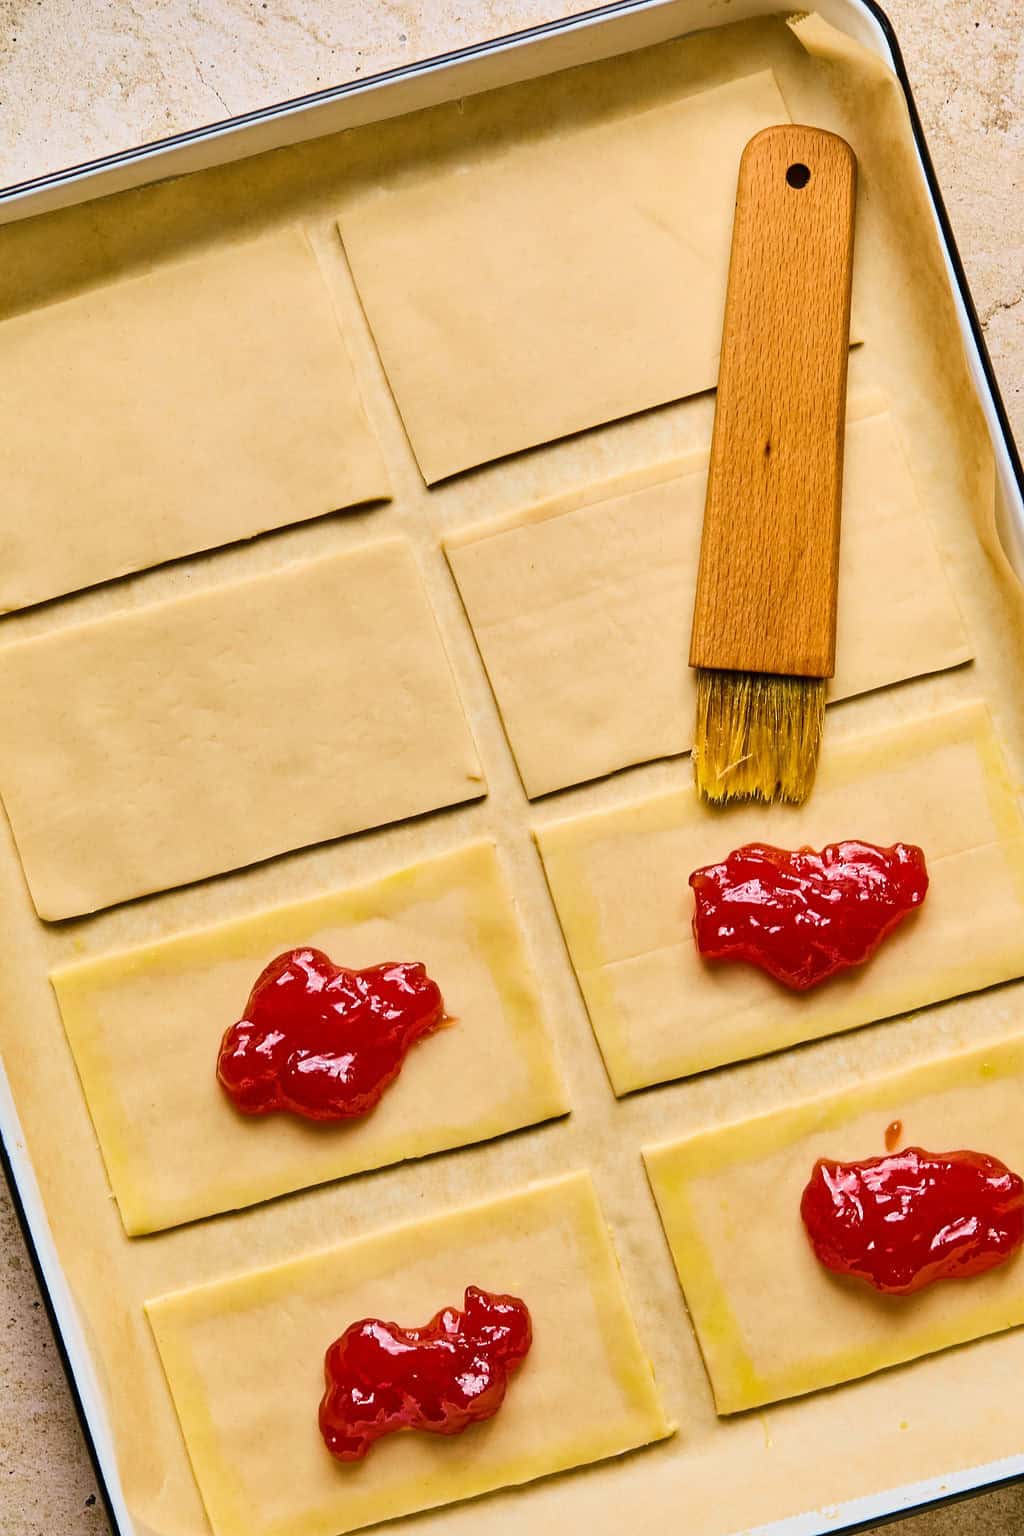
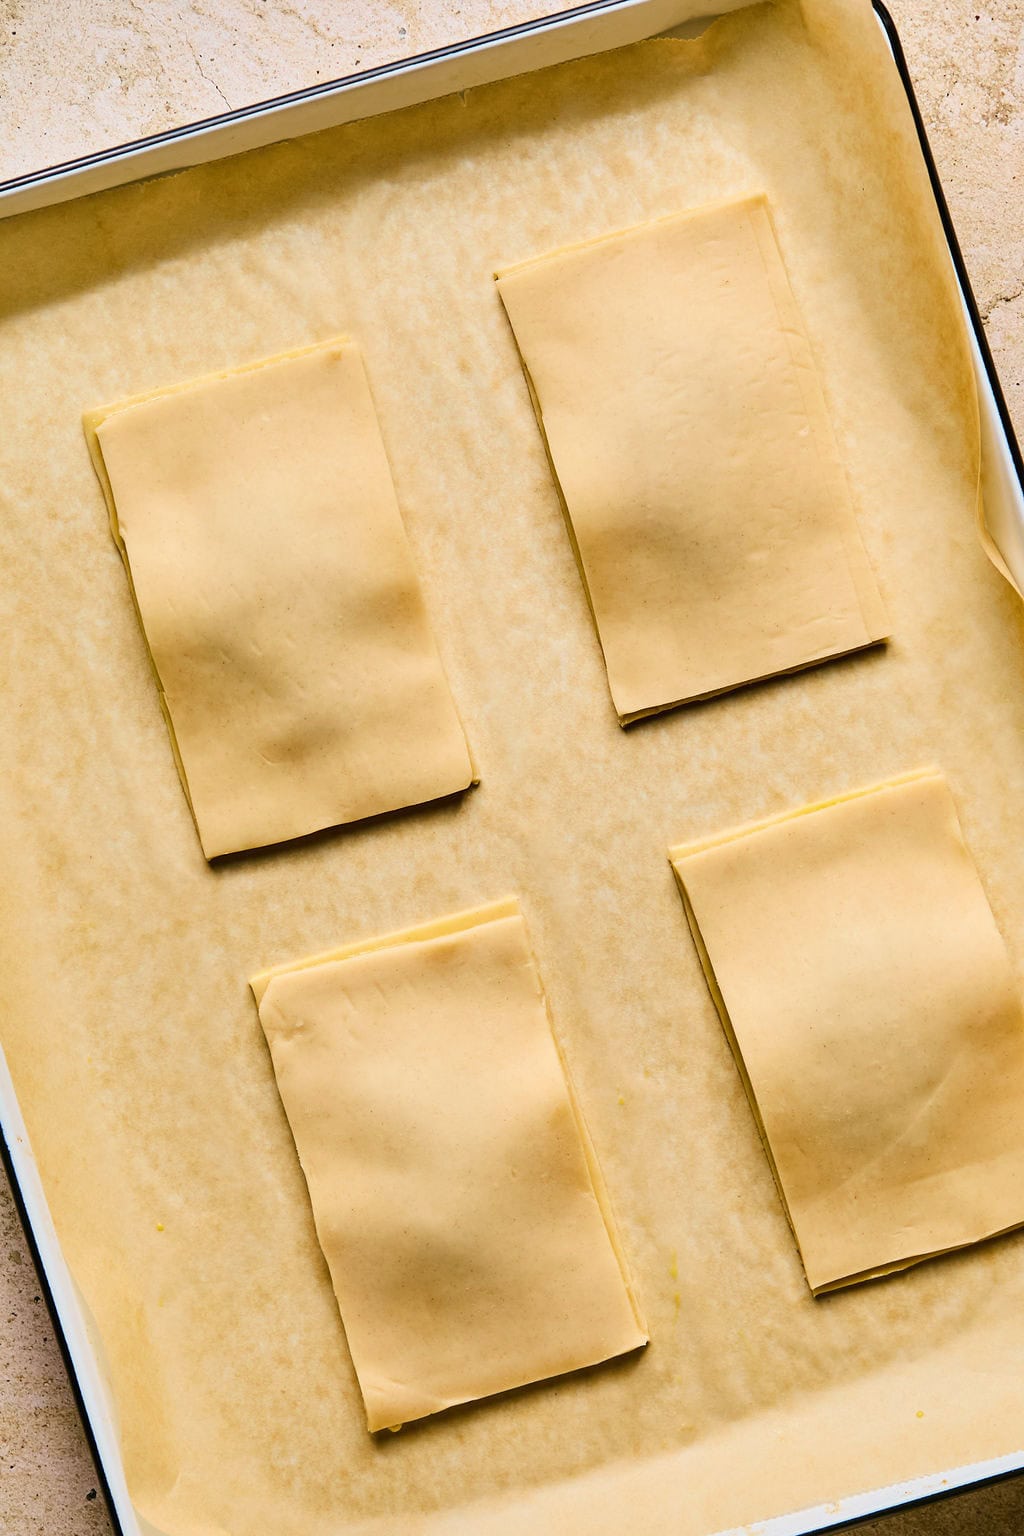
- In a small bowl, whisk the egg well for the egg wash. Using a pastry brush, spread the egg wash on the edges of each rectangle around the jam. Lay the top layer of each pop tart directly over the bottom layer.
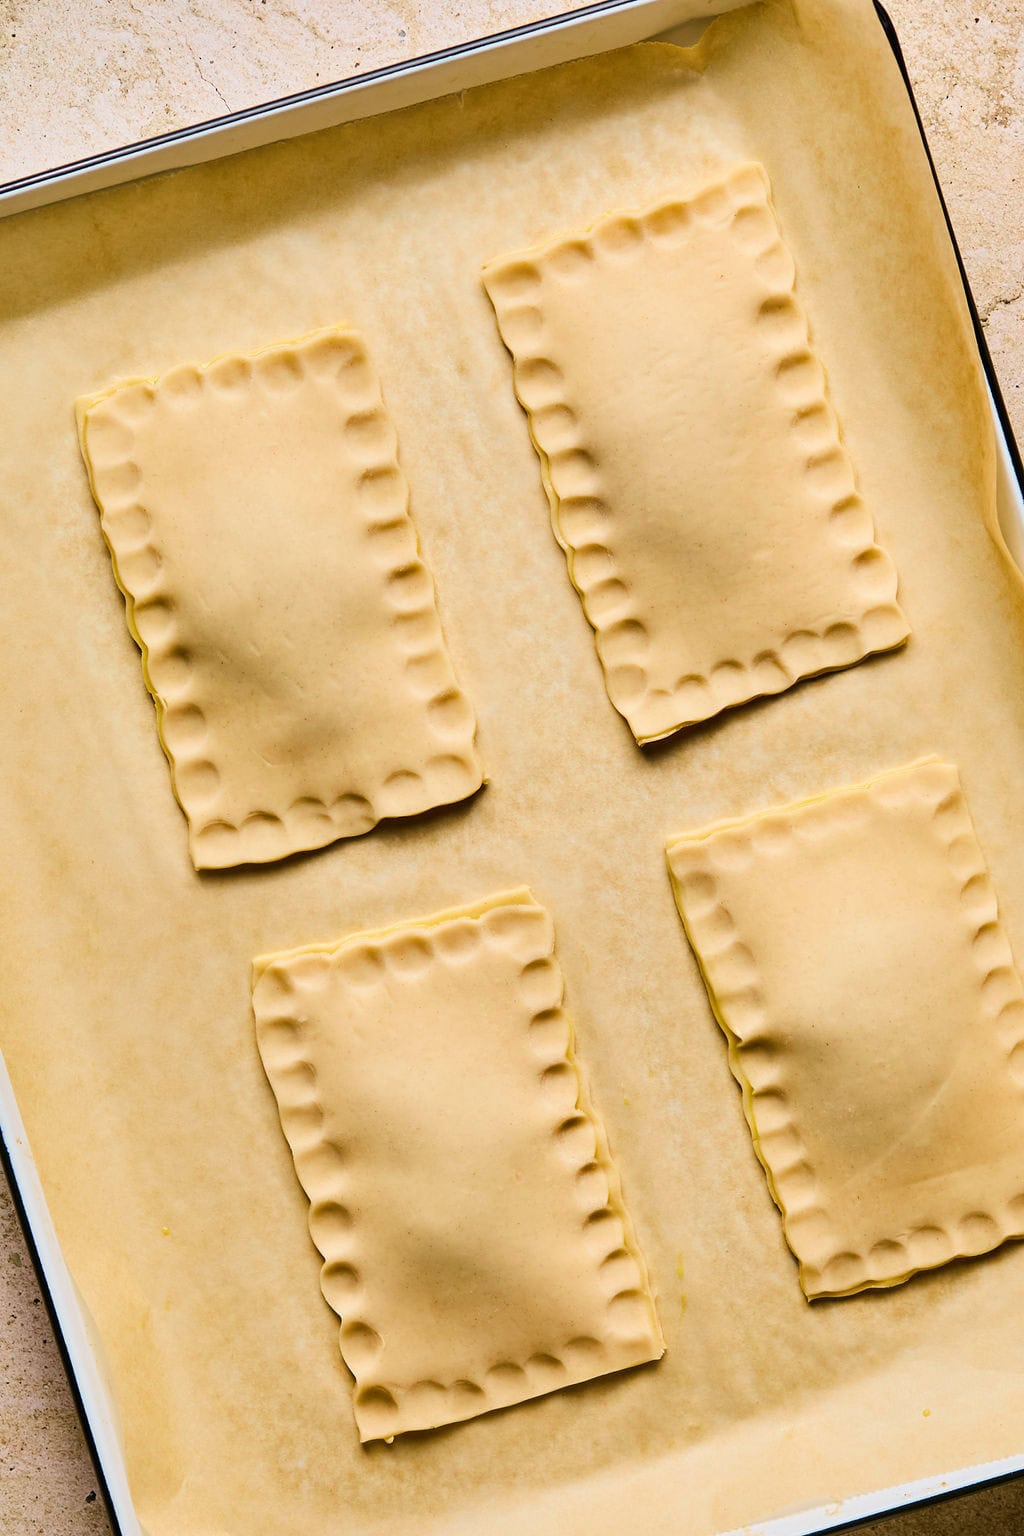
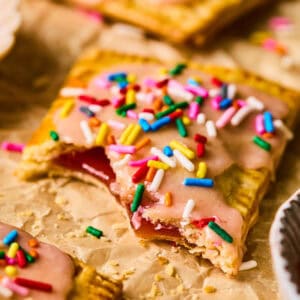
- Using your fingers, crimp together the edges of each pastry to make the two layers into one. This is the key step in my opinion of these homemade pop tarts. The more you can crimp the layers together so that they are fully integrated, the less likely you are to have jam pop out of the edges in any way.
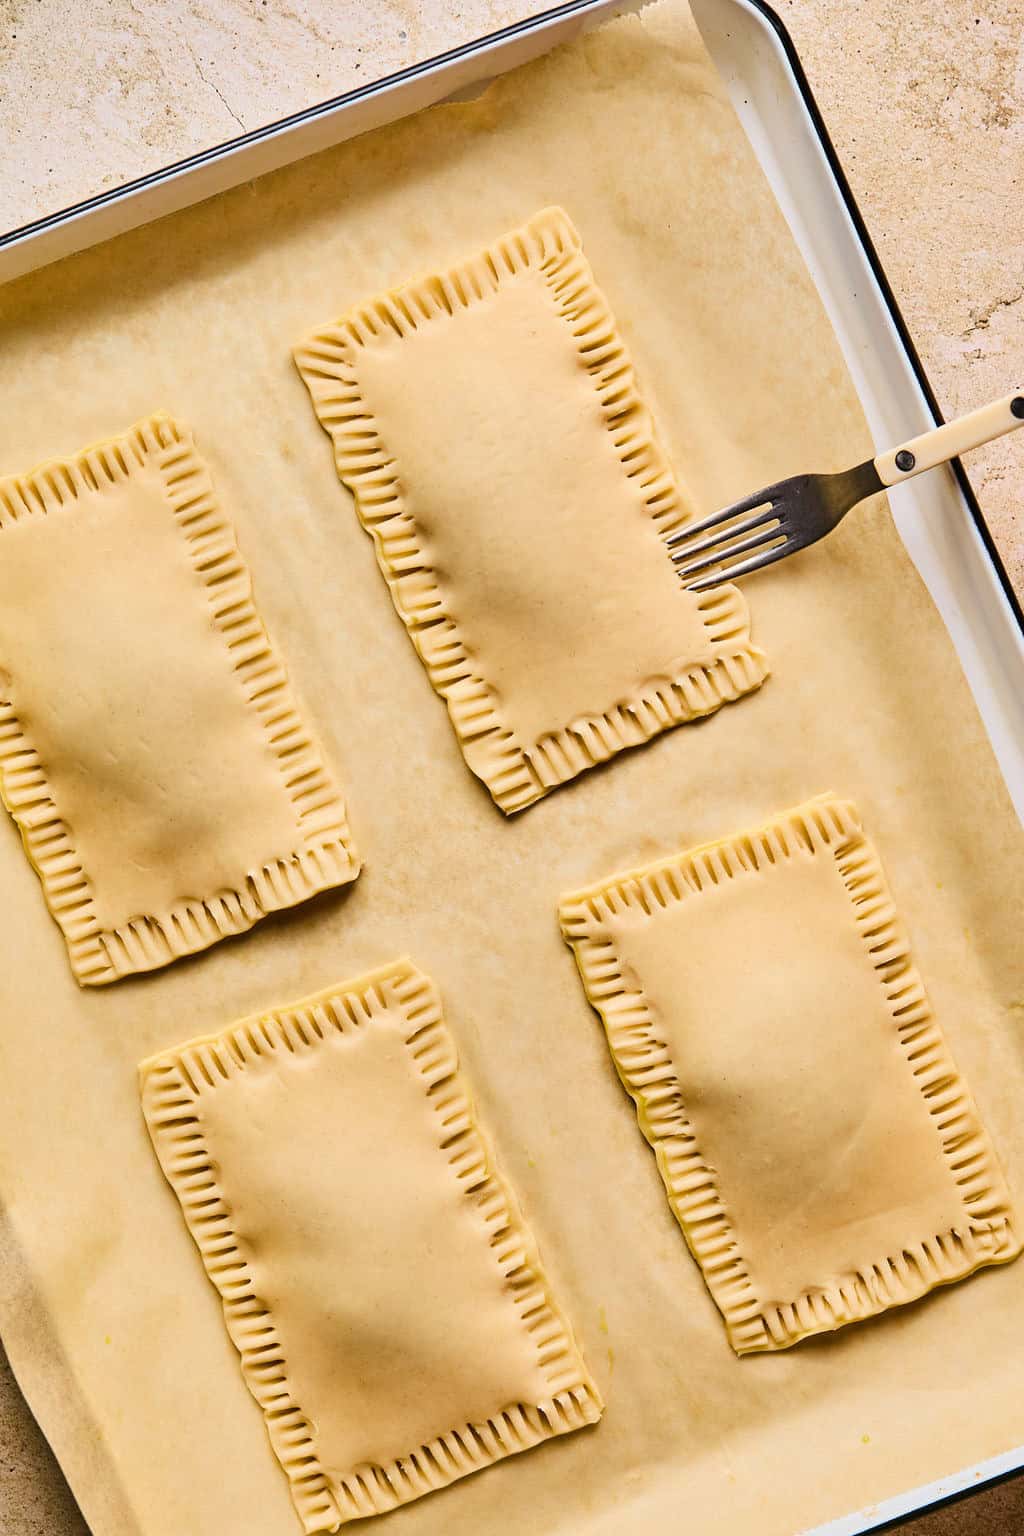
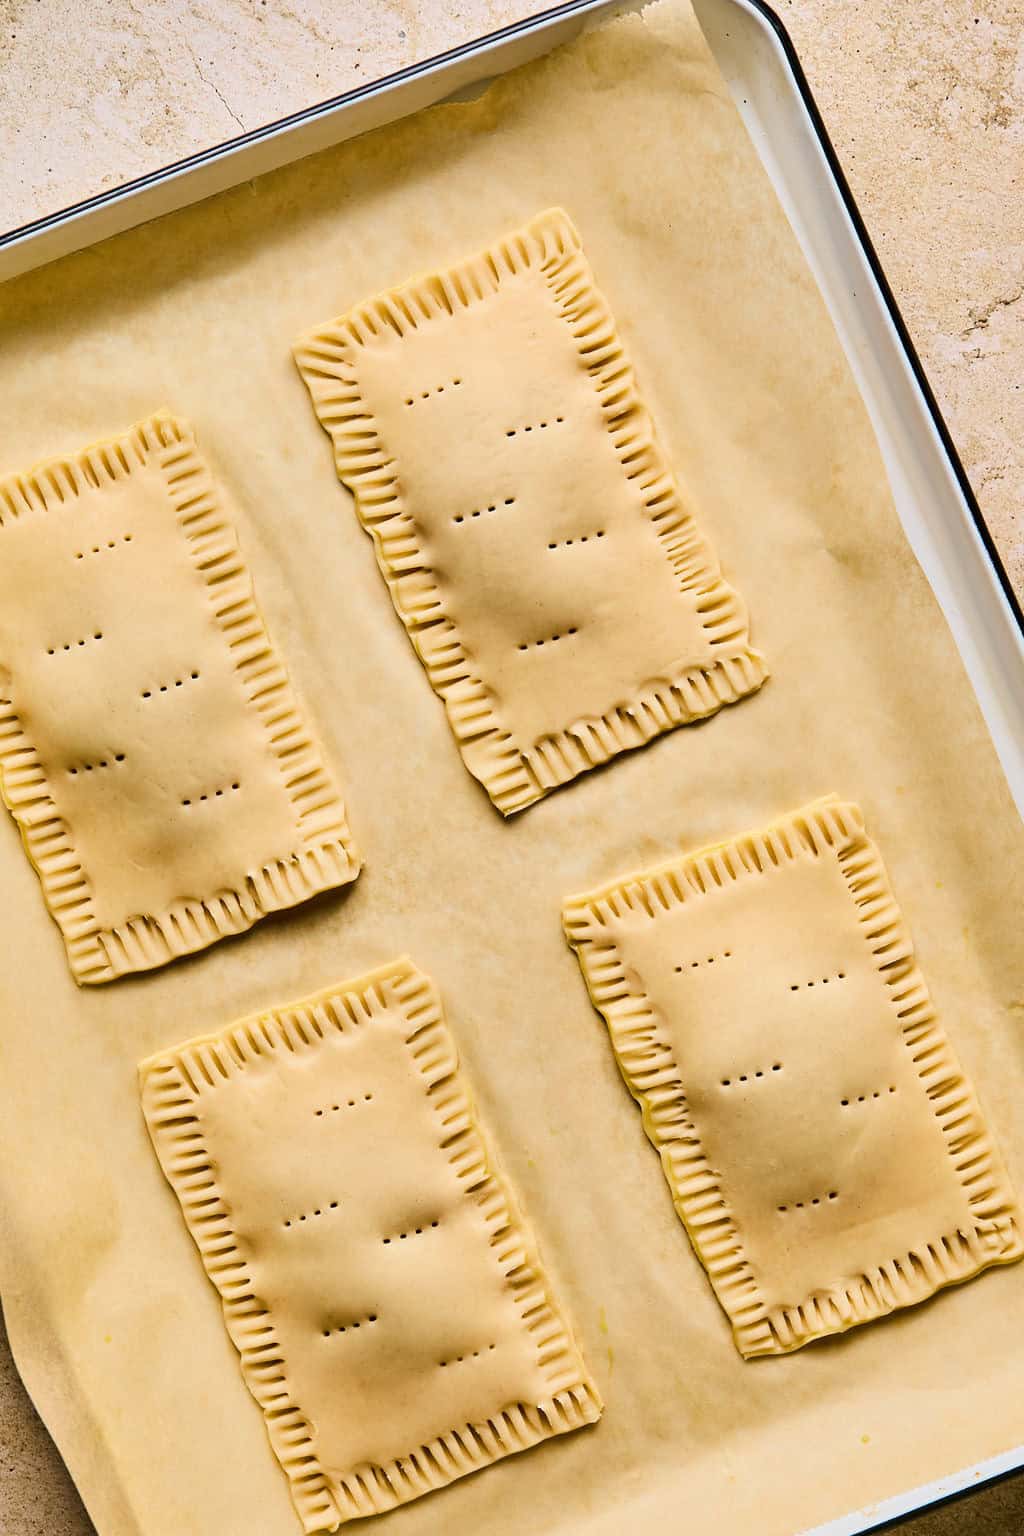
- Using a fork, crimp the edges of each pop tart once again. This gives these the perfect pastry look but also is another way to really seal these together. Poke holes with a fork on the top of each pastry as well.
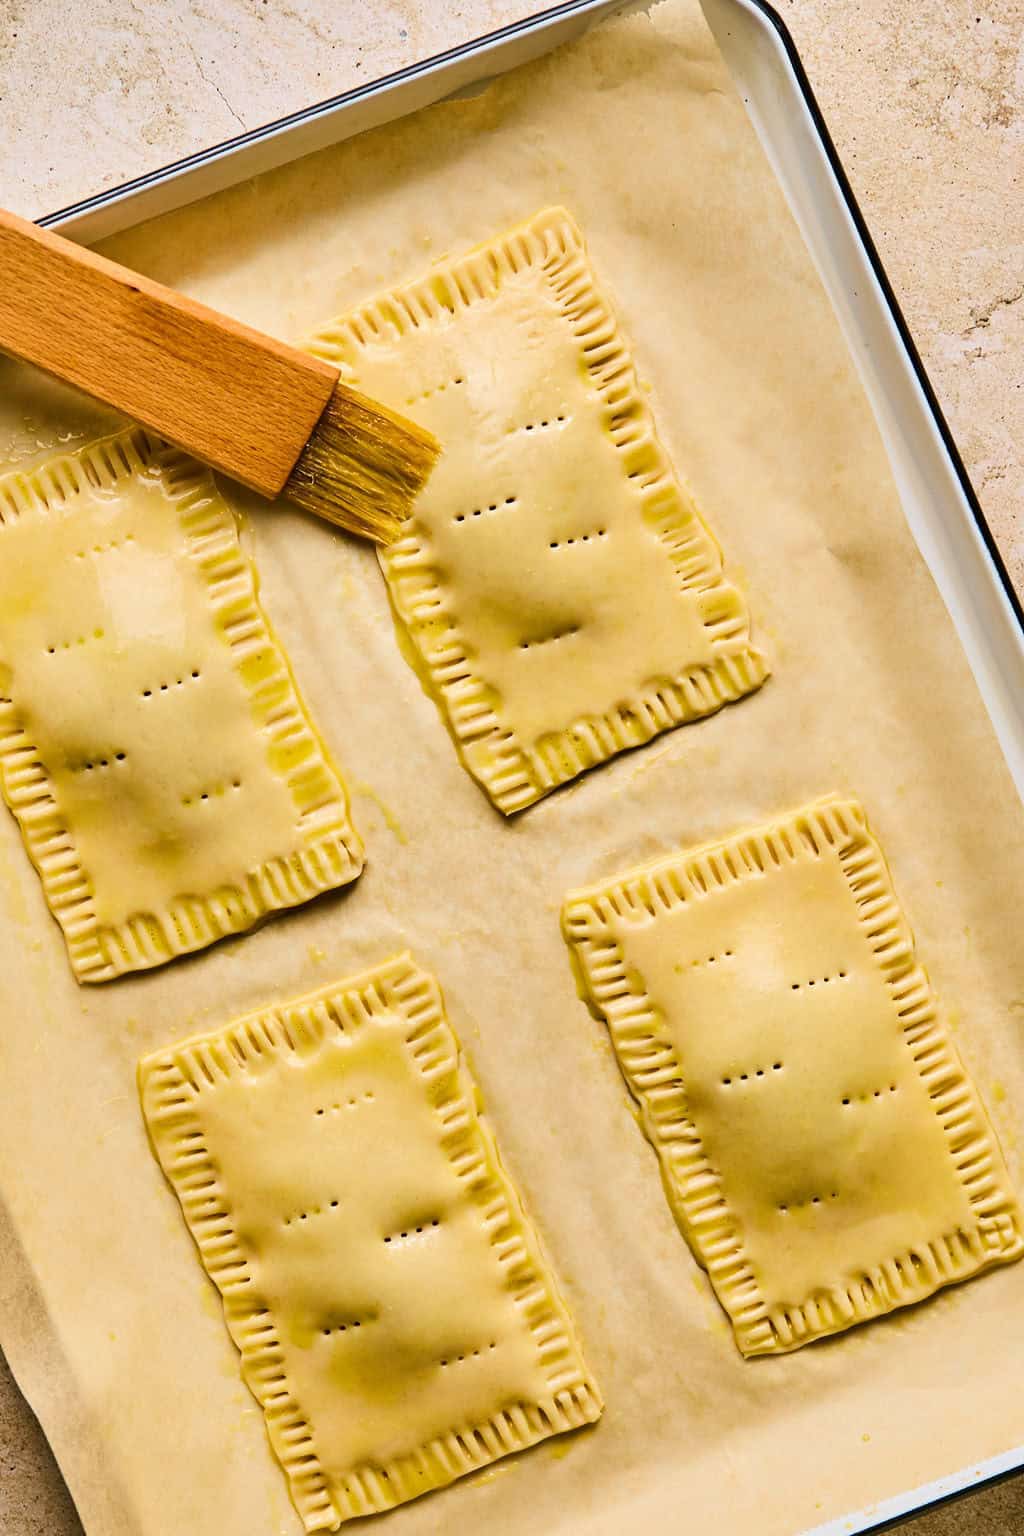
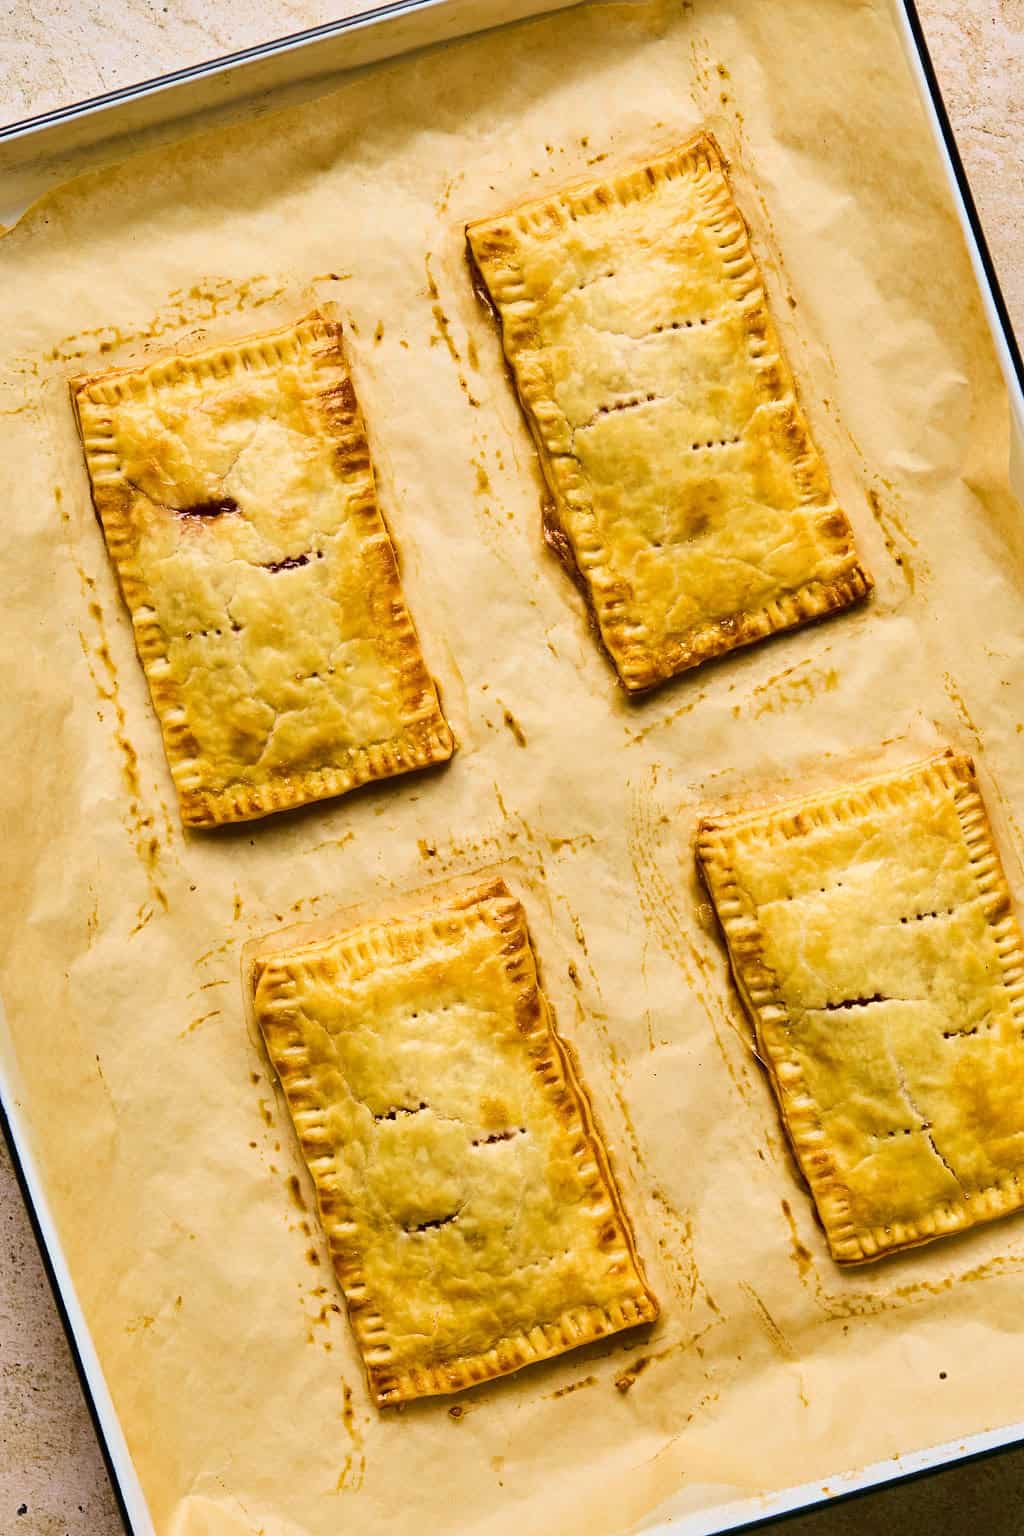
- Cover each of the pop tarts with the egg wash making sure to get all around the edges. Bake in preheated oven 12-15 minutes or until golden brown.
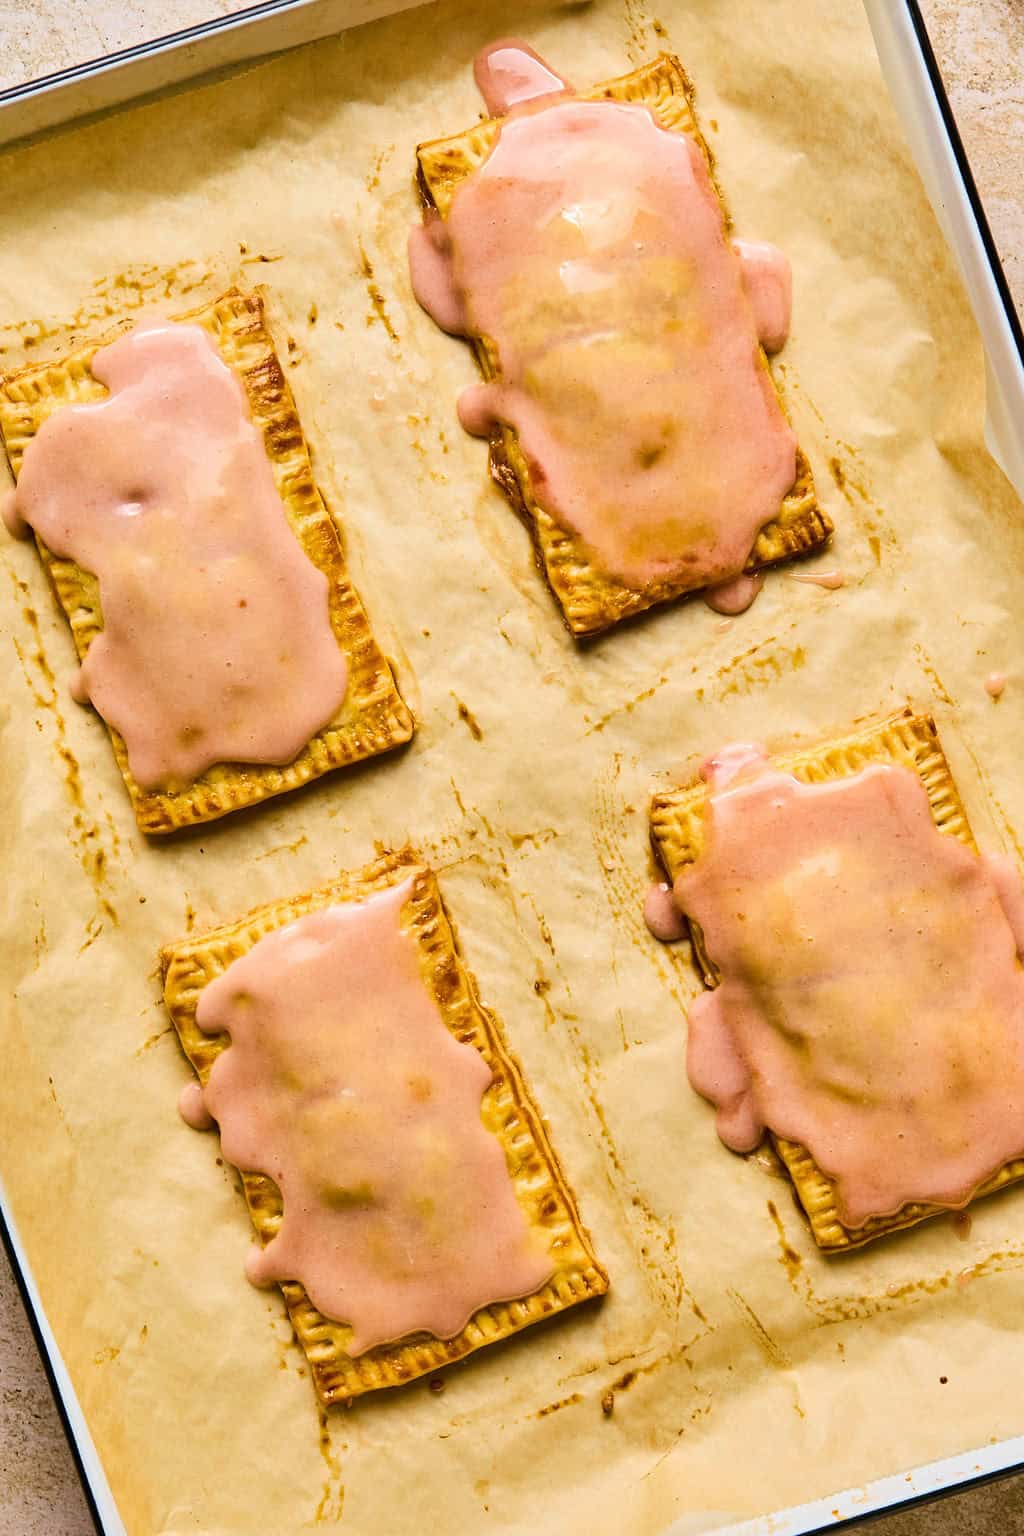
- Wait until these are FULLY COOLED before you ice them. Otherwise the icing will melt right into them.
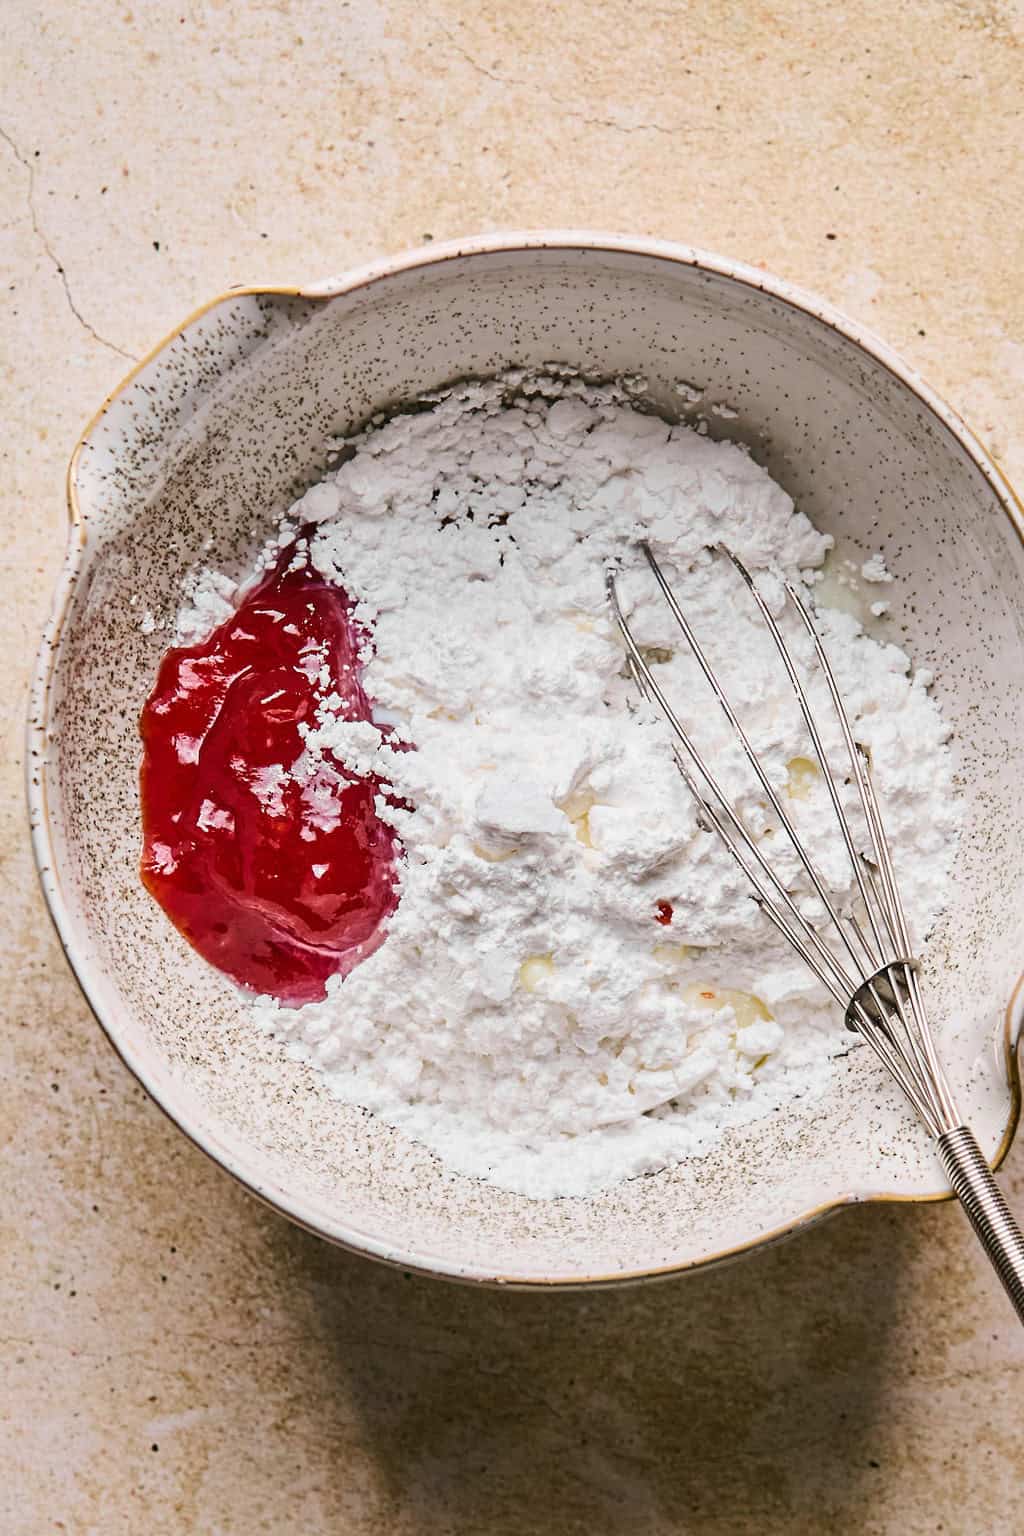
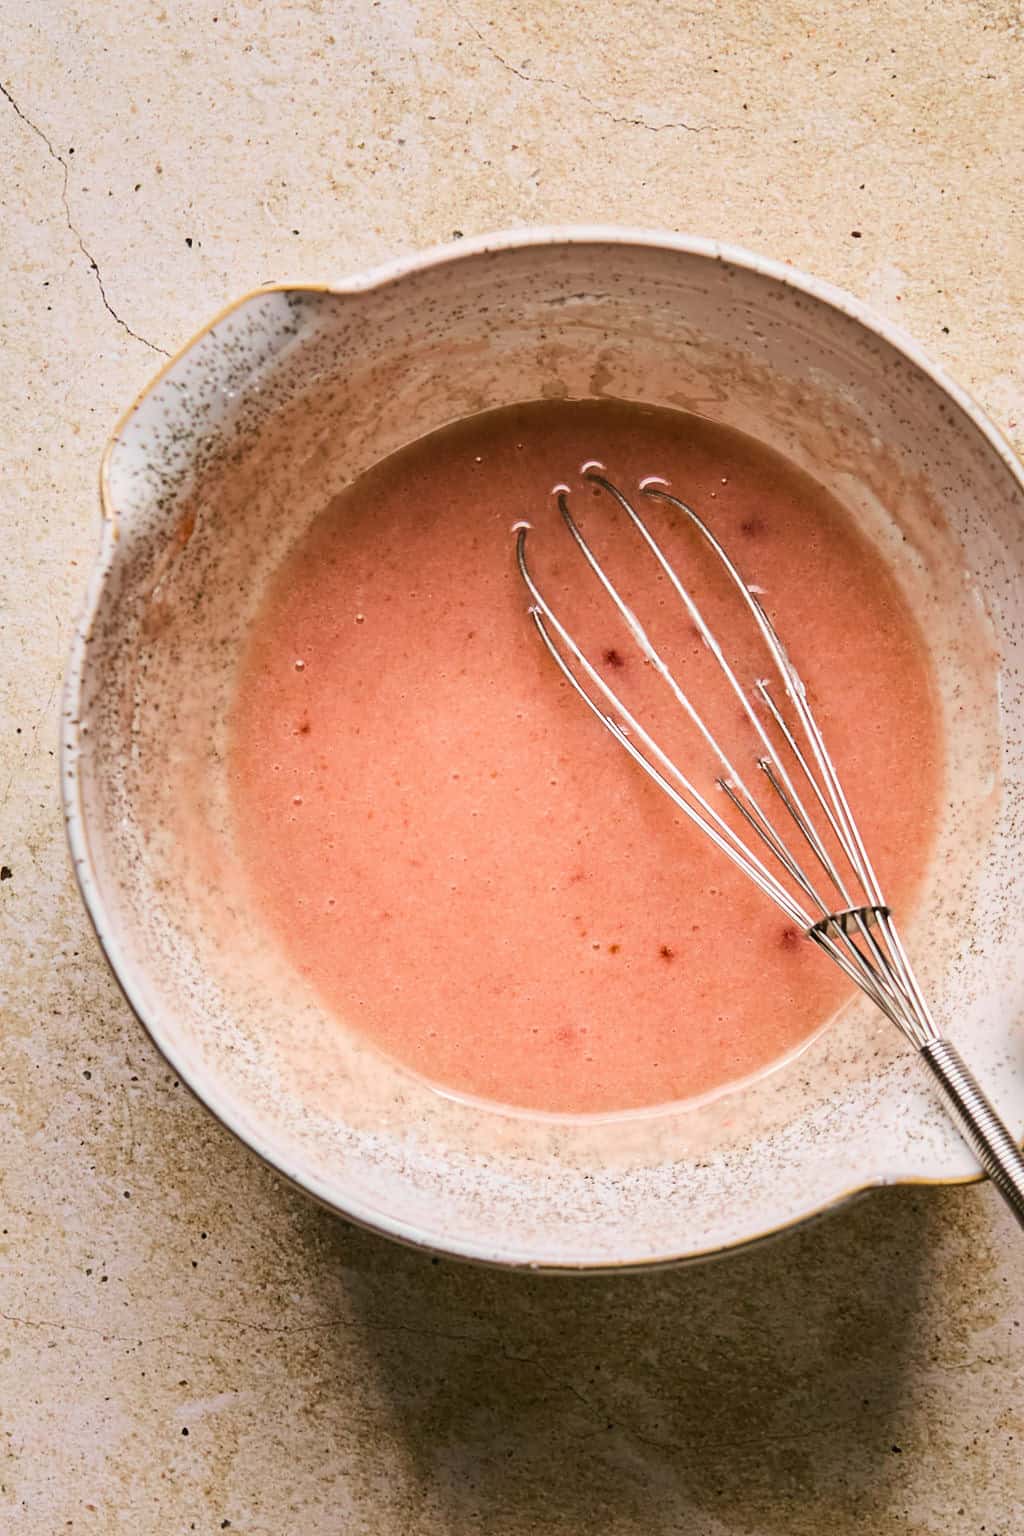
- Whisk together all the frosting ingredients and spread onto each pastry. Add sprinkles on top if desired as well.

Recipe Tips
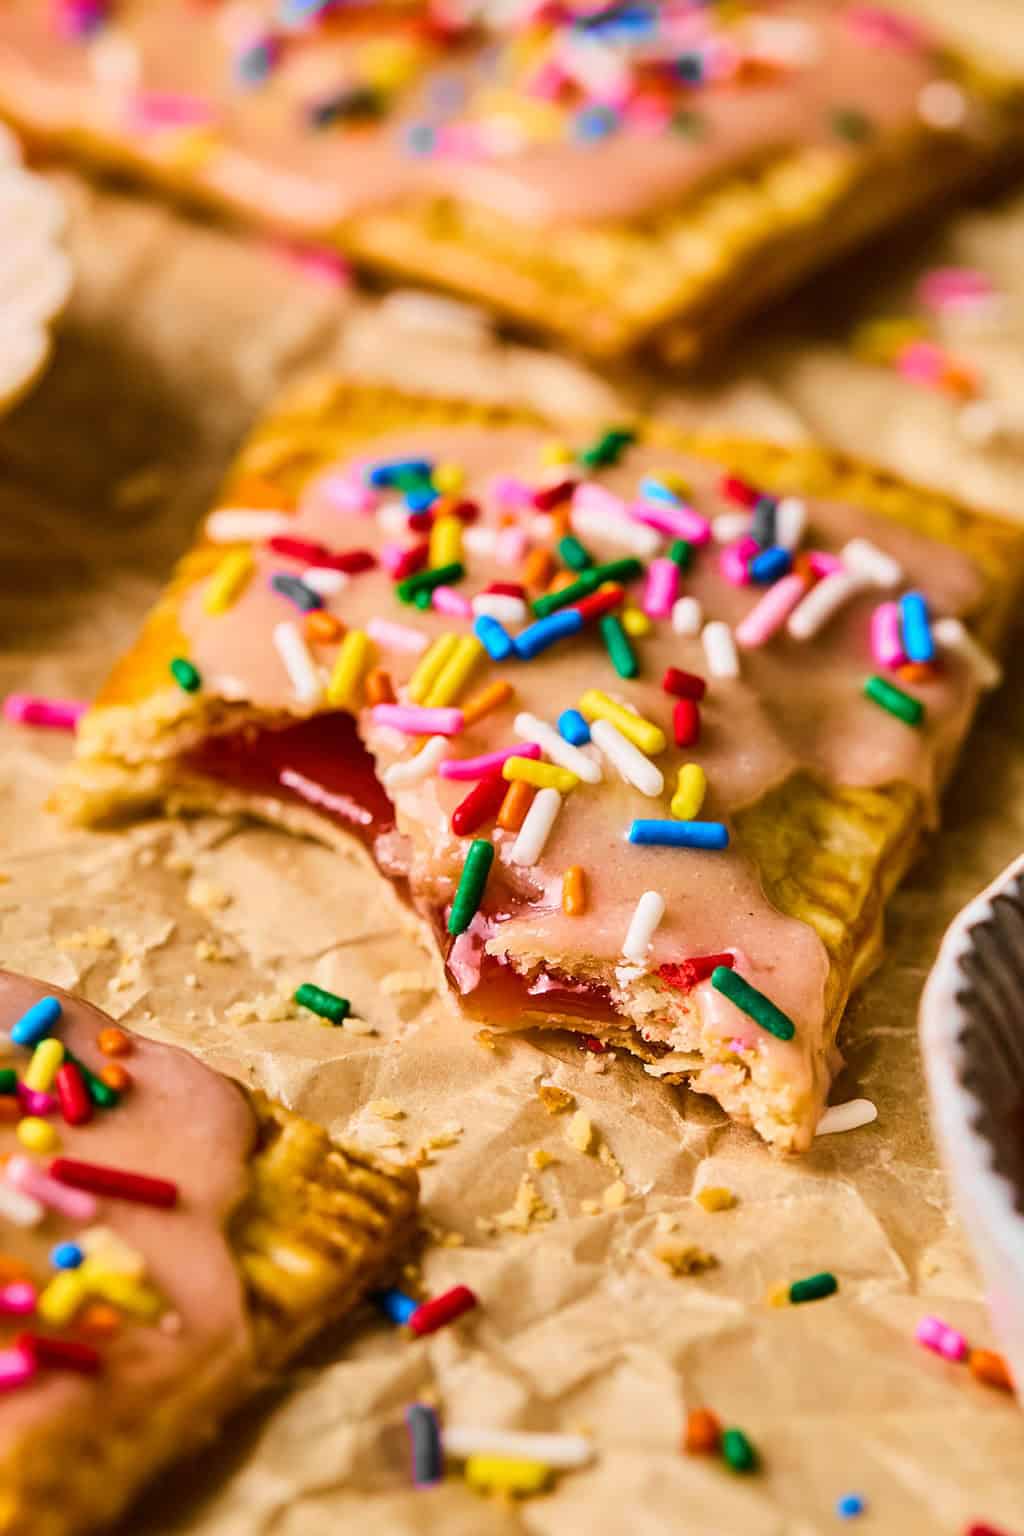
- Filling: You do you right here! Strawberry preserves, blackberry jam, raspberry jam, mixed berry, apricot, raspberry, cherry–try it all! Pictured in this post is strawberry jam. You could whip up some homemade chia jam as well if that sounds like fun! Whatever your flavor for these homemade pop tarts!
- Don’t over fill these. If you do, the jam will find its way out and then they are not quite so pretty. And who wants that?!
- Really work to press the edges closed as best as you can. I pressed mine together and then used the fork–this made a difference.
Storage:
Store these pastries in an airtight container, I like to also wrap them tightly, at room temperature for a couple of days, refrigerated for about 4-5 days and frozen for up to 3 months.
I DO NOT suggest adding these to the toaster to reheat. For best results, bake at 350°F until warm and crispy, or air fry for a few minutes.
Flavor Variations:
- brown sugar cinnamon pop tarts: for the filling, mix about 3/4 cup brown sugar, 2-3 tablespoons softened butter, 2-3 teaspoons cinnamon and add mixture to each pop tart in place of the jam. Omit jam from the icing and add a teaspoon of cinnamon. Yum!
- s’mores pop tart: add some chopped chocolate and marshmallows tot he middle. Frost with marshmallow fluff or chocolate frosting and sprinkle with graham cracker crumbs.
- other possible fillings: lemon curd, Nutella, peanut butter (or pb and j!), your favorite pie filling, blueberry preserves, apple butter, and more!
Try these other breakfast recipes:
- Blueberry Baked French Toast Muffins
- Strawberry Crumble Muffins
- Carrot Cake Baked Donuts
- Triple Vanilla Donuts with Maple Glaze
- Banana Oat Blender Pancakes
HUNGRY FOR MORE? Subscribe to my newsletter and follow me on Facebook, Instagram and Pinterest for all the latest!
Easy Homemade Pop Tarts with Pie Crust
Ingredients
- 1 package rolled pie crust (I used a 2 ct. 7.5 oz pack), or double this homemade crust
- 1 c plus 2 T jam or preserves
- 1 large egg
Icing:
- 1 c powdered sugar
- 2-3 T milk or cream
- 2 T jam
- 1/2 tsp vanilla
Instructions
- Preheat oven to 400°F.
- Lay a sheet of parchment on a baking sheet and unroll crust onto another sheet of parchment. Cut as many pieces of approx. 3 in by 5 in (you could literally use an index card as a guide!) rectangles as you can from each crust. With remaining crust, knead together and then roll out into another large, thin piece (just under 1/4 in.) to cut remaining rectangles. (You can also do this by putting each tart together as you go.)
- Beat the egg for your egg wash in a small bowl. Lay out 8 rectangles on the parchment lined baking sheet. Add 1 1/2 Tablespoons of desired jam. Brush the edges with your egg wash and then place another rectangle on top of the rectangle with the jam. Gently pinch the edges to seal and then using a fork, crimp the edges. Poke some holes in the top of the pop tart and then brush the entire top, including edges, with the egg wash.
- Continue with the rest of the pop tarts. Bake for about 12-15 minutes or until golden brown.
- Once cooled, whisk together icing ingredients and spread over each pop tart. Add sprinkles, freeze dried berries crushed, rose petals (ha, that’s what I used because I didn’t have freeze dried berries) or just eat them as is! Store in an air tight container for up to about 2 days although they are best fresh1
Video
Notes
Nutrition
Nutrition information is automatically calculated, so should only be used as an approximation.
Shop this post:
 Buy Now →
  Buy Now →
  Buy Now →
So, so, so good!! Made these for my family and they loved them!! Took me a bit, as I am a beginner baker but they turned out sooo delicious!!
Does anyone make these and freeze them?