This post may contain affiliate links.
These Mixed Berry Oat Bars are a perfect crumbly treat. Filled with fresh berries, oats, a hint of cinnamon and only about 10 minutes to prep. The perfect dessert or even brunch treat everyone will love!
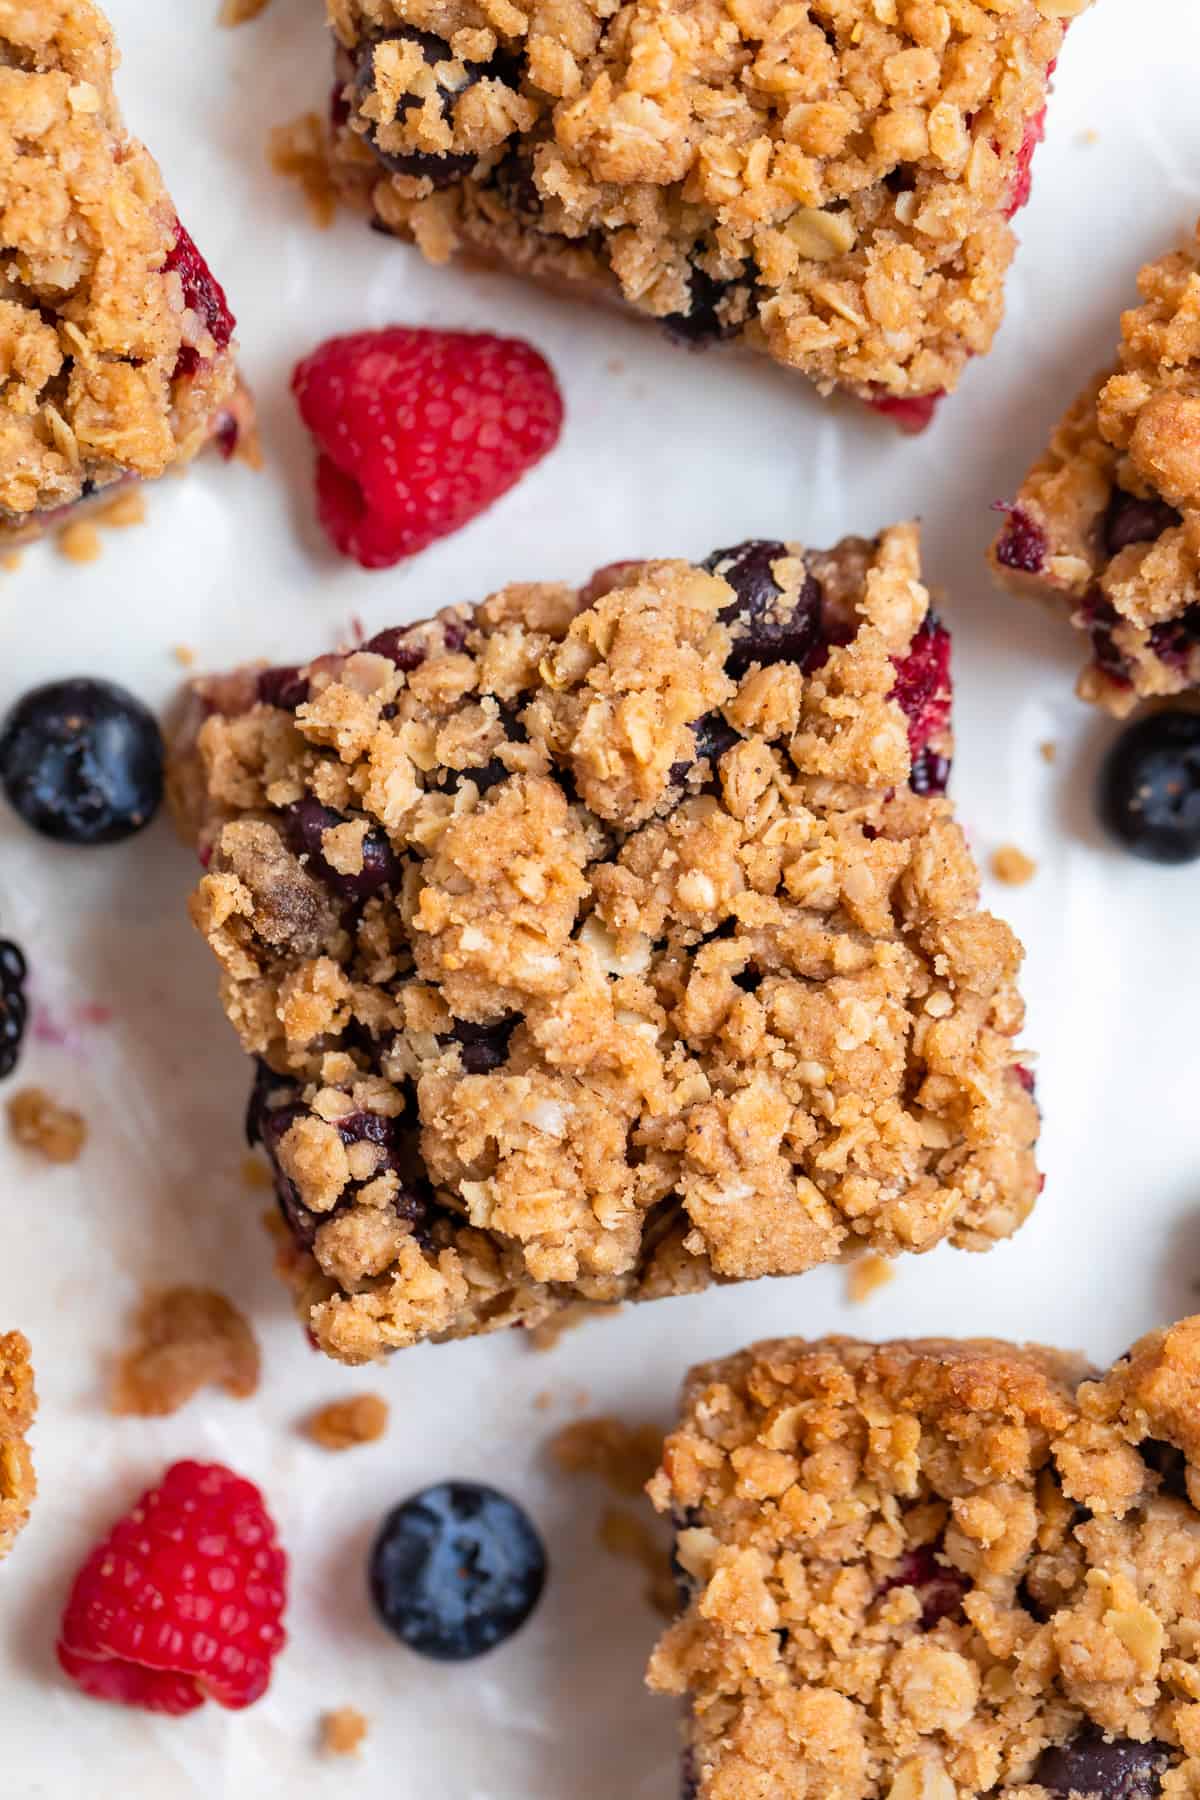
This recipe was originally published June 2016 and updated March 2023.
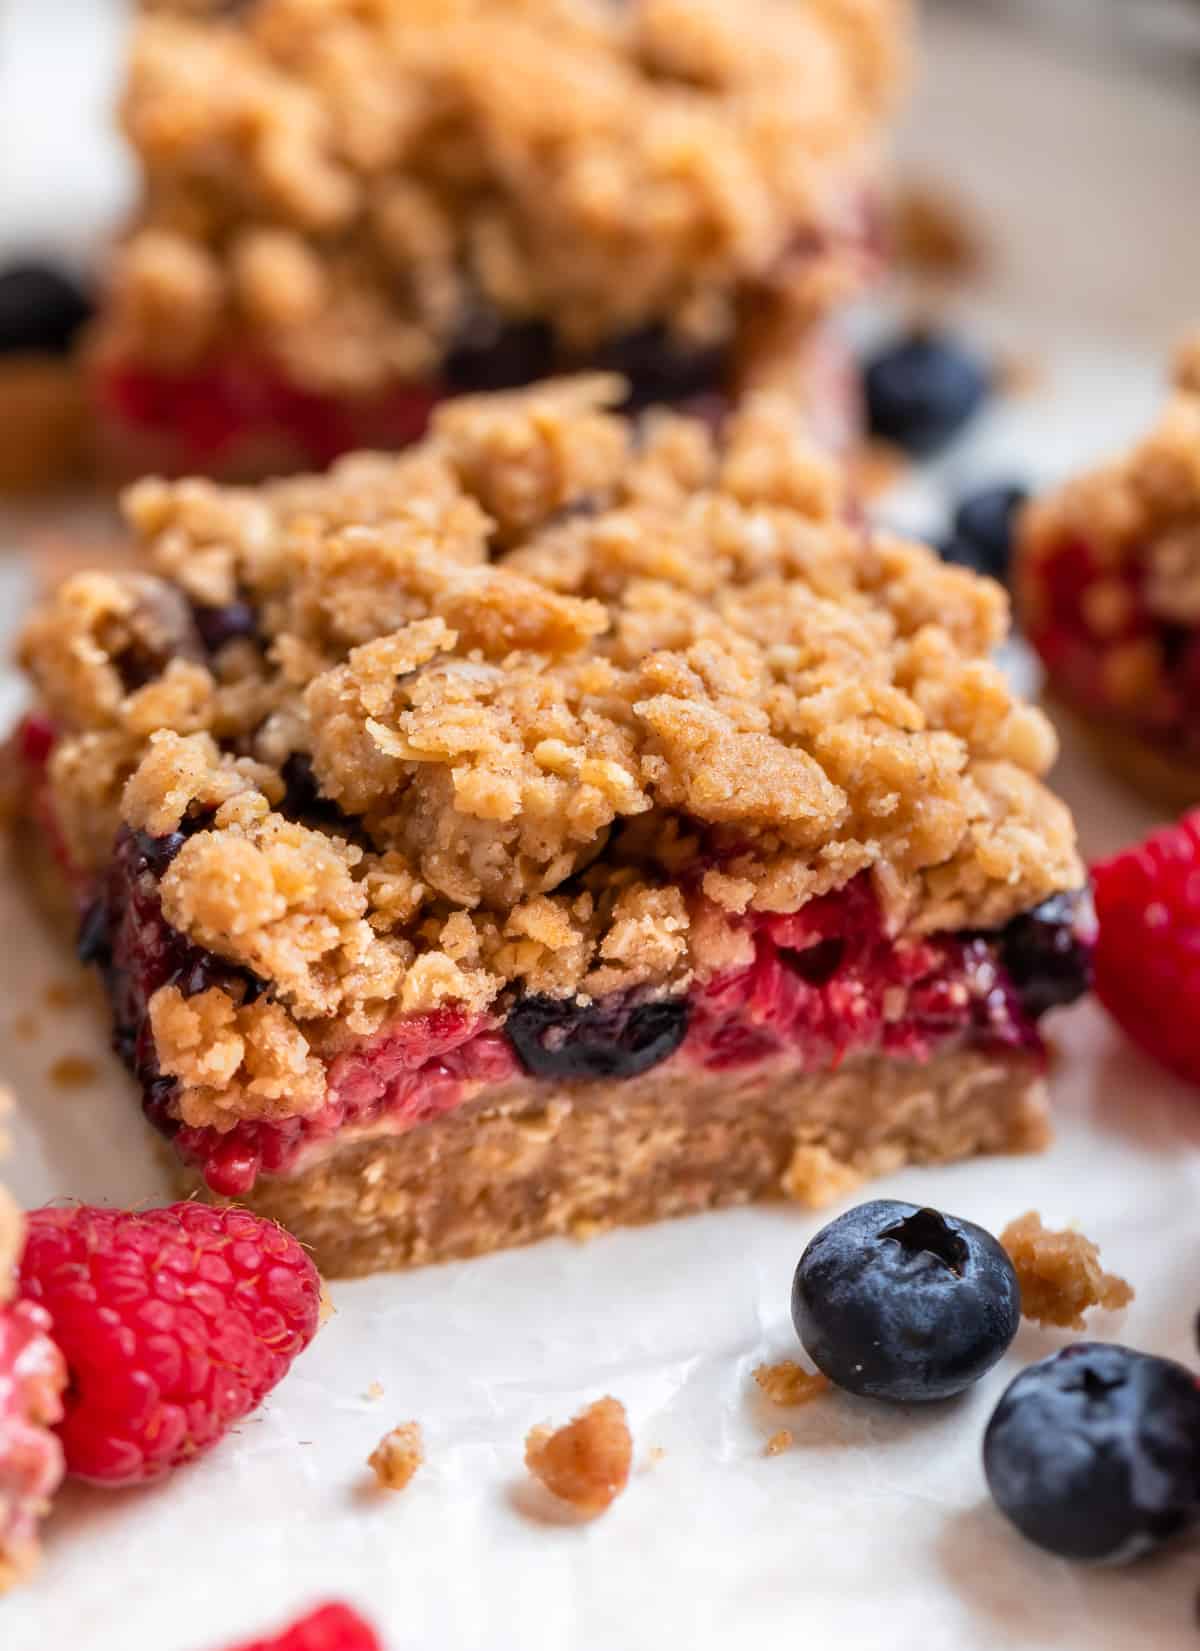
These Mixed Berry Bars are perfect for a treat for summer but thanks to frozen berries, they are the perfect dessert all year long.
When it comes to a good crumble or crisp recipe, I like the crumbly, buttery oat part way more than the fruit section. So these oatmeal bars are my love language. More crumble in every bite. From my Strawberry Crumble to Apple Crumble Bars, you can’t go wrong!
Fruit and oats, right? You really can’t go wrong! I mean, technically that is a good breakfast…
Why You Will Love These Oatmeal Berry Bars:
- Only 10 minutes to prep. This dessert is surprisingly very easy to make. Melt butter, toss everything for the crumble, sweeten the berries and press into pan–that is about it!
- Packed with all the fresh berries. Add any of your favorites or just stick to one. The choice is yours! I typically use blueberries, raspberries and blackberries but sometimes just use whatever I have on hand. Strawberries in the mix are good as well.
- Easily made gluten free. Make sure your oats say certified gluten free and use a 1:1 gluten free all purpose flour and these oat bars are made with no gluten.
- Great for dessert and even a special breakfast! Fruit and oatmeal, right? A special brunch, or even a not so special brunch would be amazing with these berry bars 100%.
- Freezer friendly! We don’t usually have any left in a couple days but I still like to freeze a couple bars for when I have a craving for a berry packed treat.
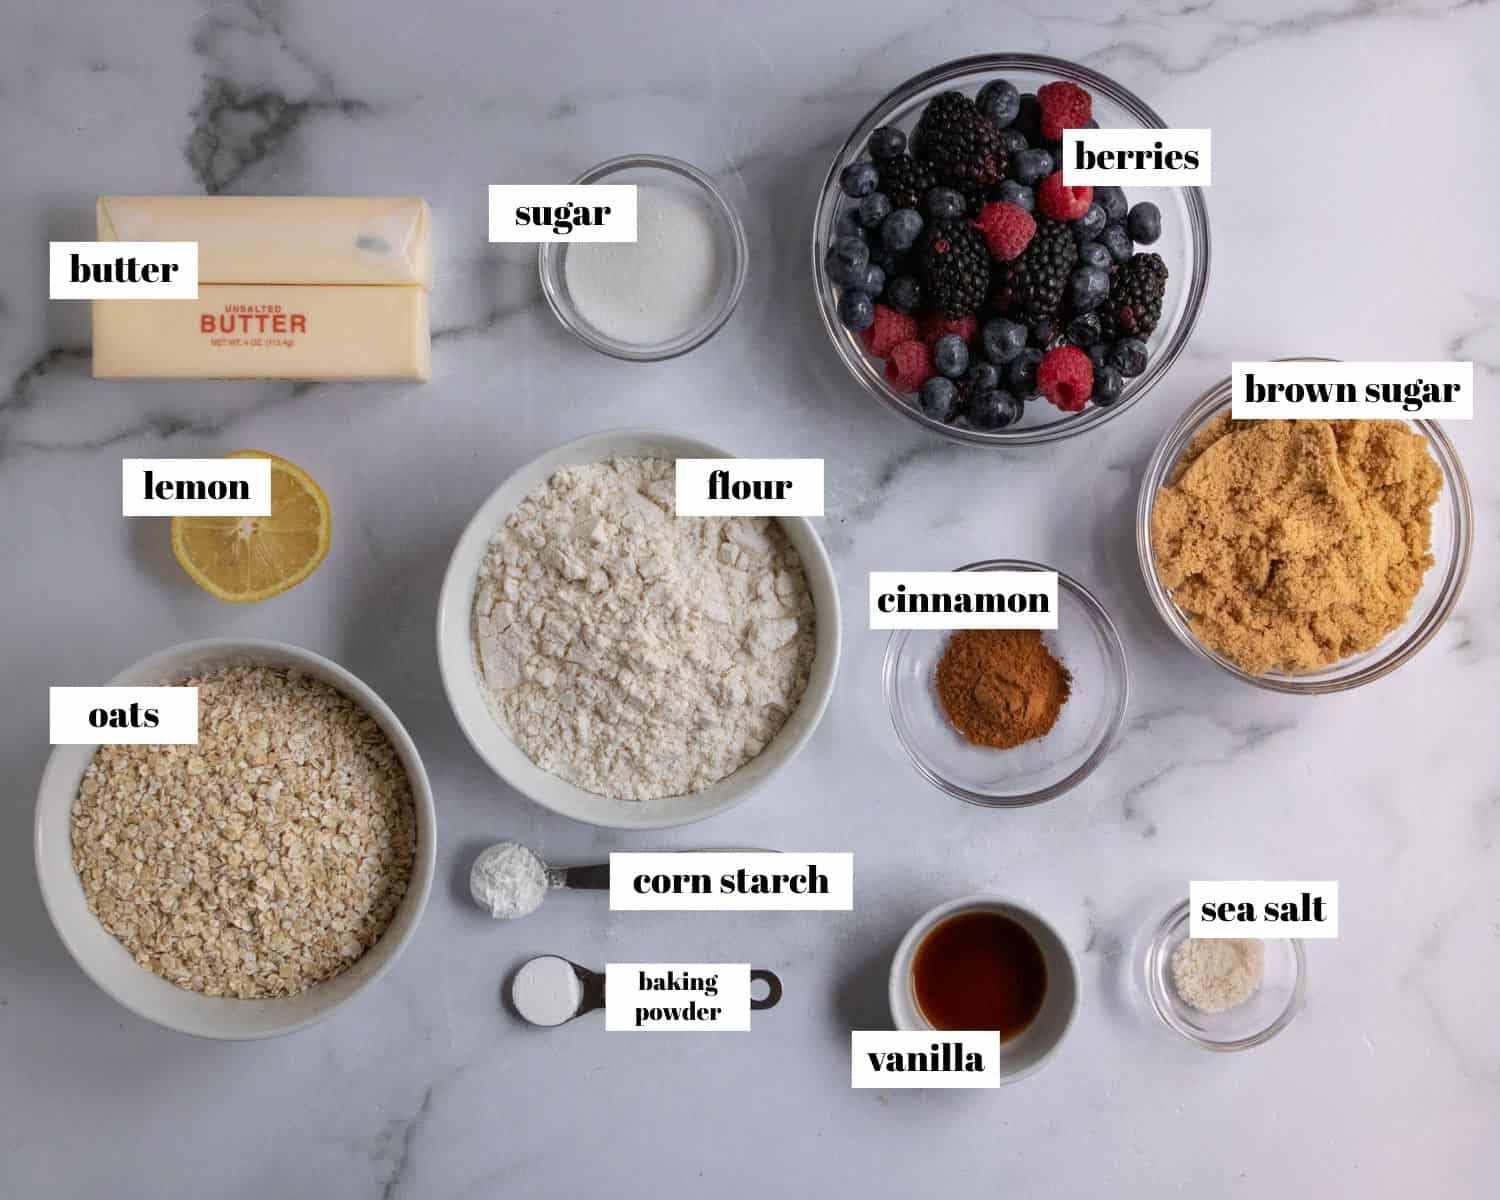
Recipe Ingredients:
- oats: quick oats are ideal for this recipe as they are smaller and broken down a bit. It allows the bars to hold together so much better. I have made these berry crumble bars with rolled oats and they will still work for sure, I just find the quick oats to have a nicer bar form.
- flour: all purpose flour for best results. You can use an all purpose 1:1 gluten free baking flour if desired!
- brown sugar: light brown sugar is what we use. You could use dark brown if you just have that, the flavor will be a bit different.
- cinnamon: a nice level of spice to give the crumble that traditional cinnamon coziness. Feel free to also add a pinch of nutmeg.
- baking powder: Make sure it is fresh!
- salt: We use sea salt, but table salt will work. If you use salted butter, half the amount of salt in the recipe.
- vanilla: extract if possible for the richest flavor.
- butter: unsalted butter, melted and cooled. You can use salted butter a mentioned above and just half the amount of salt.
- berries: any mixture of berries that you love. Fresh is best but frozen will work as well.
- lemon juice: freshly squeezed is ideal. You can also add some of the lemon zest into the berry mixture.
- sugar: white sugar, and depending on the sweetness or tartness of your berries, you can add or lessen the amount you use here.
- corn starch: This will allow the berry mixture to thicken a bit so that they don’t become watery when baking. You could use a bit of flour if you don’t have any.
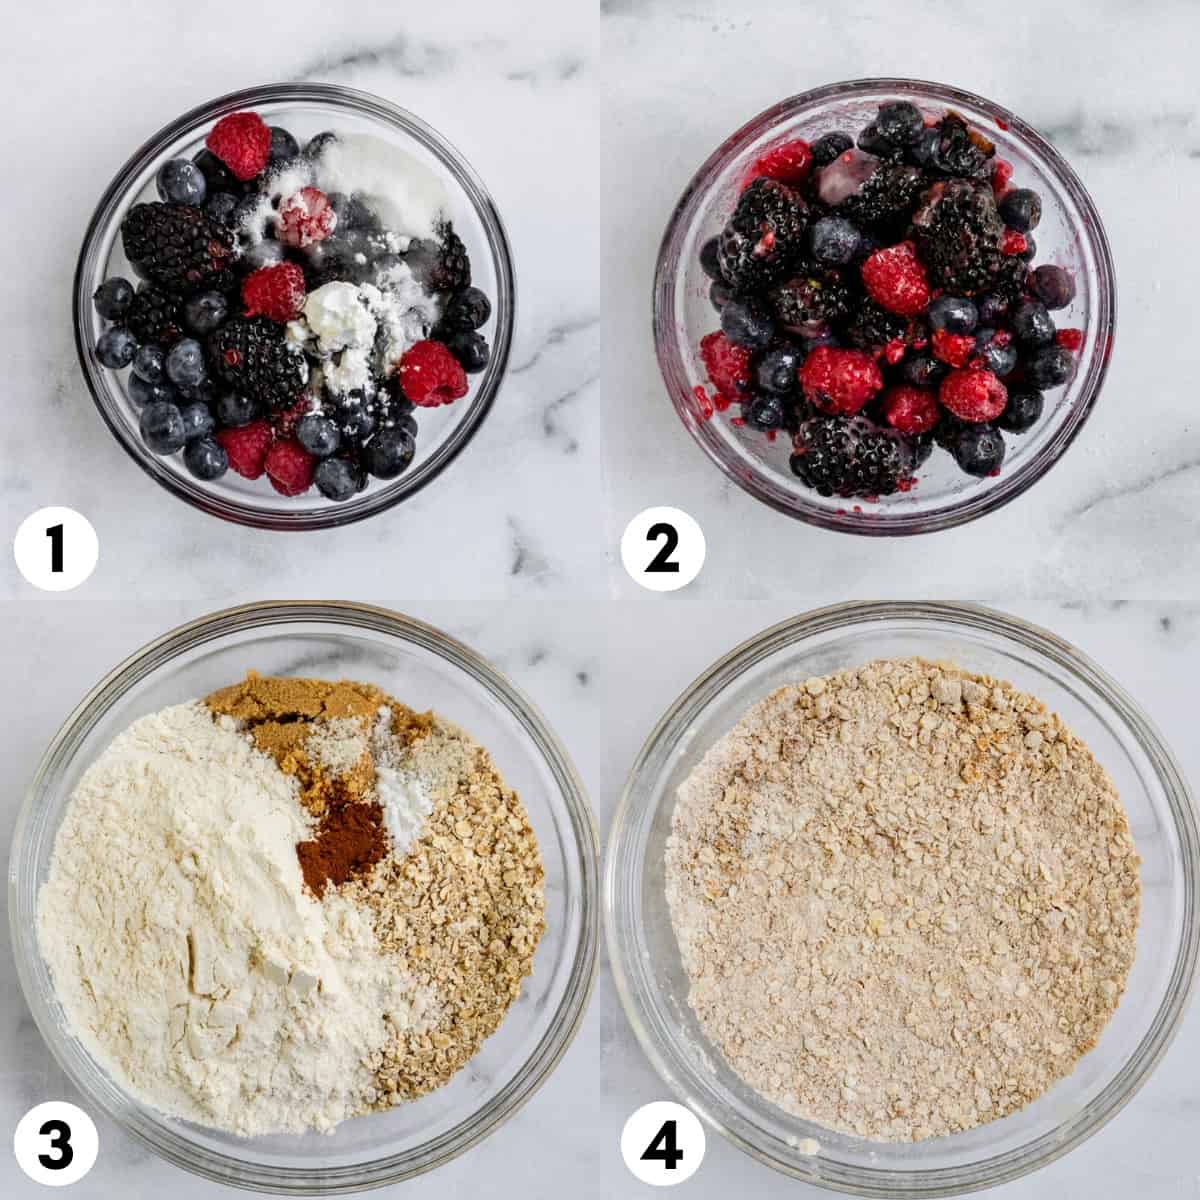
How To Make These Berry Bars:
- Combine the berries, corn starch, sugar and lemon juice in a small bowl and set aside. If you are using frozen berries, thaw before mixing. (steps 1 and 2)
- In a separate medium mixing bowl, combine the oats, brown sugar, flour, sea salt, cinnamon, and baking powder. Whisk to combine. (steps 3 and 4)
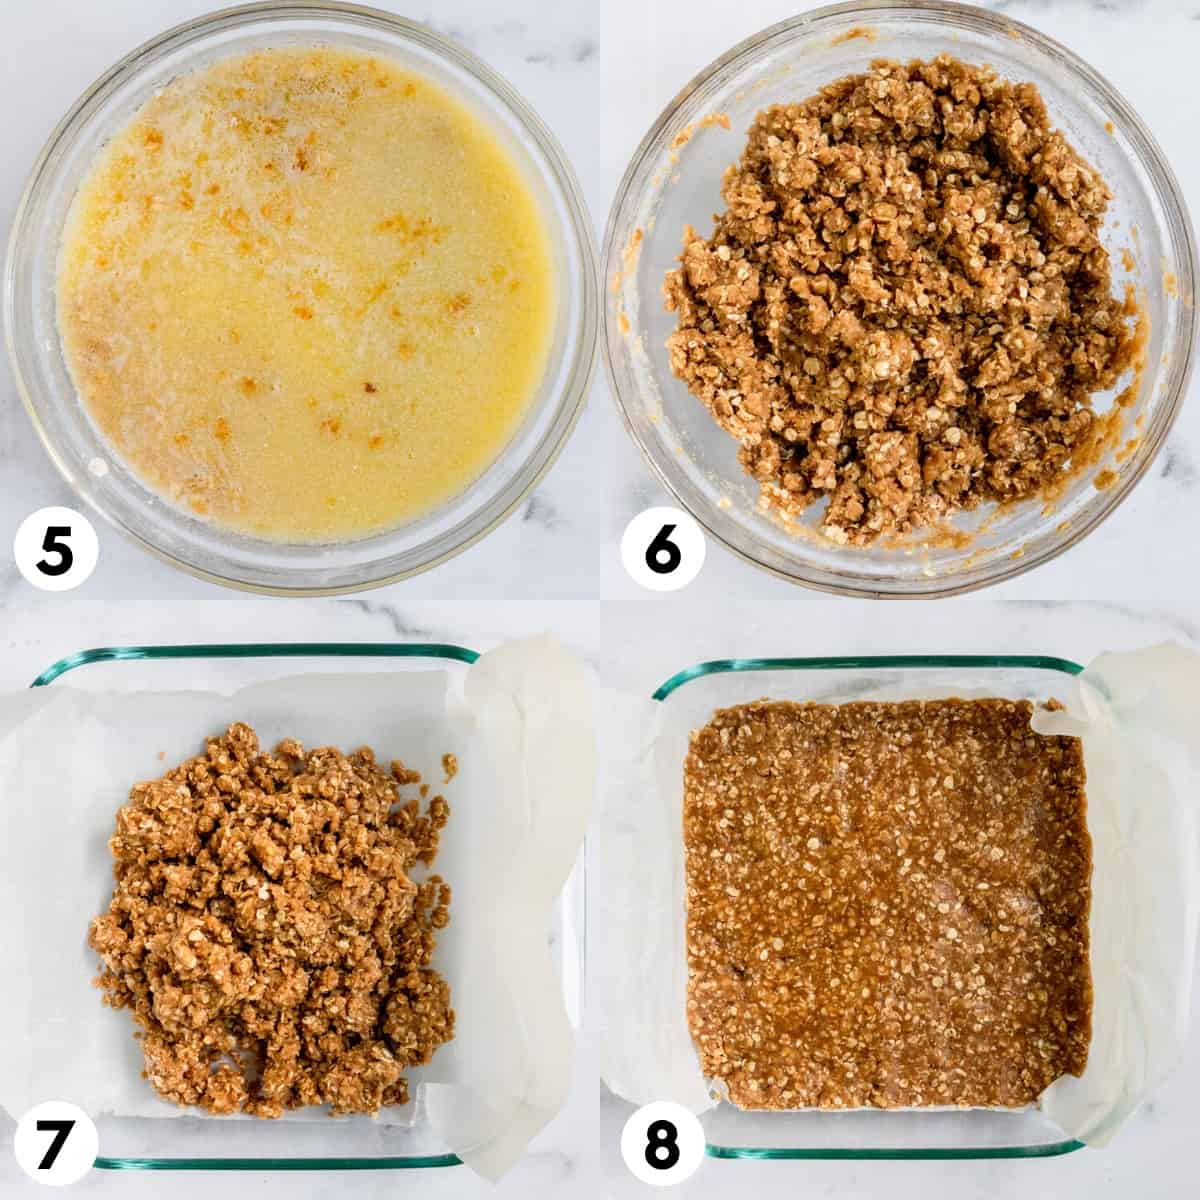
- Add the melted butter and vanilla to the oat mixture and stir well to combine. The mixture will be nice and crumbly. I like to take a spoonful or two for myself at this point–but not too much because I want the bars too! (steps 5 and 6)
- Press about 2/3 of the oat mixture into an 8×8 inch baking pan that is lined with parchment paper. I sometimes even spritz a little oil to the bottom as well. This makes removing the bars super simple in the end. But that is not necessary. (steps 7 and 8)
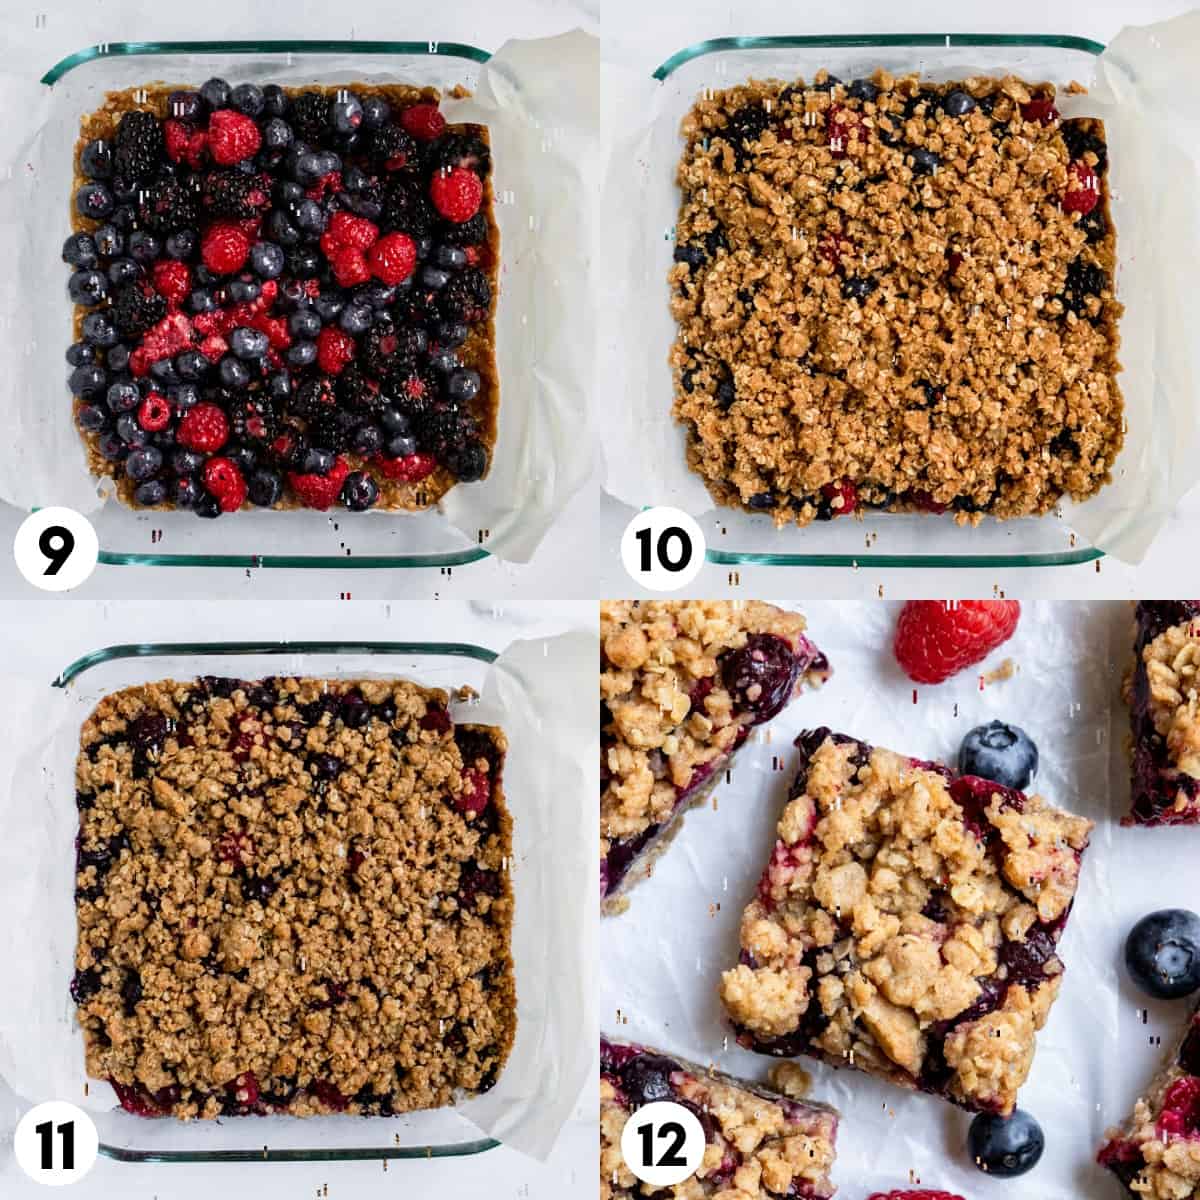
- Pour the berry mixture over the pressed oats and spread them out evenly onto the oats. Sprinkle the remaining oat mixture on top of the berries evenly. Pop the berry bars in the oven–you are almost there! (steps 9 and 10)
- Bake for about 28-32 minutes or until the berries are bubbling and the oat mixture on top is golden brown. Remove from the oven and allow to cool completely before cutting. (steps 11 and 12)
Recipe Tips:
- Adjust the berry sweetness as desired: If your berries are a bit tart, you may want to add another tablespoon or so of sugar. If it’s peak berry season and they are nice and sweet, you may want to half the amount of sugar.
- For easier and cleaner cut bars, refrigerate these berry oat bars for several hours before cutting. This makes for much less of a mess! Run the knife under hot water before slicing and then wipe clean between each cut and rinse again.
- If you aren’t planning to eat them as bars, no need to refrigerate to set. These can be eaten with a fork for sure and if you are not concerned about them holding together well, then for sure, dig in whenever you are ready!
- Serving suggestions: Eat chilled or warm them up before serving. Topped with vanilla ice cream is always a win! You can also top with a big dollop of whipped cream on top. Break the bars into pieces and serve over yogurt or make parfaits.
Storage Instructions:
These oatmeal berry bars will keep in the refrigerator for up to one week in an air tight container. Allow them to sit out for about 15 minutes before serving to allow them to come to room temperature or warm them up in the microwave.
To freeze, allow the bars to cool completely. Slice them and wrap individually or place in an air tight freezer safe container and freeze for up to 3 months.
Other Desserts to Try:
- Zucchini Bars
- Apple Cranberry Crisp
- No Bake Cookie Butter Cookies
- Nutella Crumble Bars
- Peanut Butter Oatmeal Balls
- No Bake Double Chocolate Raspberry Crumble Bars
- Coconut Almond Chocolate Chunk Skillet Cookie
HUNGRY FOR MORE? Subscribe to my newsletter and follow me on Facebook, Instagram and Pinterest for all the latest!
Mixed Berry Oatmeal Bars

Ingredients
- 1 ½ c quick oats
- 1 ½ c flour
- 1 c brown sugar, lightly packed
- 1 c butter, melted
- 1 ½ tsp cinnamon
- 1 tsp vanilla extract
- ½ tsp baking powder
- ½ tsp sea salt
- 2 ½ c mixed berries, fresh or frozen, (thawed if frozen)
- Juice of 1/2 lemon
- 1 tsp corn starch
- 3 T sugar, (more if berries are super tart)
Instructions
- Preheat oven to 350°F.
- In a bowl, mix together sugar, lemon juice, berries and corn starch and mix to combine. Set aside.
- In a separate bowl, combine oats, flour, brown sugar, cinnamon, sea salt, and baking powder and whisk together.
- Add in melted butter and vanilla and stir to combine. Mixture will be somewhat crumbly, and that is ok.
- In an 8×8 in. pan, lined with parchment, press 2/3 of the oat mixture firmly into the pan. Add the berry mixture on top to cover evenly.
- Sprinkle over the rest of the oat mixture to cover the berries.
- Place in the oven and bake for 28-32 minutes or until berries are bubbling and oats on the top are browned.
- Allow to cool completely before cutting.
- Enjoy!
Notes
- Adjust the berry sweetness as desired: If your berries are a bit tart, you may want to add another tablespoon or so of sugar. If it’s peak berry season and they are nice and sweet, you may want to half the amount of sugar.
- For easier and cleaner cut bars, refrigerate these berry oat bars for several hours before cutting. This makes for much less of a mess! Run the knife under hot water before slicing and then wipe clean between each cut and rinse again.
- If you aren’t planning to eat them as bars, no need to refrigerate to set. These can be eaten with a fork for sure and if you are not concerned about them holding together well, then for sure, dig in whenever you are ready!
- Serving suggestions: Eat chilled or warm them up before serving. Topped with vanilla ice cream is always a win! You can also top with a big dollop of whipped cream on top. Break the bars into pieces and serve over yogurt or make parfaits.
Nutrition
Nutrition information is automatically calculated, so should only be used as an approximation.
Shop This Post:
 Buy Now →
  Buy Now →
  Buy Now →


I made them and came out good but stuck to the parchment paper, next time I would do them with foil. Also they got very soft once outside the fridge.
So sorry to hear that! I haven’t had that issue but you can very lightly spray parchment with oil too.
This is super yummy!! I did add almonds to the oat mixture and I used frozen berries but cooked them down into a compote first before putting it on top of the oat layer. This goes great with yogurt for a quick breakfast!
I made the mistake of adding the brown sugar to the berries… Always read the whole recipe first! I also used frozen berries and so they were quite wet. One substitution I made was Earth Balance non-dairy butter. I found I had to cook them for close to an hour at a higher temperature. All that said, they are freaking delicious and I will absolutely make them again. The crust is SO good.
Ok, good to know on the frozen berries–I feel like maybe there is not enough to absorb that liquid into the oat mixture. I am happy they were still very edible and tasty! Thanks Catherine!
This recipe came out amazing! I brought the bars to a Superbowl party and they were gobbled up so fast. I baked a double batch which fit nicely in a disposable 9×12 tin. I followed the recipe almost exactly with a couple of small tweaks. I used a mixture of frozen berries I had stockpiled in the freezer (pineberries, strawberries, raspberries, blackberries, and blueberries). When they thawed and were mixed with the lemon juice and sugar they were on the liquidy side, so I doubled the cornstarch to ensure it would thicken properly. Then, I replaced 1 T of sugar with 1 T of honey for flavor. It had to bake for closer to 45-55 minutes as it was a double batch perhaps? YUM YUM YUM. Terrific recipe!
So glad it was a hit! Thanks for all the tips!!
Love it
So happy to hear it!
These are a go to breakfast when I have my nieces and nephew. They love it, as do I and the hubby. I half the sugar though as it was far too sweet for us.
Love to hear this! And yes, cutting a bit of the sugar is just fine!
Can this recipe be tripled and made in a sheet pan?
Hi! What size is the sheet pan? A double recipe does well in a 9x13inch pan!
Can I use gluten free flour? Will it have the same result?
Hi! Yes, it should work fine as well. 1:1 all purpose baking gluten free flour is ideal!
Can you use margarine instead of butter ?
Hi! I have not tested it but it should work the same as butter in this recipe, flavor will be slightly different of course!
Omg!! I made these this morning and they are DELICIOUS!!! I added some ground flax and chia seeds to the flour mixture, but otherwise followed the recipe to a T and they did not disappoint! Thank you!
So wonderful to hear!! We love these so much too!
Just made these this morning and Wow are they good! I’m trying to do more of my own baking instead of buying packaged snacks for the kids and this was a great start! Easy and delicious – they came out beautifully and they are already half gone a few hours later. Even my husband who doesn’t like a lot of sweet things loved them … will be subscribing for more ideas; thanks!!
Love love love hearing this!!