This post may contain affiliate links.

This simple No Bake Peppermint Cheesecake with an easy Oreo cookie crust is also packed with crushed Oreos for a festive chocolate mint filled dessert. 20 minutes to prep and easy to make ahead. A great dessert for the holiday season and beyond. Easily made gluten free as well thanks to gluten free Oreos!

Table of Contents
Peppermint and chocolate and Oreos, oh my! When the weather cools off, all of the mint chocolate recipes come out!
Give me a plate of these Peppermint Chocolate Chip Cookies in one hand and a big slice of this no bake Peppermint Cheesecake packed with all the Oreos and I am set for the holidays and beyond!
And don’t forget these Peppermint Bark Brownies!
You will love how easy this no bake cheesecake is to whip up and it will certainly be a crowd pleaser! If you love this one, try my no bake chocolate pie, no-bake mini biscoff cheesecakes, no-bake Christmas Oreo truffles or these no bake pumpkin cheesecake bars!
Why You Will Love this No Bake Peppermint Cheesecake:
- No baking required! Give the oven a break on this one, or make some cookies while whipping up this no bake peppermint cheesecake. Either way, it’s one less thing that will use the precious oven space.
- Mint plus chocolate were meant to be! The holiday season and cooler months always have me craving mint chocolate when it comes to Christmas recipes. It doesn’t just have to be Christmas! Same goes for my other faves: Christmas Puppy Chow and Mint Chocolate Pretzel Bark are great any time! The candy canes certainly make the peppermint in this recipe all the more festive.
- It can be made a day in advance. If you are a prepper and like to have as much done ahead of time, this is a great dessert option. The no bake cheesecake really needs a decent amount of time to fully set, so making it the day before will set you up for success!
What is the difference between regular and no bake cheesecake?
A baked cheesecake uses eggs and therefore needs to be cooked in order to set and fluff up. The texture is a bit denser and even thicker and will hold up much more.
A no bake cheesecake relies on chilling and a few other ingredients to help it set. Whipping cream is often an ingredient that is folded in to the whipped cream cheese to give it a lighter more sturdy mousse like texture.
The key to this no bake peppermint cheesecake is allowing it to chill for long enough to form and set. I like to at least allow it to chill for 8 hours. You can speed it up by freezing to set.
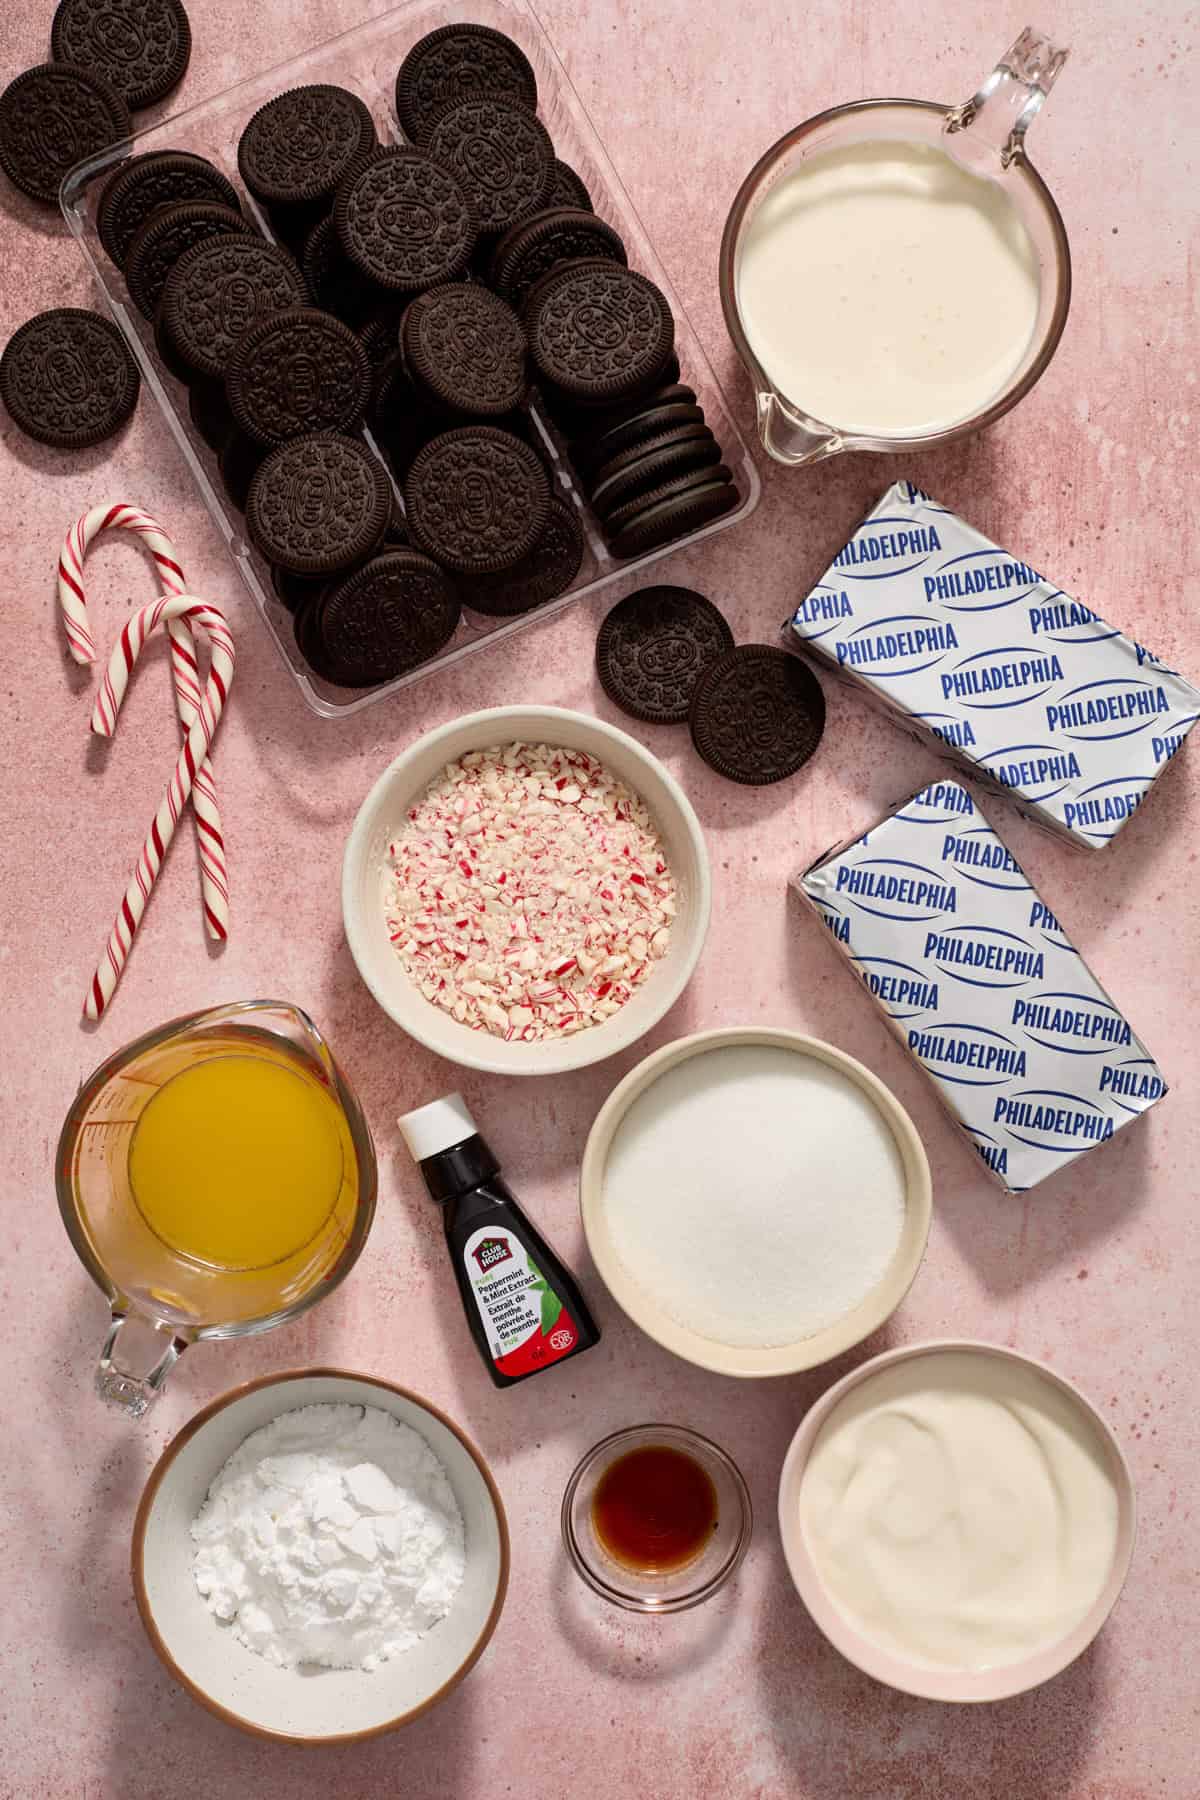
Recipe Ingredients:
- Oreos: You will need a 19.1 oz. package of Oreos for the total recipe. Initially I was going to use mint Oreos, but opted for regular in the end. Any chocolate sandwich cookies should work, but I did not use double stuff, just the classic. Since regular Oreos now come in gluten free, using the classic allowed this peppermint cheesecake recipe to be made gluten free with a simple swap!
- butter: unsalted and melted for the Oreo crust.
- sugar: you will need a touch of sugar for the crust and the rest for the cheesecake
- cream cheese: this recipe has only been tested with full fat cream cheese, I cannot say how successful reduced fat cream cheese will work.
- heavy whipping cream: very cold for best results, make sure to grab heavy whipping cream versus whipping cream as the fat content is higher in heavy cream and will beat to stiff peaks that will hold up much better in this no bake peppermint cheesecake recipe.
- sour cream: again, full fat will bring about the best flavor and texture in this recipe
- powdered sugar: mixes in with the whipping cream to help stabilize the whipped cream and in turn the cheesecake
- crushed peppermint candy or candy cane: depending on what you can get, either is fine. I have gotten the pre-crushed peppermint candy in the holiday baking aisle before and don’t recommend using it. They tend to be overly chewy and also not crushed small enough either.
- peppermint and vanilla extract: you will notice both vanilla and peppermint extract are included in this candy cane cheesecake. I prefer a touch of vanilla in any cheesecake to bring out the flavors. I suggest you do not omit if for a well rounded cheesecake.
Step-By-Step Instructions:

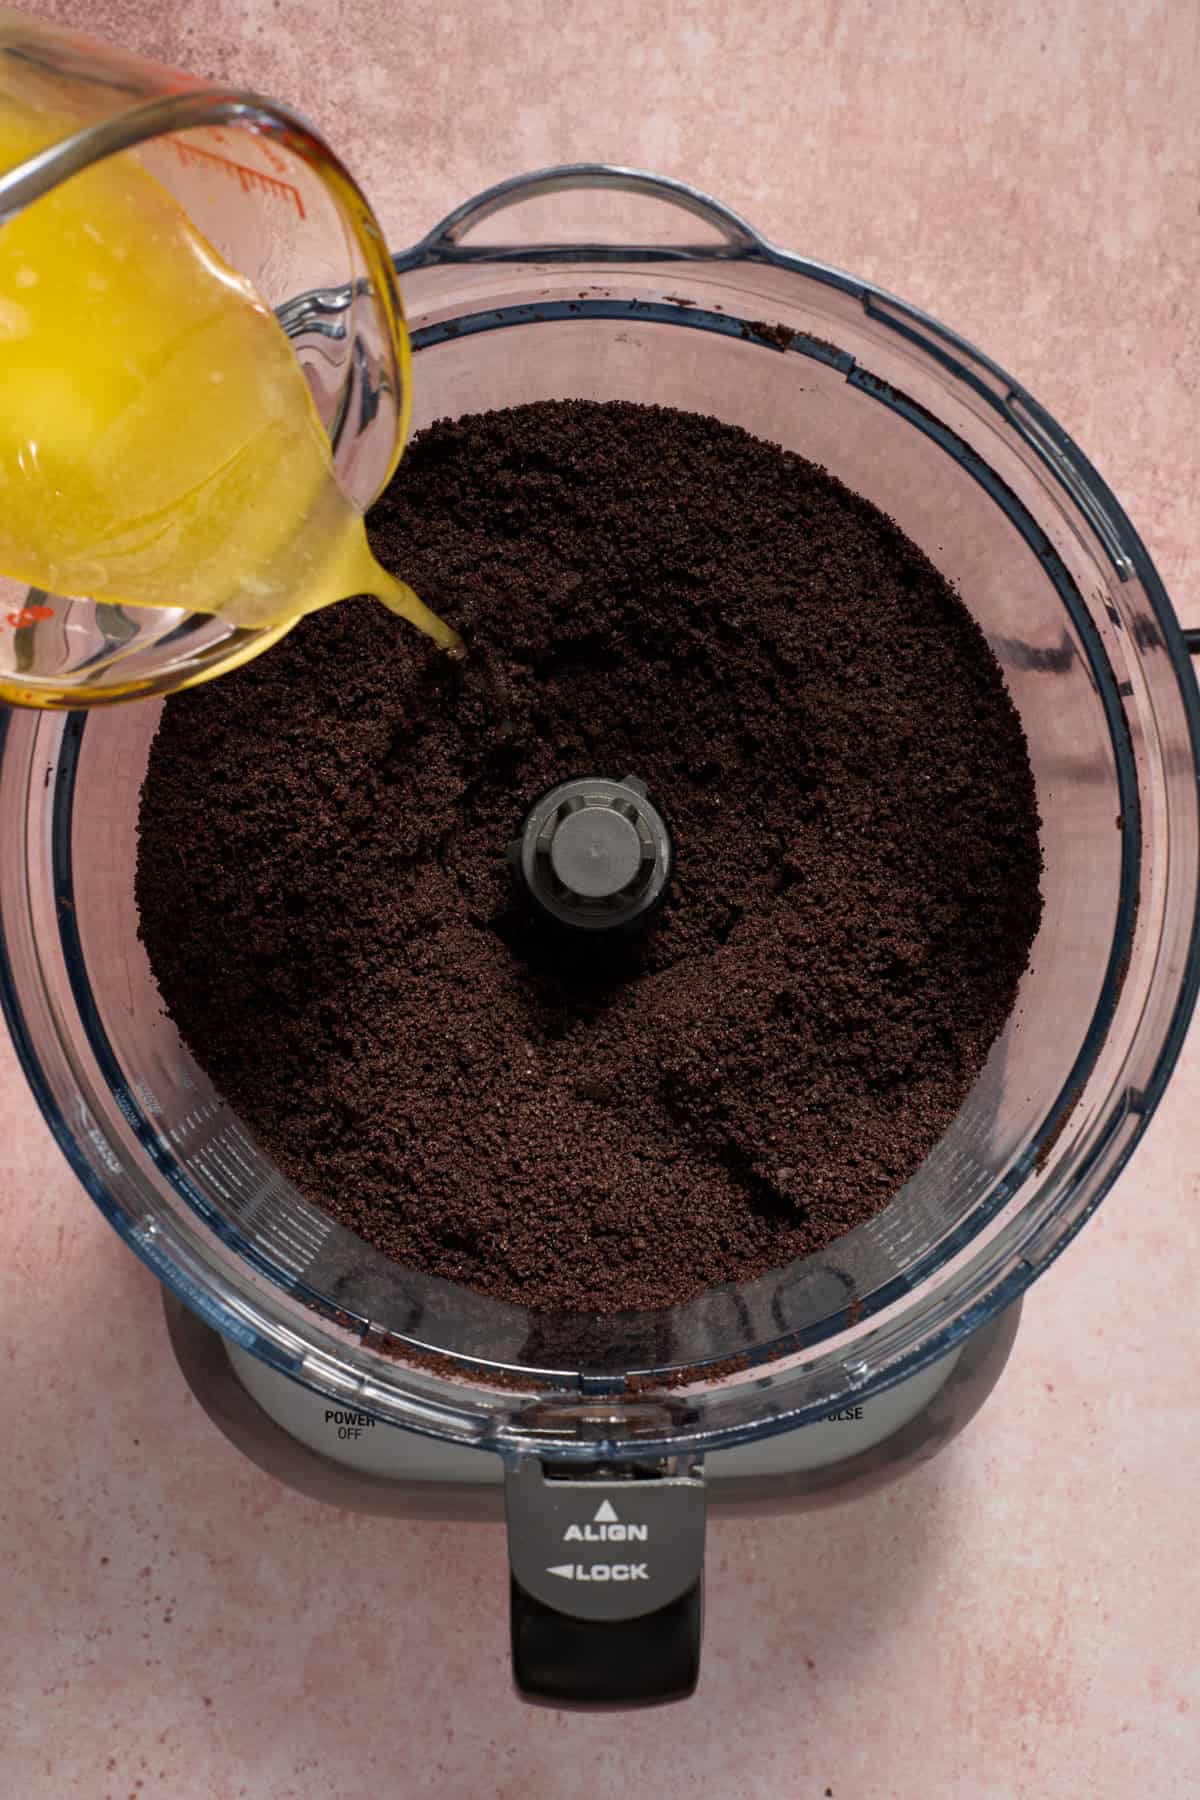
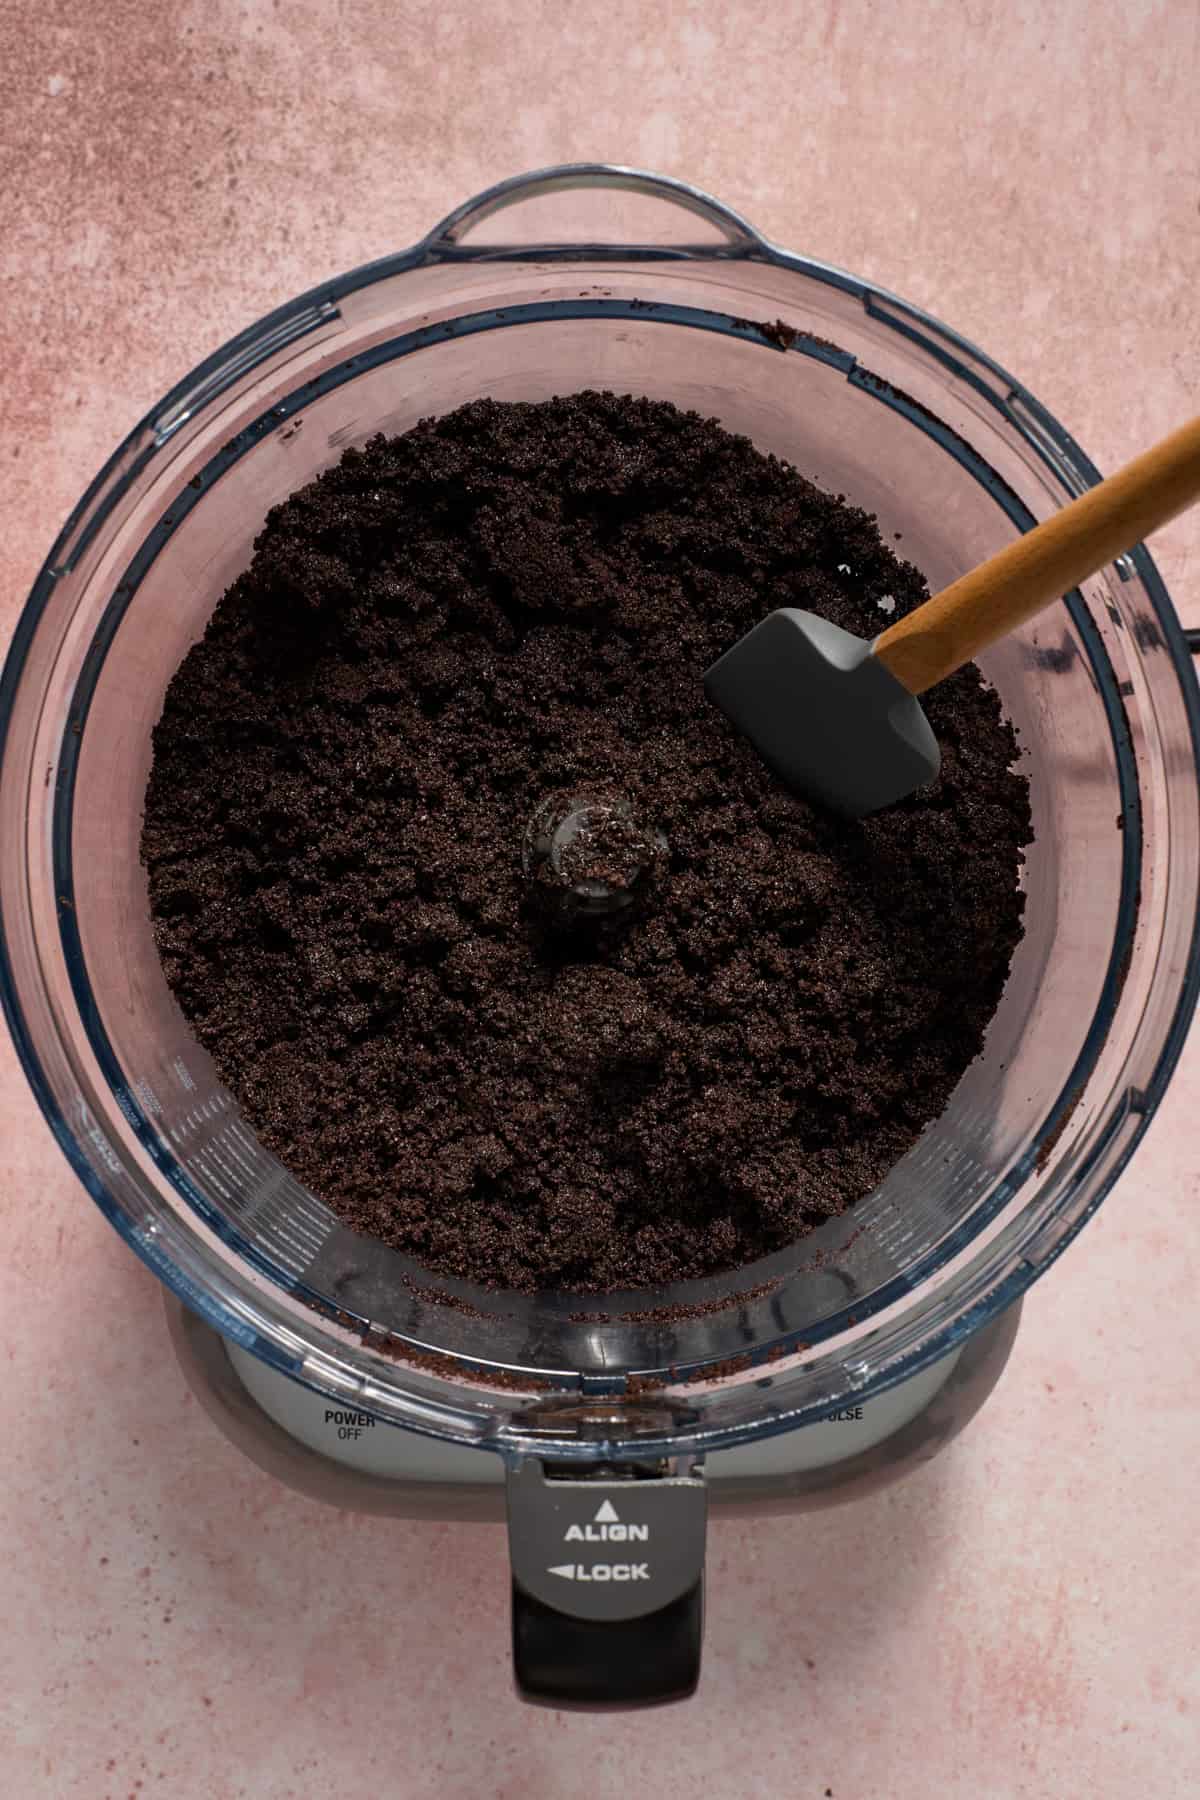
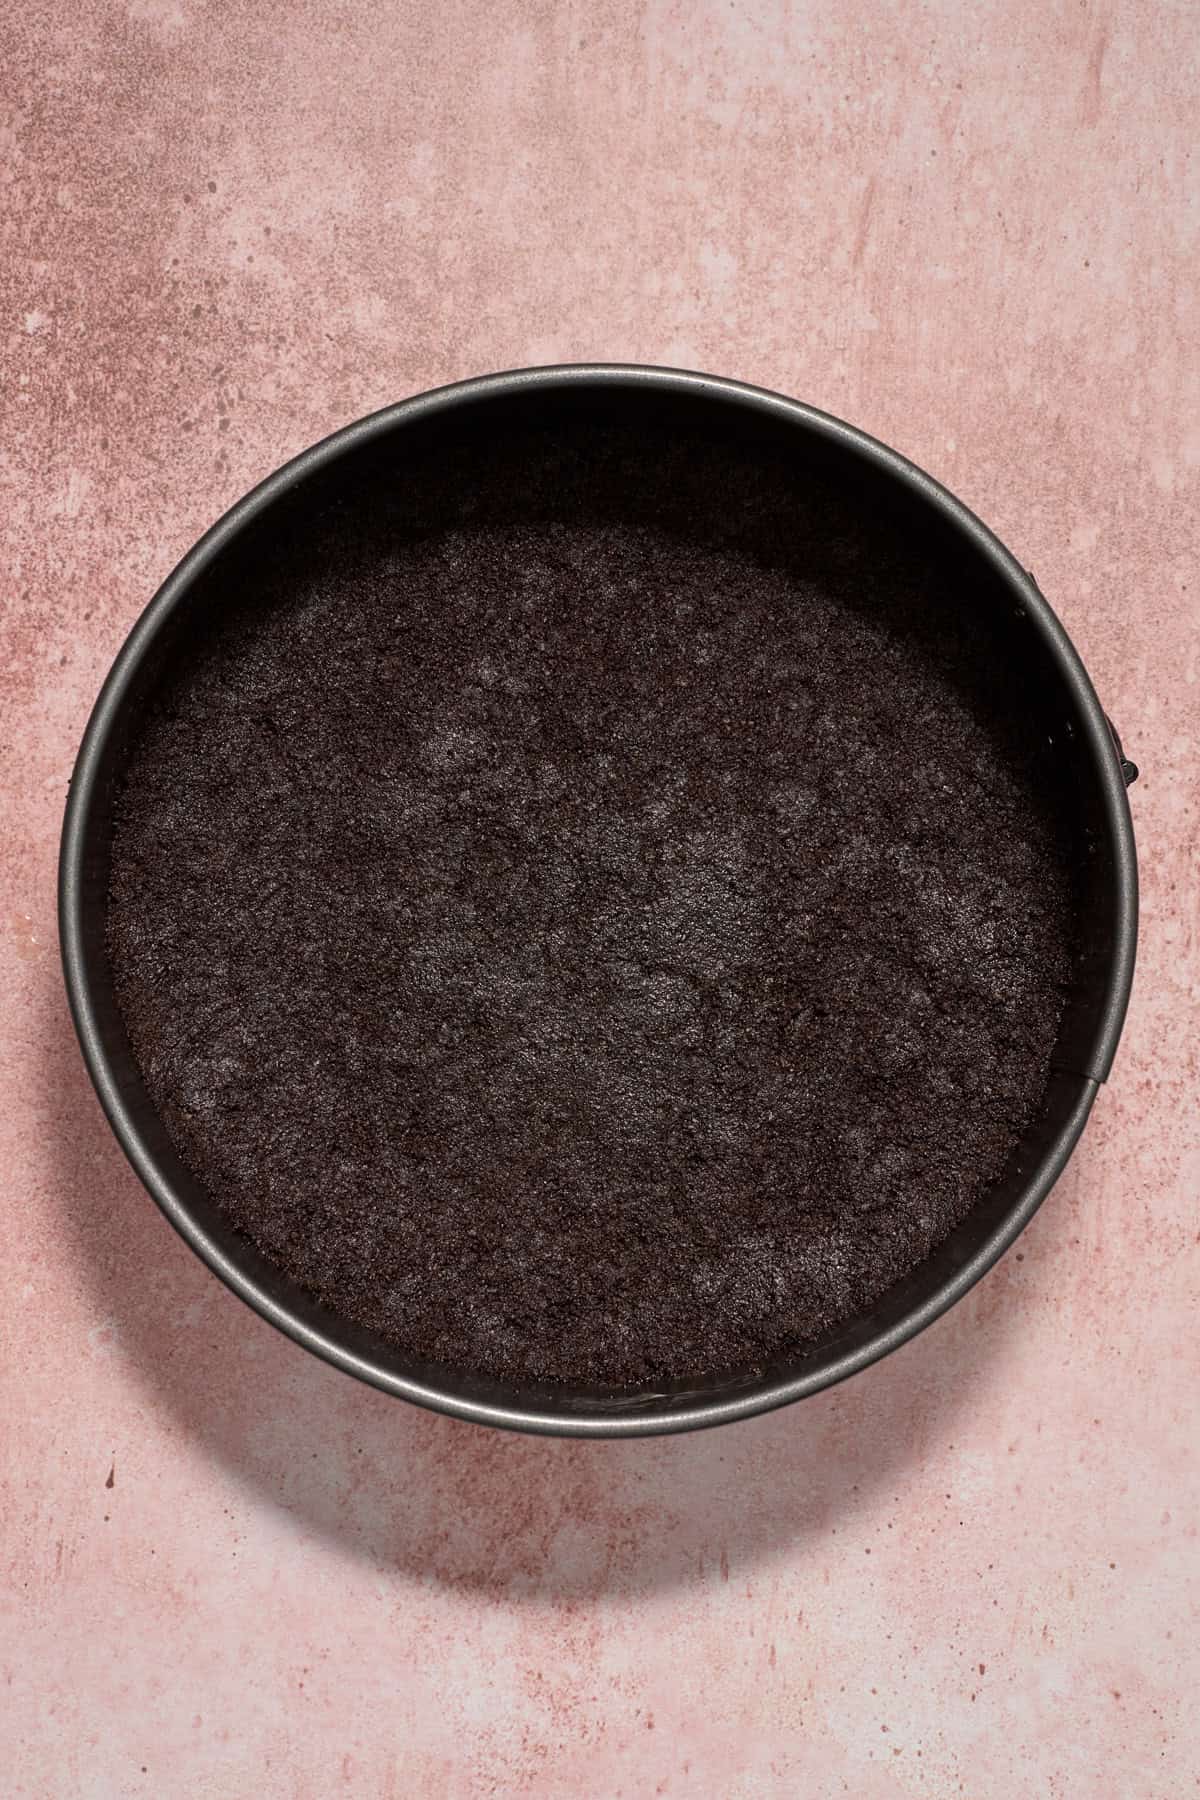
Prepare the Oreo Crust: Add the 30 Oreos to a food processor and process until fine with no large pieces left. Add the crushed Oreos to the melted butter and sugar and stir until crumbly and mixed. Press the crust VERY firmly into a parchment lined 9×9 inch baking pan or 9 inch springform pan into one smooth layer. I like to use the bottom of a measuring cup or glass to press and smooth. Chill in the freezer for about 15 minutes or until ready to add filling.

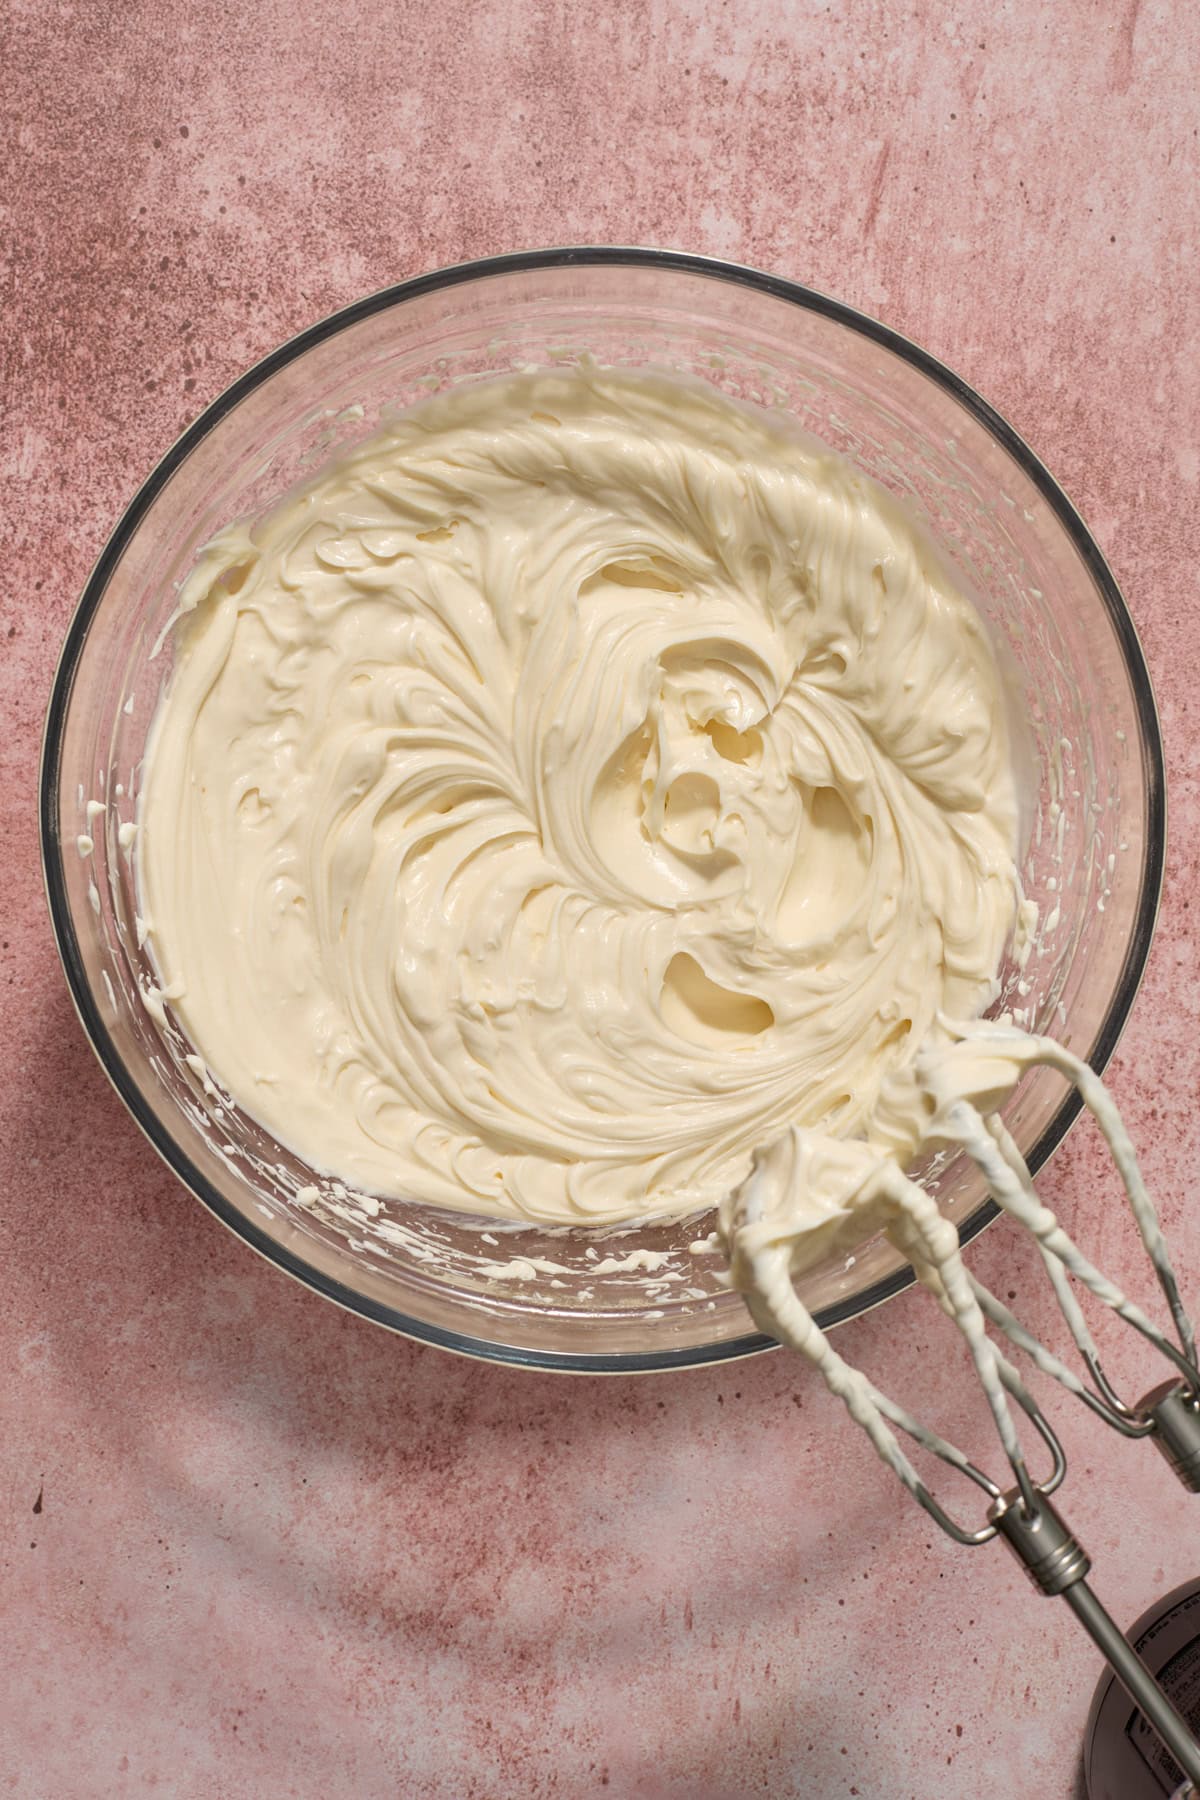
Make the Cheesecake Filling: add the room temperature cream cheese and granulated sugar to a medium bowl. Using an electric mixer, beat on high until smooth and creamy, trying to blend until the graininess of the sugar is gone. Add in the sour cream, vanilla and peppermint extract and beat until incorporated.
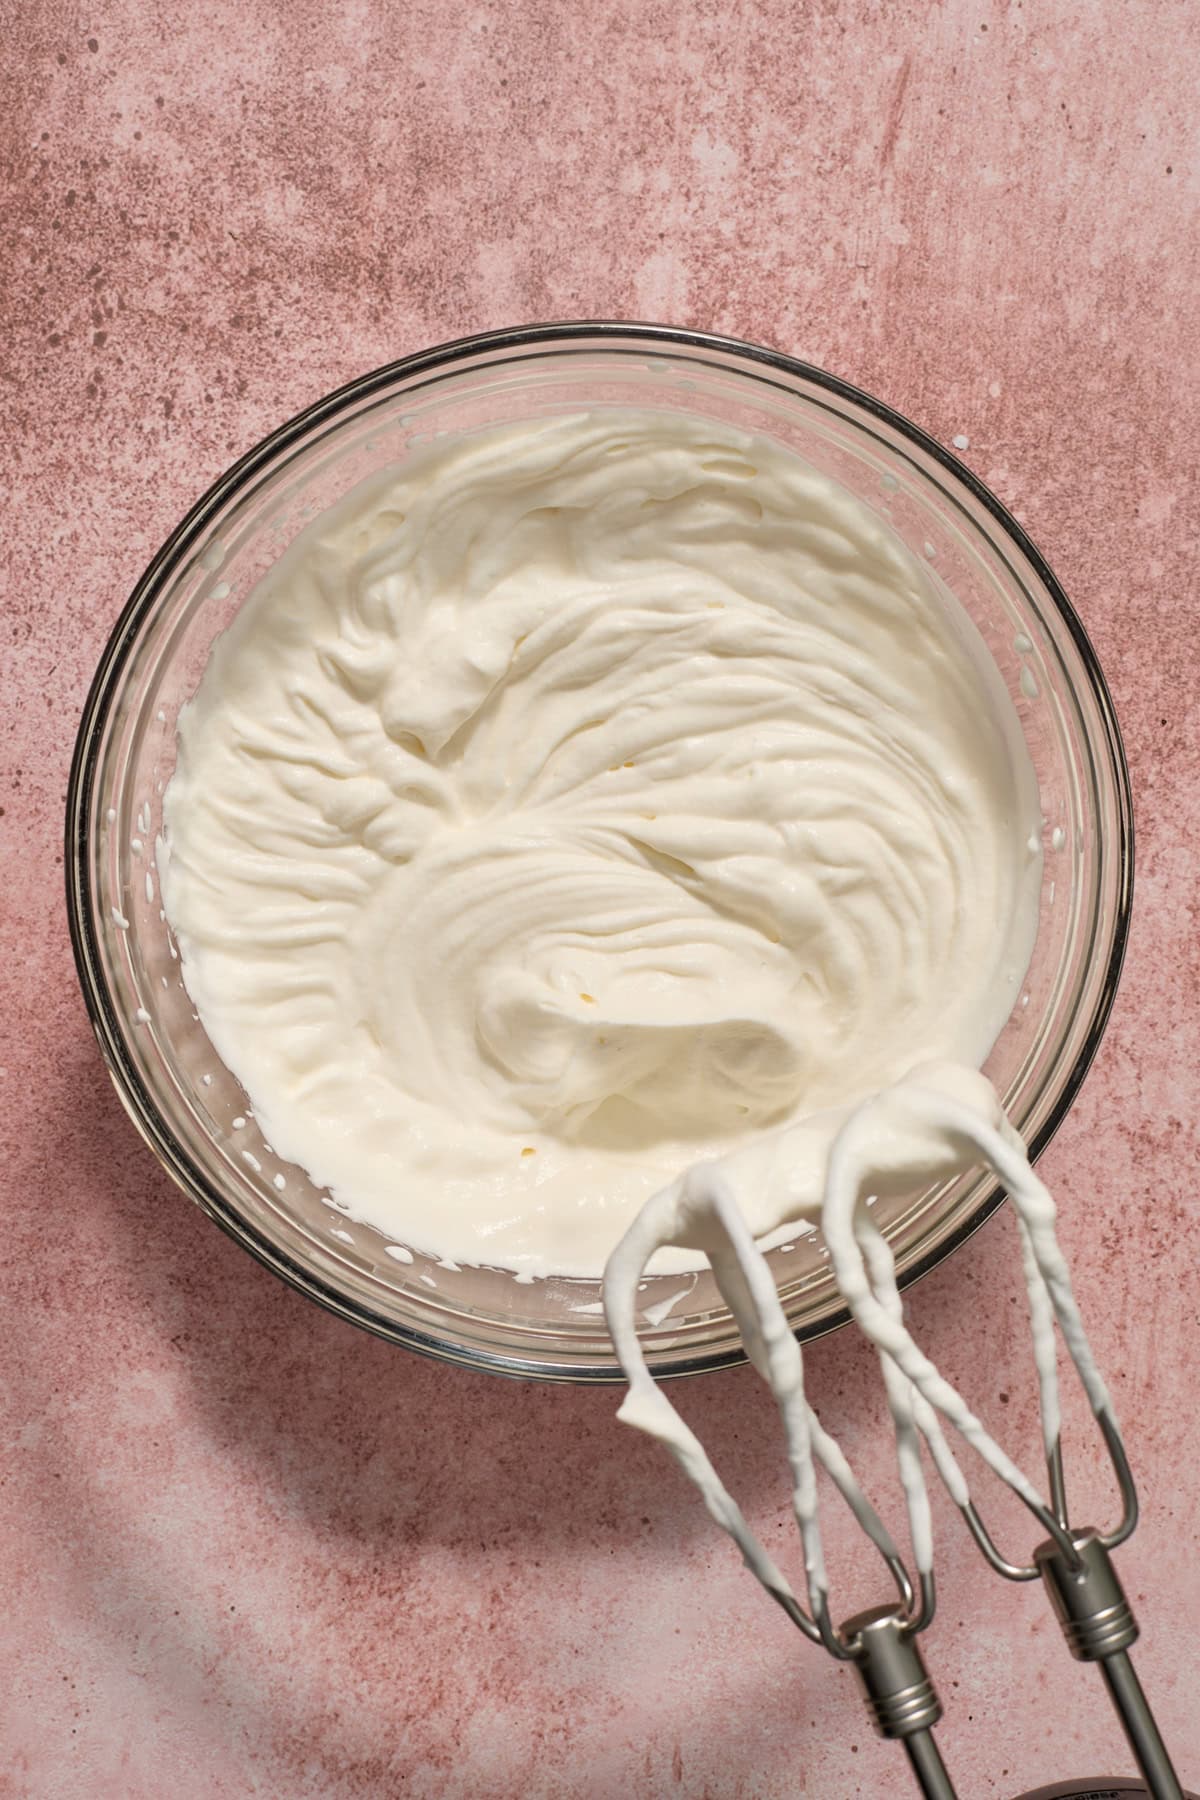

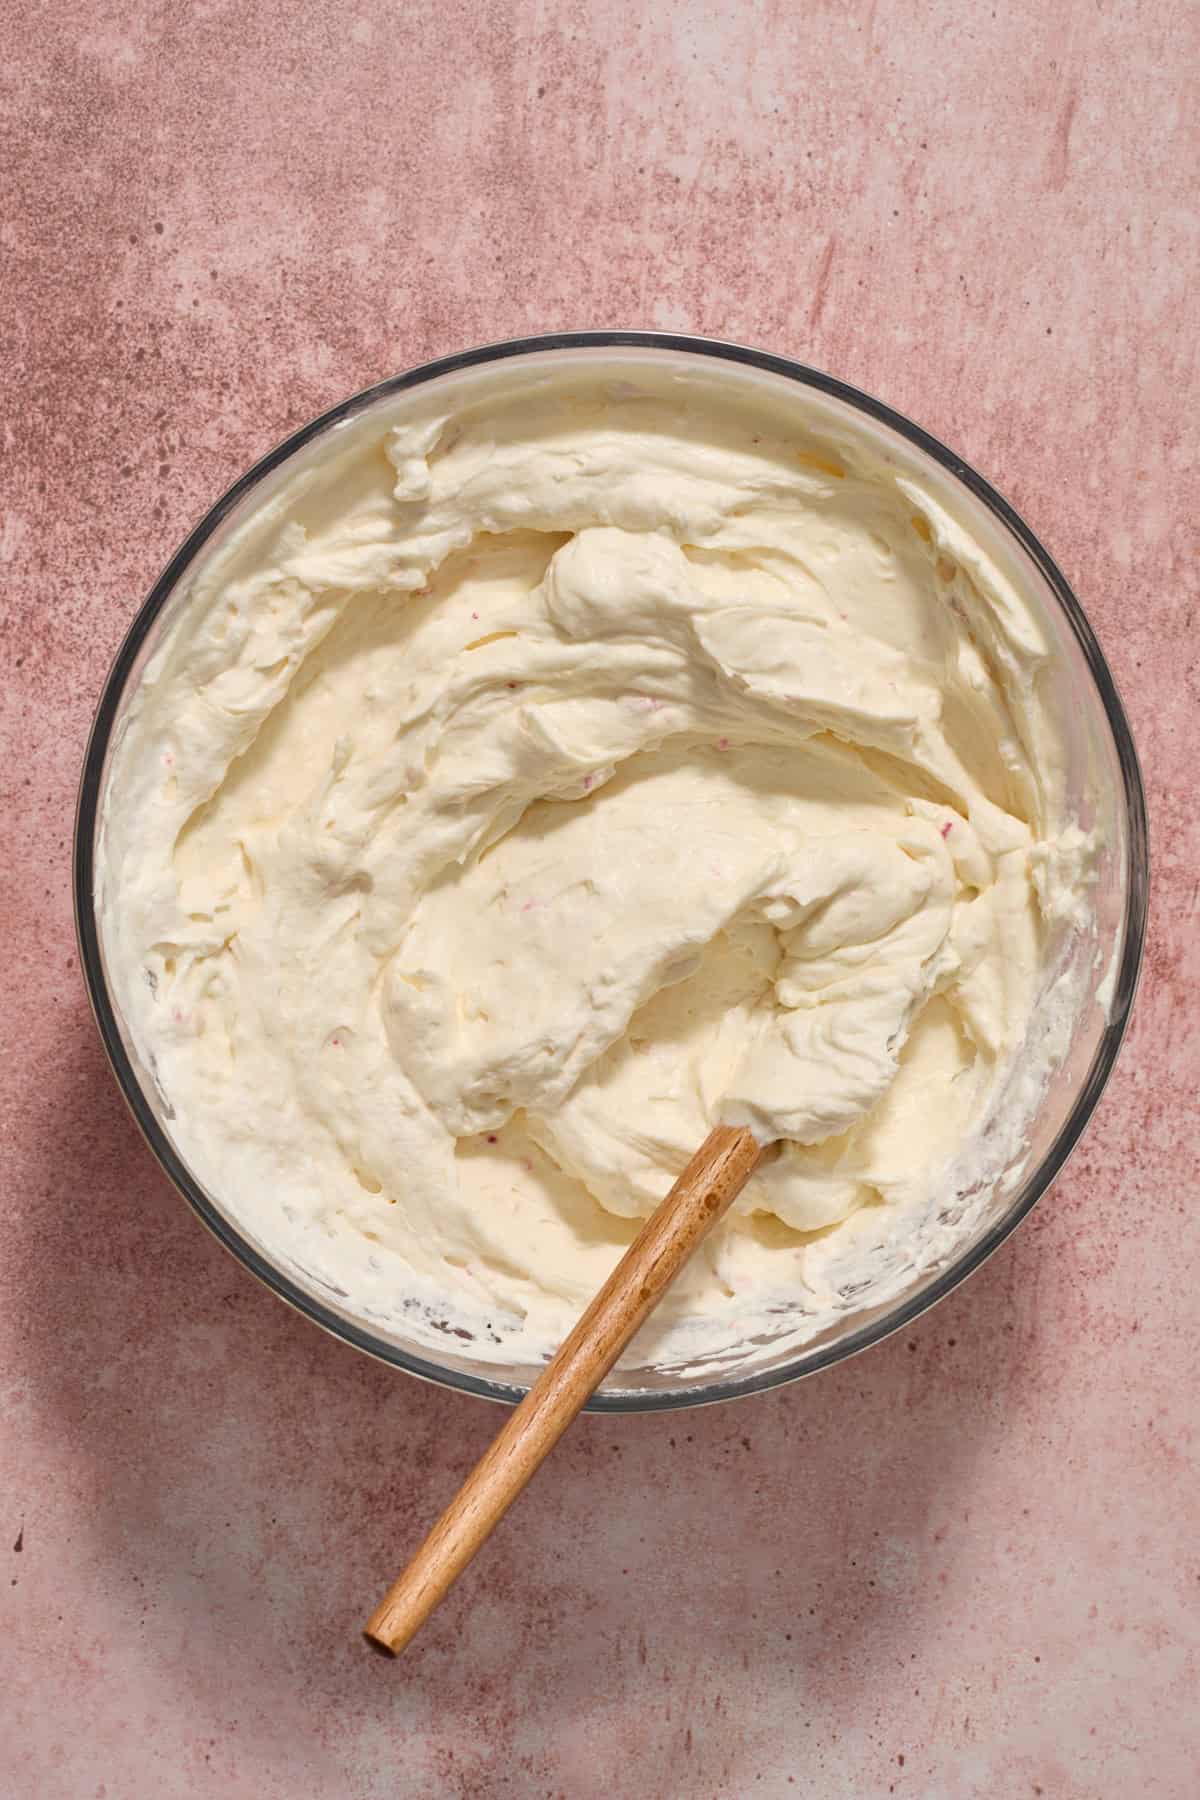
In a separate mixing bowl, combine cold heavy whipping cream and powdered sugar, and beat until it forms stiff peaks. Using a cold bowl can help this process as well. It will take several minutes to form peaks. Gently fold the whipped cream and crushed candy canes into the cream cheese mixture, being as gentle as possible to keep the whipped cream from deflating.
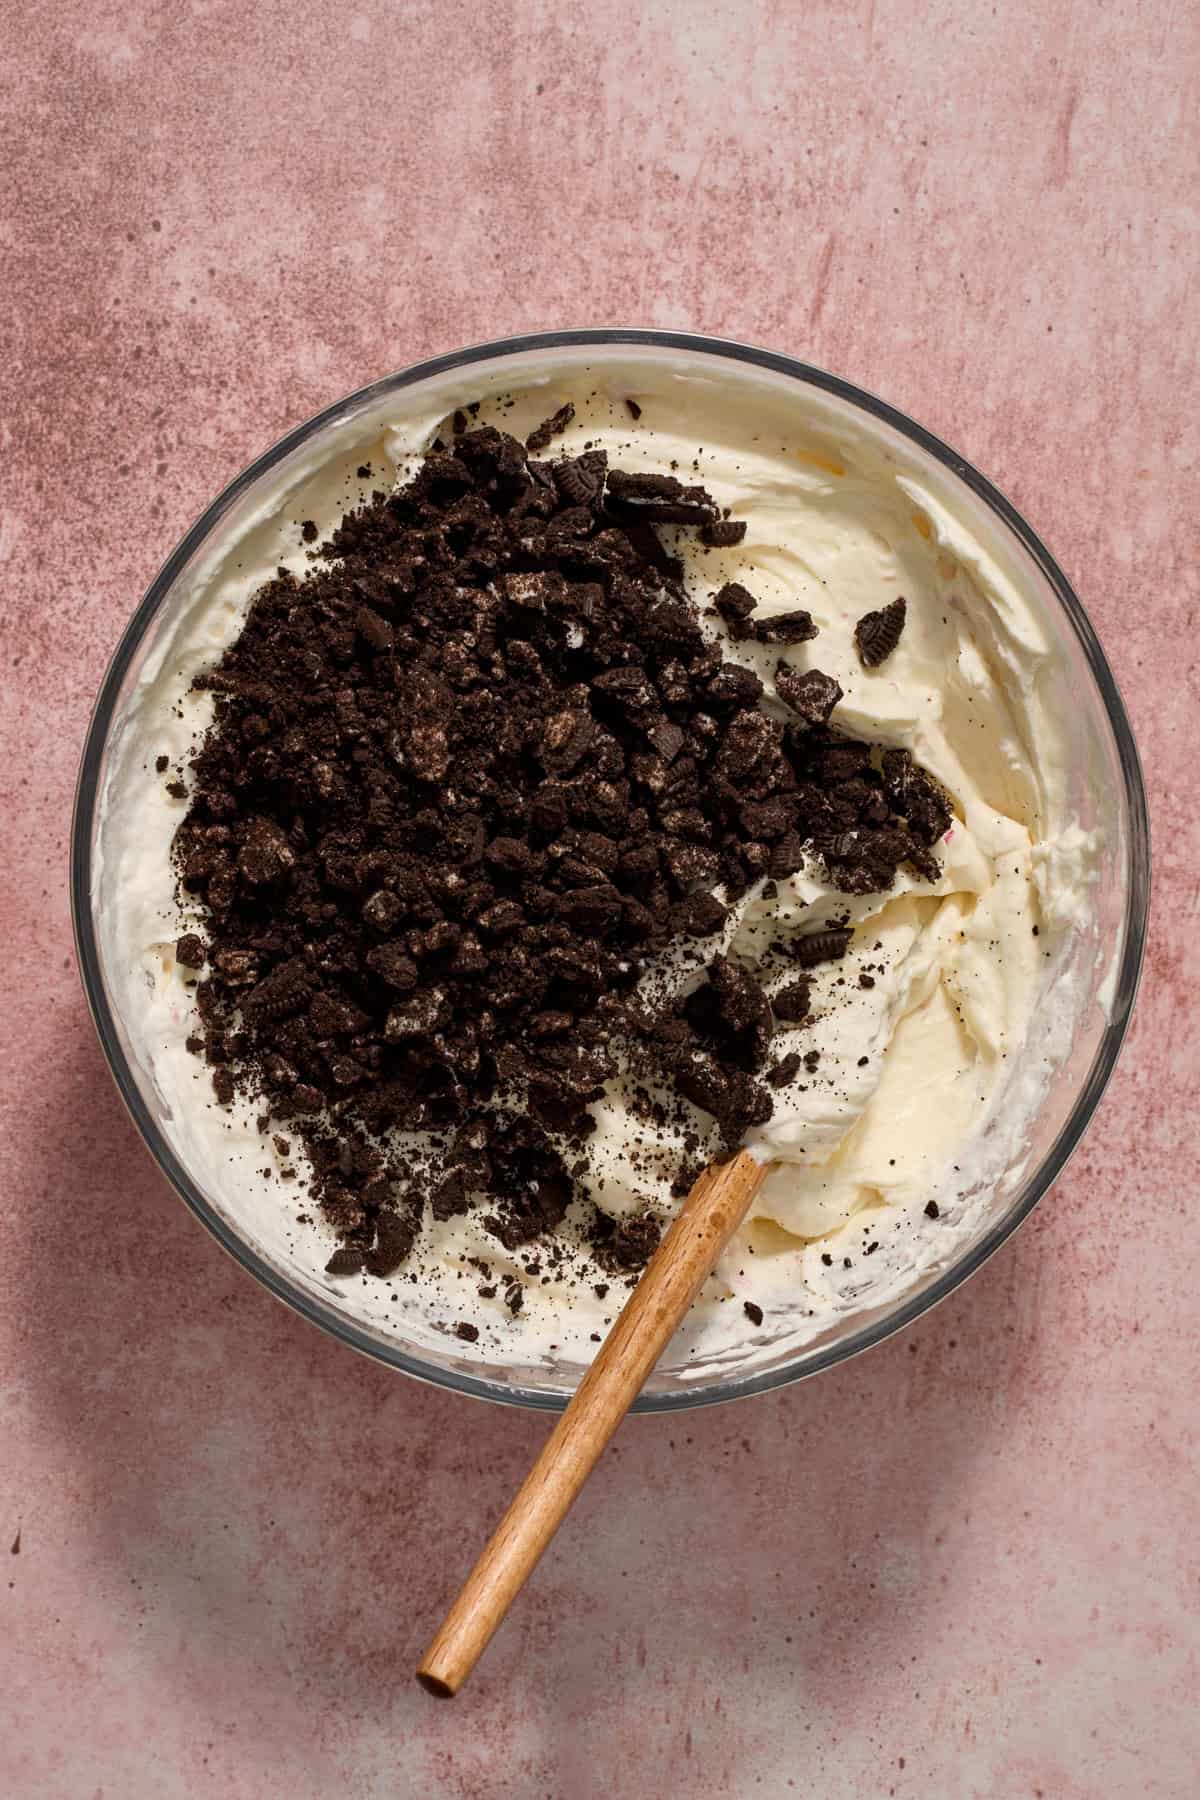
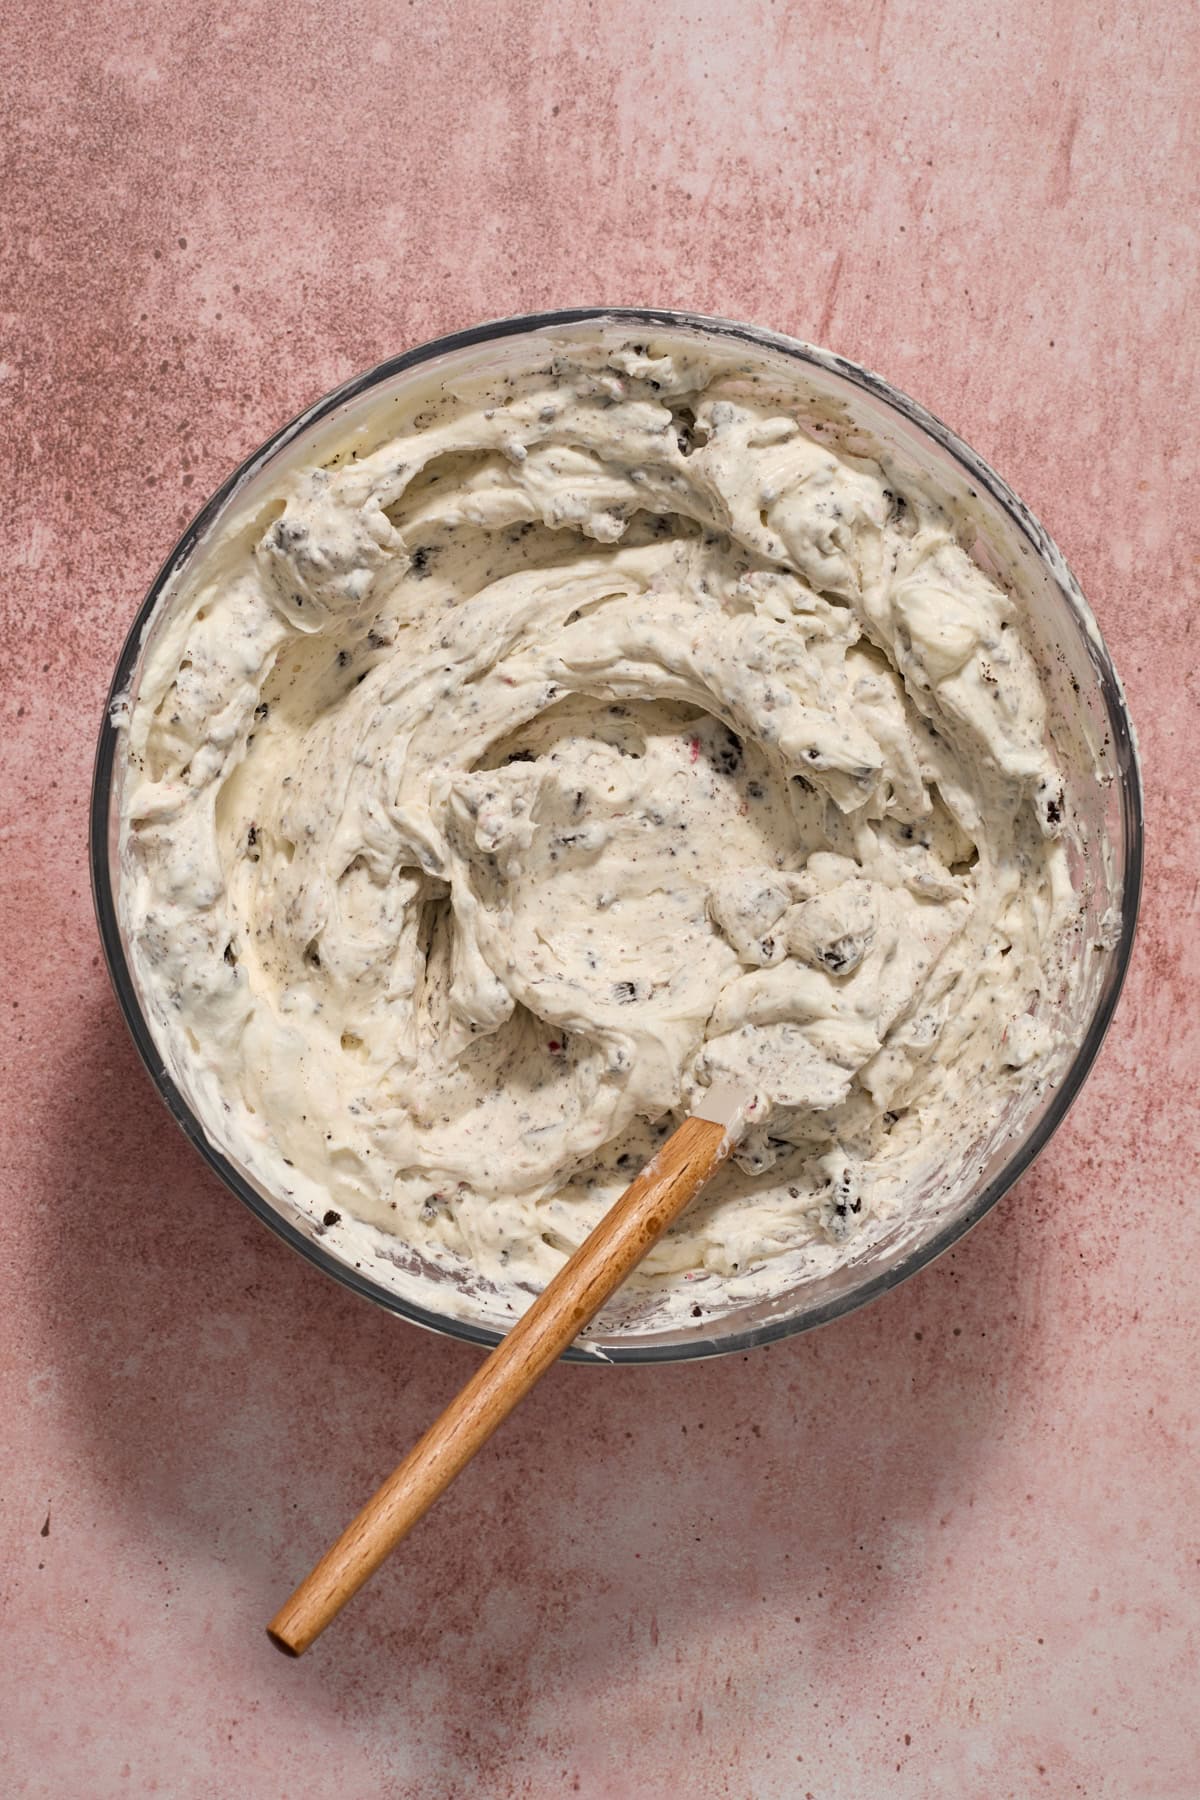
Fold in 12 coarsely crushed Oreos–you can crush these in the food processor by pulsing or in a plastic bag using a rolling pin or wooden spoon.

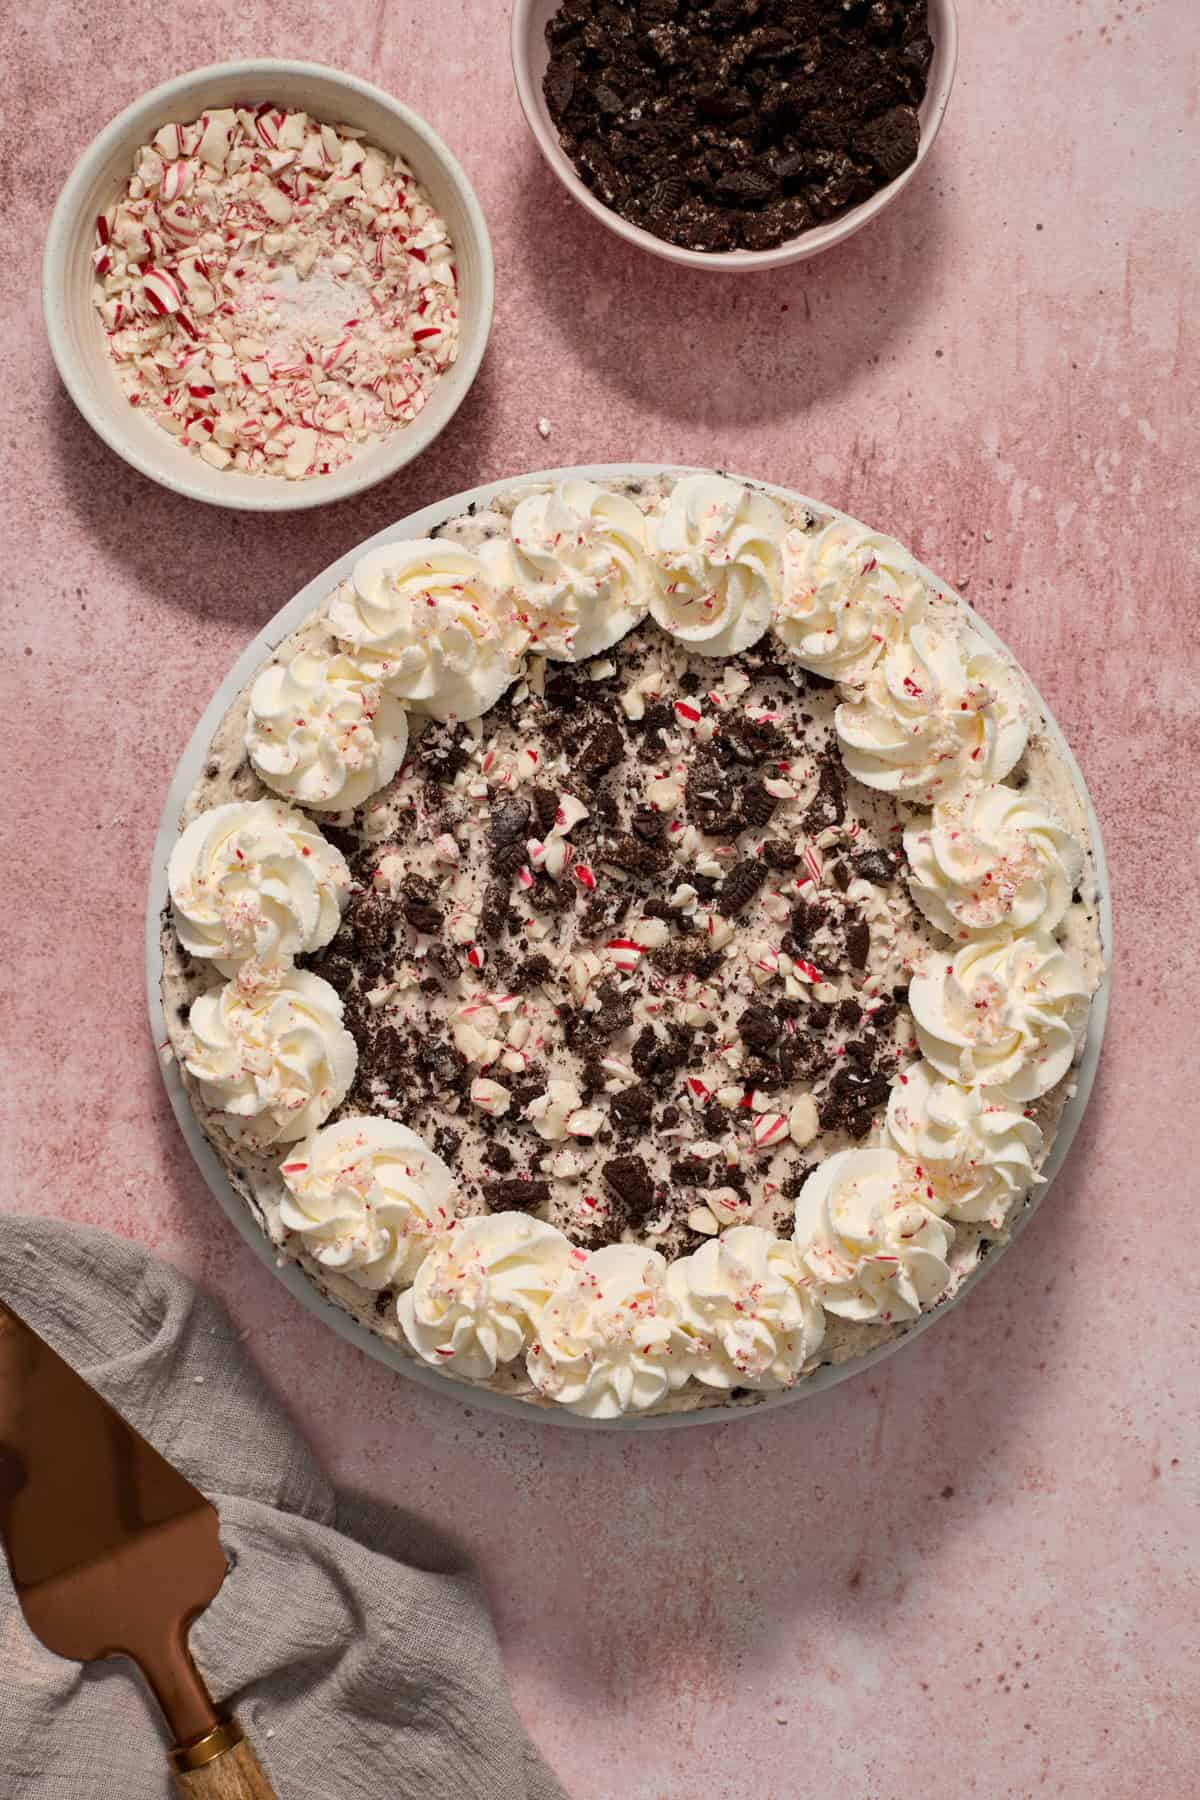
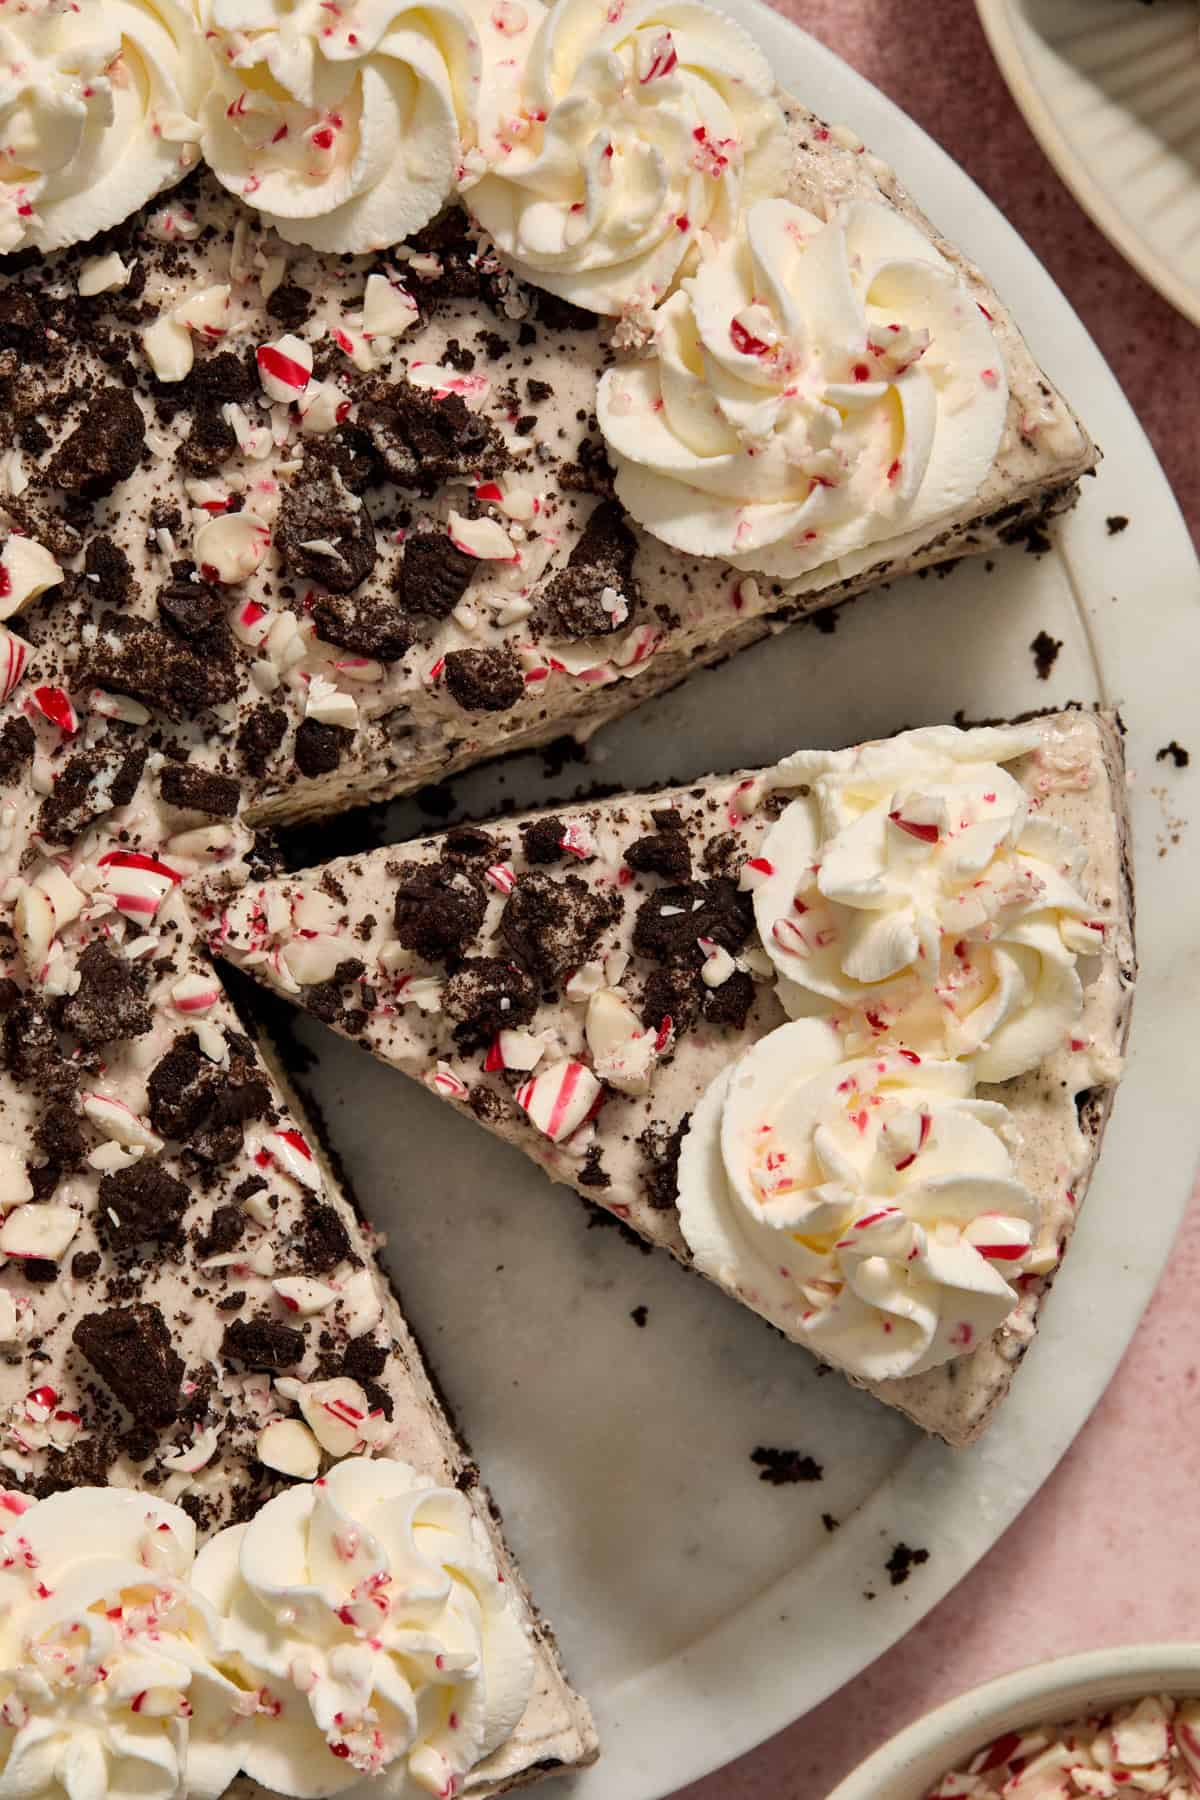
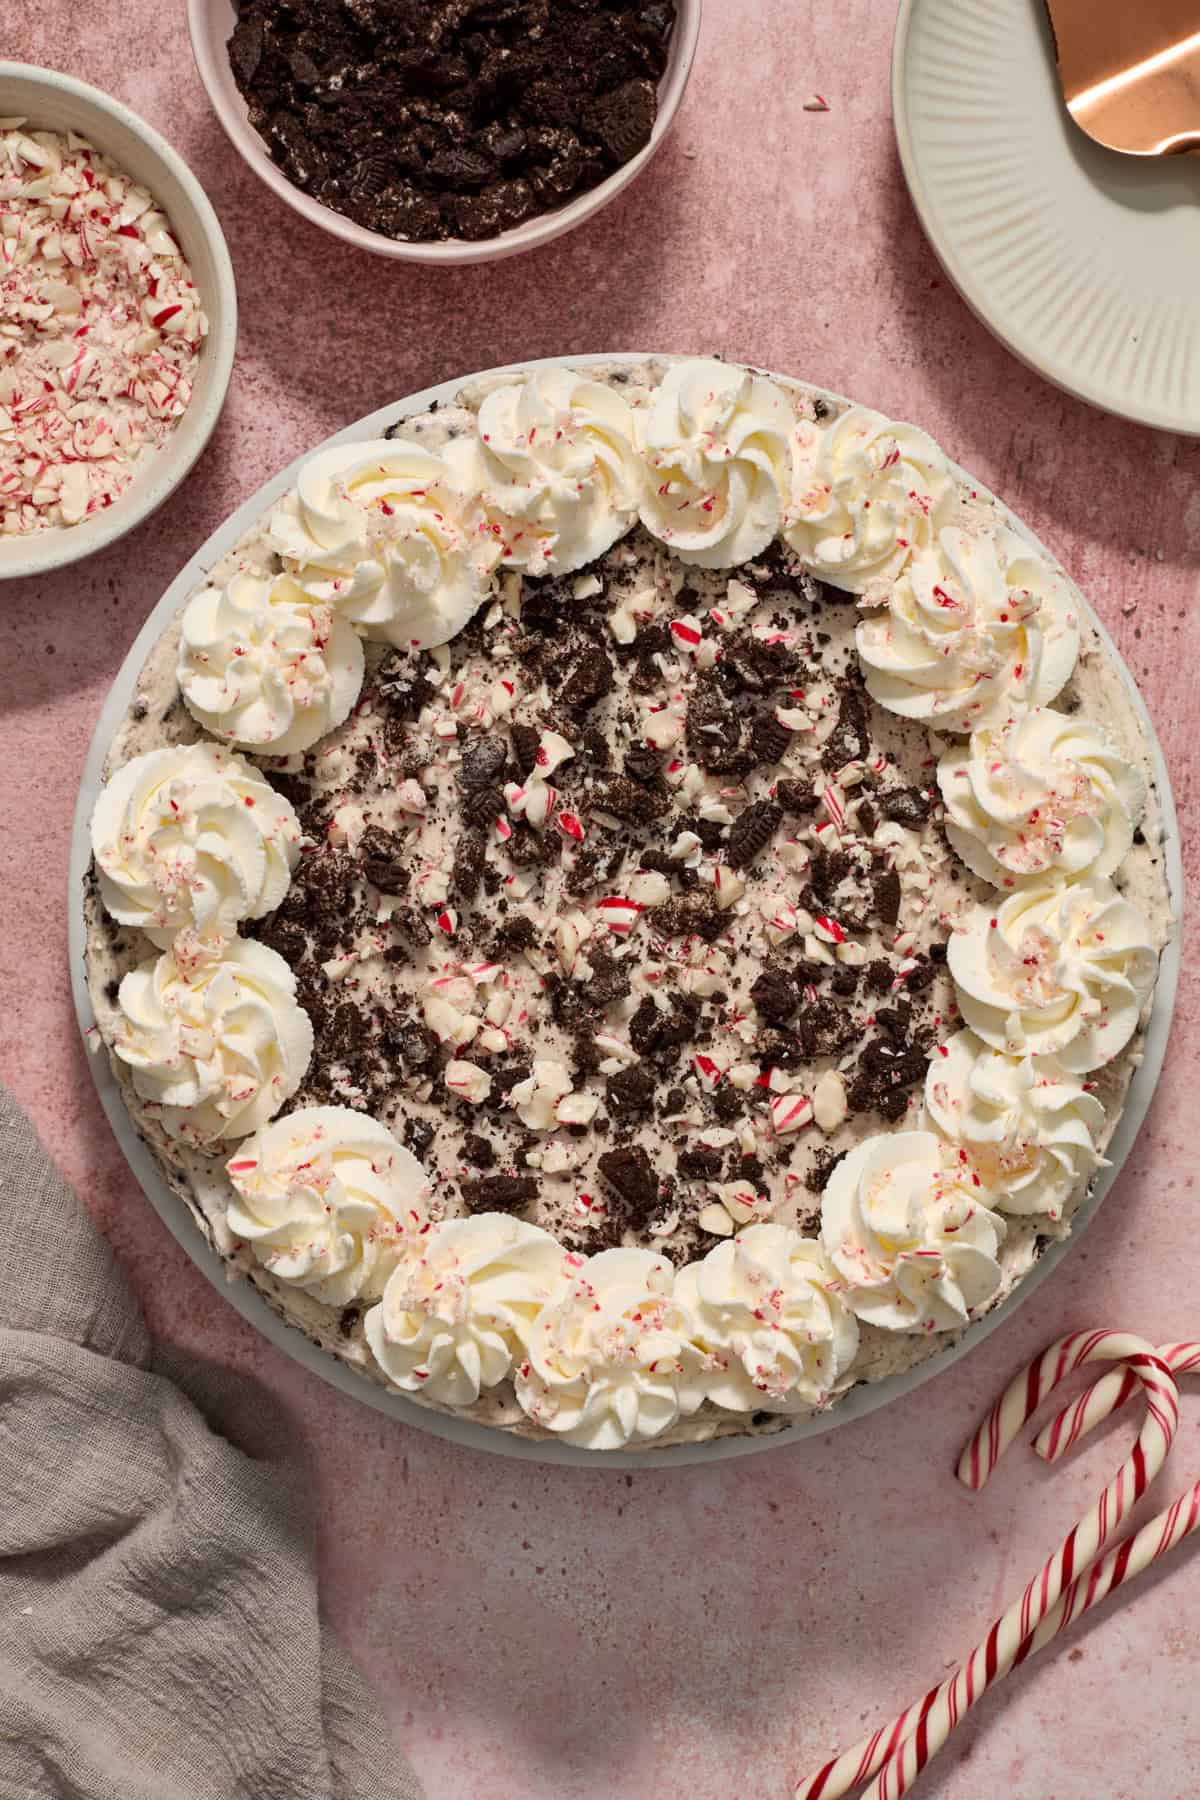
Transfer the peppermint cheesecake mixture to the chilled crust and spread it to smooth it out and make one even layer. Chill for about 8 hours to set, or you can freeze for about 2 hours to speed the process. Add remaining crushed Oreos and extra candy canes or holiday sprinkles over top. Slice and enjoy!
Recipe Tips
- Make sure cream cheese and sour cream are room temperature. This will make for the smoothest mixing when preparing this peppermint cheesecake. Cold cream cheese will cause lumpy cheesecake.
- Try to crush the candy canes or mints mostly very fine. Not everyone loves the super chewy pieces of chilled candy cane. If you make sure they are super fine, it will give the cheesecake a crystal fine crunch without hurting anyone’s teeth. Save the larger pieces to sprinkle over top so that people can push aside if desired.
- Make sure the Oreos for the crust are crushed super fine. If larger chunks of Oreo are in the crust, it will make slicing it more difficult and will not hold up as well overall.
- You can add some food coloring if desired. A lot of peppermint or candy cane cheesecakes have a touch of red food coloring. I don’t prefer it, but if you would like to add some, add a few drops in when stirring in the whipped cream and candy cane pieces.
- Make sure to chill this peppermint Oreo cheesecake sufficiently. This will make for easier slicing and will hold up much better. You can eat it still if it’s not fully set, it will just be a LOT messier–consider yourself warned!
Tips for cutting this cheesecake:
- Make sure the cheesecake is chilled sufficiently. You can even freeze it for the last 30 minutes before serving.
- Take a sharp knife and run it under hot water for about 15 seconds, wiping it dry before slicing.
- Slice and then wipe between each slice. You can run it under hot water several times throughout.
To make this Recipe Gluten Free:
Now that there are Gluten Free Oreos, all you have to do is swap the gluten free version for the regular and you are set. The gluten free cookies are actually delicious if you haven’t tried them!
Storage:
This recipe is a perfect make ahead dessert as it needs to chill for at least 8 hours and is strongly suggested to chill overnight. Store the cheesecake in an airtight container for up to about 4 days.
You can freeze this cheesecake by wrapping it very tightly over top and then placing it in an airtight container for best results. Freeze for up to 3 months. I would freeze it without anything added on top. Thaw overnight in the refrigerator.

Other holiday treats:
- Peppermint No Bake Brownies
- Golden Oreo Truffles
- Christmas Shortbread Cookies
- No Bake Caramel Apple Cheesecake
- Cheescake Stuffed Cinnamon Crescent Roll Wreath
- No Bake Oreo Cheesecake Cups
HUNGRY FOR MORE? Subscribe to my newsletter and follow me on Facebook, Instagram and Pinterest for all the latest!
No Bake Peppermint Oreo Cheesecake

Ingredients
For the Crust:
For the Filling:
- 16 oz softened cream cheese, 2, 8oz. blocks, room temperature
- 3/4 c sugar
- 1/2 c sour cream, room temperature
- 1/2 tsp vanilla extract
- 1 ½ tsp peppermint extract
- 1 1/4 c heavy whipping cream
- 1/2 c powdered sugar
- 1/4 c finely crushed mint or candy canes
- 12 Oreos, coarsely crushed
Optional Topping:
- 6 Oreos, crushed
- extra crushed candy cane
Instructions
For the Oreo Crust:
- Process the oreos in a food processor until fine. (You can do this in a plastic bag with a heavy wood spoon or rolling pin if you don't have a food processor.) Mix the crushed Oreos with the melted butter and sugar until combined and crumbly. Press VERY FIRMLY into a 9×9 inch baking pan lined with parchment. (You could also use a 9 inch springform pan, make sure to spray it with oil) Freeze for about 15 minutes while making the cheesecake filling.
Prepare the Cheesecake Filling:
- In a medium bowl, use an electric mixer to beat the cream cheese and sugar until smooth and creamy. Add in sour cream, vanilla and peppermint extract and beat until smooth and incorporated.
- In a separate bowl, combine the whipping cream and powdered sugar and beat on high until stiff peaks begin to form. Transfer the whipped cream and crushed peppermints to the cream cheese mixture and very gently fold in until incorporated. Add the 12 crushed Oreos and gently fold in as well.
- Transfer the cheesecake mixture to chilled crust. Spread evenly until smooth. Chill for at least 8 hours to set. You can freeze for about 2 hours to speed up the process, but chilling in the refrigerator is ideal.
- Once set, add remaining crushed Oreos and extra candy canes if desired. Slice and serve with whipped cream on top if desired. Store in the refrigerator for about 3-4 days. You can also freeze this cheesecake for up to 2 months.
Notes
- Try to crush the candy canes or mints mostly very fine. Not everyone loves the super chewy pieces of chilled candy cane. If you make sure they are super fine, it will give the cheesecake a crystal fine crunch without hurting anyone’s teeth. Save the larger pieces to sprinkle over top so that people can push aside if desired.
- Make sure the Oreos for the crust are crushed super fine. If larger chunks of Oreo are in the crust, it will make slicing it more difficult and will not hold up as well overall.
- You can add some food coloring if desired. A lot of peppermint or candy cane cheesecakes have a touch of red food coloring. I don’t prefer it, but if you would like to add some, add a few drops in when stirring in the whipped cream and candy cane pieces.
- Make sure to chill this peppermint Oreo cheesecake sufficiently. This will make for easier slicing and will hold up much better. You can eat it still if it’s not fully set, it will just be a LOT messier–consider yourself warned!
- Tips for cutting this cheesecake:
- Make sure the cheesecake is chilled sufficiently. You can even freeze it for the last 30 minutes before serving.
- Take a sharp knife and run it under hot water for about 15 seconds, wiping it dry before slicing.
- Slice and then wipe between each slice. You can run it under hot water several times throughout.
Nutrition
Nutrition information is automatically calculated, so should only be used as an approximation.
Shop this Post
 Buy Now →
  Buy Now →
  Buy Now →
  Buy Now →
  Buy Now →
It’s really good i enjoyed it
So happy to hear this!
For the crust, is it 30 whole Oreos with the creme filling, or just plain Oreo chocolate cookies?
Hi! It’s the whole cookie—cream and chocolate cookie!
I took the opportunity to make this for a work Christmas party because my partner doesn’t like mint-flavoured anything.
Results are: everyone who tried it loved it. It was light and creamy – one of my coworkers described it as “ice cream-like”.
I made it the night prior, and kept it in the freezer until 1.5 hours beforehand, then left it out on the counter (covered) for about half an hour (it’s probably about 22-25C in the office) whilst I topped it with crushed canes (I forgot about the Oreos). I popped it back in the fridge, and the texture was just right. so that’s 0.5 hour on the counter, 1 hour in the fridge.
As for making the recipe – I think the 0.5 tsp of peppermint was about right. I didn’t put mint candies/candy canes in the filling because I didn’t want it to get gunky/sticky.
I found that some of the ingredients were a a bit tedious to figure out and I would have preferred a “by weight” option (i.e. 5 tbsp of butter is a bit hard to measure when you don’t live in the States, it’s about 67g for any of you who are still reading this review).
I had too much Oreos for the crust, (I made the crust about 1cm/0.5inch thick), and I wouldn’t put in any additional sugar – the Oreos by themselves are sweet enough.
I also only used 1/3 the amount of sugar recommended (so that’s 1/2 cup sugar only).
And FYI, folks, it’s really hard to do this in a silicone mould, so I wouldn’t recommend doing that!
I also changed up the steps of which I did things so I wouldn’t have to re-clean the beaters (whipped the cream before doing the cream cheese mixture).
I liked the recipe and will probably do it again. Thanks for the recipe!
Thanks for all the info–there is a metric conversion on the recipe card but sometimes it is not completely accurate so I am not sure it’s the best to use.
this was a great recipe. the consistency was perfect and easy to achieve. the only change i would make in future was going easy on peppermint extract. a half teaspoon would have sufficed for me once you add peppermint crumbles.
Noted! Thanks for the feedback, Erika! So happy it still worked out and was enjoyed!