This post may contain affiliate links.

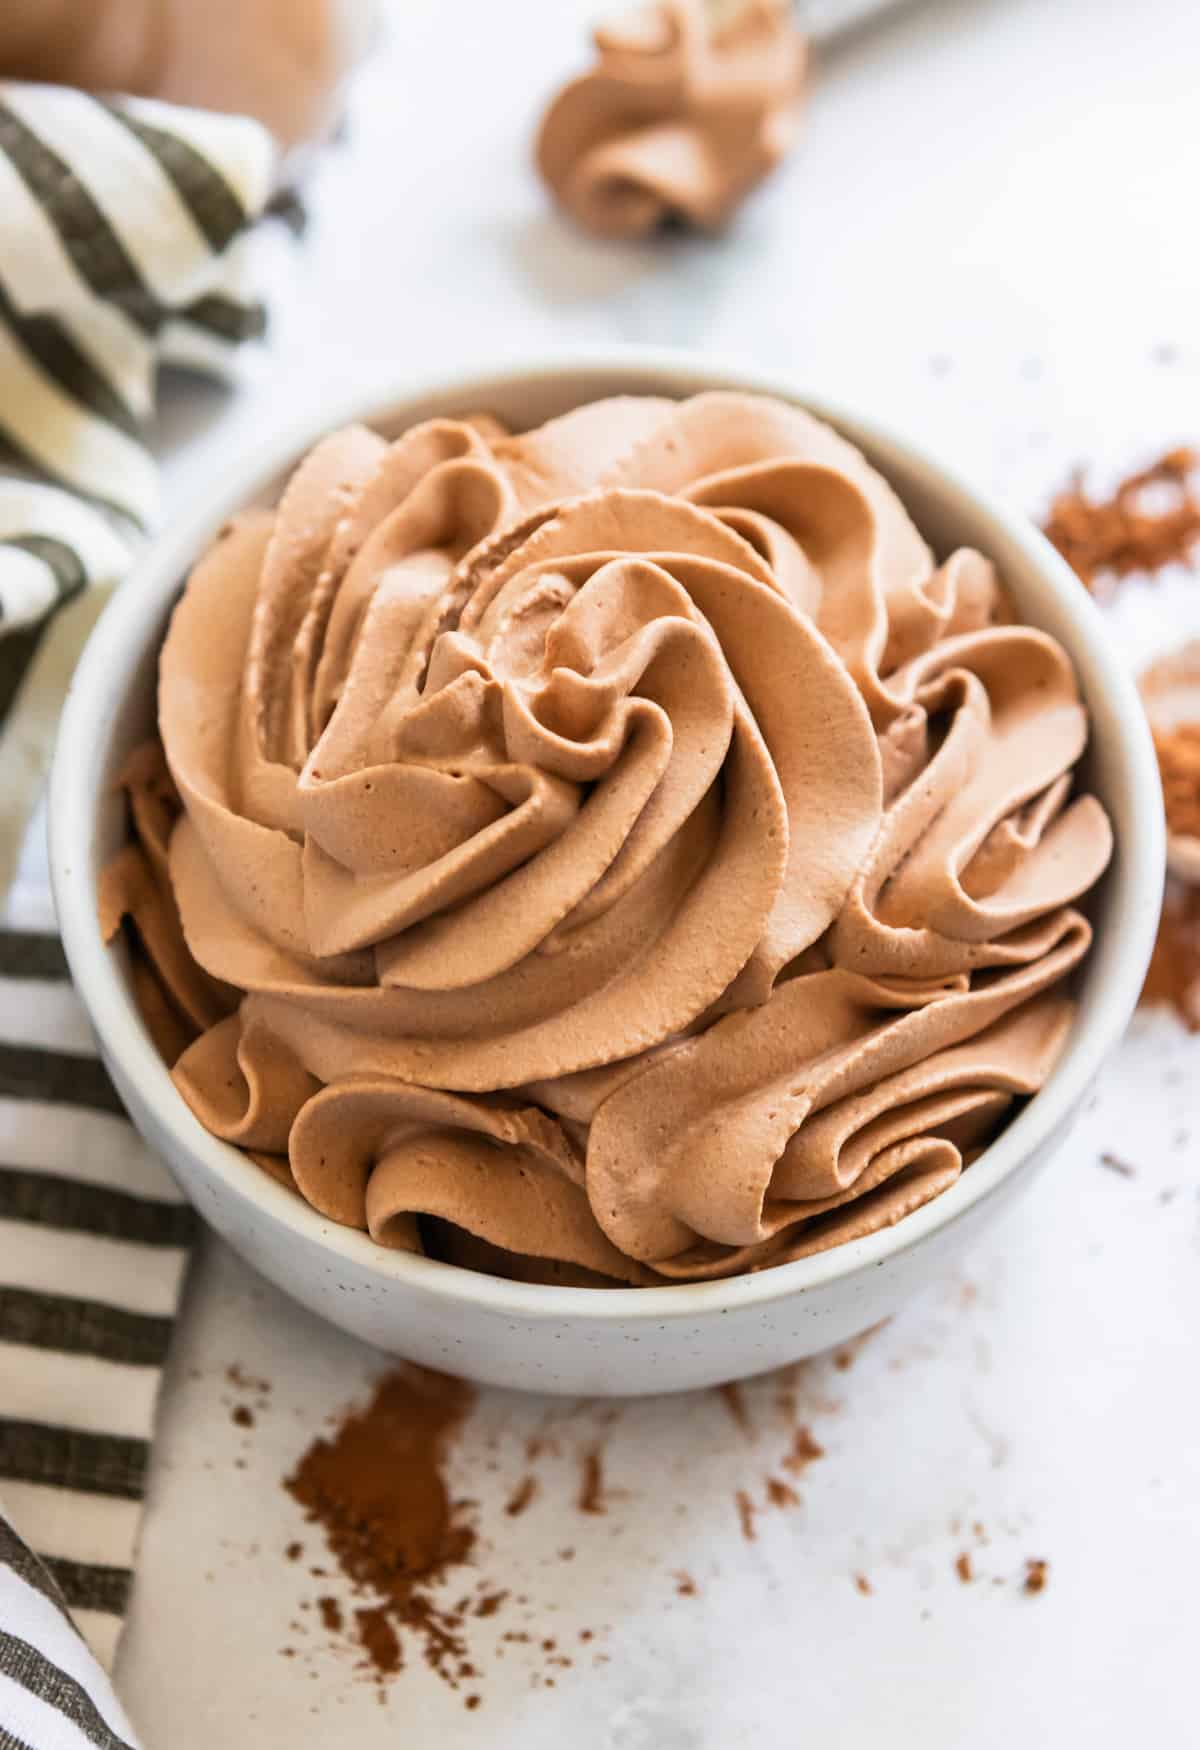
A handful of simple ingredients and 10 minutes are all you need to make this rich and creamy homemade Chocolate Whipped Cream recipe. Perfect for frosting cakes and cupcakes, topping ice cream and straight from the spoon. A chocolate lover’s dream!

If you aren’t making your own homemade whipped cream, then I promise you are missing out. And if you aren’t making this easy homemade chocolate whipped cream recipe then honestly, you are gonna want to fix that, and fast.
Chocolate whipped cream is this creamy, fluffy, almost mousse like dream that you can add to so many recipes. Layer cakes, cupcakes, on top of ice cream, on top of hot cocoa, fresh fruit, pies and your favorite desserts!
Forget regular whipped cream, chocolate is the dreamiest! (Try it on these peppermint bark brownies with a sprinkle of crushed peppermint candy. YUM.)
But most definitely straight from the spoon. And for a fall flavor, try some pumpkin spice whipped cream as well!
Why You will Love This Homemade Chocolate Whipped Cream Recipe:
- It’s ready in 10 minutes. Sure, the stuff in the can is ready when you pull it from the fridge, but this homemade chocolate version takes only ten minutes of your time. Chocolate lovers will love how easy it is!
- The texture is so light and creamy. Have I eaten this whipped cream as the dessert alone before? Yes! It is that good. The texture is creamy and mousse like and has a nice lightness as well.
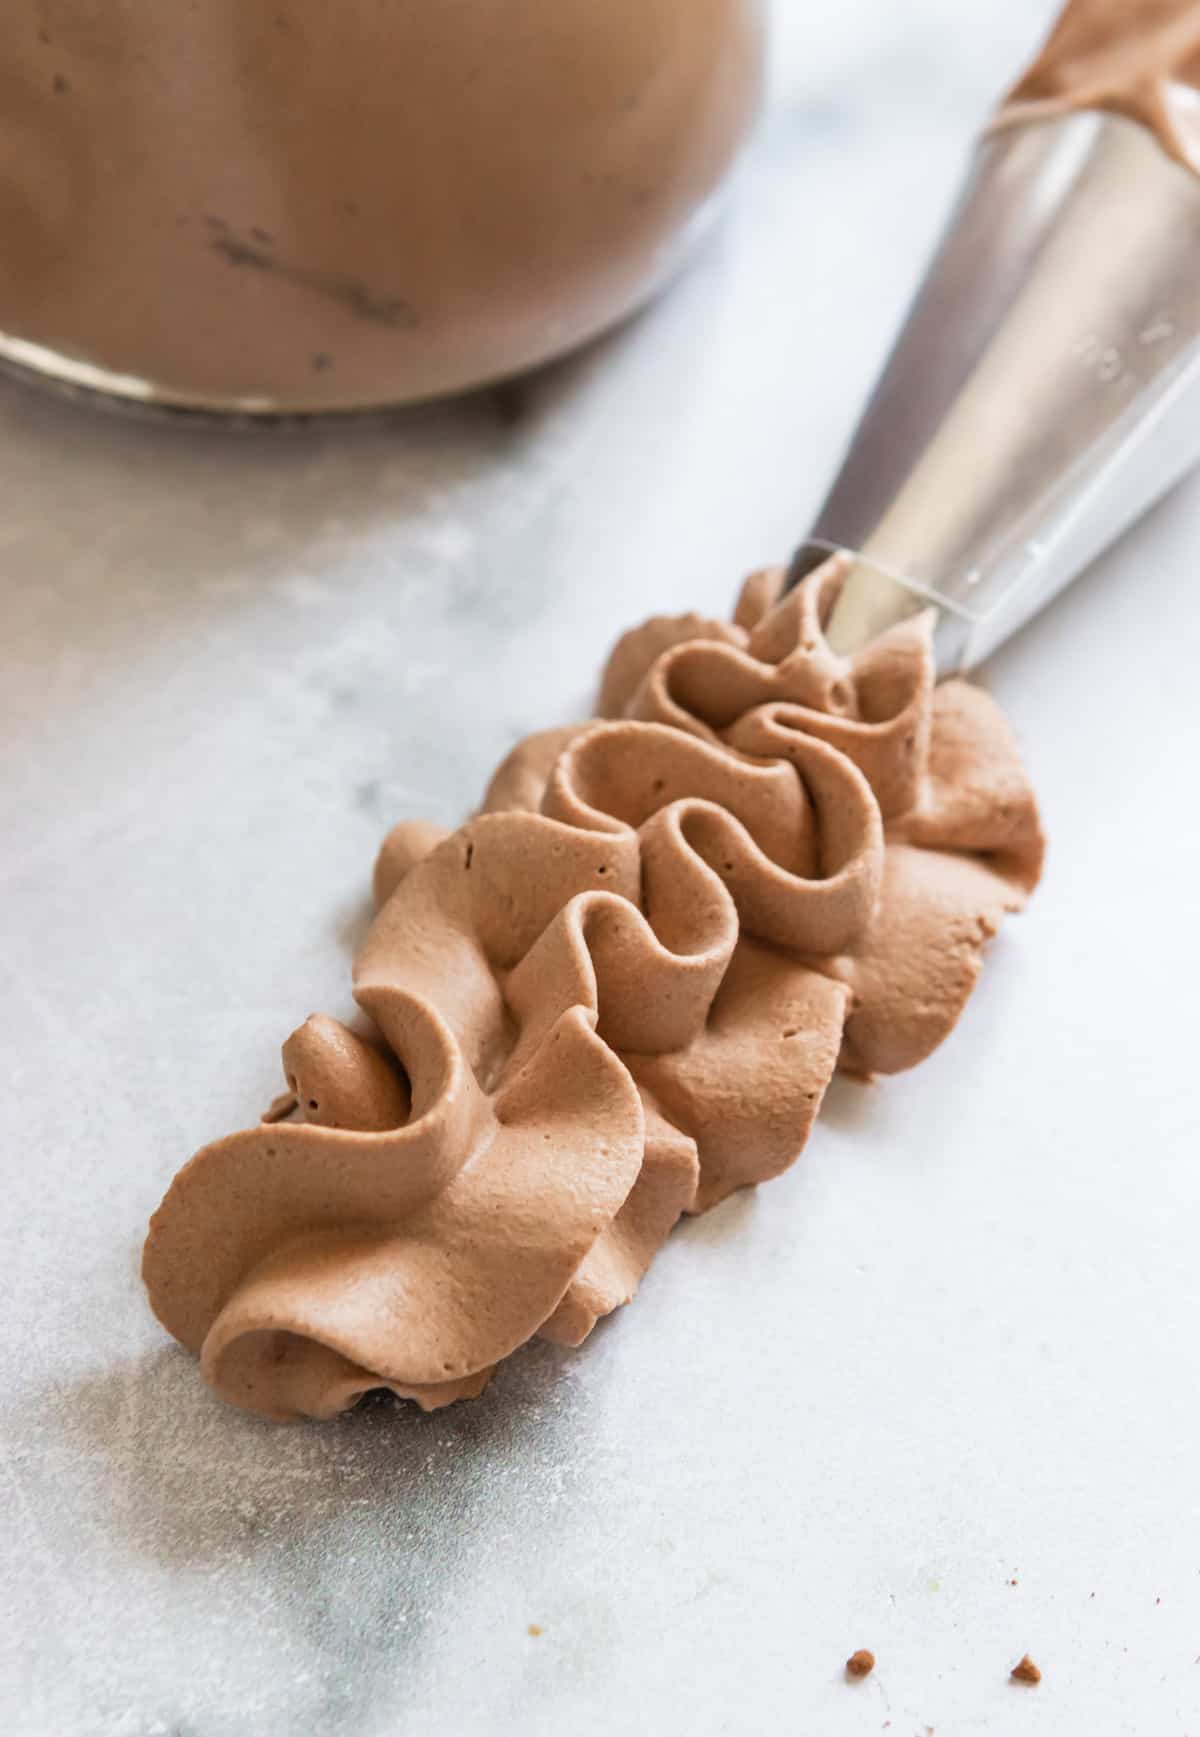
- It’s versatile. Perfect topping for your favorite sundae but also gorgeous as a vanilla cupcake topper piped high, a great fruit dip, light frosting, etc. For a sturdier, chocolate buttercream frosting, opt for this chocolate buttercream frosting recipe.
- Most importantly: it’s so delicious! You will want to eat it straight from the spoon. And we love it on top of these Easy Mocha Cupcakes, No-Churn Peanut Butter Cookies and Cream Ice Cream, No-Bake Oreo Cheesecake Cups, Nutella Mug Cake Recipe–and so much more!
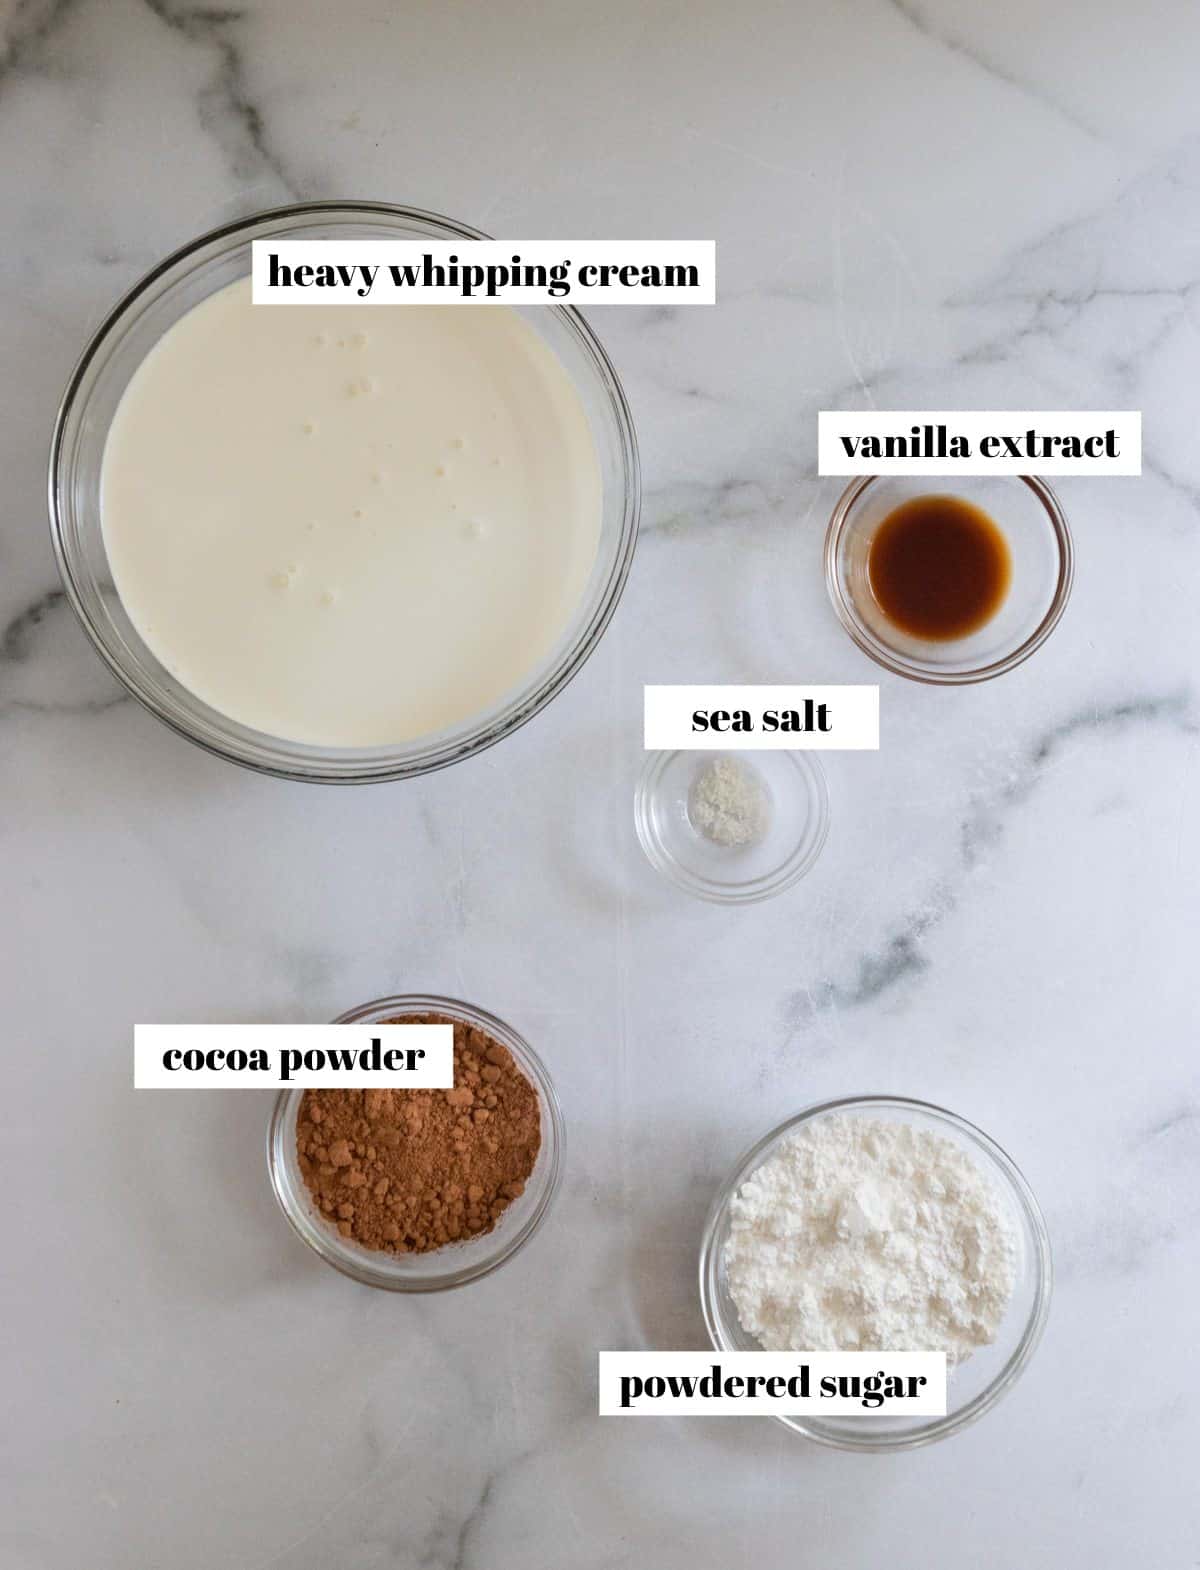
Recipe Ingredients:
- heavy whipping cream: sometimes called double cream as well. For best results, make sure you use heavy whipping cream versus just “whipping cream” if you are planning to use this chocolate whipped cream for piping or frosting, the heavy whipping cream will hold its shape much better. Heavy whipping cream has a higher milk fat content and will make for a thicker, richer whipped cream.
- cocoa powder: Use an unsweetened type of cocoa powder. We use classic Hershey’s natural unsweetened cocoa powder. For a darker color using a dutch processed cocoa powder and lightened with natural processed powder.
- confectioners sugar: confectioners sugar is powdered sugar with added corn starch. Use this for aid in stabilizing and holding the whipped cream together better. It also adds a nice touch of sweetness.
- vanilla extract: for the optimal richness in flavor, use extract and not imitation vanilla.
- optional: To add a richness to the flavor of this chocolate whipped cream recipe, you can add espresso powder. It really brings out the chocolate flavor.
Step-by-Step Instructions:
- Add all of the ingredients to a large bowl. You can freeze the bowl for about 15 minutes before making this chocolate whipped cream. I prefer a bowl that is relatively deep if using an electric hand mixer. This will keep any of the mess away and you won’t have cream flying out at you. If using a stand mixer, the bowl it comes with is perfect. Use the whisk attachment.
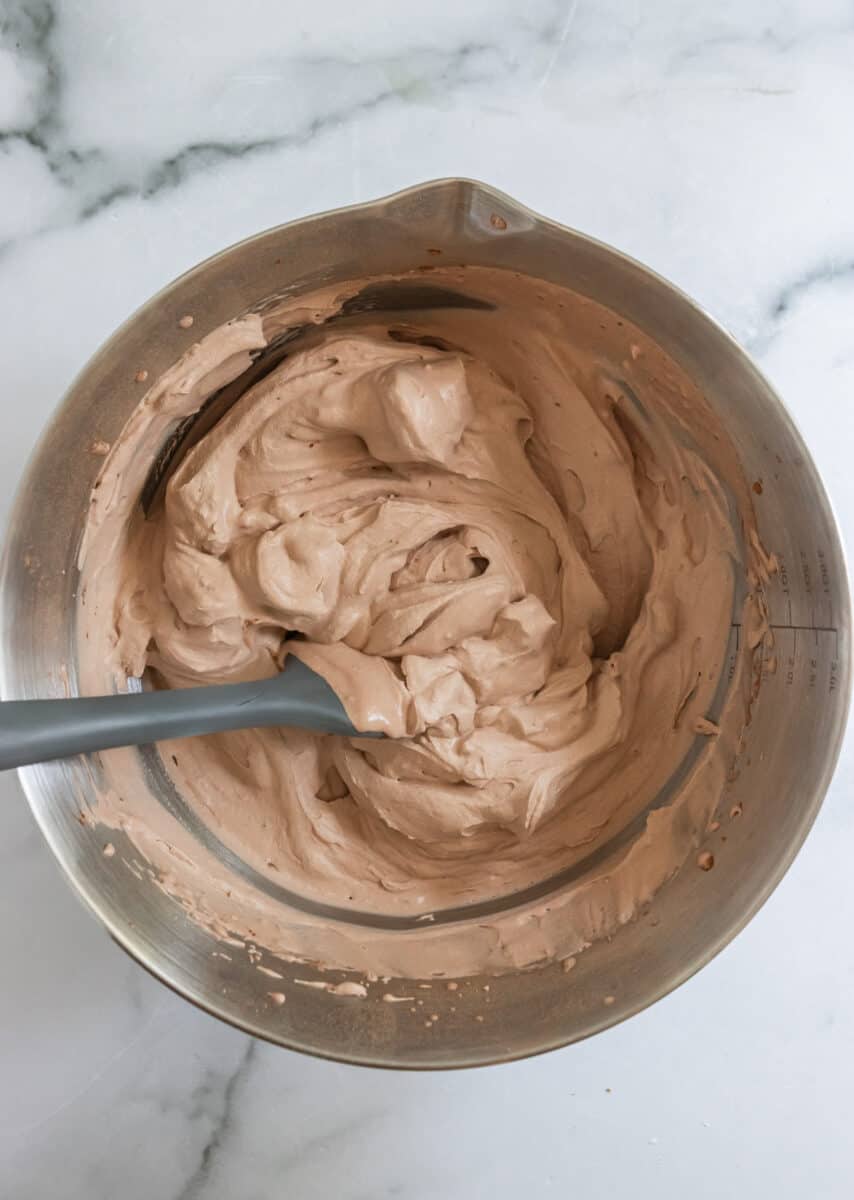
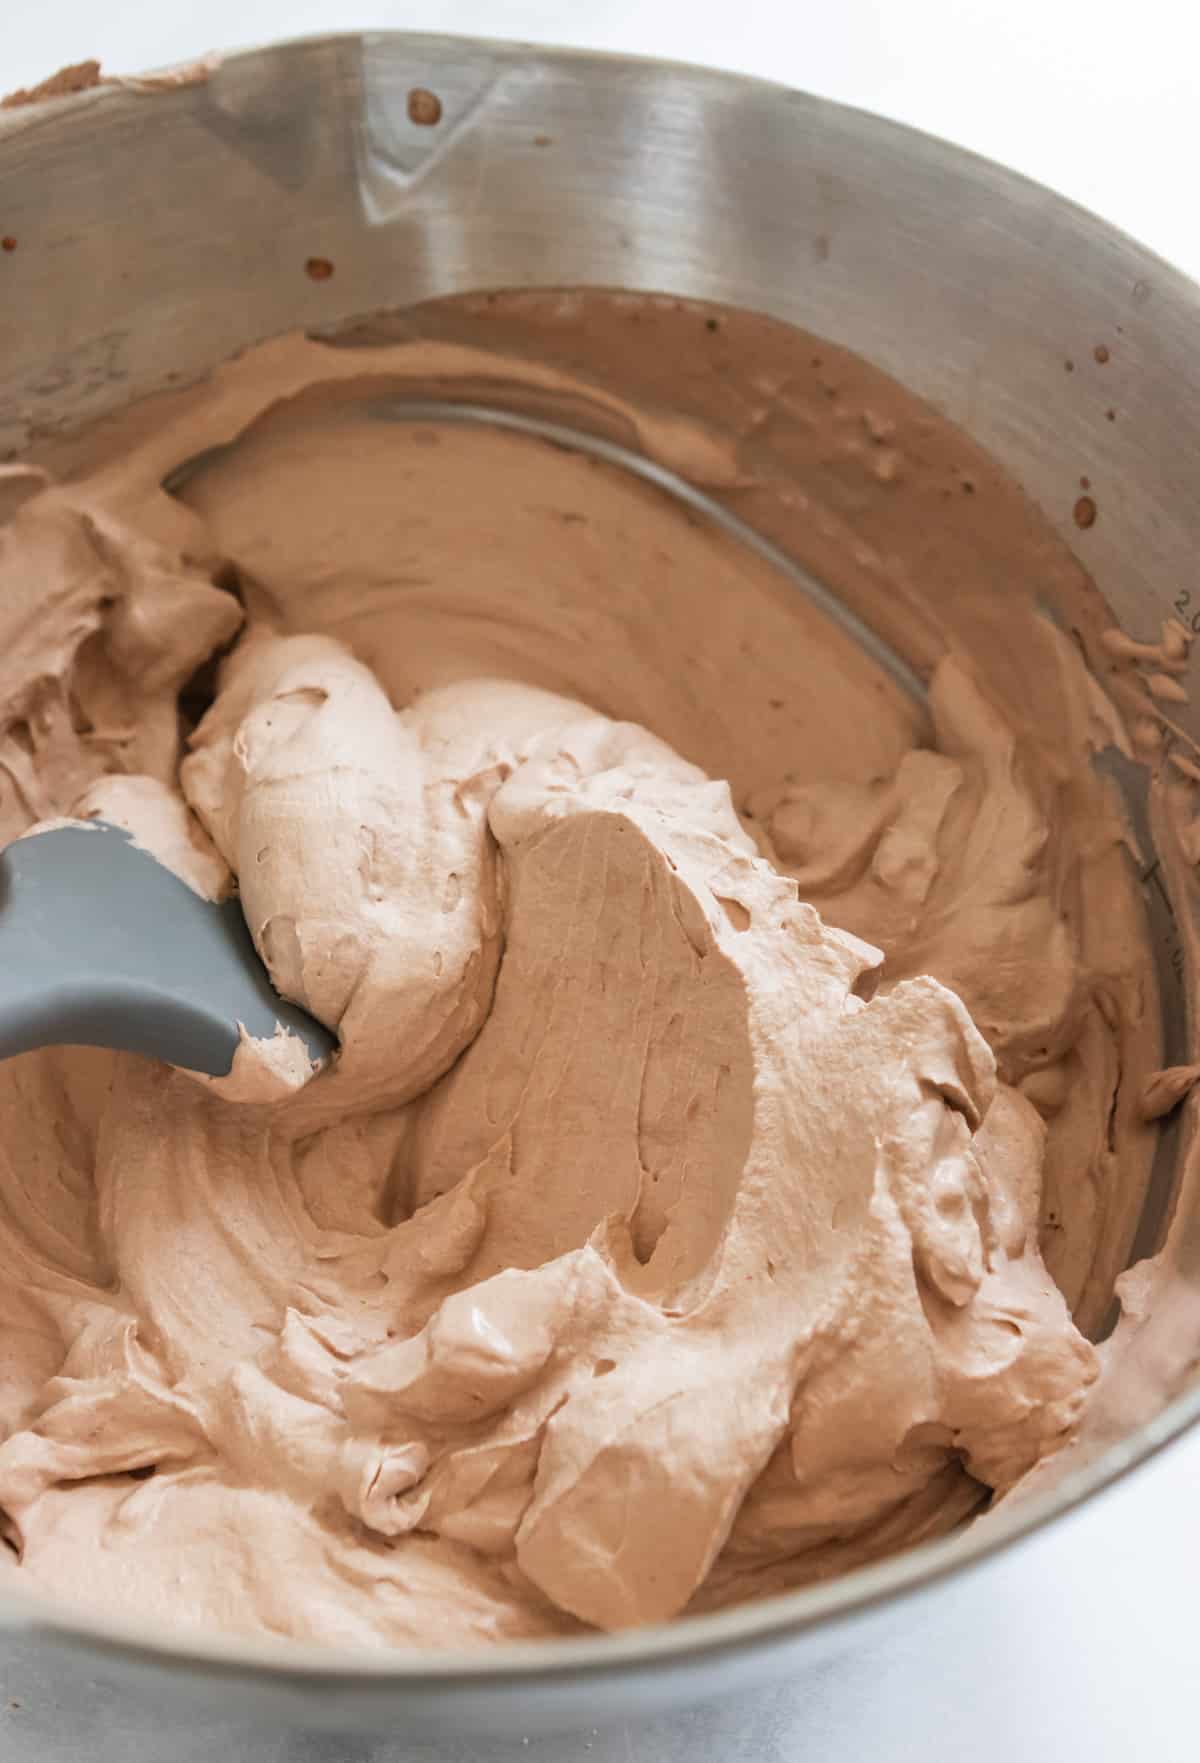
- Whip on medium to medium-high speed for about 4-5 minutes or until stiff peaks start to form. Once the stiff peaks start to form, your whipped cream is set. You don’t want to over mix this or it will become lumpy and lose that creaminess.
- Cover and chill until you are ready to use it. You can use this as a frosting and transfer to a piping bag, spread with a spatula and more.

Recipe Tips
- You do NOT want to over whip the cream. Once the stiff peaks start to form, the whipped cream should be ready. It will become lumpy and grainy and look almost like freshly churned butter. However, I have read that whisking in a few extra tablespoons of cream can help fix the problem.
- Temperature matters. Make sure your cream is very cold when making this chocolate whipped cream. You can also chill your bowl and mixer tools if desired. You will be much more successful with cold cream!
- For a fun family activity, you can add the ingredients into a jar that will hold about 4 cups or half the recipe for easier handling, and SHAKE, SHAKE, SHAKE until ready!
- If your whipped cream has a bitter flavor, you can add a tablespoon or two more powdered sugar. You can also add a tablespoon of regular sugar. One last option is to add another pinch of salt.
For a dairy free variation:
I have actually made this recipe dairy free as well. If you would like to make a dairy free chocolate whipped cream, you will want to use about 2 cans of full fat coconut milk.
Do not buy the store brand coconut milk unless you really trust it. I haven’t had luck with any store brand versions. Chill the coconut milk at least overnight so that the thick cream and liquid separate.
Remove the watery part from the can and add the thickened, chilled coconut cream to the mixing bowl with the other ingredients. From, everything else should be the same.
The dairy free version of the chocolate whipped cream won’t be quite as sturdy and thick as the version with dairy. It will still be delicious and will be dairy free if that is what you need!
Storage Instructions:
Hopefully you won’t have any leftover whipped cream, but if you do, store it in an airtight container in the coldest part of your refrigerator. This is going to be toward the back of the fridge!
To freeze, line a sheet pan with parchment paper and scoop dollops or pipe small sections of whipped cream over the parchment leaving about 1-2 inches between each dollop. Freeze for several hours until solid and then transfer to a freezer safe container. When ready to use, allow to sit out for about 15-20 minutes to thaw and enjoy! Freeze for up to 3 months.
What To Serve With This Chocolate Whipped Cream:
- Easy Vanilla Cupcakes
- Easy Mocha Cupcakes
- No-Churn Peanut Butter Cookies and Cream Ice Cream
- Oreo No-Bake Cheesecake Cups
- Flourless Nutella Mug Cake
- Bailey’s Dark Chocolate Avocado Mousse
- Salted Peanut Butter Skillet Cookie {Gluten Free}
HUNGRY FOR MORE? Subscribe to my newsletter and follow me on Facebook, Instagram and Pinterest for all the latest!
Chocolate Whipped Cream
Ingredients
- 2 c heavy whipping cream
- ¼ c heaping cocoa powder
- ⅓ c powdered sugar
- 1 tsp vanilla extract
- pinch of sea salt
- Optional add in: 1 tsp espresso powder
Instructions
- In a medium bowl, combine all of the ingredients. Using a hand mixer or a standing mixer with a whisk attachment, whip on medium until stiff peaks start to form. This will take 4-5 minutes.
- Chill until ready to serve. Enjoy this straight off the spoon or as a light and fluffy frosting for cakes or cupcakes, a filling for desserts and so much more!
Notes
- You do NOT want to over whip the cream. Once the stiff peaks start to form, the whipped cream should be ready. It will become lumpy and grainy and look almost like freshly churned butter. However, I have read that whisking in a few extra tablespoons of cream can help fix the problem.
- Temperature matters. Make sure your cream is very cold when making this chocolate whipped cream. You can also chill your bowl and mixer tools if desired. You will be much more successful with cold cream!
- If your whipped cream tastes too bitter, you can add a tablespoon or two more powdered sugar. You can also add a tablespoon of regular sugar. One last option is to add another pinch of salt.
Nutrition
Nutrition information is automatically calculated, so should only be used as an approximation.
Shop this Post:
 Buy Now →
  Buy Now →
  Buy Now →
I made this with 2x amount of ingredients and it isn’t forming well for me. Because it is more ingredients do I mix it longer?
It should maybe take another minute or two, but not much more than that. Did it work out ok in the end?
Is this more frosting than you need for a 13 x 9 cake? Could I cut it in half?
I think it should be great for a 9×13 inch cake unless you only want a super thin layer of frosting.
Thank you for replying. I was just wondering if I was going to have a 6″ pile of frosting on that size of cake vs. making a layer cake!
Used a little less sugar but was an amazing flavored frosting with yellow cake. Perfect for my daughter’s second birthday. Thank you!
Thank you for helping me make my grandkids happy! They loved this frosting on their chocolate/chocolate mousse cake! It was delicious and so easy to make.
The richness of the chocolate is amazing, perfect for people that doesn’t really like sweet stuff 🙂
Love to hear this! I love this recipe too!
Reviewed this five years ago, still gets rave reviews whenever I whip up a batch to top our cheesecake, ricotta pie, custard pie and the many flavors of ice cream/gelato I make.
Best whipped cream recipe ever. You could serve this as a stand alone and get a standing ovation.
Tom! You literally just made my whole day. Thanks so much and I appreciate the very kind words!
It’s a forgiving and delicious frosting! I whipped my cream first, 5-6 min, soft peak, then added the other ingredients that were only chilled a few min. in the freezer. Whipped a second time for only a couple minutes and almost immediately got nicely textured frosting. I had also included a scant Tbsp of instant chocolate pudding and then, during second mixing, a scant tsp of vanilla. Love it, keeping this recipe handy! I may need to double it for a large 2-layer cake. The amount doesn’t look like quite enough.
Yea, it really depends on how you want to ice the cake, but doubling would likely be a great idea.
Love this recipe. I added the espresso powder. It came out beautifully. It is delicious and so so easy.
This is absolutely delicious & not too sweet. I used it as a frosting on a cake that had Oreos as part of the decoration and that combo was amazing. We dipped Oreos in the leftover cream and everyone loved it.