This post may contain affiliate links.

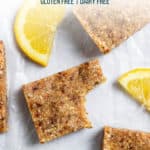
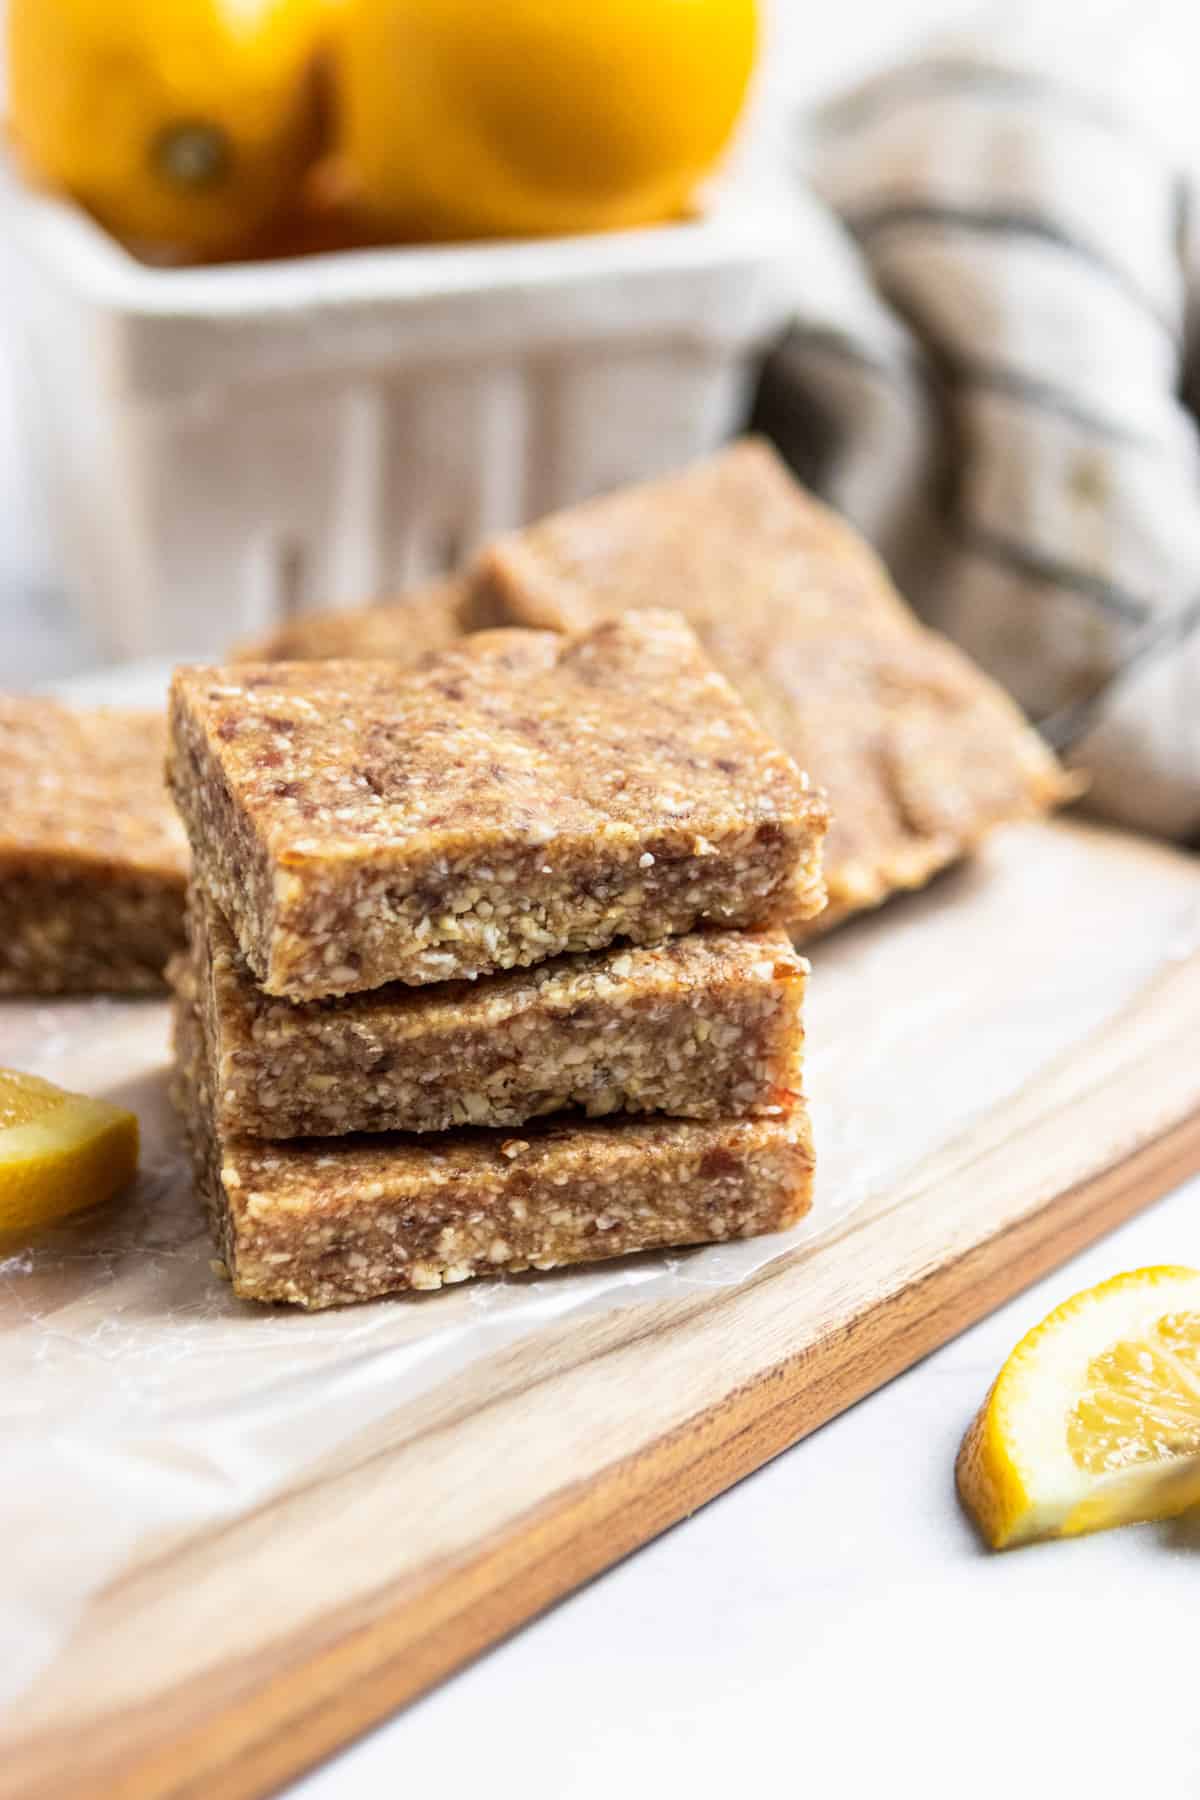
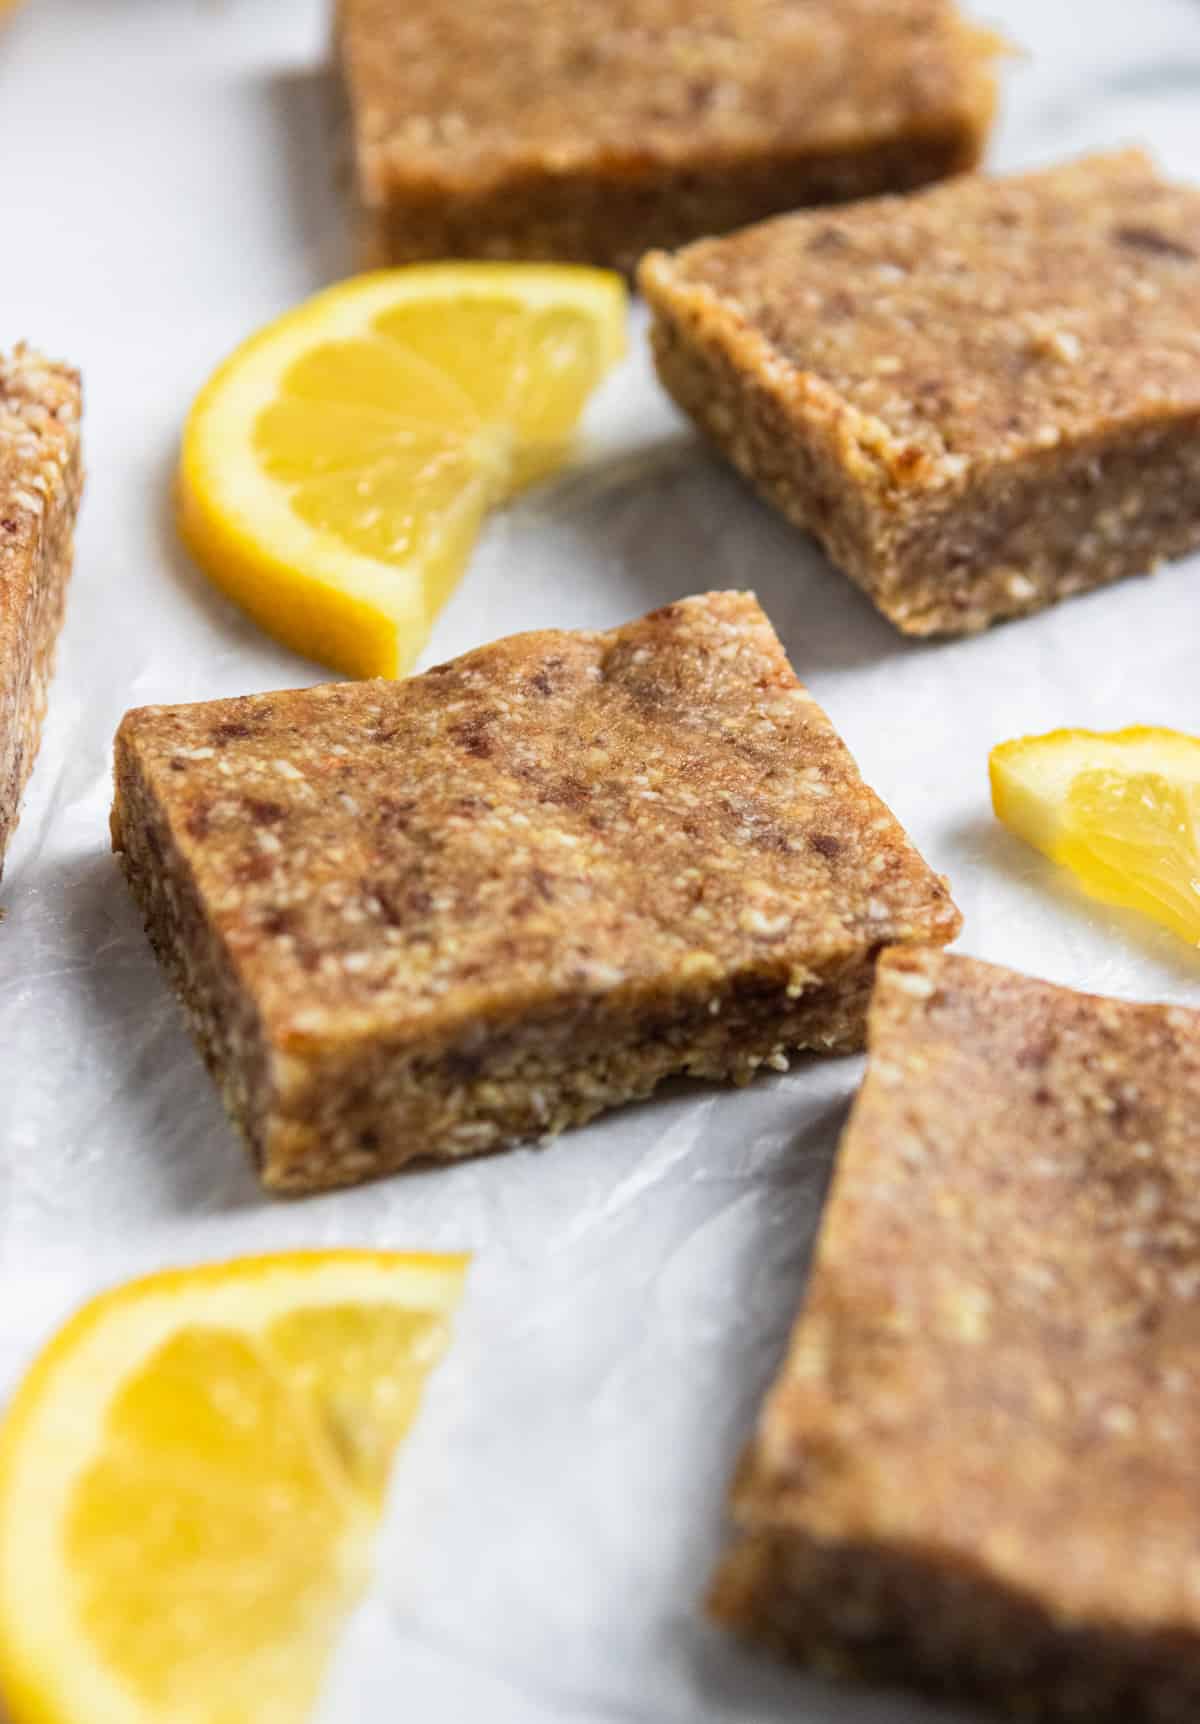
Save money and make your energy bars at home– they are so simple! These no-bake lemon coconut bars come together in minutes and at a fraction of the cost. Fresh lemon, coconut, dates, almonds and cashews–only about 10 minutes to prep!

I am a huge fan of things that come in bar form. All of it. Granola bars, energy bars, cookie bars, you name it.
I am not a fan of paying extra for convenience all the time when it comes to the bars that I love to snack on–that’s why I keep this homemade energy bars recipe, and several others in my back pocket. Comes quite in handy a lot.
If you love simple, no-bake recipes like these lemon coconut bars, try these other favorites: No Bake Banana Bread Bites, No Bake Piña Colada Energy Bites, Peanut Butter Oatmeal Balls or these Trail Mix Bars!
Why You Will Love These No Bake Lemon Coconut Bars
- They are so so so easy to make. Check out the video in the recipe card. From start to chilling these bars took me all of about 5 minutes if that. There aren’t many recipes that can boast that.
- They will SAVE YOU MONEY. If you are a fan of the store bought bars, and don’t get me wrong, I am too, you will find you are forking over a chunk of change for your snacking over time. Make your own and you will most certainly find extra pennies in your pocket.
- Naturally gluten free and dairy free! These tart bars are vegan and gluten free so if you are in need of a snack minus the gluten–these are it.
- They taste better than store bought. Sorry not sorry. These energy bars taste fresh and are full of flavor. You don’t have to worry about whether you are about to open up the package to a bar that is hard as a rock and is almost ready to expire after spending a LOT of time on the shelf. These are the perfect snack recipe!
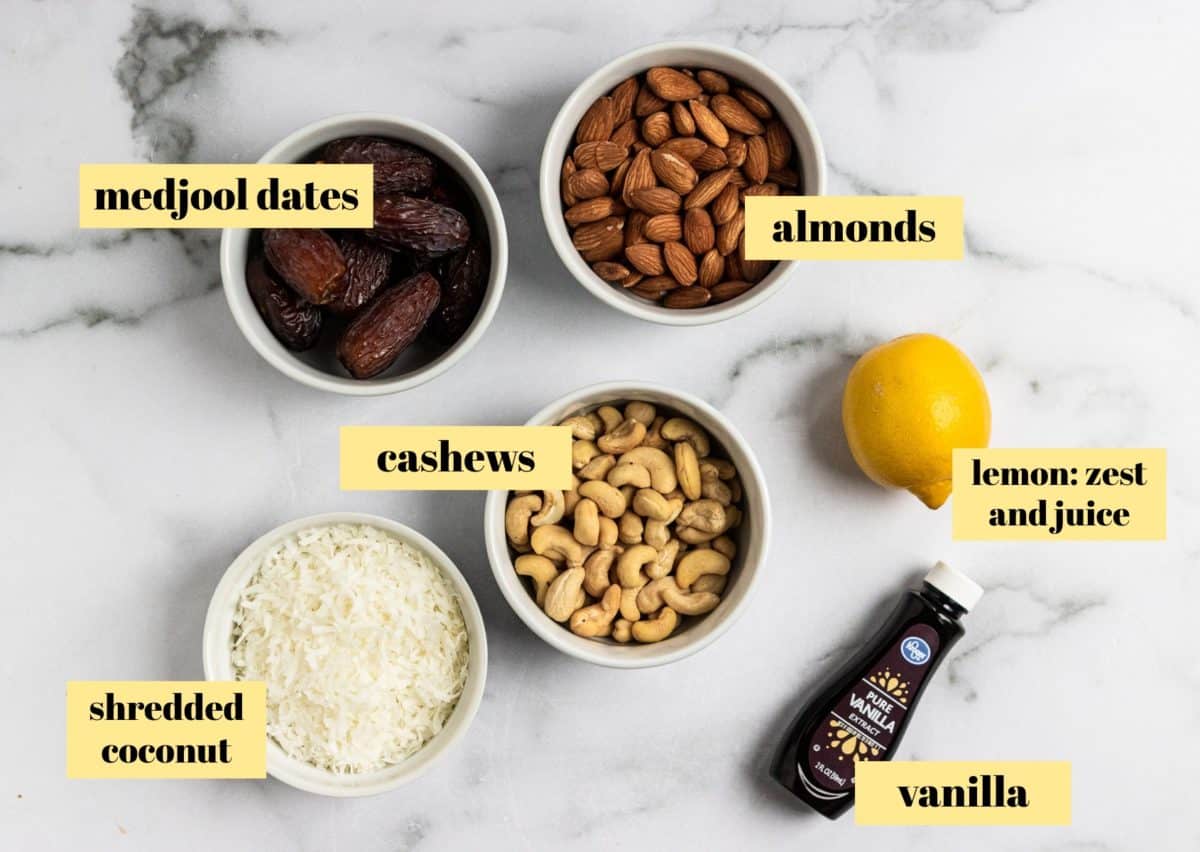
Ingredient Notes
- medjool dates: these are the best option as they are the biggest type of dates you can usually find. They add natural sweetness and help bind the bars together. Make sure to remove all of the pits. If you find other dates (California is one possibility) they are going to be much smaller than these so you will need plenty more.
- You can use any combination of pecans, almonds, cashews or walnuts in my honest opinion when making these homemade energy bars. I just happen to like cashews and almonds a lot together. Nuts can be pricy so I often go by what is on sale in the bulk section at the grocery.
- For best results, use fresh lemon juice and zest. This will bring out the most flavor in these bars.
Step-By-Step Instructions
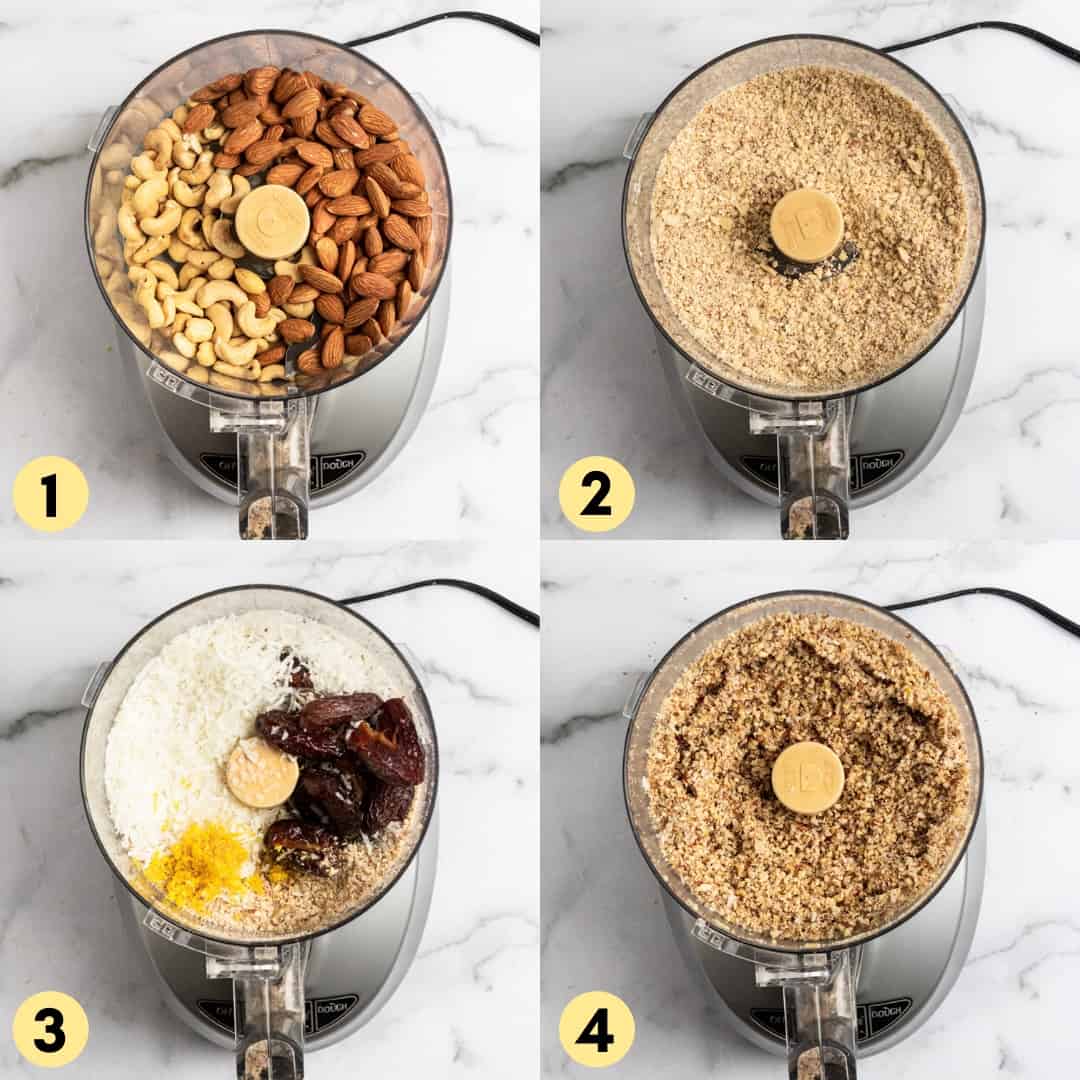
- Combine almonds and cashews in your food processor and process until fine and grain like. It is ok if there are still some almond or cashew chunks in this but for the most part, you want the nuts broken down well. (steps 1 and 2)
- Add in all the other ingredients. Process again. You may need to stop and scrape down the sides of the food processor in the middle of this step as well. Have patience here, it may take a few minutes for the ingredients to break down and form into a dough like consistency. (steps 3 and 4)
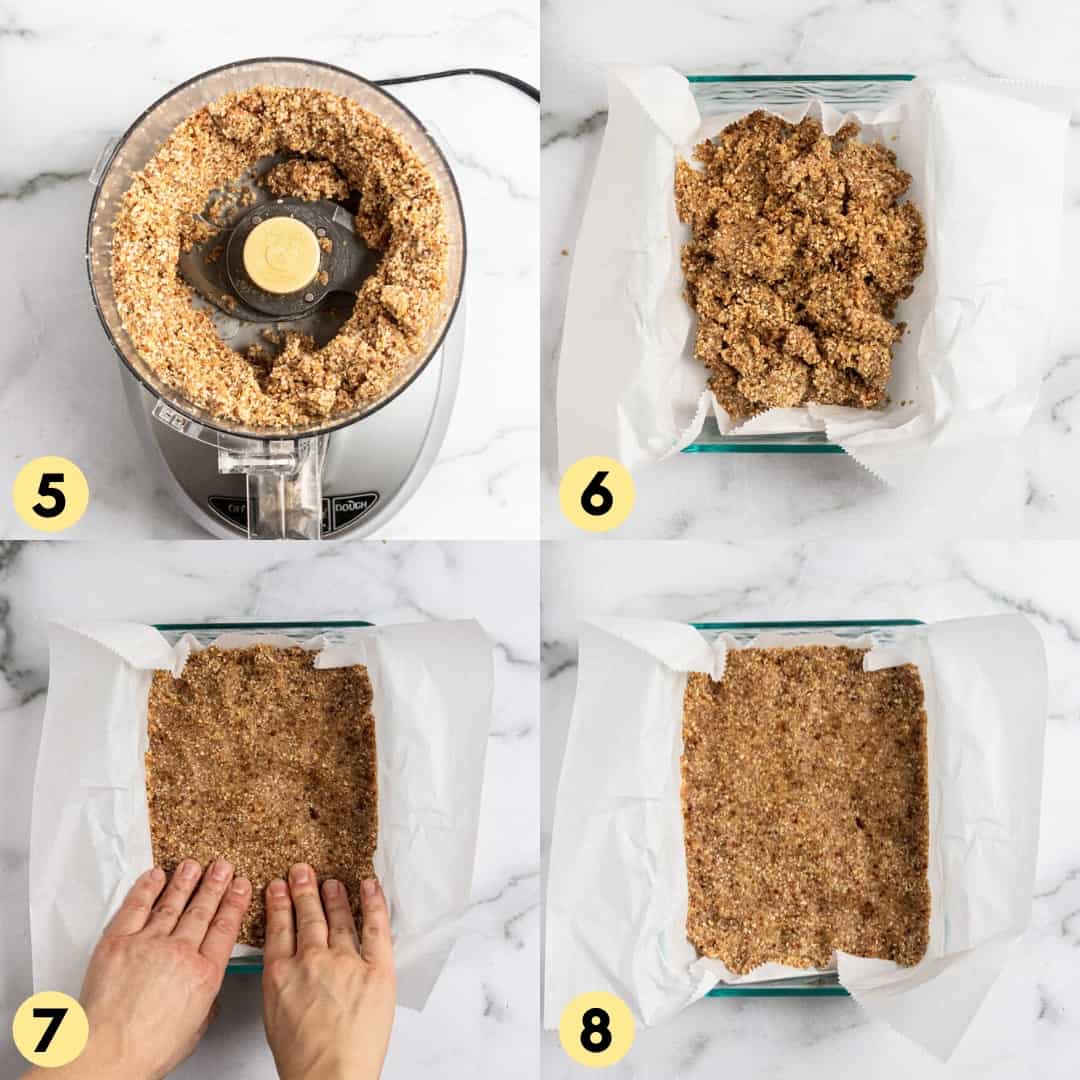
- Continue to process until the mixture starts to form together like a dough. It will begin to press up against the sides of the food processor, and if you leave it long enough, it will literally form a ball. I don’t like mine that processed, so I stop when I start to see it forming together on the sides. (step 5)
- Pour the dough into a parchment lined pan. Trust me on the parchment paper, otherwise these will be hard to get out and cut when they are ready. I have learned the hard way before. (step 6)
- Press, press, PRESS the energy bars into the pan. And I mean press. You want these to form into really sturdy bars so don’t go soft on this step. (steps 7 and 8)
- Place in the fridge to chill and set. Then cut and enjoy!
Recipe Tips
- If your dough seems a bit dry or is not really starting to come together, add a tsp more lemon juice or even water, just one at a time. Then process again to see if it will come together.
- The medjool dates should be pretty moist. If they are really dry, you can soak them in warm water for 5-10 minutes before making these homemade energy bars. Just drain the water and pat them dry before adding them into the food processor.
- You can freeze these coconut lemon bars. They will be fine in the freezer for about 3 months.
Possible Substitutions or Variations
- As I mentioned, any combination of pecans, almonds, walnuts or cashews will work well in these lemon coconut energy bars. The flavor will vary slightly, but these will still be delicious.
- You can use this recipe for a base homemade energy bar recipe. For instance, you could skip the lemon and add in chocolate chips for a coconut chip variation. Or perhaps fold in some dried cranberries instead. There are a lot of options out there, I promise. I even have several other options up my sleeve!
- If you don’t have lemon juice and lemon zest, you could use another citrus like limes or oranges. You could also use a bit of lemon extract or even coconut extract as well to still get some of the lemon coconut flavor.
Other No-Bake Recipes
- Homemade Birthday Cake Perfect Bars
- Mango Coconut Cashew Bars
- Copycat Peanut Butter Chocolate Chip Perfect Bars
- Pecan Pie Energy Bites
- Peanut Butter Oatmeal Energy Bites
- No Bake Piña Colada Bites
HUNGRY FOR MORE? Subscribe to my newsletter and follow me on Facebook, Instagram and Pinterest for all the latest!
No Bake Lemon Coconut Bars
Ingredients
- 1 cup raw almonds
- 1 cup raw cashews
- 10-12 medjool dates, pitted
- 1 cup shredded coconut
- 1 tsp vanilla extract
- Juice of 1/2 of a lemon (about 1 tablespoon)
- zest of one lemon
- pinch of sea salt, optional
Instructions
- In food processor, mix cashews and almonds. Process until a fine grain-like consistency.
- Add in dates, coconut, vanilla, juice and zest. Process until a dough forms. (scrape down the sides after a minute or so if necessary)
- Press into a pan lined with parchment paper firmly. I use a 6x8in pyrex rectangular dish and it fits perfect. If you only have an 8×8 or 9×9 pan, just press don't press fully to the edges on one side. You can use a bread pan too–they will be pretty thick. Just make sure you PRESS these hard into the pan.
- Chill for about 30-45 minutes and then cut into individual bars.
Video
Notes
Nutrition
Nutrition information is automatically calculated, so should only be used as an approximation.
These are fabulous, thanks very much for a healthy, raw, organic recipe that tastes great!
So happy to hear it Mark! Glad they were a hit!
I really like it whenever people get together and share views.
Great site, stick with it!
You are so cool! I do not suppose I have read anything like that
before. So wonderful to find someone with some unique
thoughts on this subject matter. Seriously.. thanks for
starting this up. This website is something that is needed on the
internet, someone with a little originality!