This post may contain affiliate links.

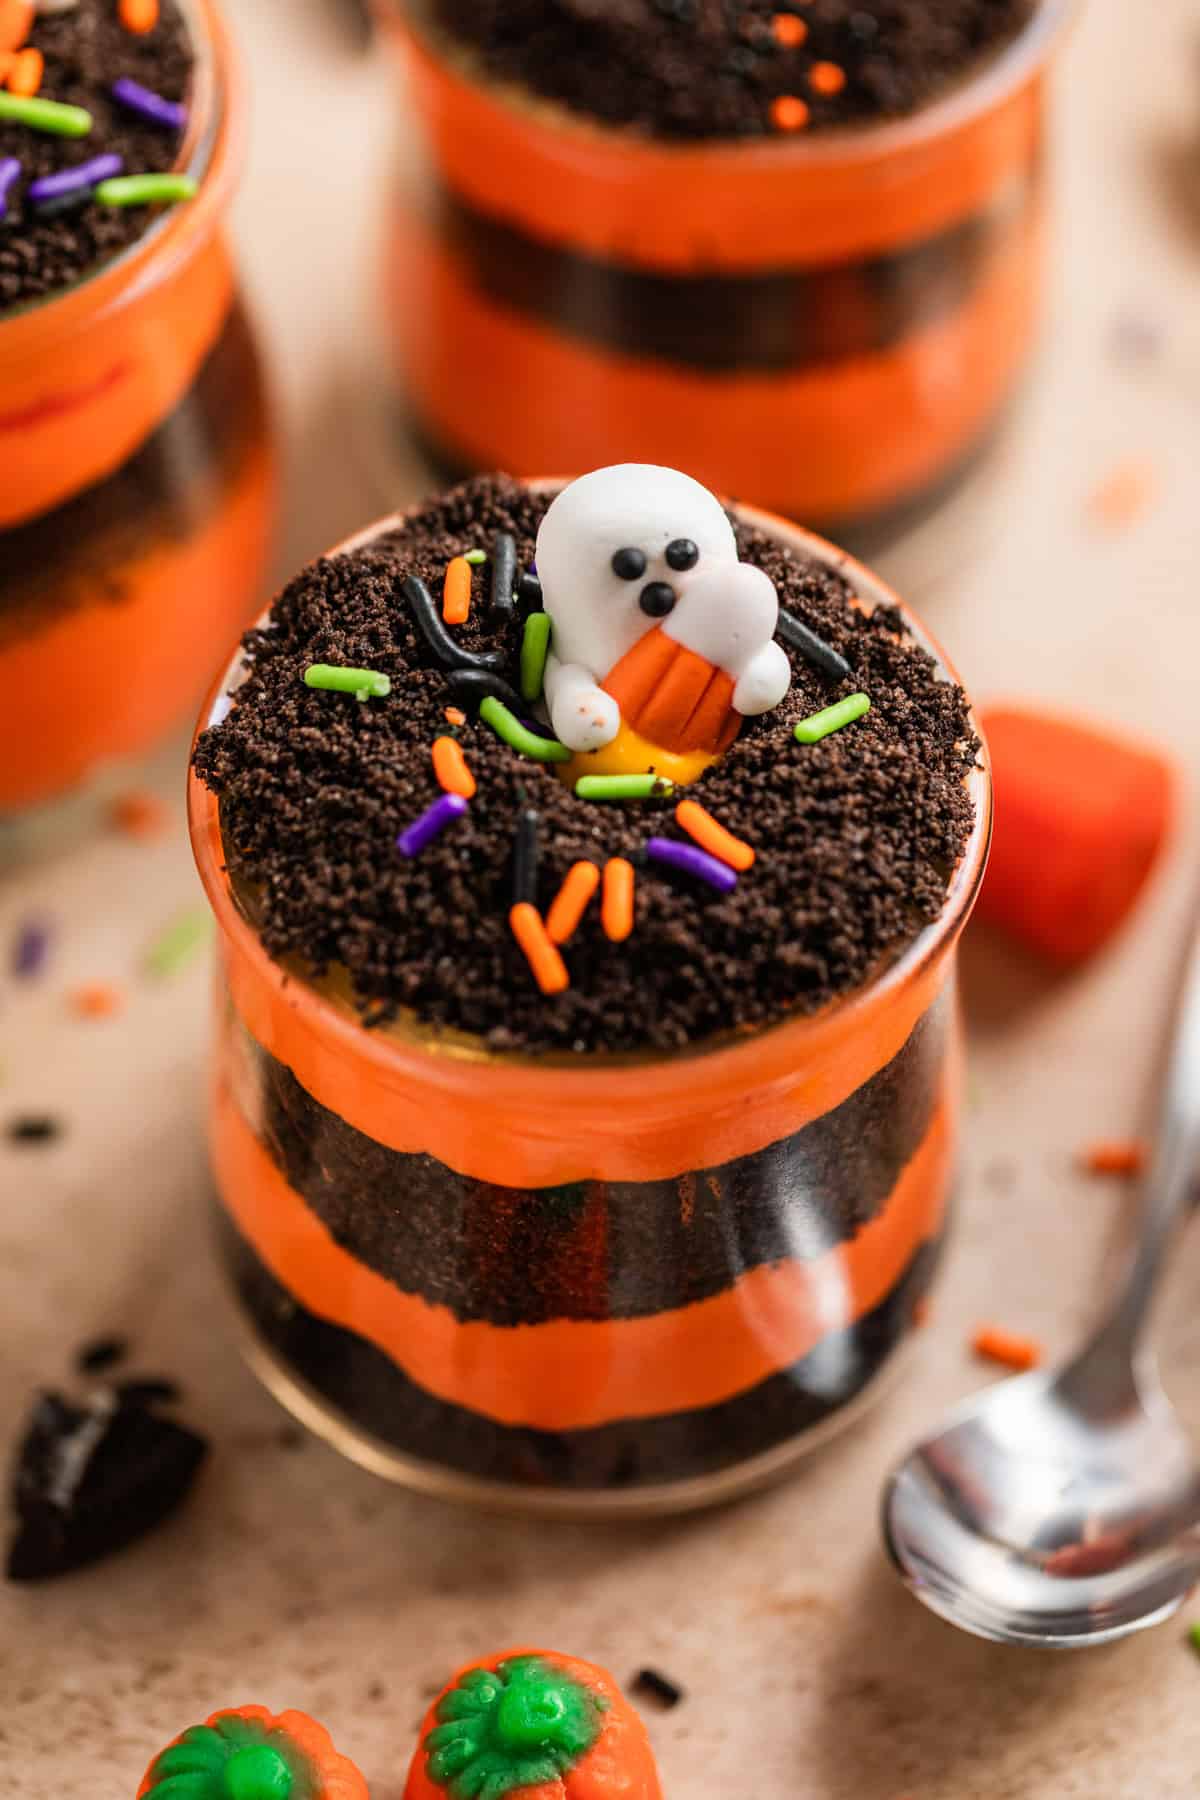
Everyone’s favorite kid friendly treat with a holiday twist, this Halloween Oreo Dirt Cake recipe is a perfect addition to any holiday party. Make it in individual cups or in one large dish. Whips up in about 15 minutes and is so delicious and maybe a bit spooky as well!
While I am not a huge fan of Halloween, I am a MAJOR HUGE fan of all things Oreo. This Halloween Oreo Dirt Cake recipe is inspired by the classic dirt cake and my No Bake Oreo Cheesecake Cups.
Rich, creamy, and even spookier than the original! Sounds great to me! You may also love these No Bake Halloween Cake Pops.
Why you will love this Halloween Dirt Cake:
- No baking required.
- Can easily be made in one large dish or individuals.
- Kid friendly but also the adults love it too.
- Easily customized for other holidays!
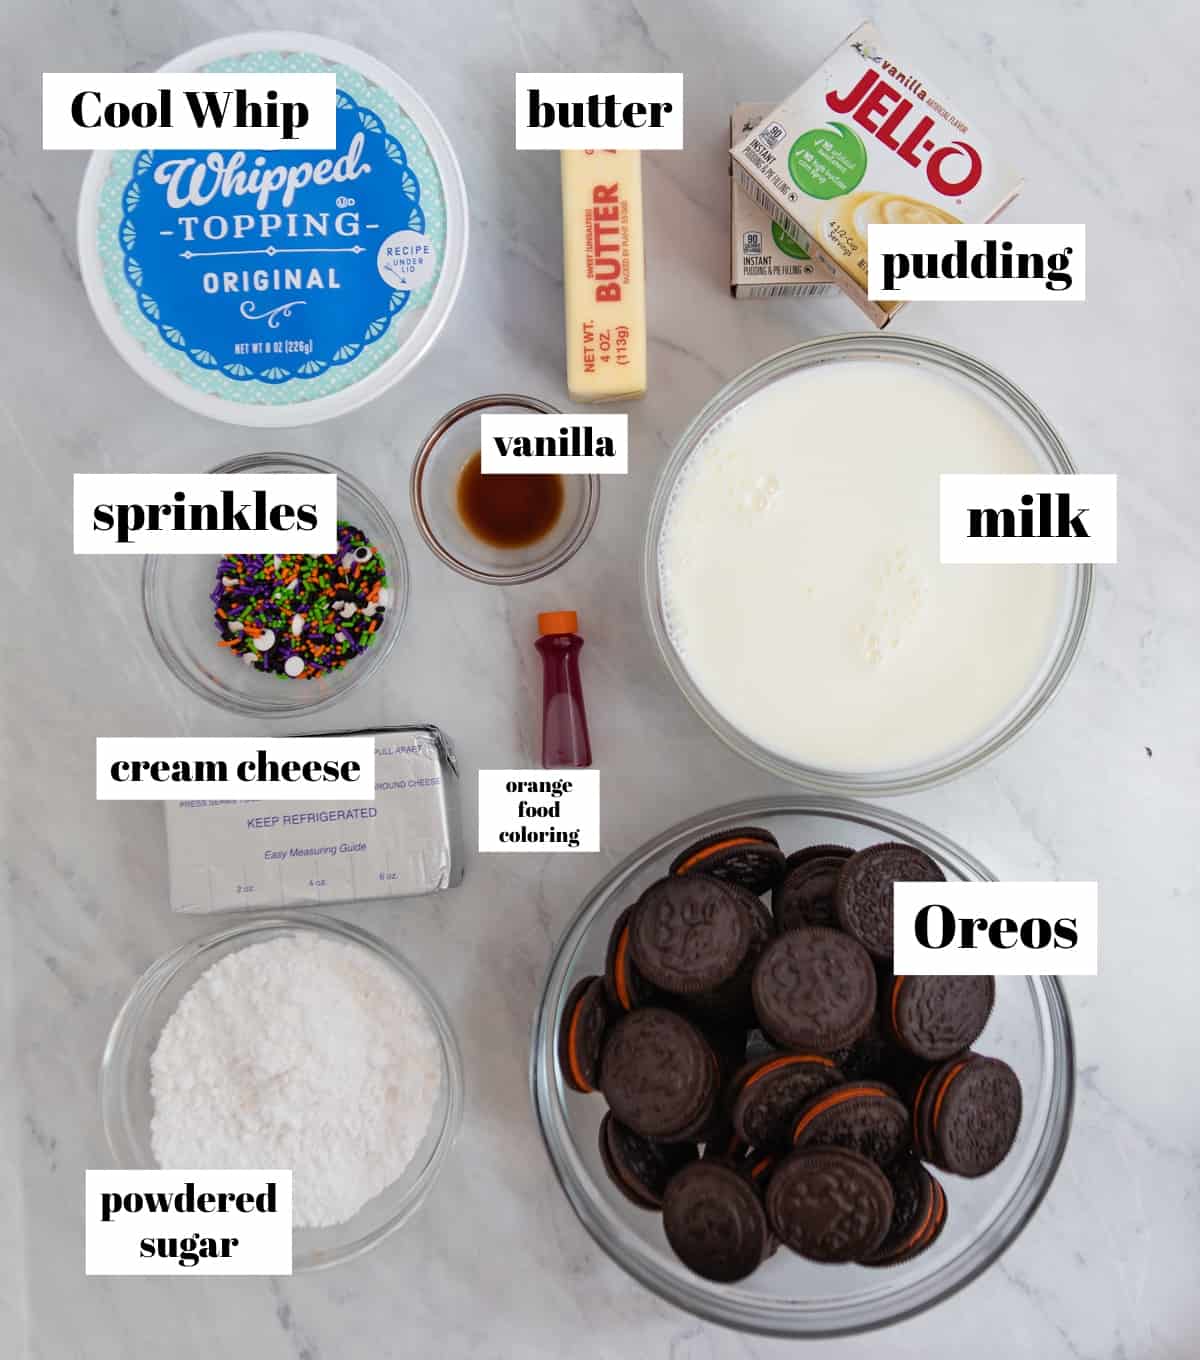
Ingredients:
- Oreos: the Halloween Oreos come in a 20 oz. package and contain about 40 cookies. While one package can be enough, I prefer to use almost 1 1/2 packages to make the layers a bit more visible. You can use just one package if the thought of using that many Oreos seems absurd–I totally understand!
- milk: I use whole milk but think that any milk should work fine when making the pudding.
- vanilla pudding: make sure it is Instant Pudding. There is a French Vanilla kind that is fine as well.
- butter: I use unsalted butter.
- cream cheese: I have only used full fat, but if you want to use a reduced fat cream cheese, this Halloween Dirt Cake should still turn out.
- powdered sugar: This adds a touch of sweet but also helps thicken up the pudding layer due to the corn starch. Think no bake cheesecake!
- cool whip: Make sure it is thawed before adding.
- vanilla: Most dirt cake recipes I have made in the past do not add vanilla extract due to the use of vanilla pudding. I find the vanilla to be essential in bringing out a true vanilla flavor in this recipe.
- food coloring: You can use equal parts red and yellow or buy orange. Feel free to use natural food coloring if you don’t like to use traditional food dyes.
- sprinkles: I like to add these on top but they aren’t necessary if you don’t want to add them. I found a great mix at Target with ghosts and eyeballs that the toddler insisted on and they add some great color as well.
Worms are ALWAYS a great option to add in as well! I went for sprinkles to add something different. Plus my toddler would have eaten all the gummy worms before I had a chance to add them.
Step-by-Step Instructions:
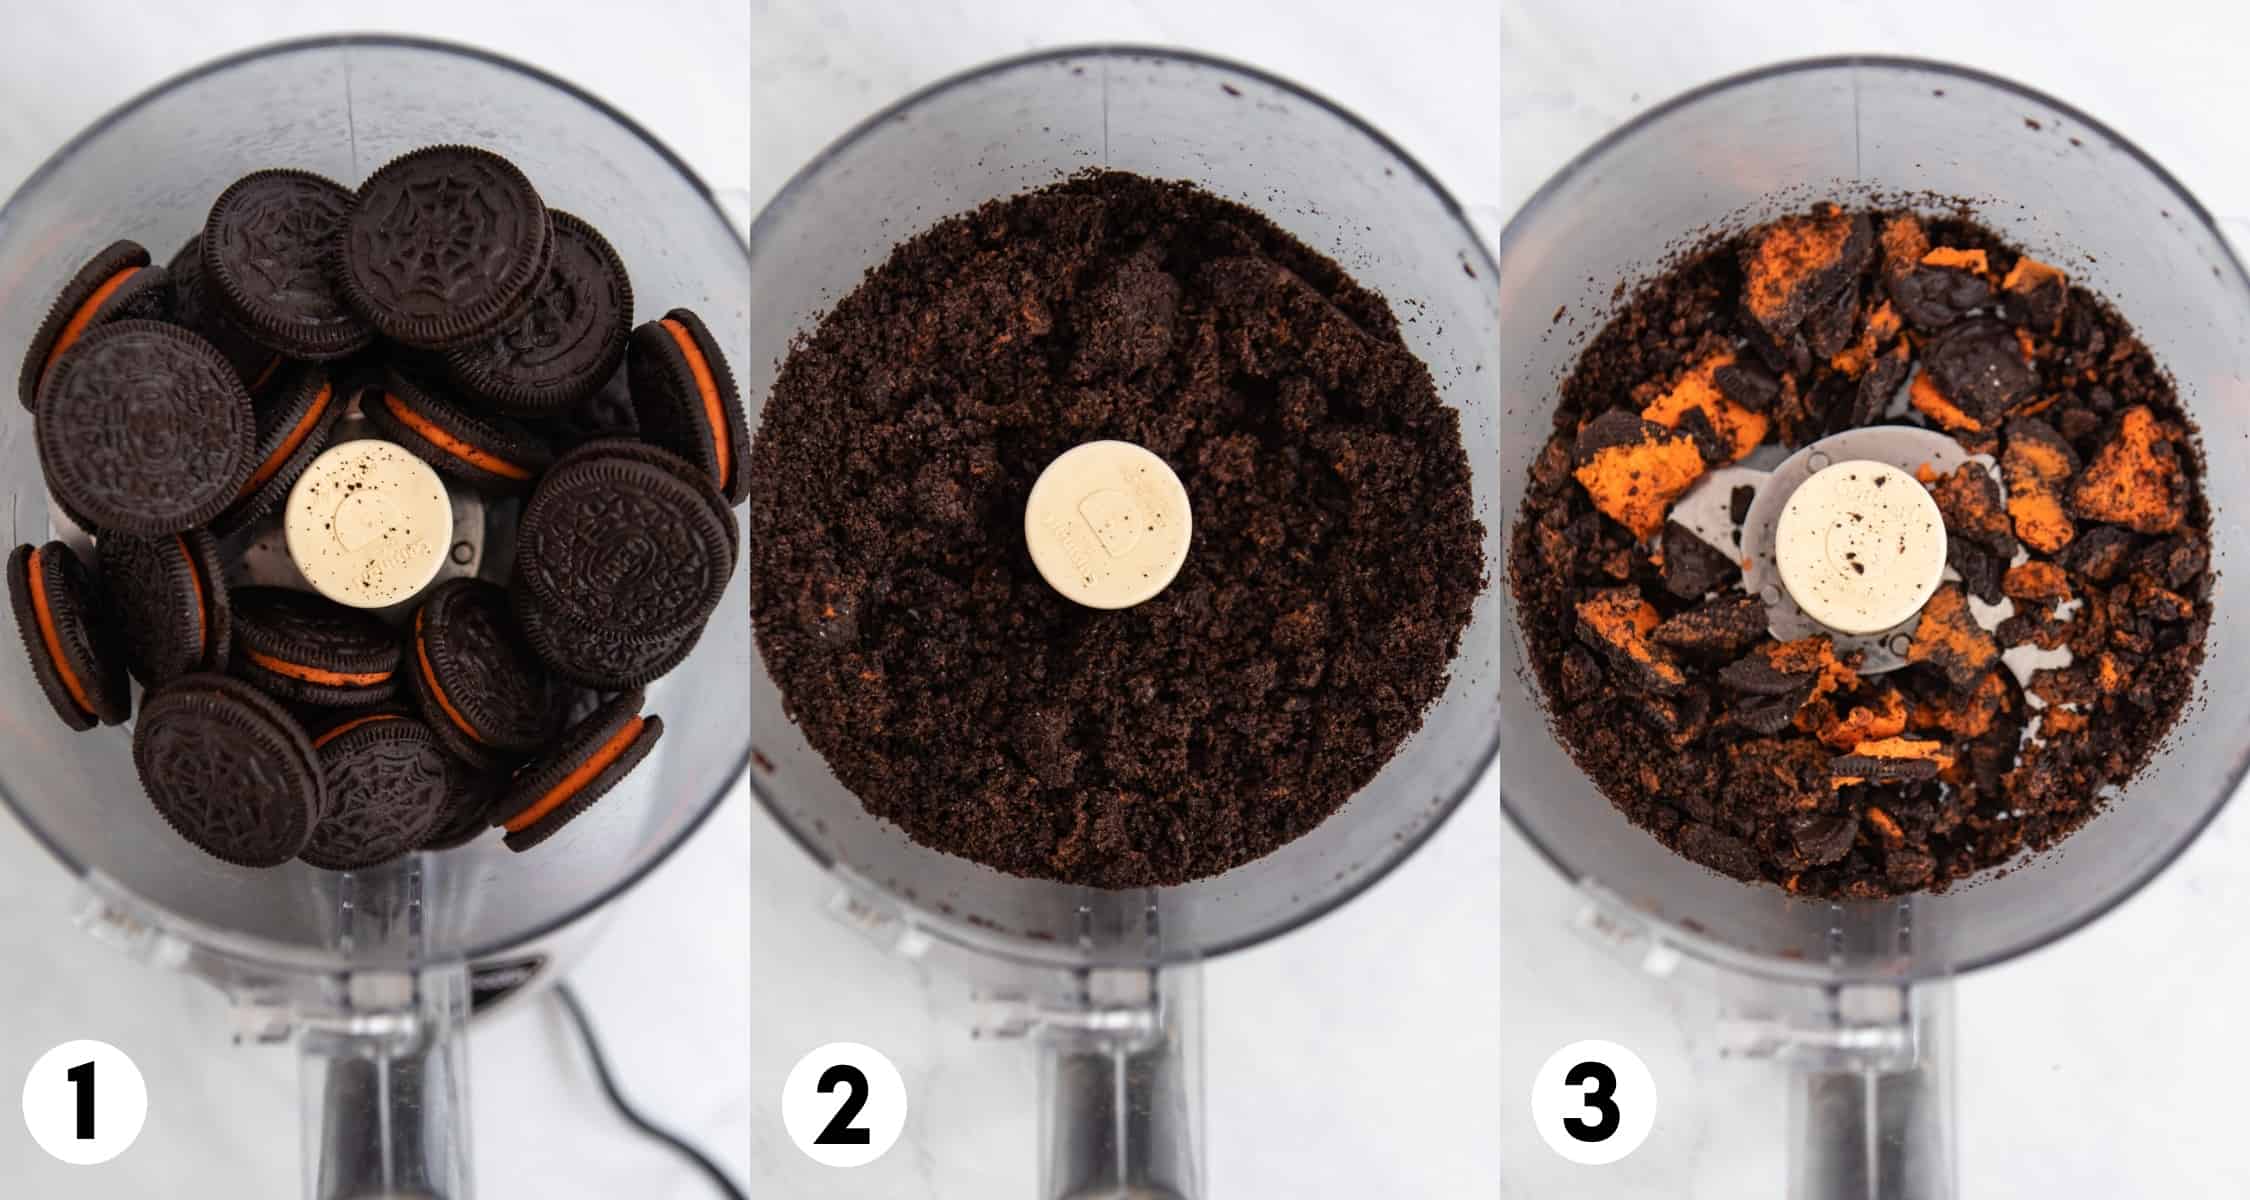
Start out by prepping the Oreos. I like to make most of the Oreos fine and actually “dirt like” and then the rest roughly chopped.
This is why I typically opt for more than just one package of the cookies. You are really welcome to use whatever amount of Oreos you prefer. I crumble one package to a fine grain (image 2) and then take about half of another package and pule them so they are roughly chopped (image 3). Then I toss all of the broken down Oreos together and set aside.
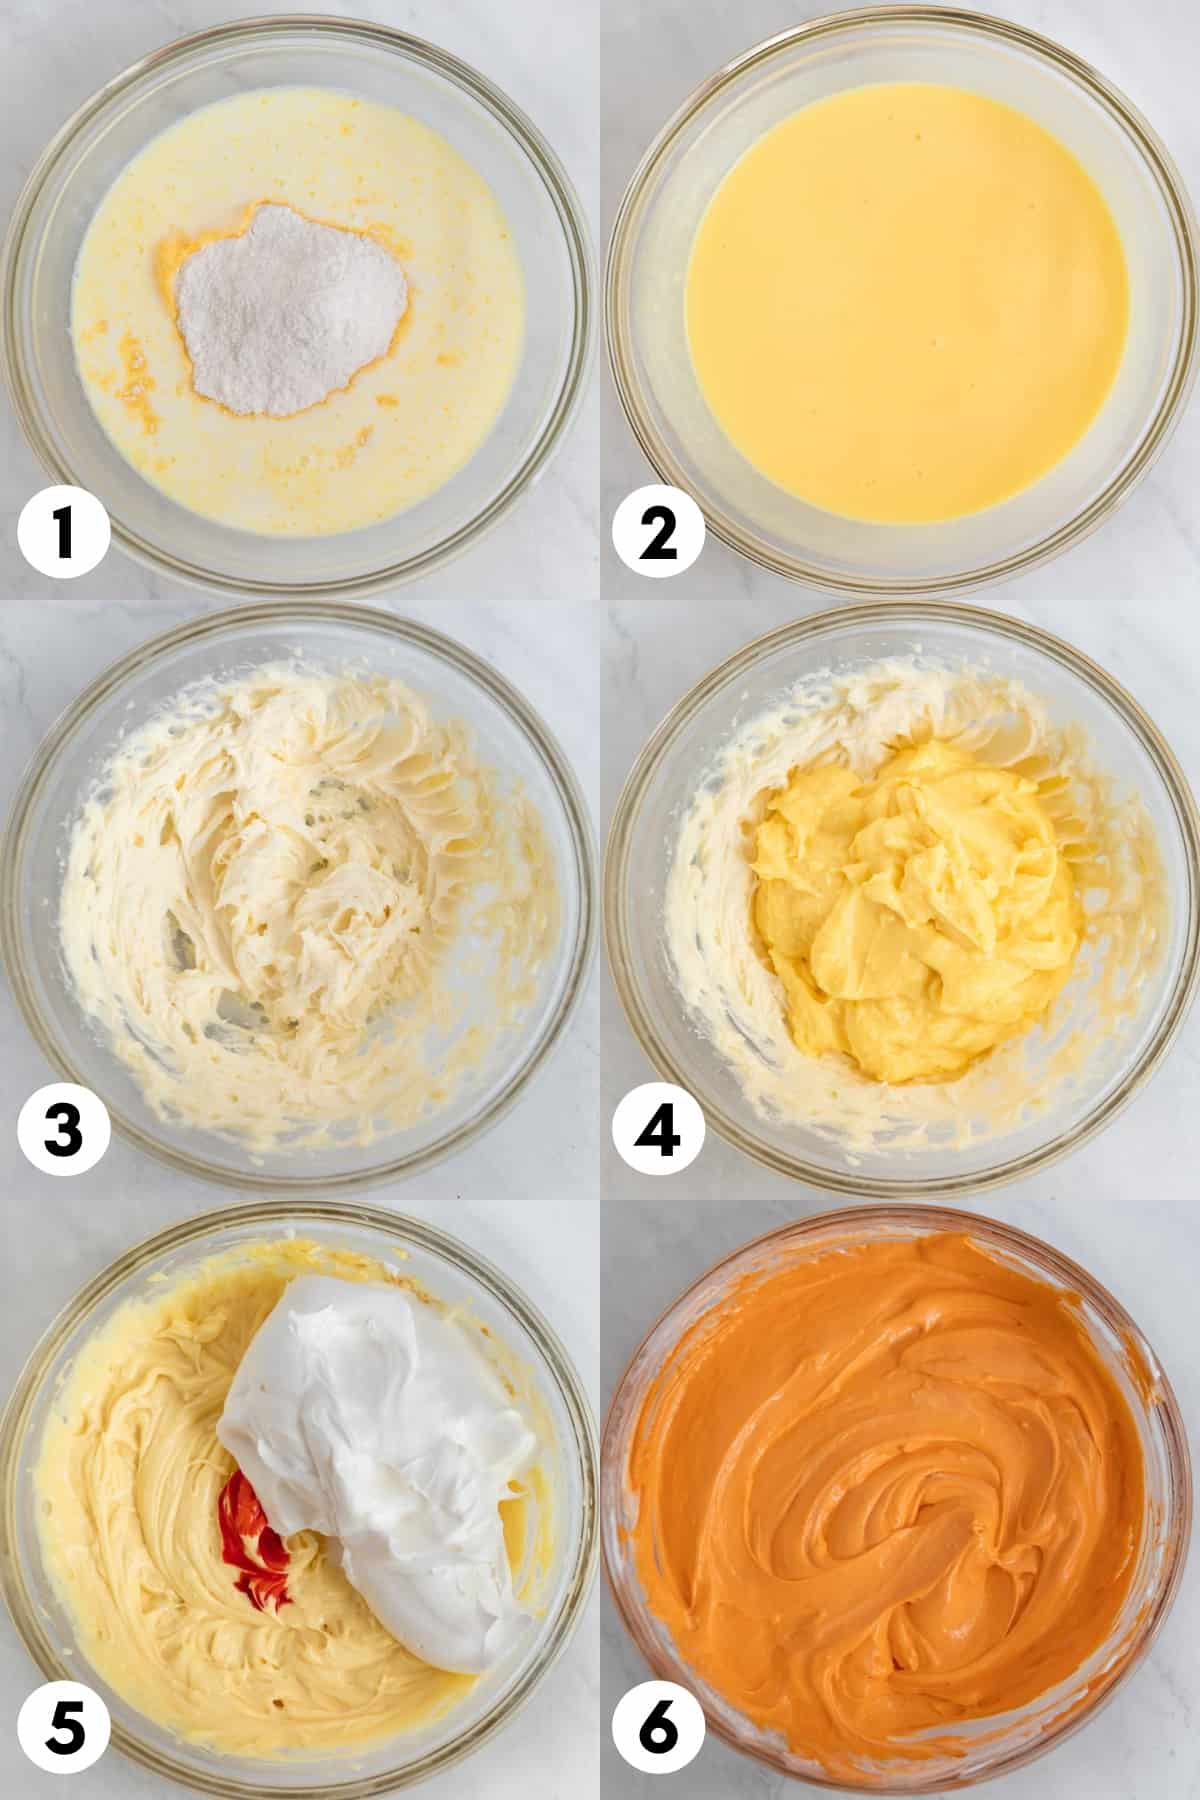
Time to prep the creamy pudding layer!
- Start out by making the pudding. Whisk together the milk and pudding mixes for about 2 minutes until smooth. Since you are not using the full amount of milk usually intended for pudding, it will start to thicken quickly. Place it in the refrigerator for about 5 minutes to set. (steps 1-2) A lot of dirt cake recipes do not do this step, but I find making the pudding first is ideal.
- While the pudding is chilling, combine the softened butter, cream cheese and powdered sugar in a large mixing bowl. Beat for about 1-2 minutes until smooth and creamy. (step 3)
- Add in the pudding and beat until combined. At this point, if there are any little clumps in the pudding, the beating should take care of smoothing them all out.(step 4)
- Fold in the cool whip along with the vanilla and food coloring, adjusting the food color amount until you have reached the desired orange color. (steps 5-6)
Assemble your Dirt Cake:
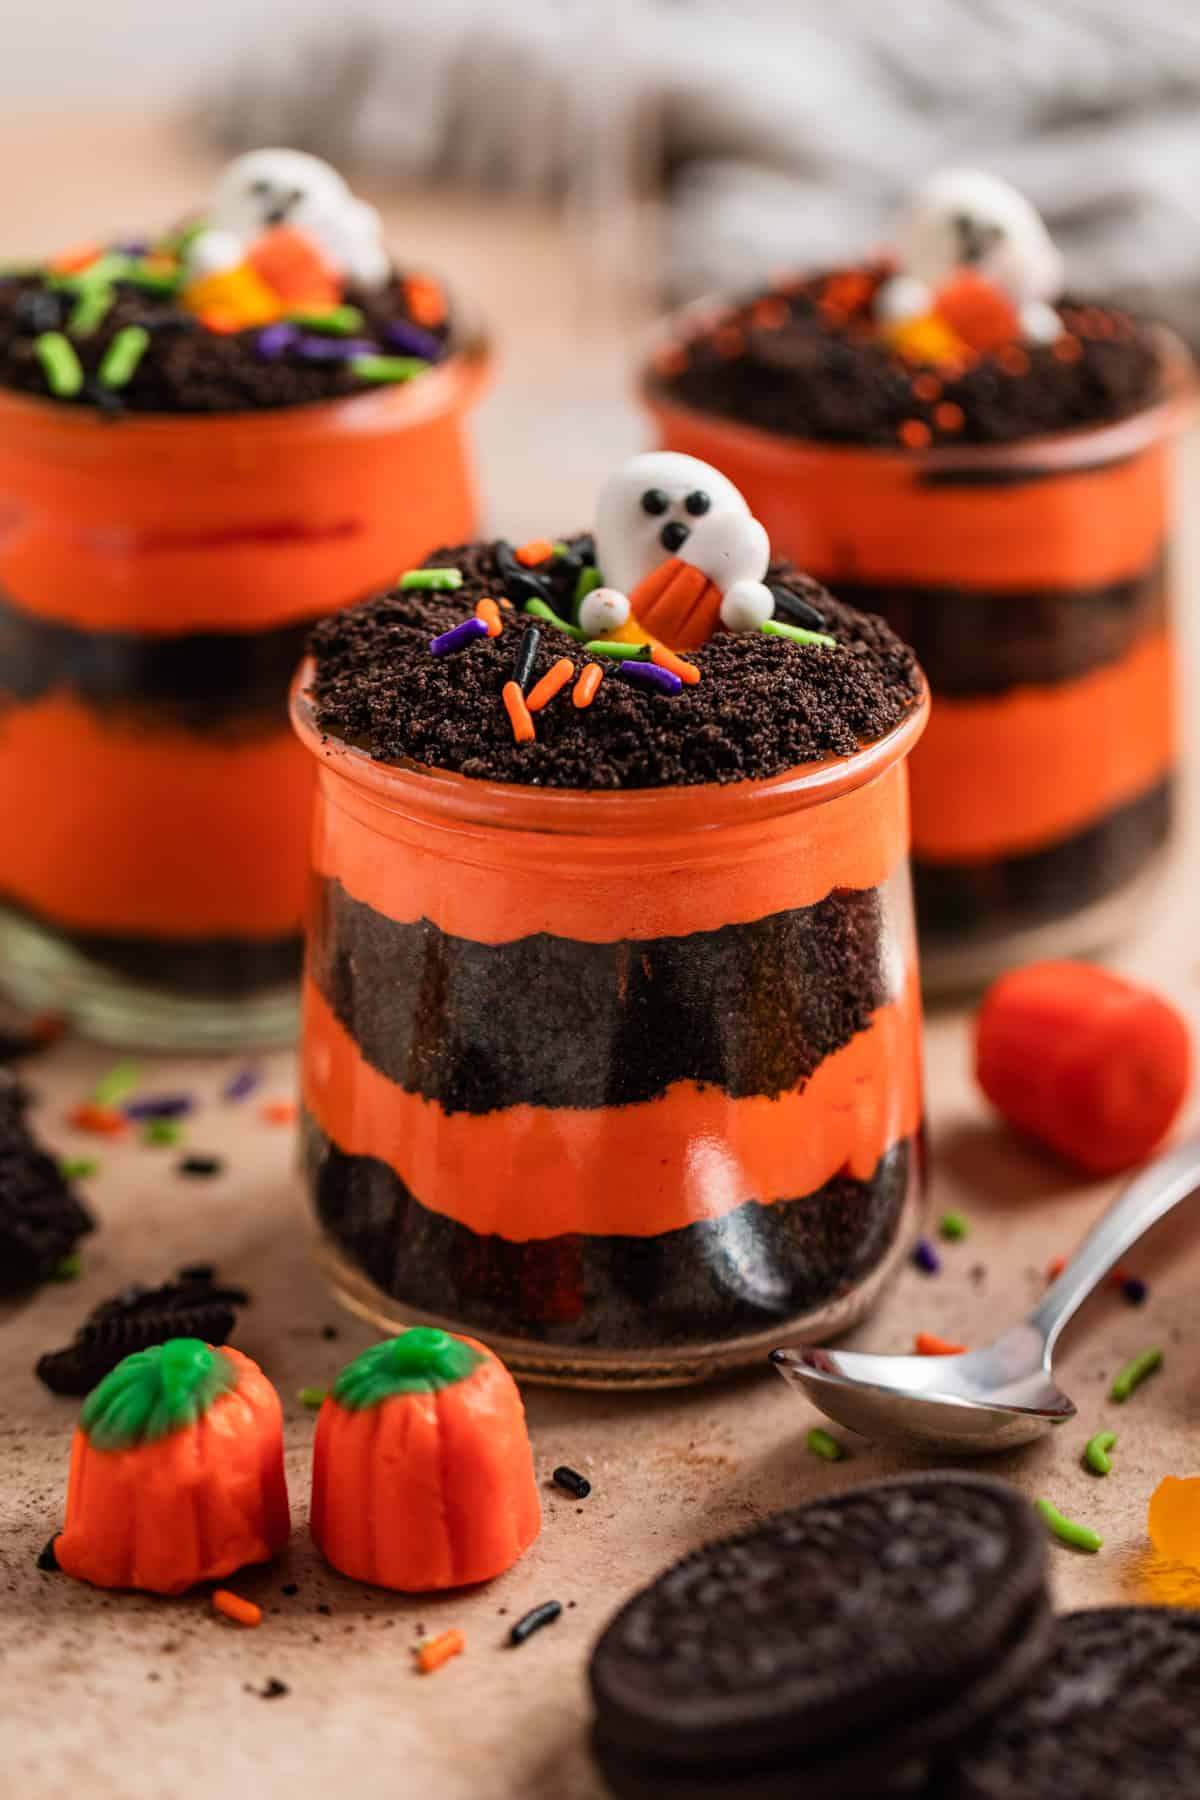
You do have the option of making approximately 12-16 individual Halloween Dirt Cake cups if preferred. You can use small jars, bowls or even plastic cups. You could also layer this in a 9×13 inch pan. See recipe “Other Ways to Serve this Dessert” section for more details!
To begin, you have some creative flexibility with layering of this Halloween Oreo Dirt Cake, so don’t think this is the end all be all. This is the way I put mine together and prefer it most.
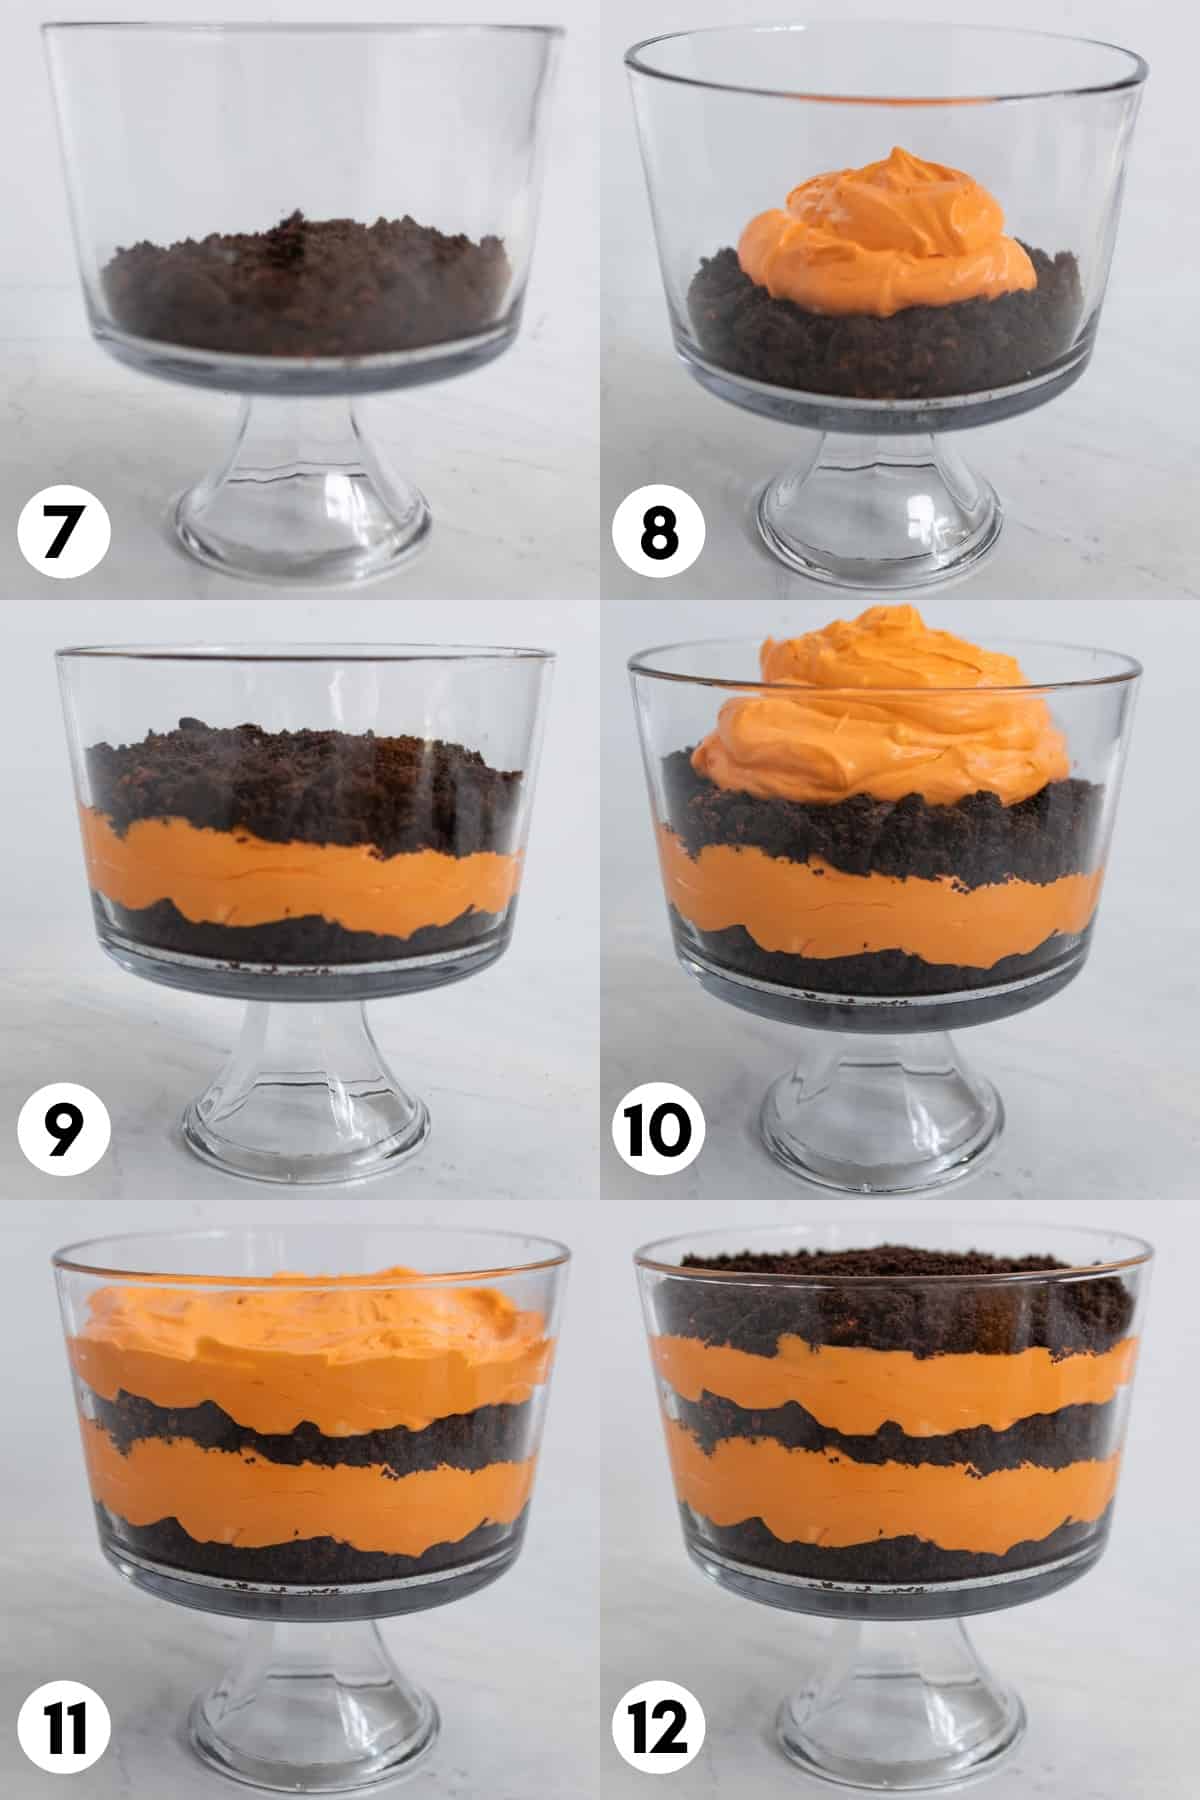
- Start by spreading 1/3 of the crushed Oreos on the bottom of your bowl or serving dish. The exact amount will vary based on how many Oreos you decide to use. The size of your dish will also impact this. About 1 1/2 cups is what I use per layer. Gently press the Oreos down to make them an even layer. (step 7)
- Use a ladle and spoon half of the orange pudding layer into the center of the Oreo layer. Use a small spoon or spatula to gently spread it out evenly–or as evenly as you can get it! (step 8)
- Add another third of the Oreos and spread evenly over top of the orange layer. Very gently press to even it out as best as you can.(step 9)
- Spoon the remaining orange pudding into the center of the Oreo layer you just added. Again, spread it evenly across. (step 10-11)
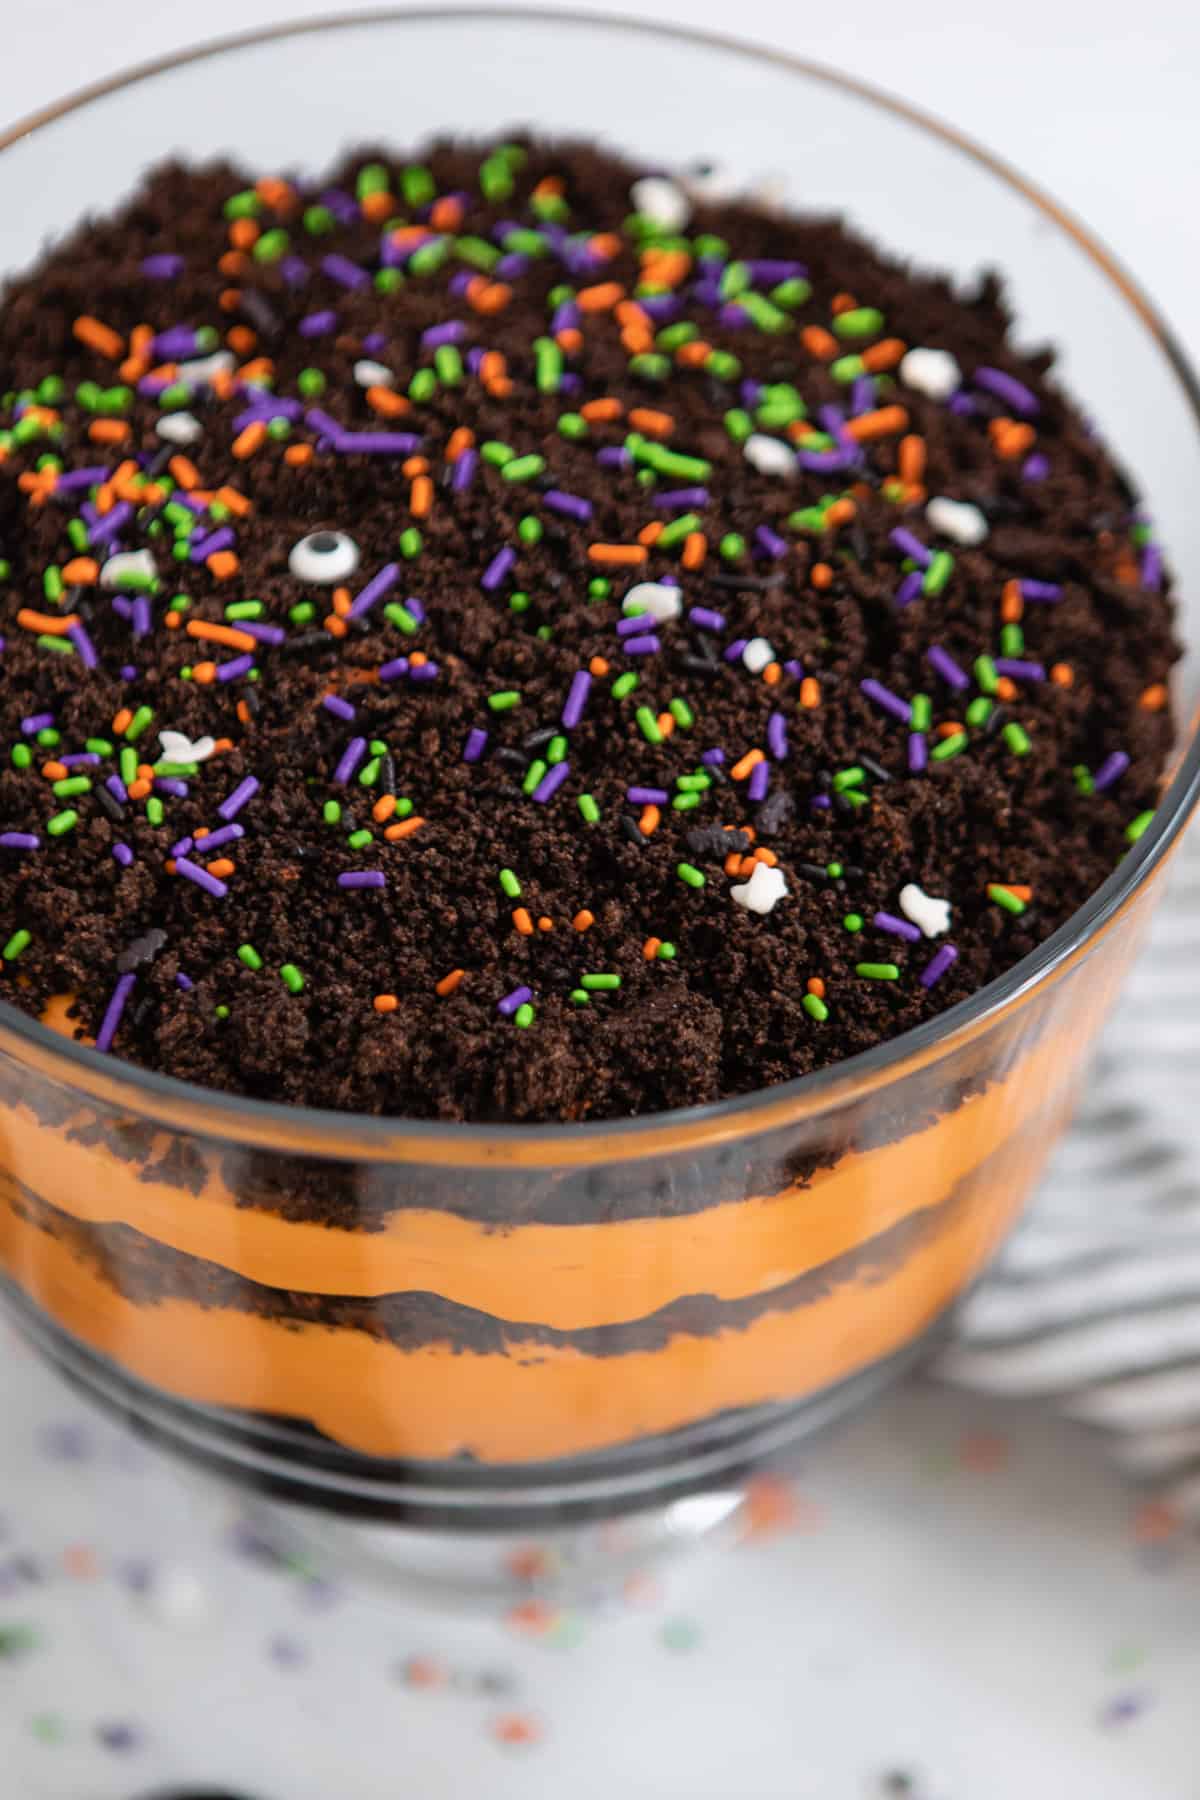
- Add the remaining Oreos on top and spread them evenly over top. Add sprinkles or any other holiday decorations you would like on top. Candy pumpkins, candy corns and other orange and yellow treats are great options as well. (step 12)
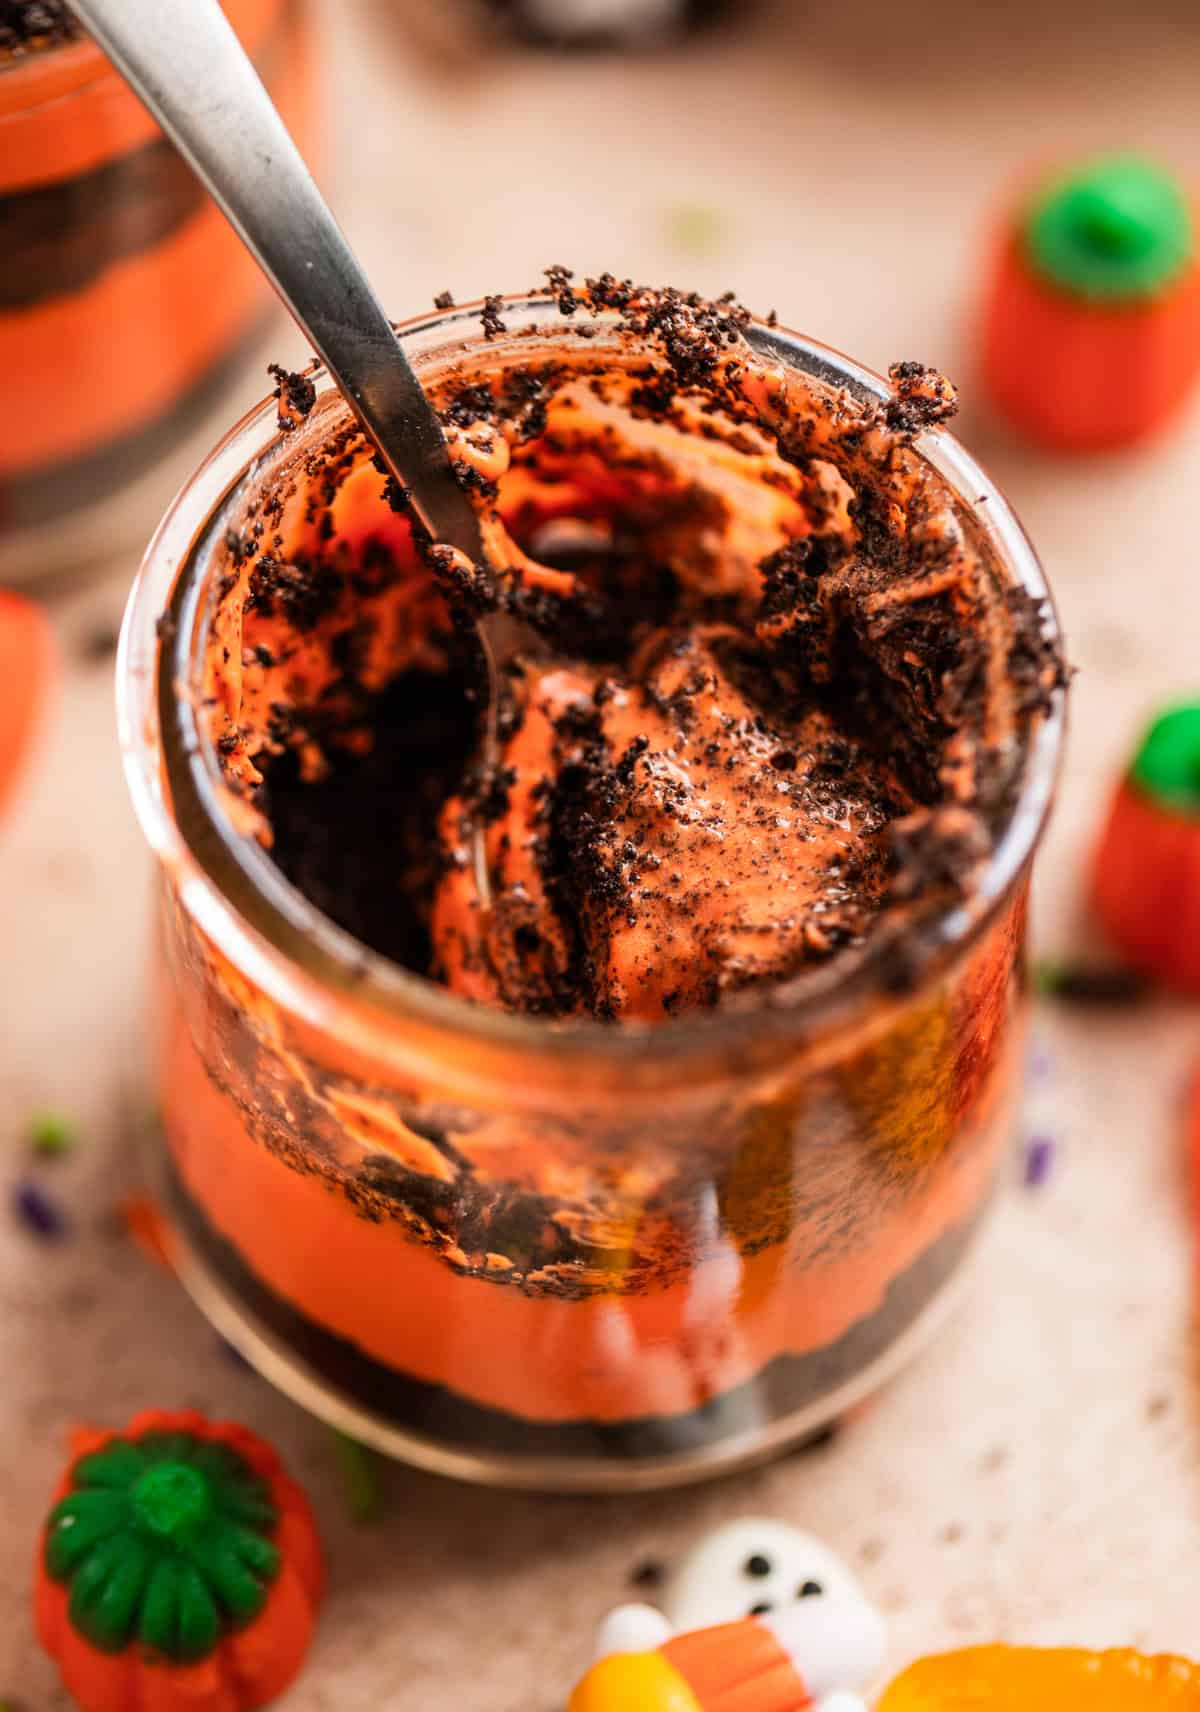
While you can serve this dessert immediately, I suggest chilling it for at least 2-3 hours. This will allow the pudding layer to really thicken and meld with the Oreos. Everything will set well too.
You can make this dessert a day in advance too for optimal deliciousness!
Other Ways to Serve this Dessert:
- Single Serving Dishes: You can serve this Halloween Oreo Dirt Cake in individual glasses, jars or bowls. Maybe even a pumpkin shaped dish? Depending on the size of your containers, you can get anywhere from about 12-20 servings out of it. I also love the Oui yogurt glasses for desserts like this as I used in the above photo. Plus you get to eat a yogurt on top of gaining a new dish.
- 9×13 inch pan: This is actually how the original dirt cake was served, (only frozen). If using a large cake pan, you can possibly get two orange layers. You may even opt to add 1/2 the Oreos, all of the orange pudding mix and then the remaining Oreos. If you want to get a couple layers, they will just be thinner.
Recipe Notes and Tips:
- You can prep this Halloween Oreo dessert 24 hours before serving. I think it is much better after at least chilling overnight. Since the pudding thickens before you add it to the recipe, you can even serve it right when it is made. Up to you!
- Adjust the colors to your favorite team, holiday, and more! The colors can change according to what you like. If it’s Christmas, go for red and green. Maybe a birthday party? Use the guest of honor’s favorite color!
- Regular Oreos will also work just fine. If you can’t get a hold of the holiday Oreos, the classics are fine. I like adding the orange, but not necessary!
Other Oreo Recipes:
HUNGRY FOR MORE? Subscribe to my newsletter and follow me on Facebook, Instagram and Pinterest for all the latest!
Halloween Oreo Dirt Cake

Ingredients
- 1 – 1 ½ package Halloween Oreos, 20 oz., this can vary, see notes*
- 2 packages instant vanilla pudding, 3.4 oz.
- 3 1/4 c milk
- 1/2 c butter, softened
- 8 oz cream cheese, softened
- 1 c powdered sugar
- 1 tsp vanilla extract
- 8 oz cool whip, thawed
- Orange food coloring
- Halloween sprinkles
Instructions
Prep the Oreos:
- Add 3/4 of the Oreos to a food processor. Process until fine and grain like. Transfer to a medium bowl. Add the remaining Oreos to the food processor and pulse until crushed into smaller chunks, but not as fine as the other Oreos. Add to the bowl with other Oreos and stir to combine. Set aside.
Make the Pudding Layer:
- Whisk together the milk and pudding mixes well for about 2 minutes until smooth. Set in the refrigerator for about 5 minutes to chill.
- While the pudding chills, use an electric mixer to beat the softened cream cheese, butter and powdered sugar until smooth and creamy. Add the chilled pudding into the bowl and beat to combine.
- Fold in the thawed cool whip/whipped topping, food coloring and vanilla extract and stir until color is fully incorporated. Add more food coloring as desired. It took me almost 2/3 of a small bottle of orange dye to get the strong orange color.
Assemble the Dirt Cake:
- Add 1/3 of the crushed Oreos to the bottom of a trifle bowl or large glass bow or dish. Gently spread them out to make an even layer. Using a ladle, spoon 1/2 of the orange pudding mixture over top and spread gently using a small spoon or spatula to make the layer even.
- Repeat and add another third of the Oreo mixture followed by the other half of the orange mixture. Add the remaining crushed Oreos over top and spread. Decorate with Halloween sprinkles, candies, or an other desired additions. If adding gummy candy, wait until serving to add on top.
- For best results chill for at least 2 hours before serving and up to 24 hours if desired. Serve and enjoy!
- Store leftovers covered in the refrigerator for about 5 days.
Notes
- You can prep this Halloween Oreo dessert 24 hours before serving. I think it is much better after at least chilling overnight. Since the pudding thickens before you add it to the recipe, you can even serve it right when it is made. Up to you!
- Adjust the colors to your favorite team, holiday, and more! The colors can change according to what you like. If it’s Christmas, go for red and green. Maybe a birthday party? Use the guest of honor’s favorite color!
- Regular Oreos will also work just fine. If you can’t get a hold of the holiday Oreos, the classics are fine. I like adding the orange, but not necessary!
Nutrition
Nutrition information is automatically calculated, so should only be used as an approximation.
Shop this Post:
 Buy Now →
  Buy Now →
  Buy Now →
  Buy Now →
  Buy Now →
Leave a comment