This post may contain affiliate links.

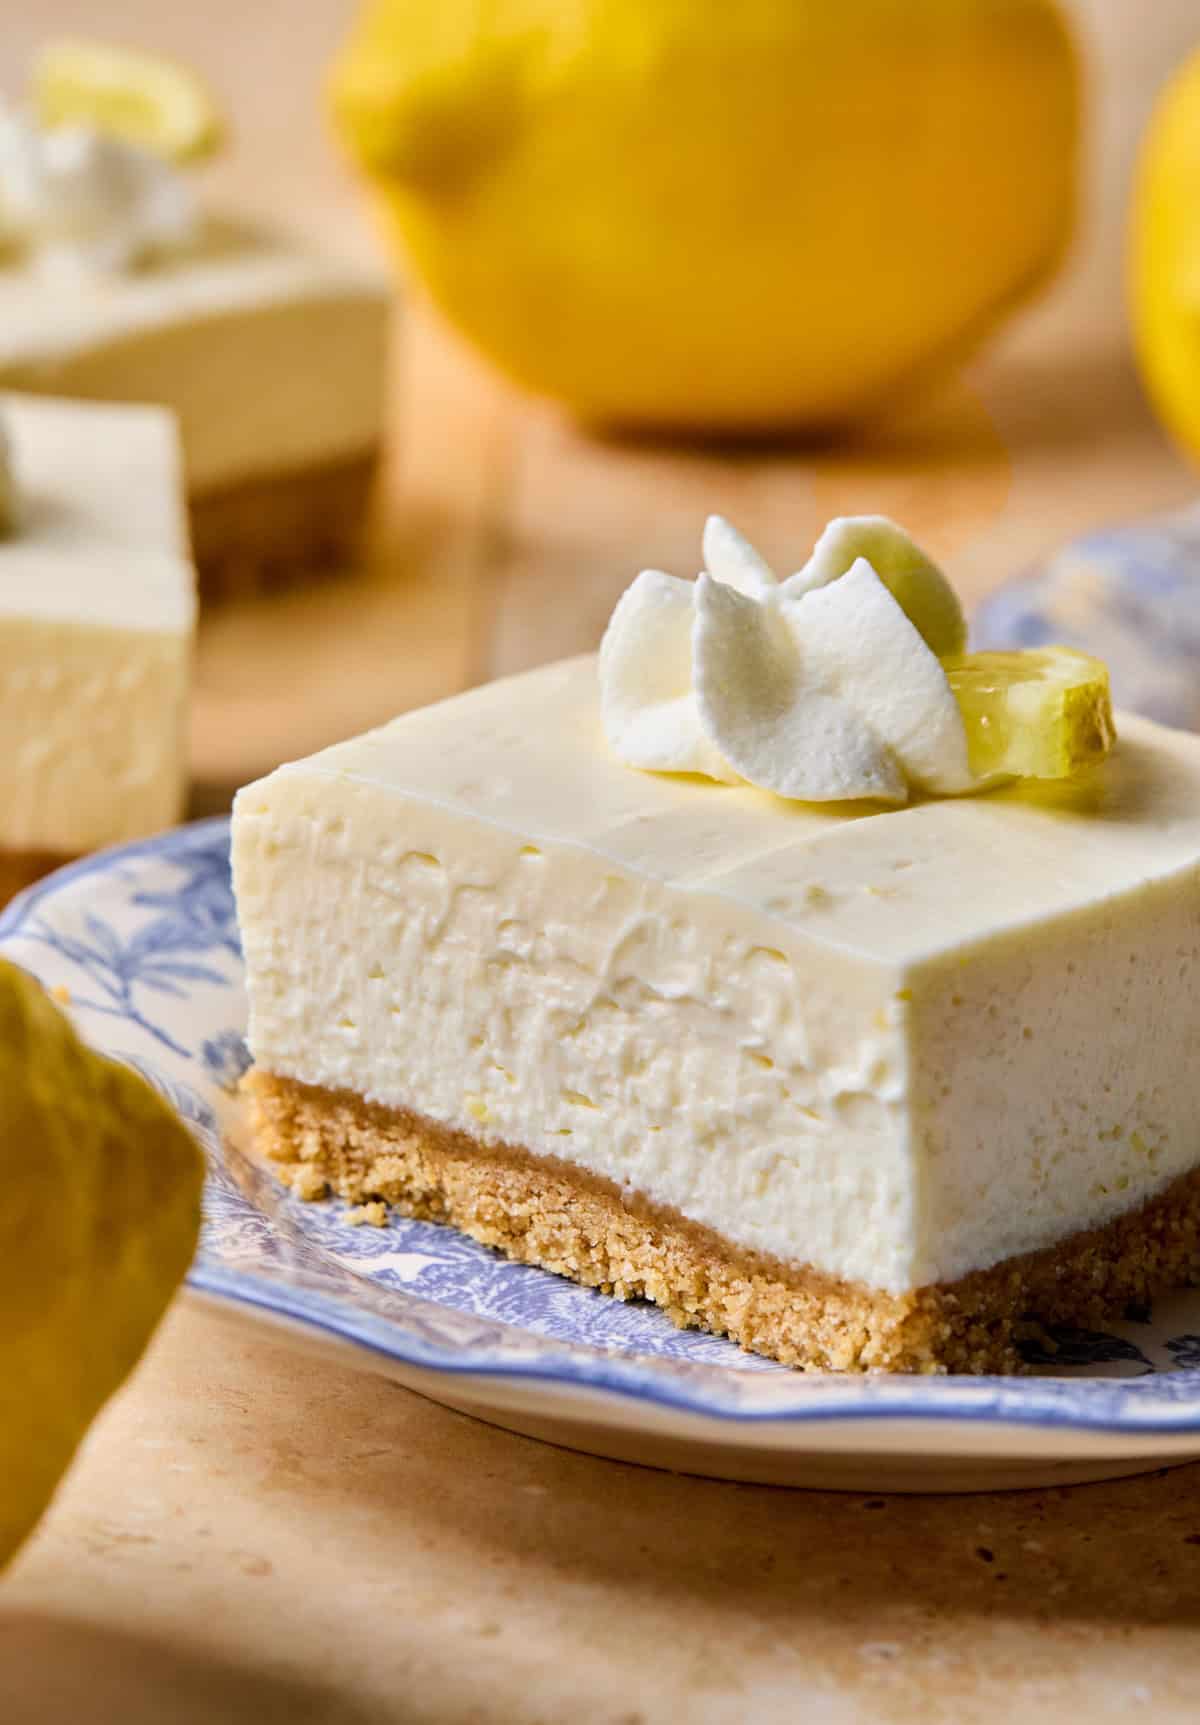
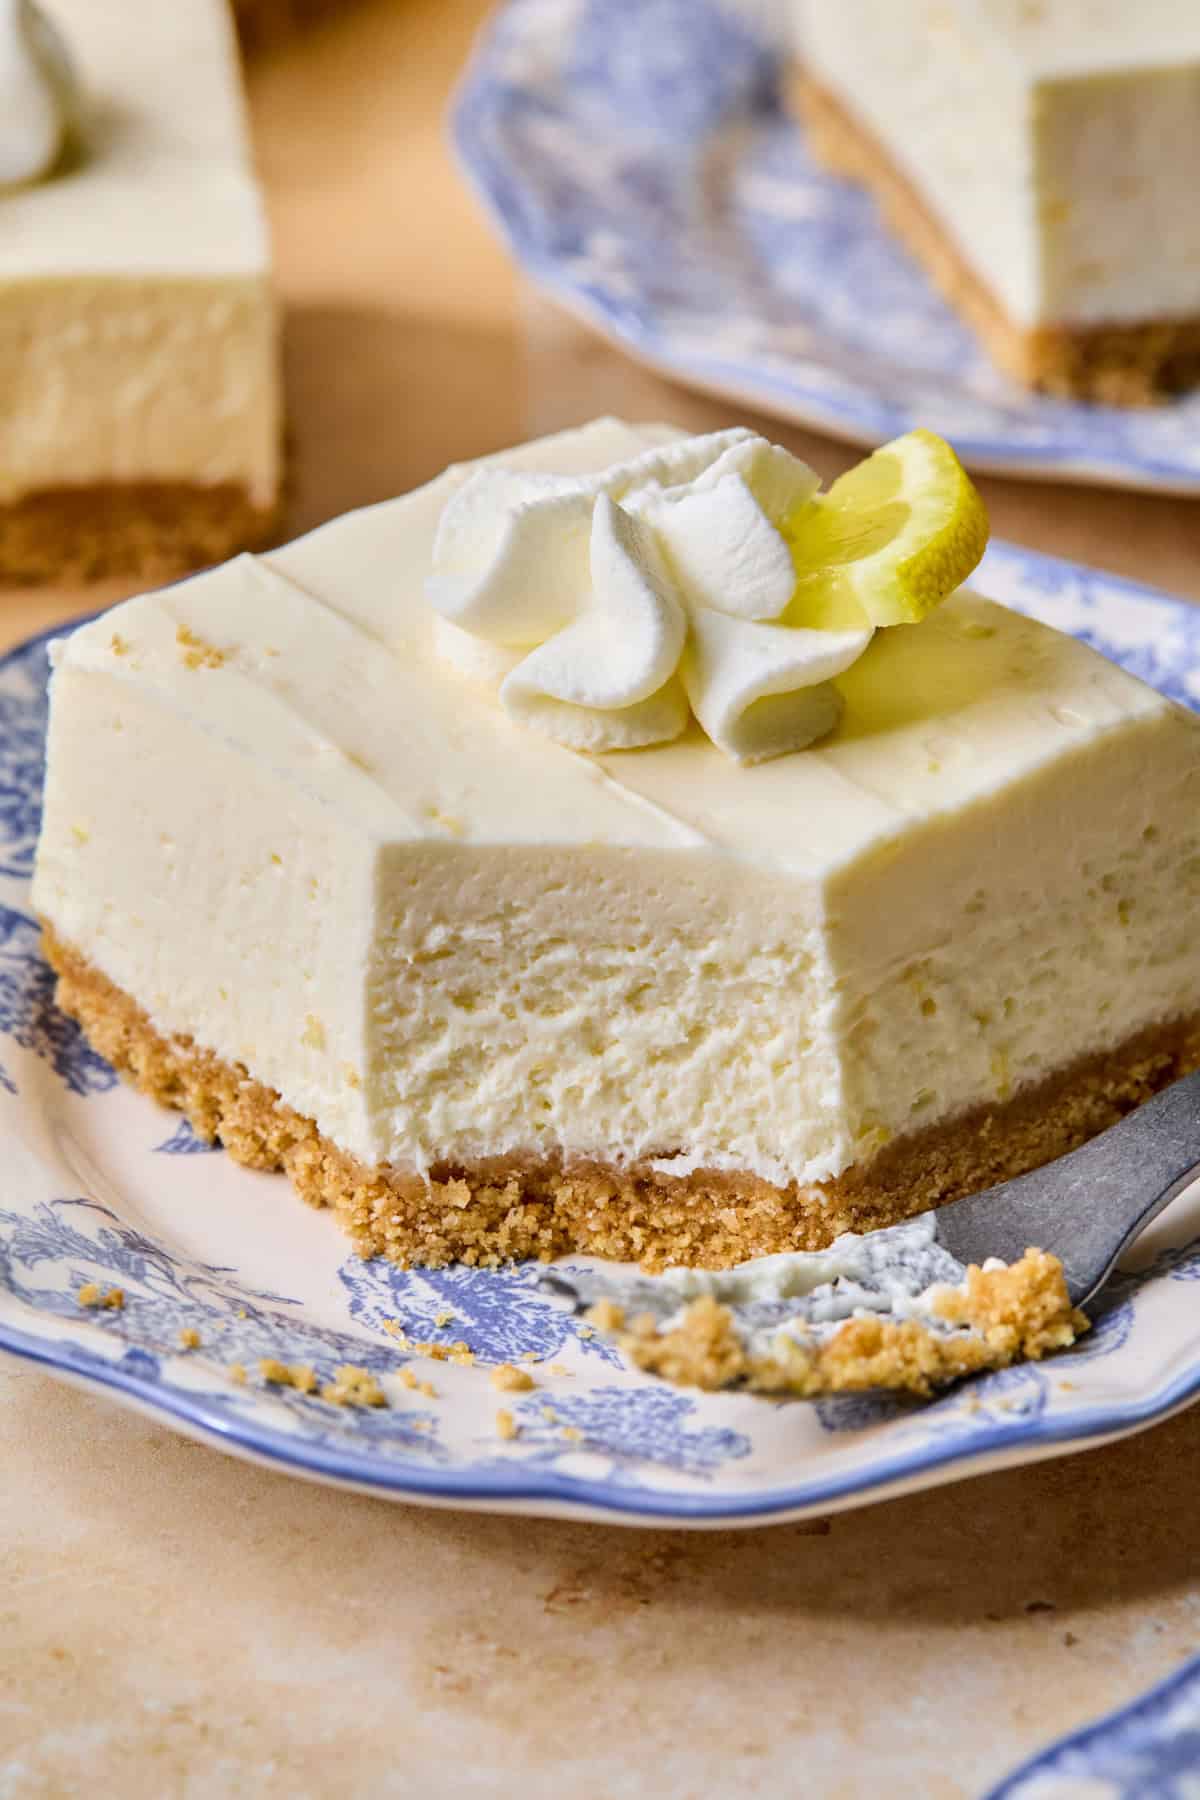
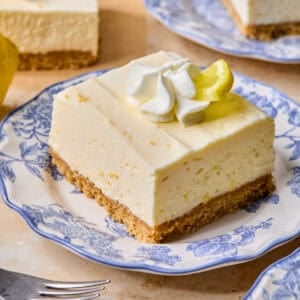
These perfectly creamy no-bake lemon cheesecake bars have the perfect pop of citrus flavor! Super simple 20-minute prep, a touch of ginger in the graham cracker crust to give the flavor a pop, and topped with a tart lemon whipped cream–this easy dessert is a lemon lover’s dream! No baking required makes these a perfect summer treat but can be a great option any time of year!
It’s only fitting that I have an ABUNDANCE of lemon treats on my site, right?
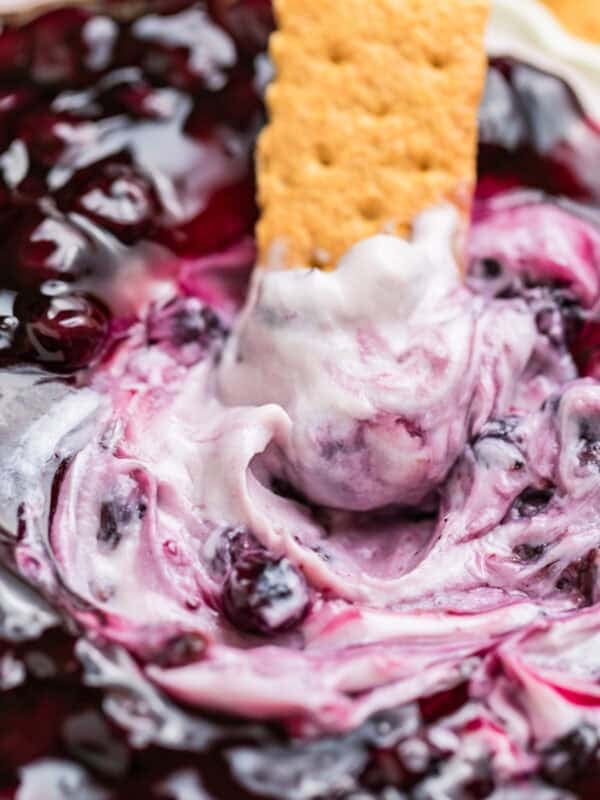
These rich and creamy and of so delicious no-bake lemon cheesecake bars are a subtle twist on another favorite, my no-bake blueberry lemon cheesecake. A bit more laid back with less work, but the pop of bright lemon flavor does not disappoint!
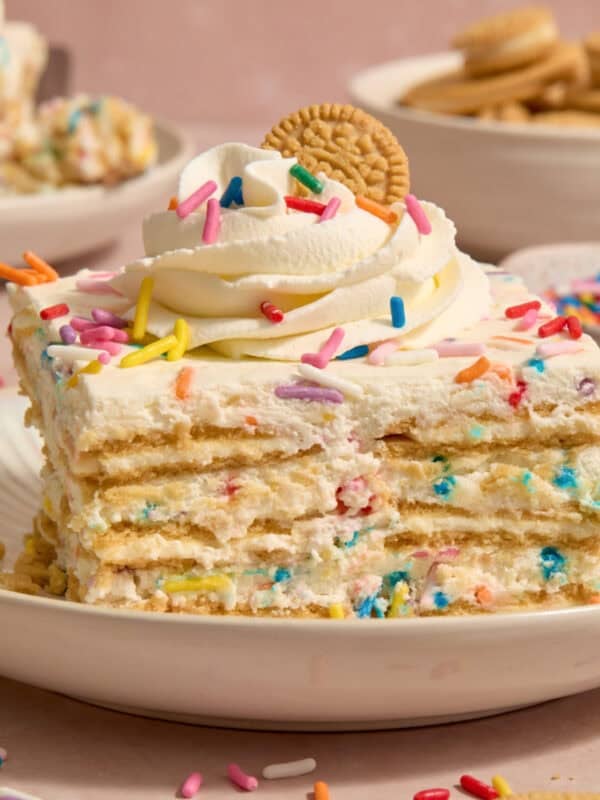
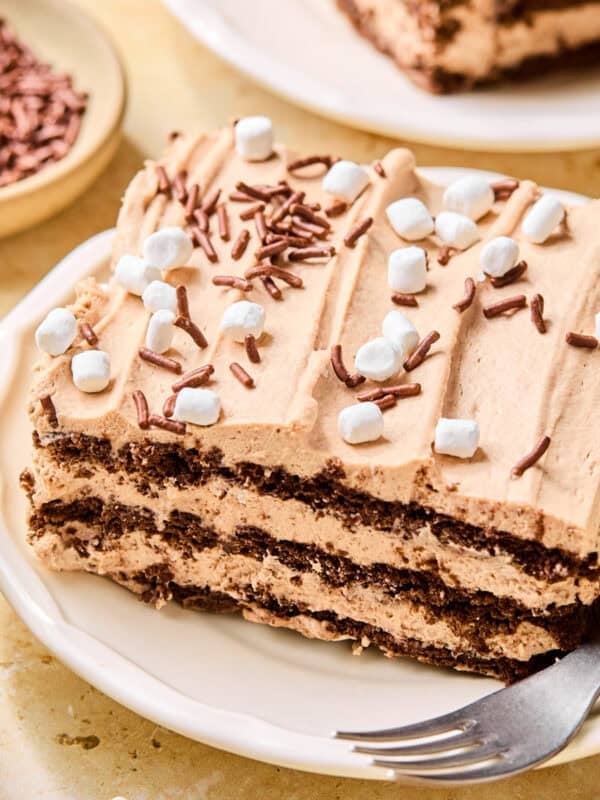
Try these other no-bake dessert recipes as well: No-Bake Funfetti Cheesecake, Chocolate Icebox Cake, No-Bake Chocolate Pie, No-Bake Mini Biscoff Cheesecakes, Simple No Churn Lemon Ice Cream, Lemonade Ice Cream Sandwiches or for another lemon favorite, try these Creamy Lemon Bars with Graham Cracker Crust!
Why We Love These No-Bake Lemon Cheesecake Bars

I feel so much more confident in making dessert recipes that don’t require baking. Baking is a science, but no-bake dessert recipes have a bit more wiggle room. I have lots of no-bake cheesecake flavors on the site and these lemon cheesecake bars are a perfect addition!
These no-bake lemon cheesecake bars:
- only take about 20 minutes to prep
- have so much lemon flavor
- include a graham cracker crust with a hint of ginger that really adds to the lemon zing in the recipe
- are a great make-ahead recipe for one less item on the to-do list the day of a party
- requires no eggs so anyone with an egg allergy can happily enjoy it!
Can’t wait to hear what you think of this recipe!
Ingredient Notes
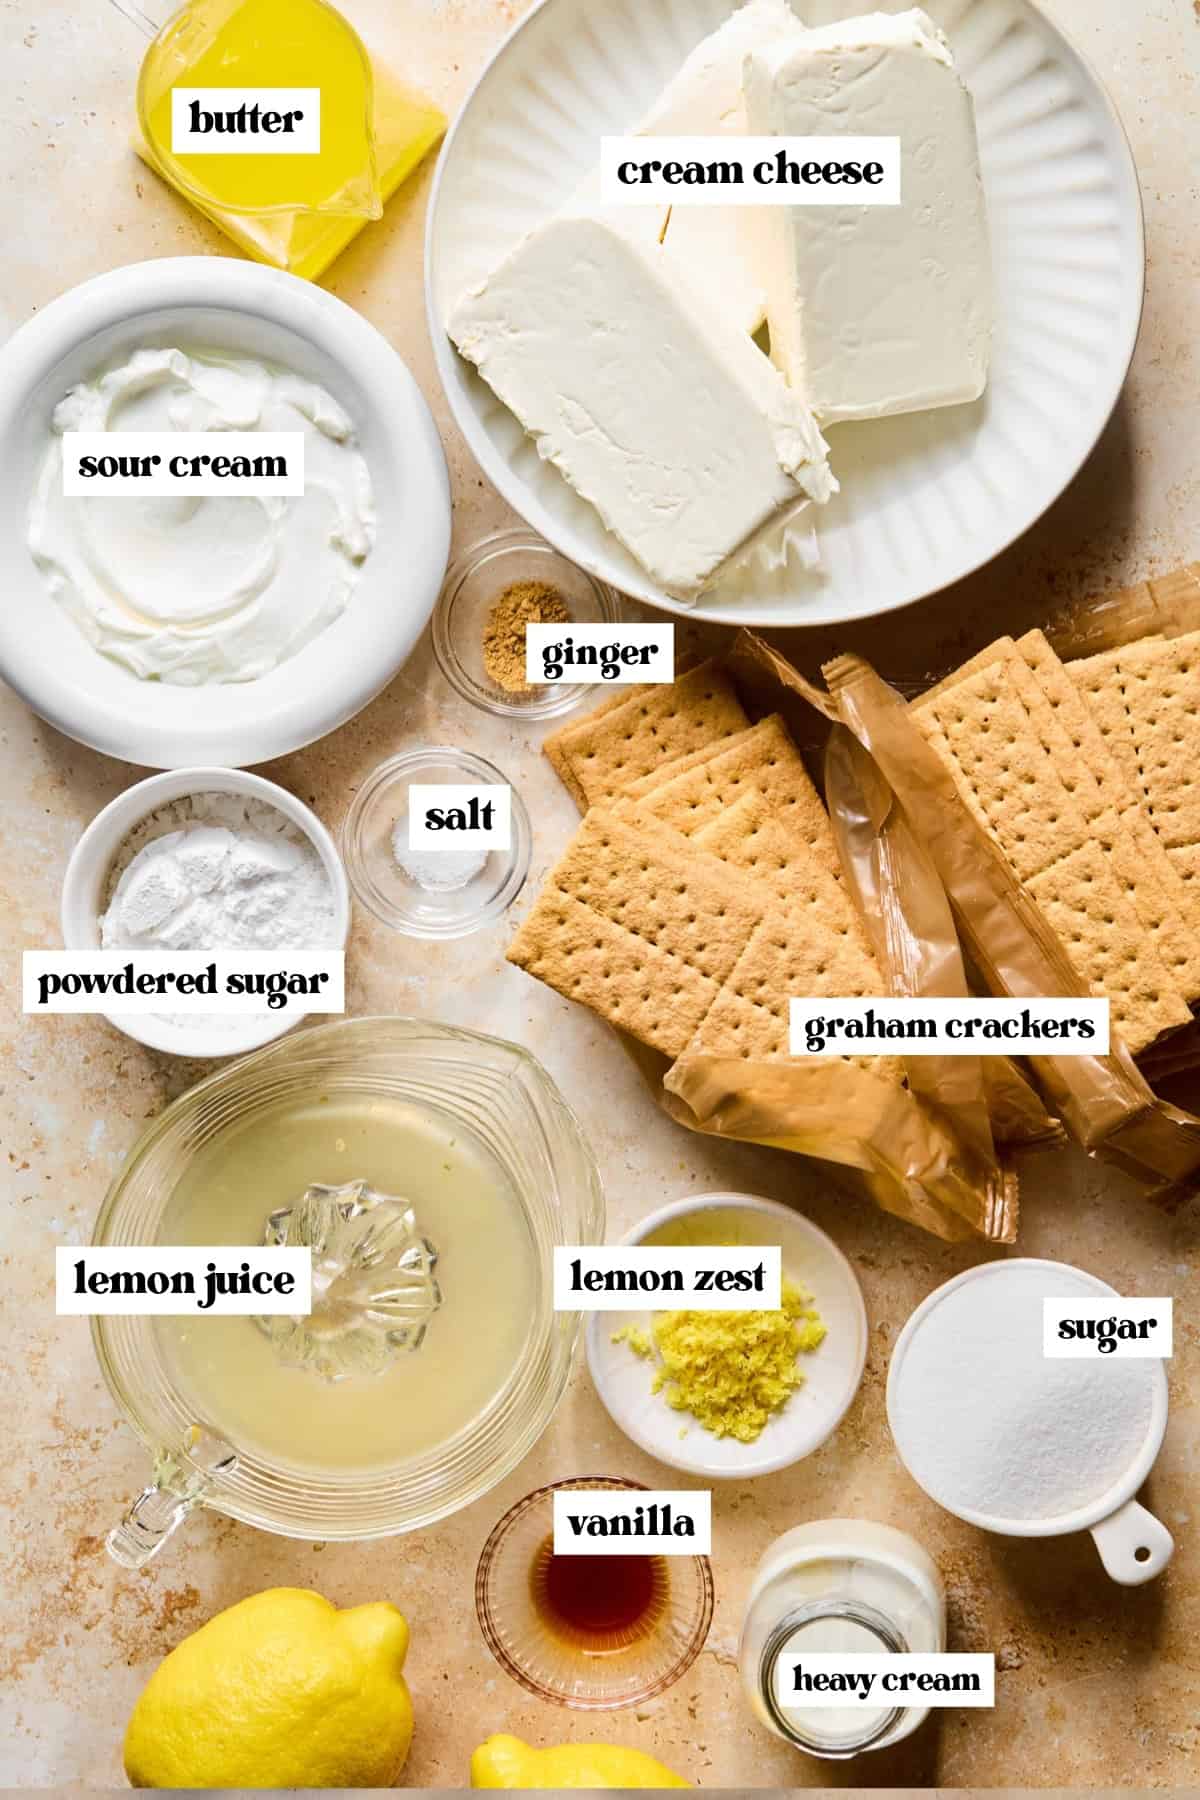
- Use FULL FAT dairy products in this no-bake cheesecake bar recipe. Doing so will give you the perfect texture and thickness along with flavor. Using lower fat or fat free cream cheese or sour cream can result in watery, runny cheesecake and you don’t want that!
- Fresh lemon juice is also a necessary ingredient for optimal flavor. Since you already need the fresh lemons for the zest, it’s definitely the way to go.
- If you want a stronger yellow hue to your cheesecake bars, you can add a couple drops of yellow food coloring as these tend to come out very faint in yellow color overall.
Recipe Variations
- vary the crust: I originally was going to make the crust with lemon golden Oreos but thought it would be a bit much. I still may do it next time! Biscoff cookies would be great as well!
- add some lemon extract: for more lemony flavor, you can add some lemon extract to any layer of the recipe
- add a dollop of lemon curd topping: you can skip the whipped cream and opt for some lemon curd instead for another way to vary serving this
Step-By-Step Instructions
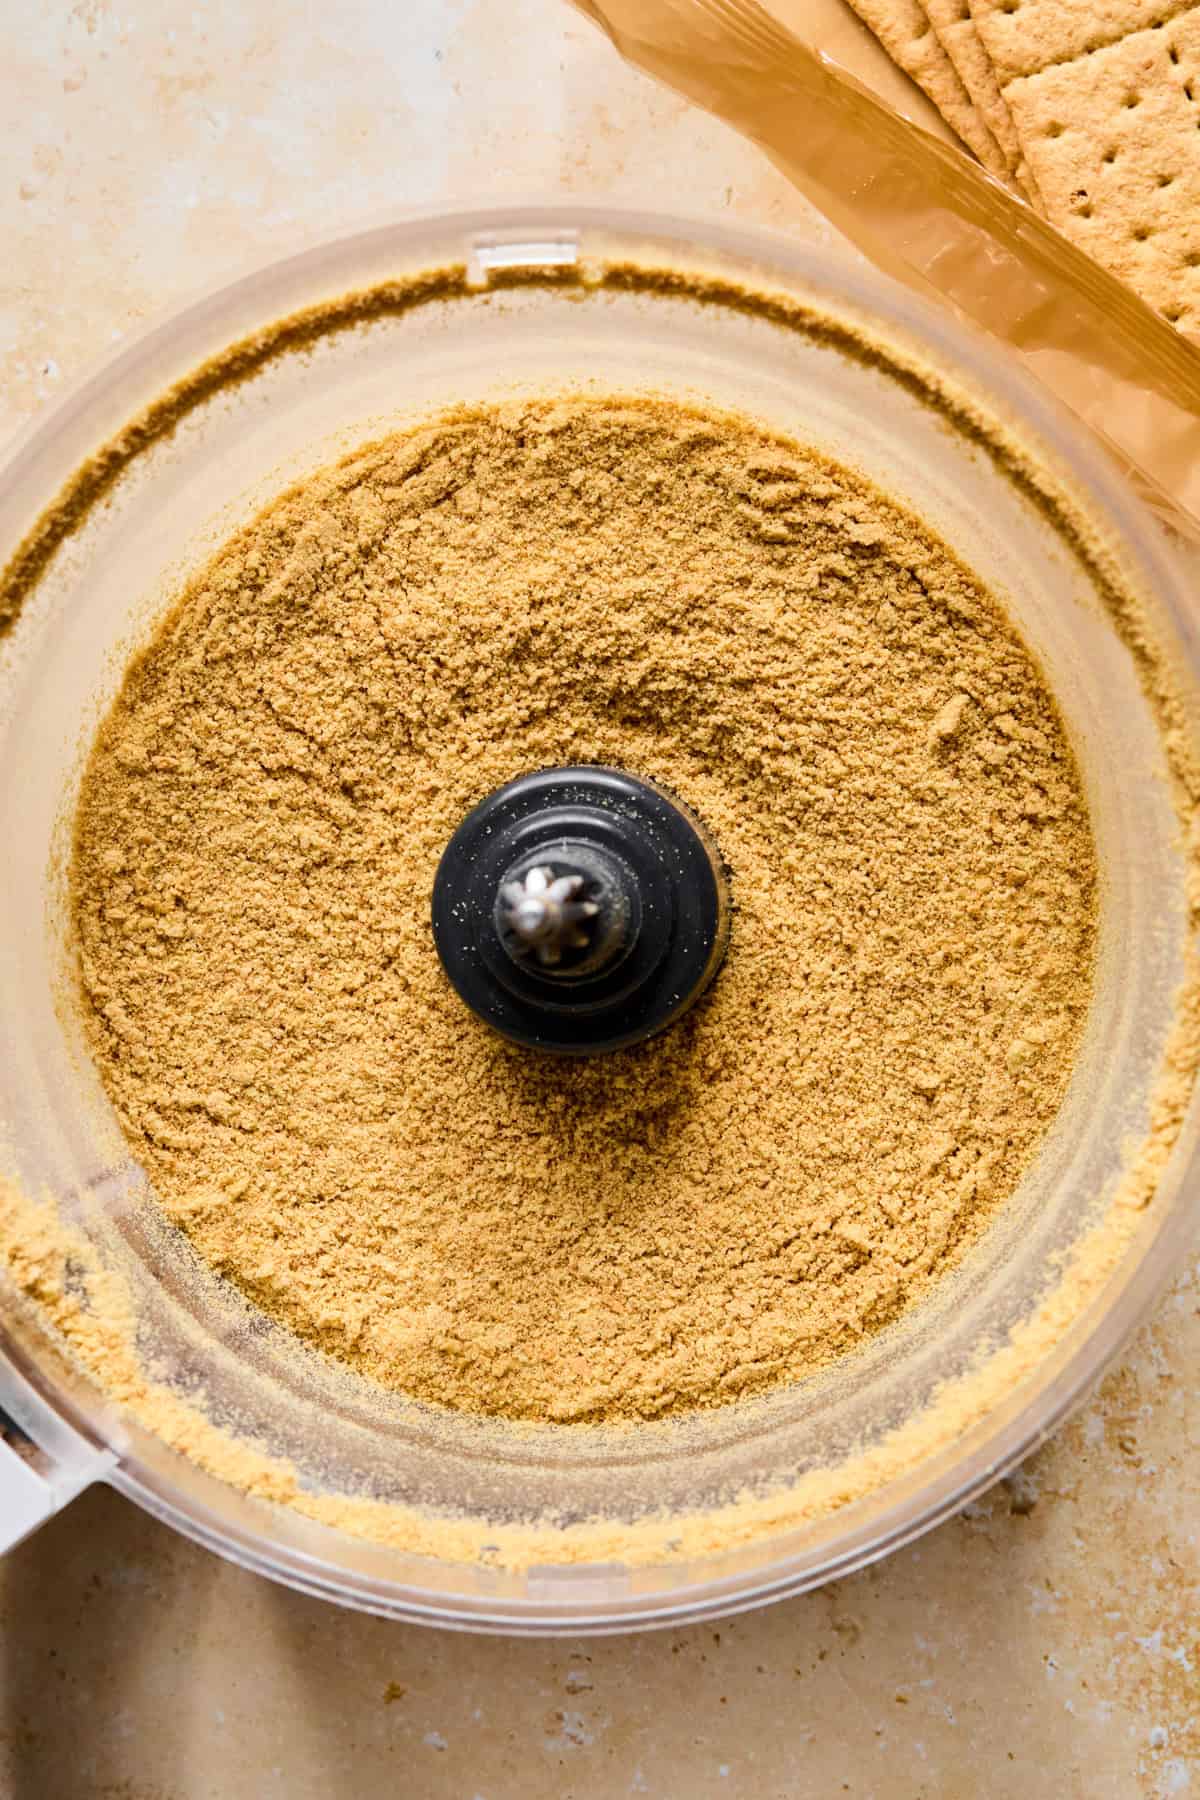
Step 1: Process the graham crackers in a food processor until fine. (You can do this in a plastic bag with a heavy wood spoon or rolling pin if you don’t have a food processor.)
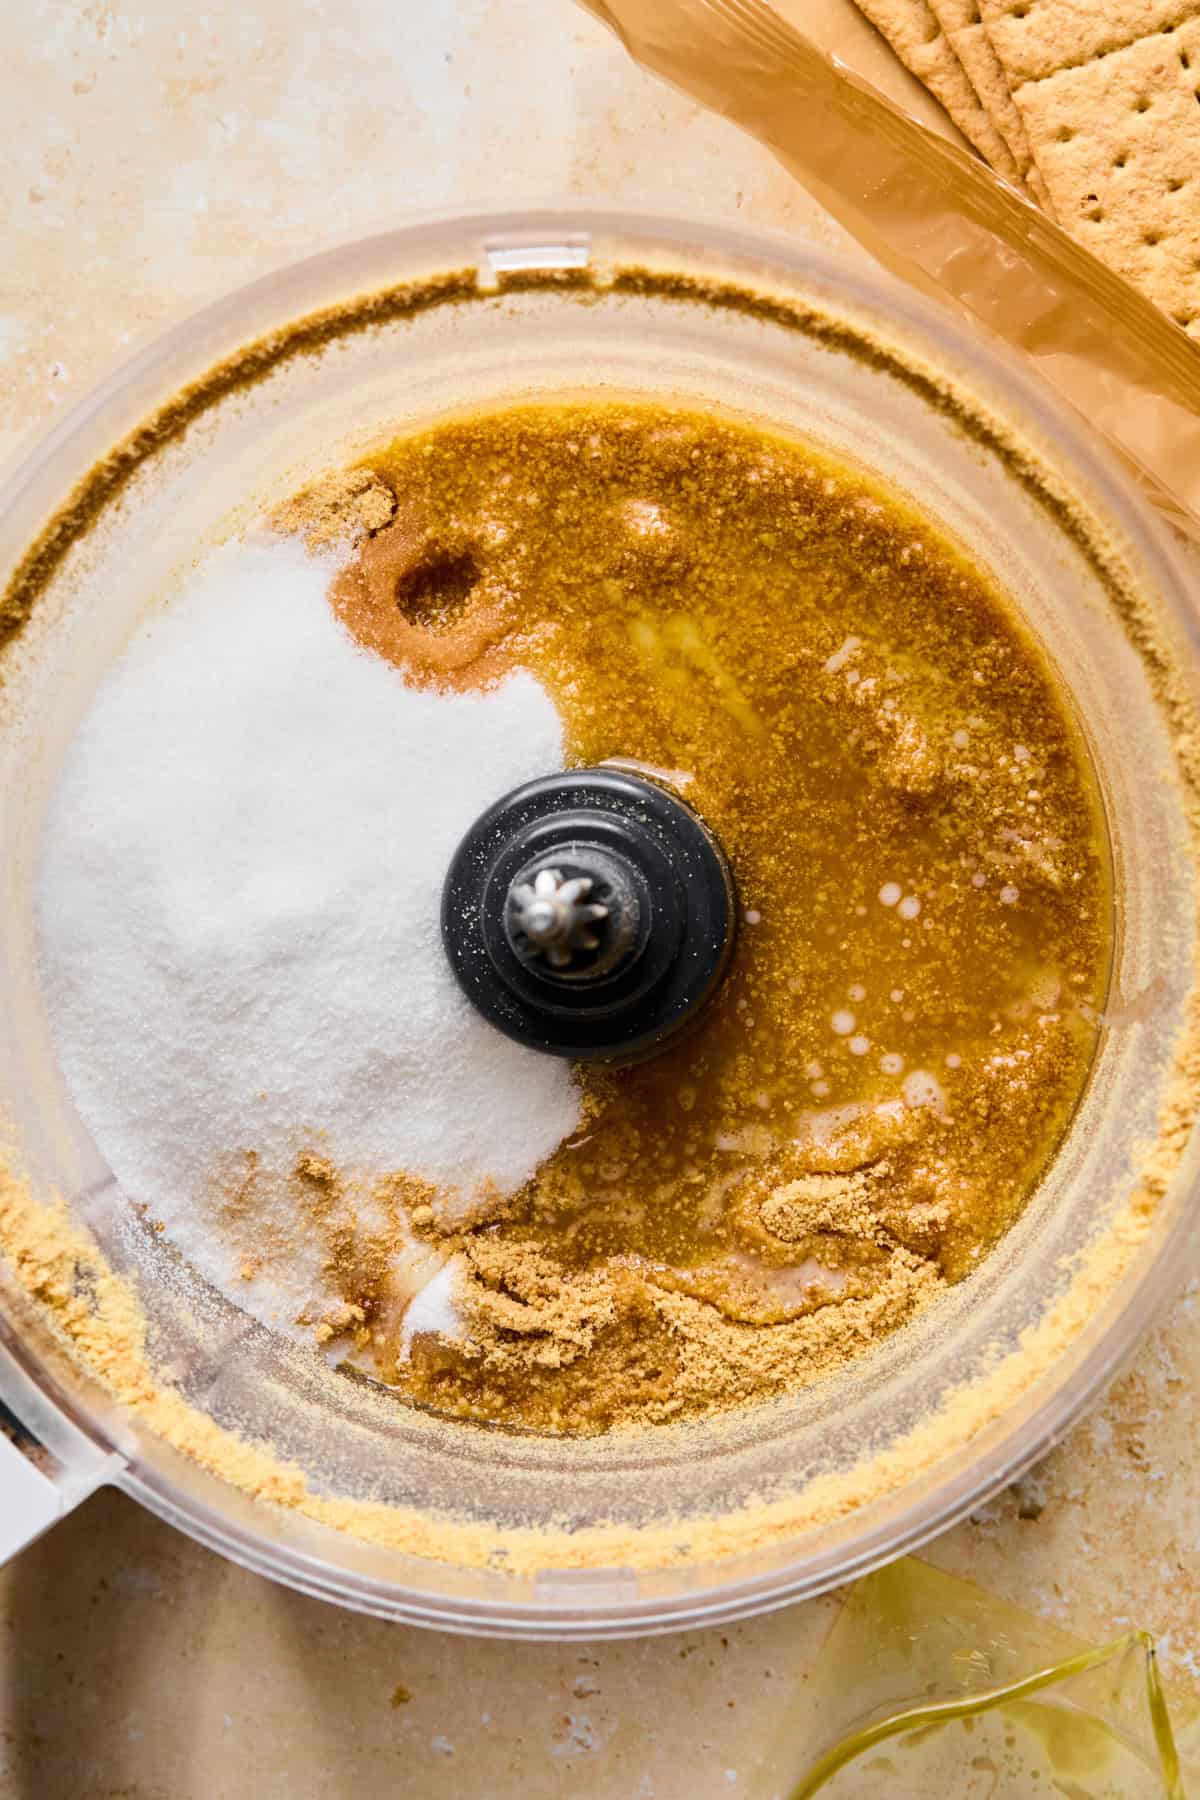
Step 2: Mix the graham cracker crumbs with the melted butter, vanilla, ginger, salt and sugar until combined and crumbly.
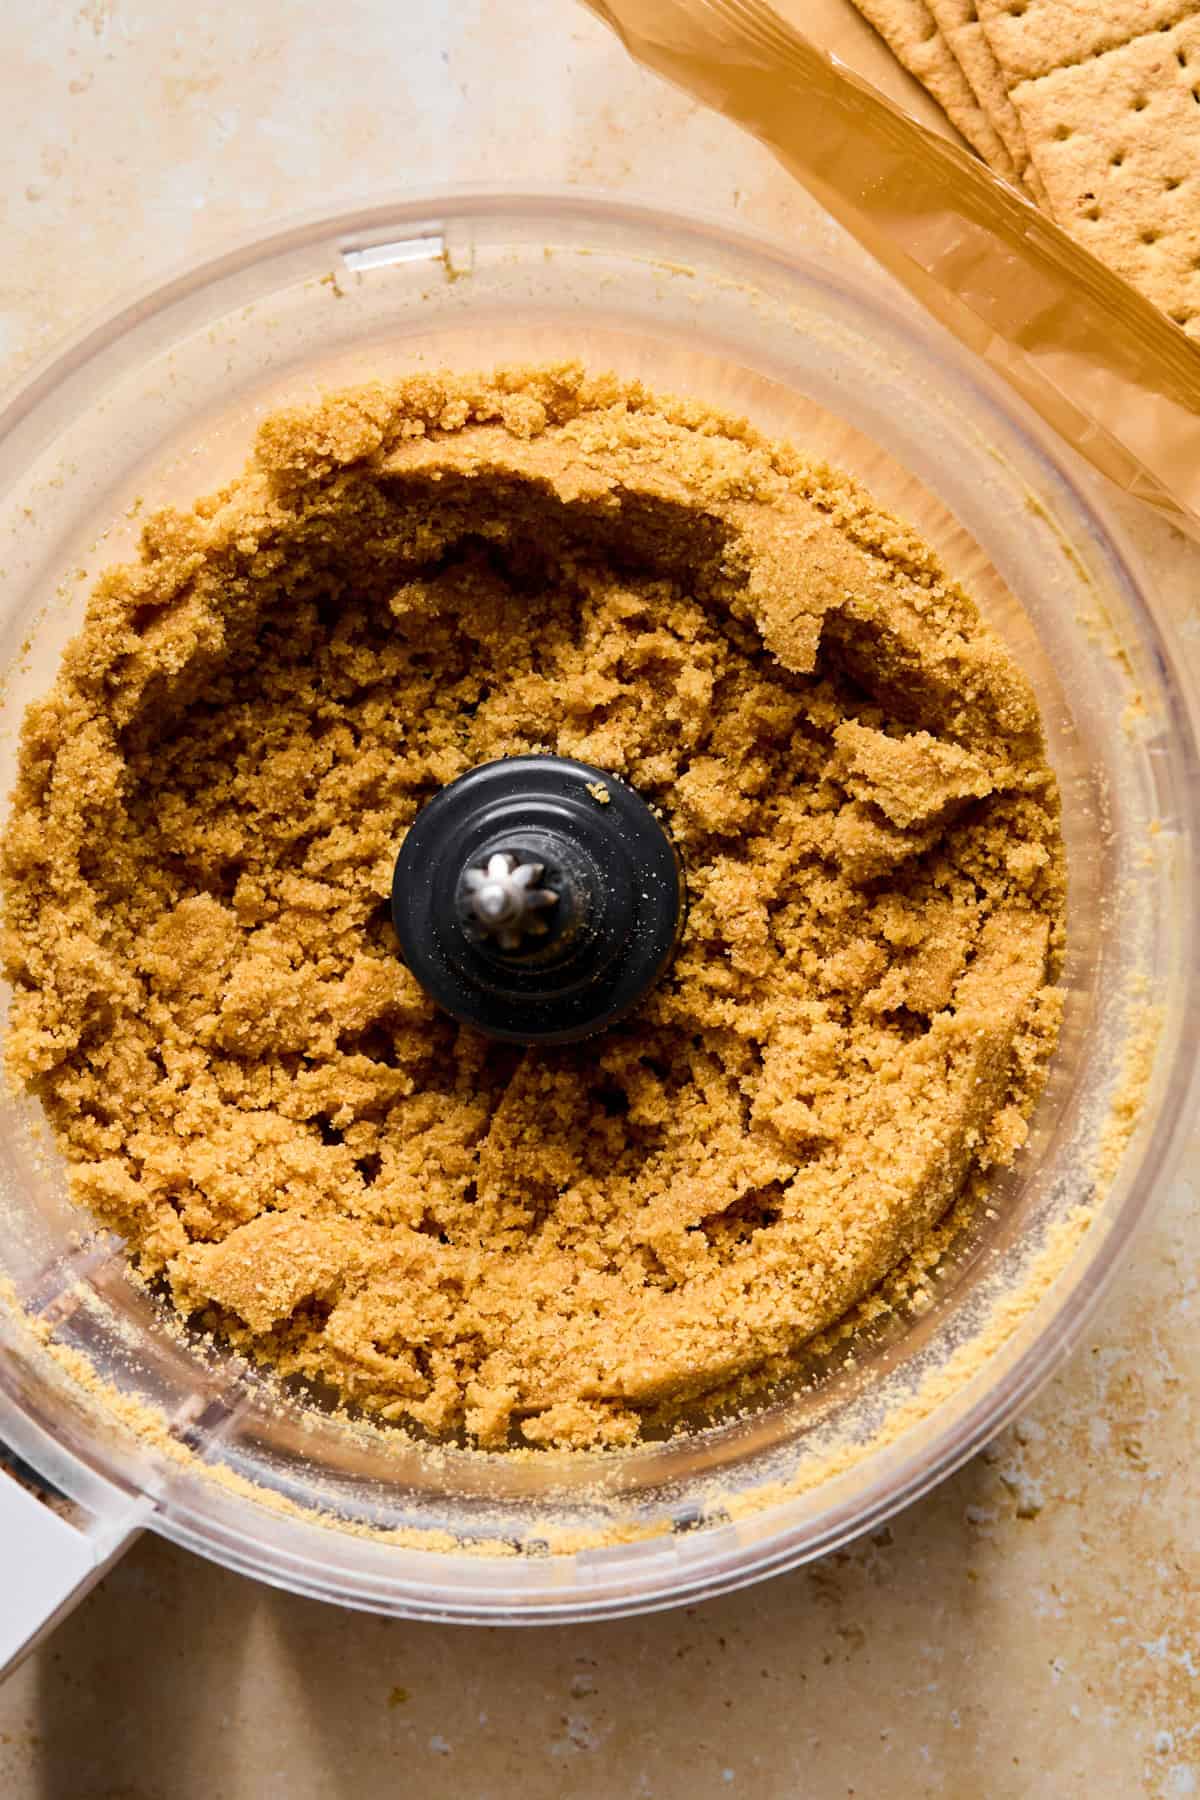
Step 3: The texture should be moist, but not oily or wet. You can add in some more graham cracker crumbs if it seems to be greasy.
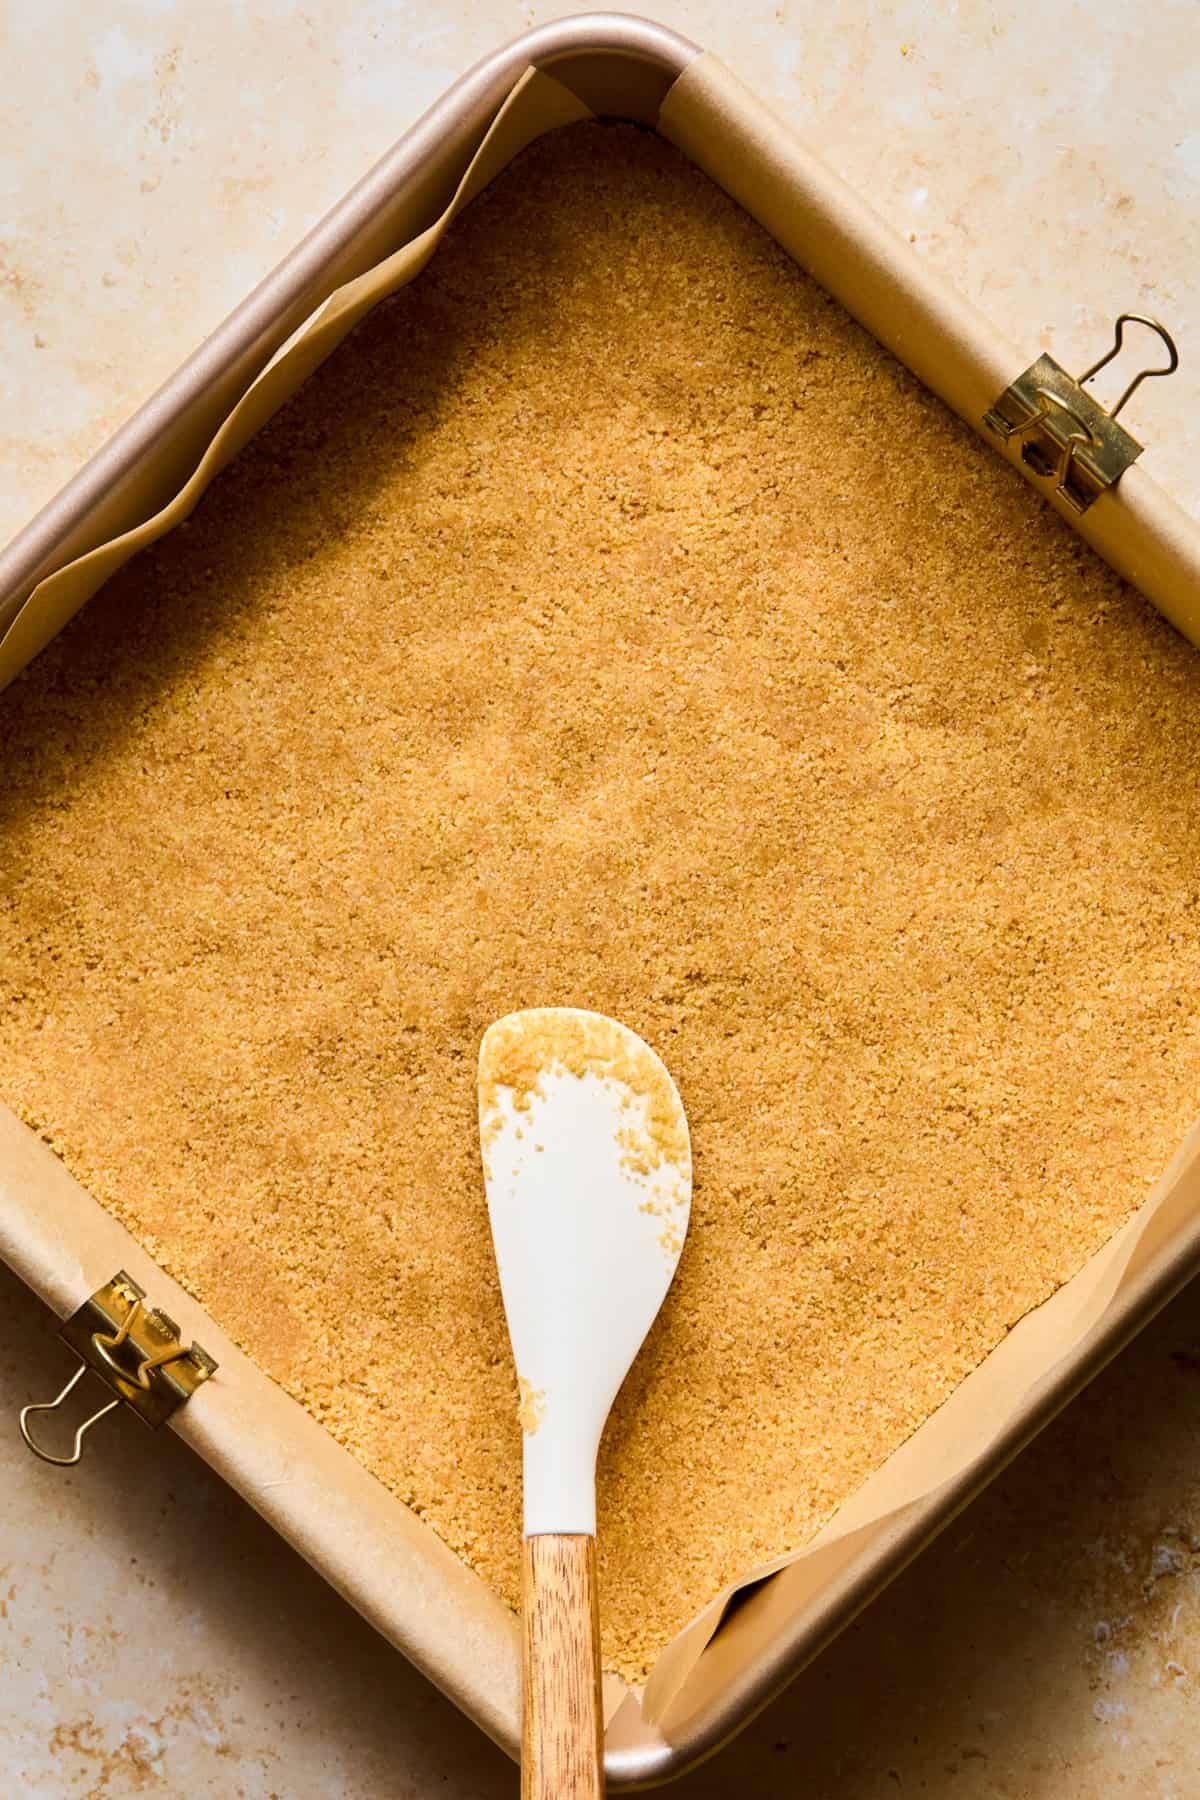
Step 4: Press VERY FIRMLY into a parchment lined 9×9 inch pan. Freeze for about 15 minutes while making the cheesecake filling.
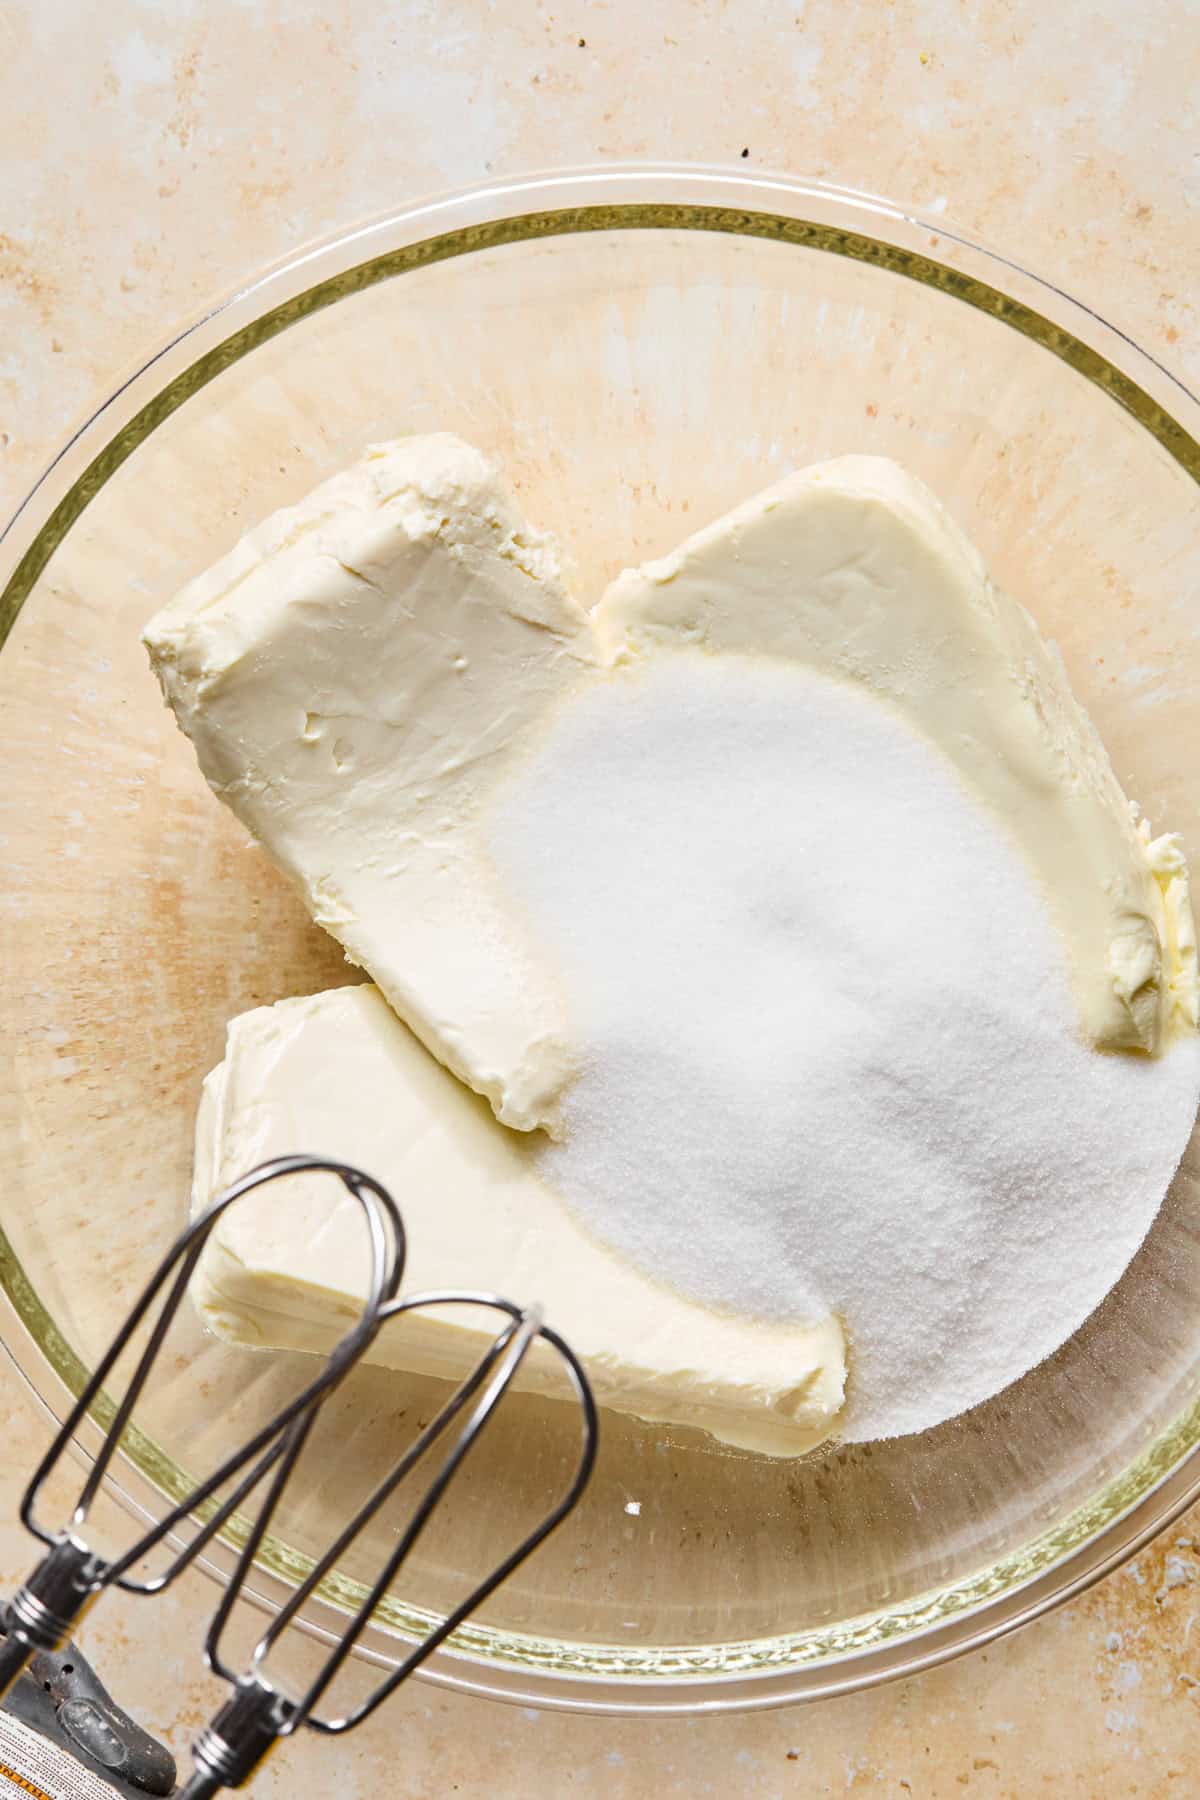
Step 5: In a medium bowl, use an electric mixer to beat the softened cream cheese and sugar until smooth and creamy.
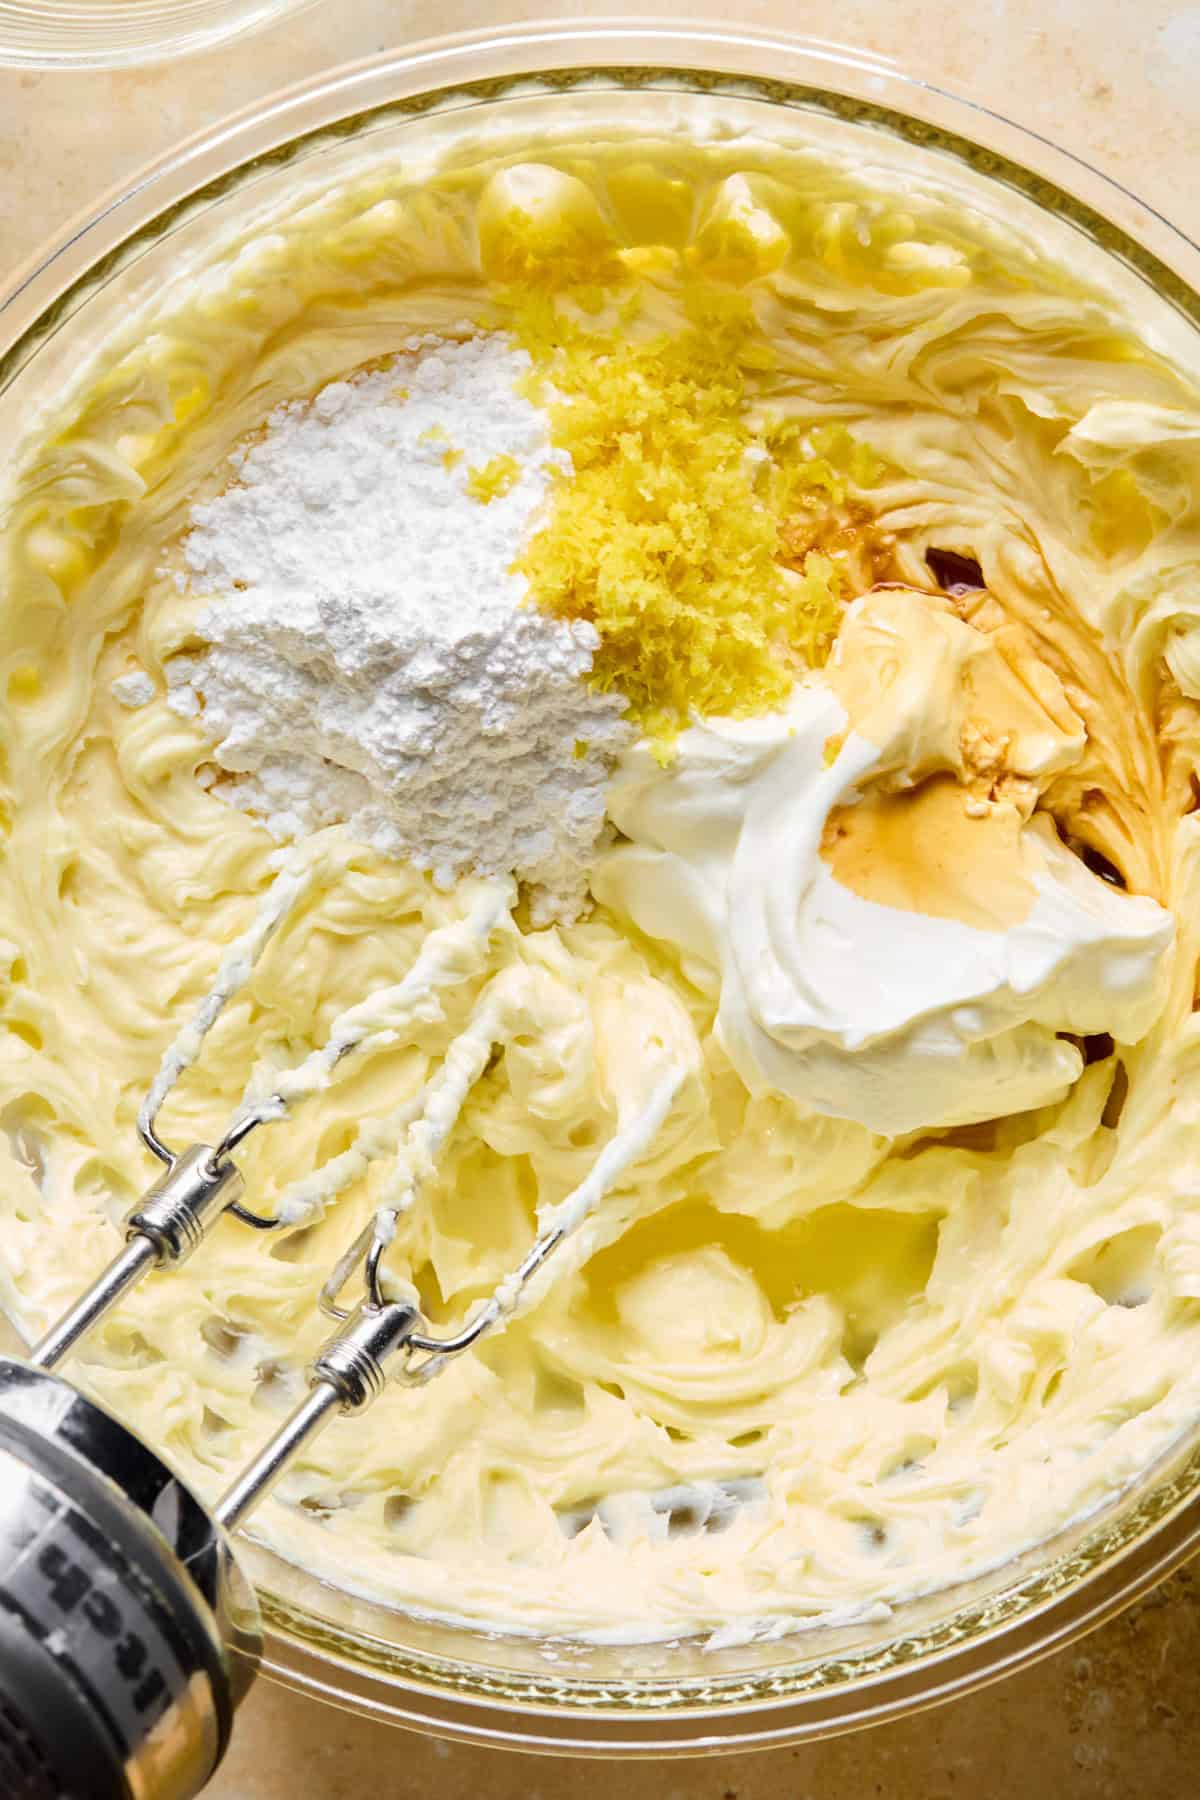
Step 6: Add in sour cream, vanilla, lemon juice and zest, and powdered sugar.
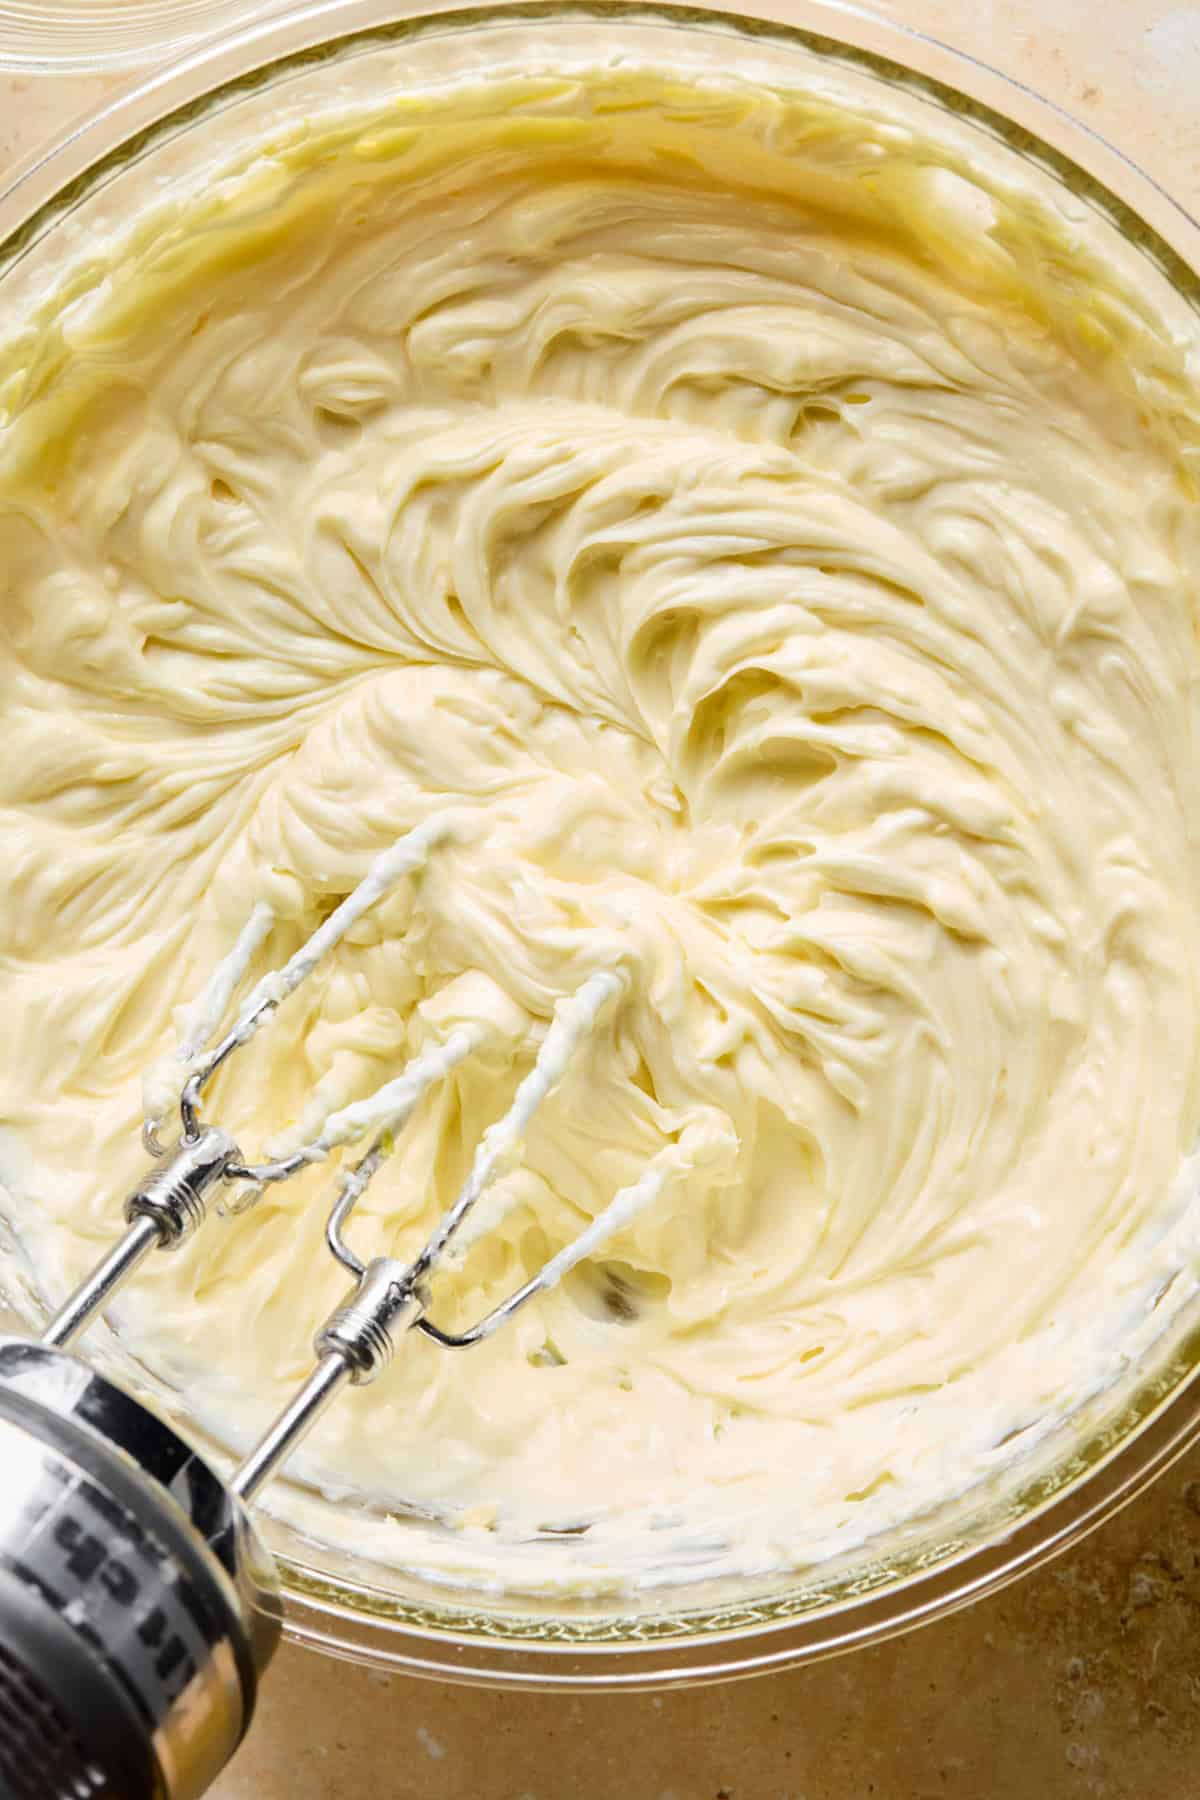
Step 7: Beat until smooth.
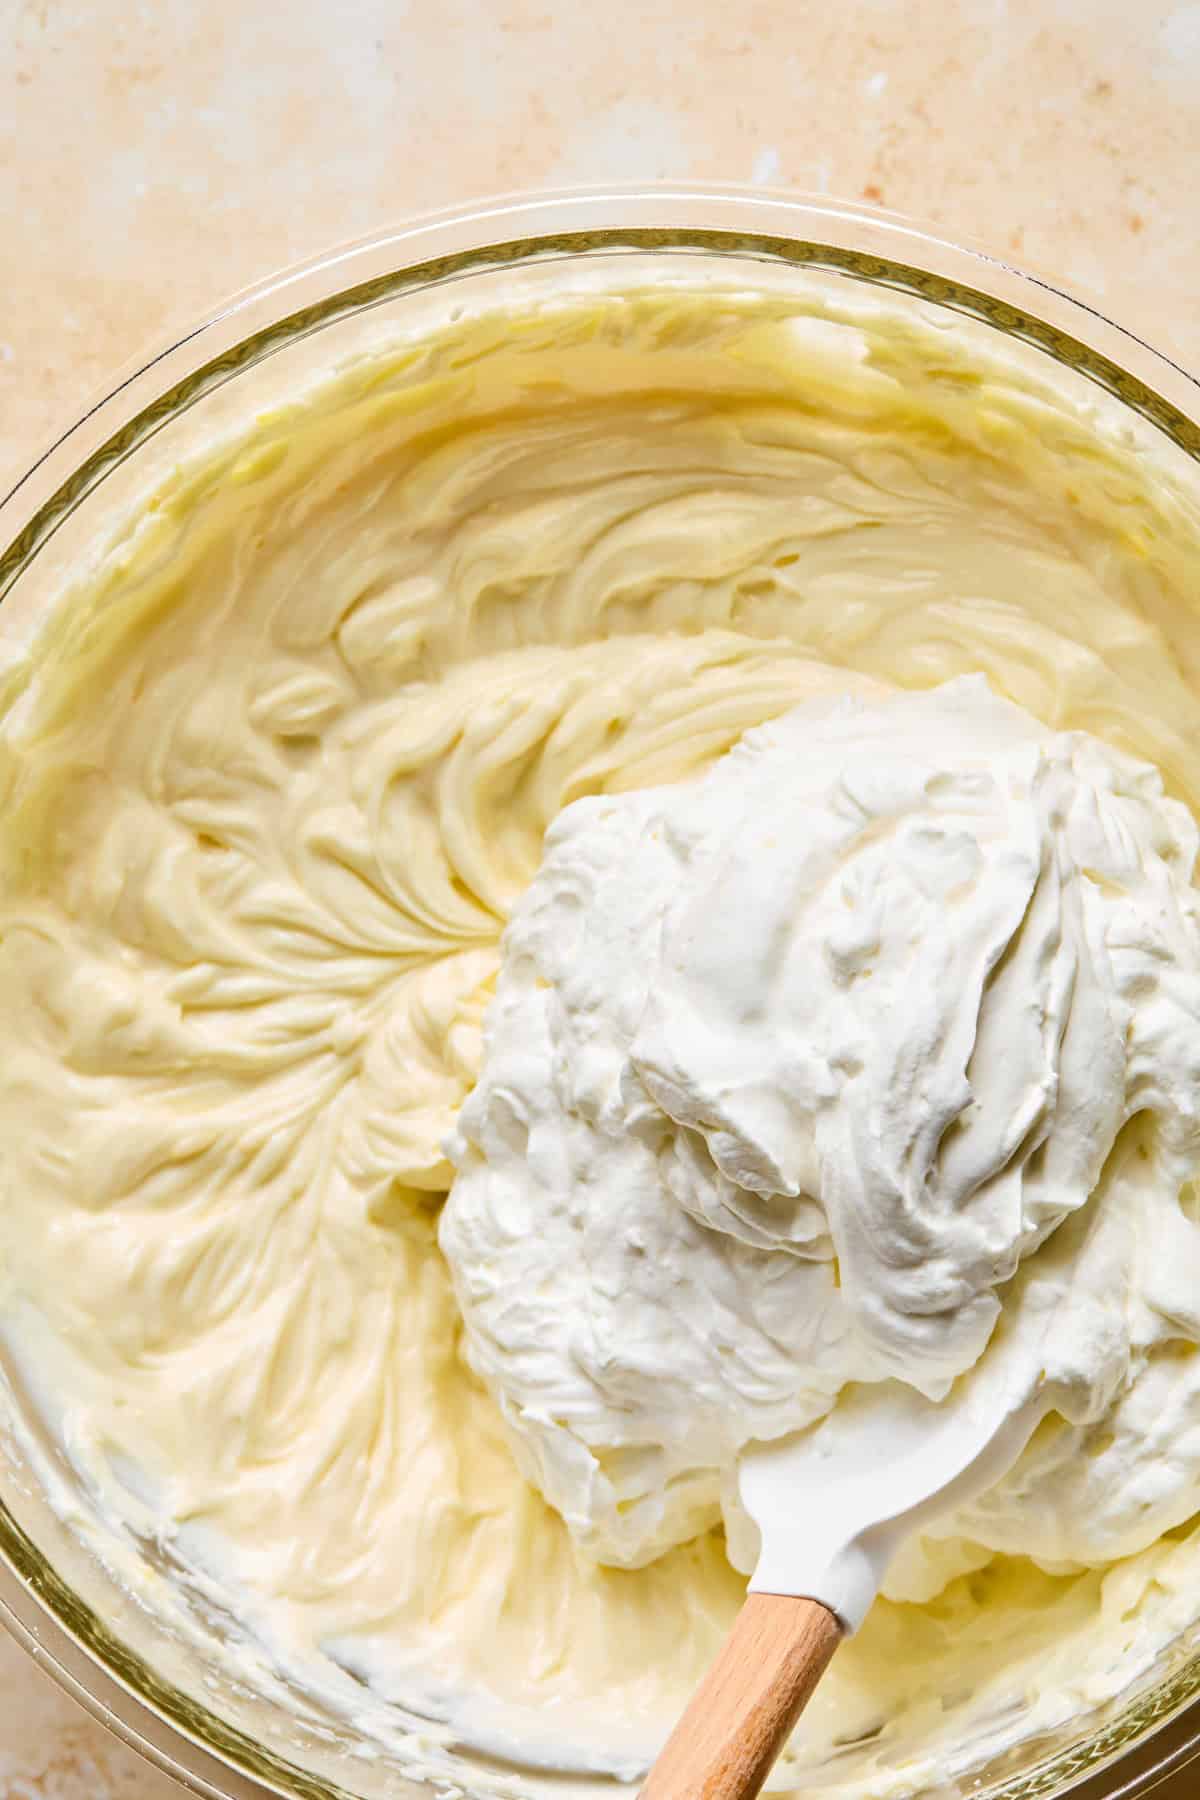
Step 8: In a separate bowl, add the very cold whipping cream and beat on high until stiff peaks begin to form. Gently fold the whipped cream into the lemon cream cheese mixture until fully combined.
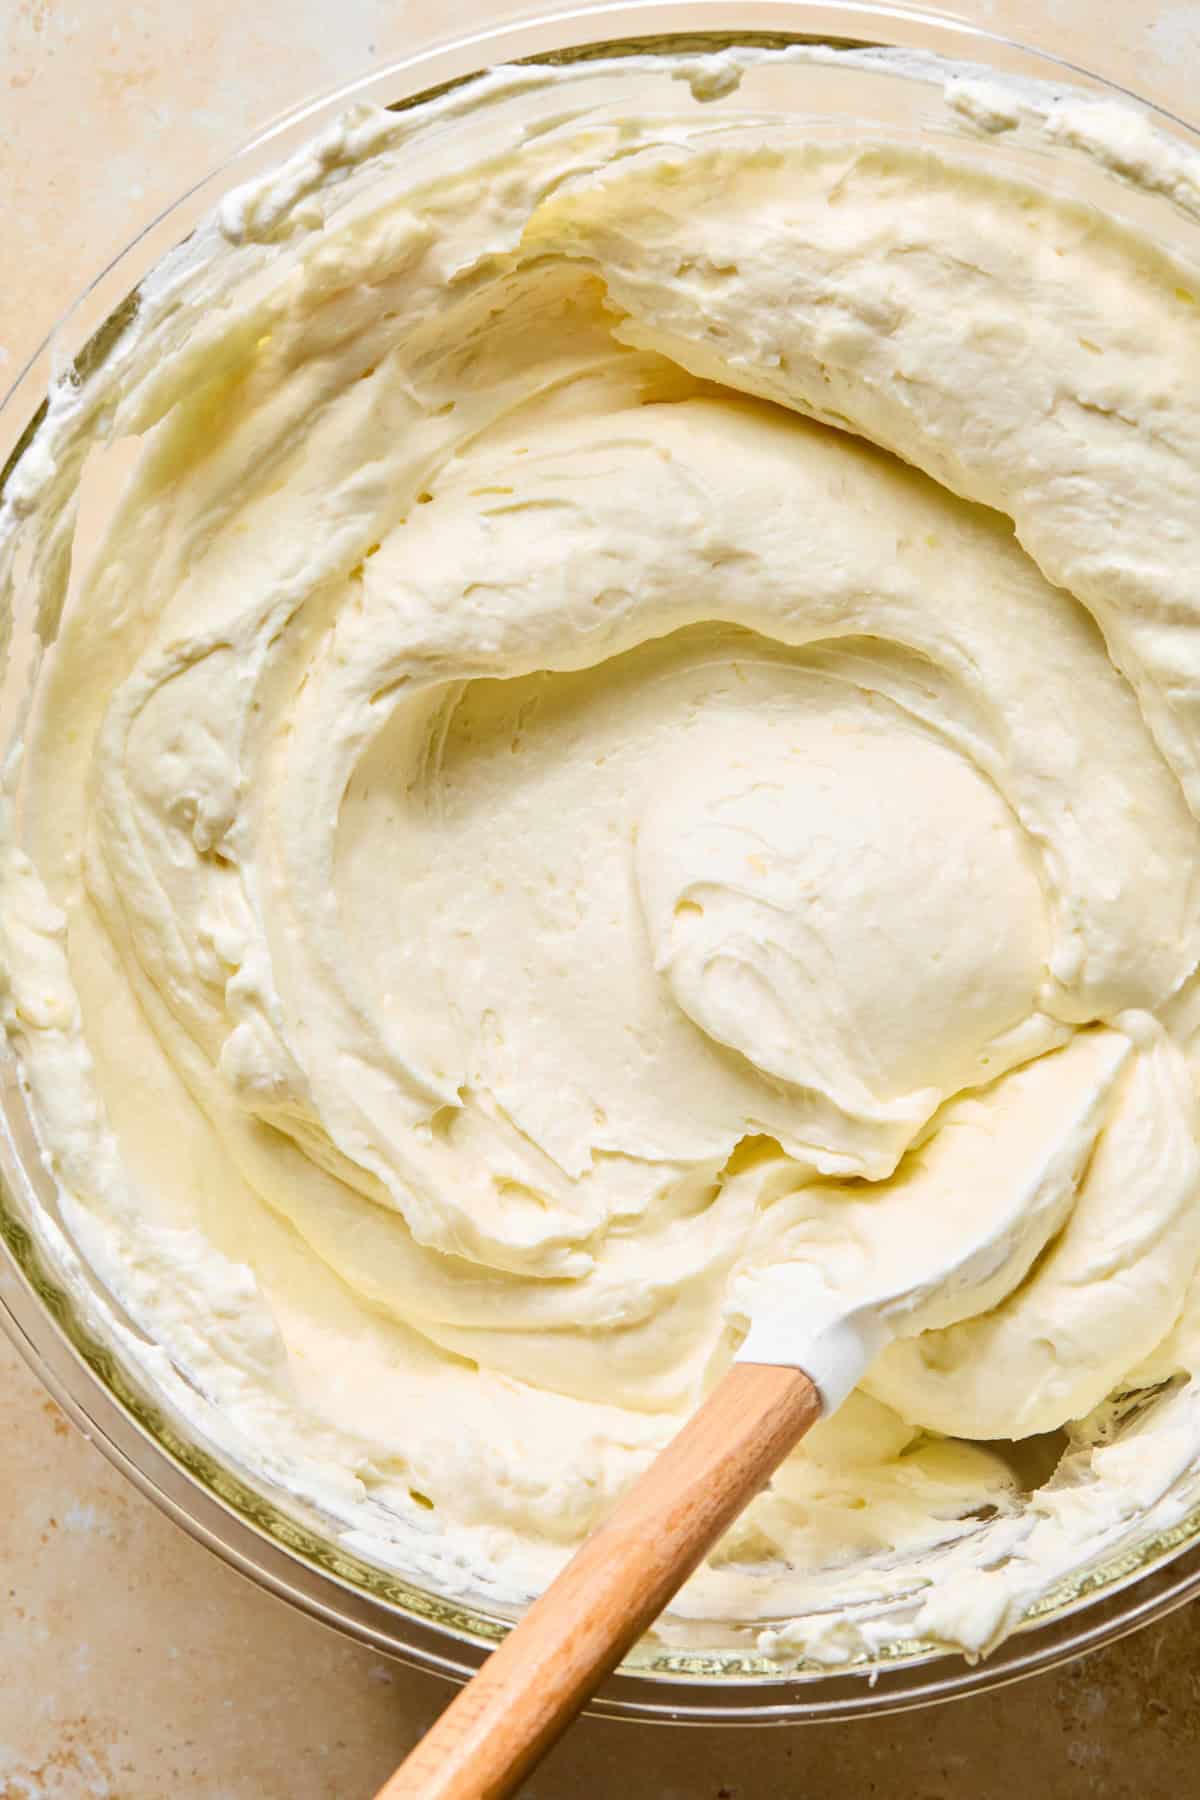
Step 9: Make sure there are no white streaks and the cream cheese mixture and whipped cream are fully combined.
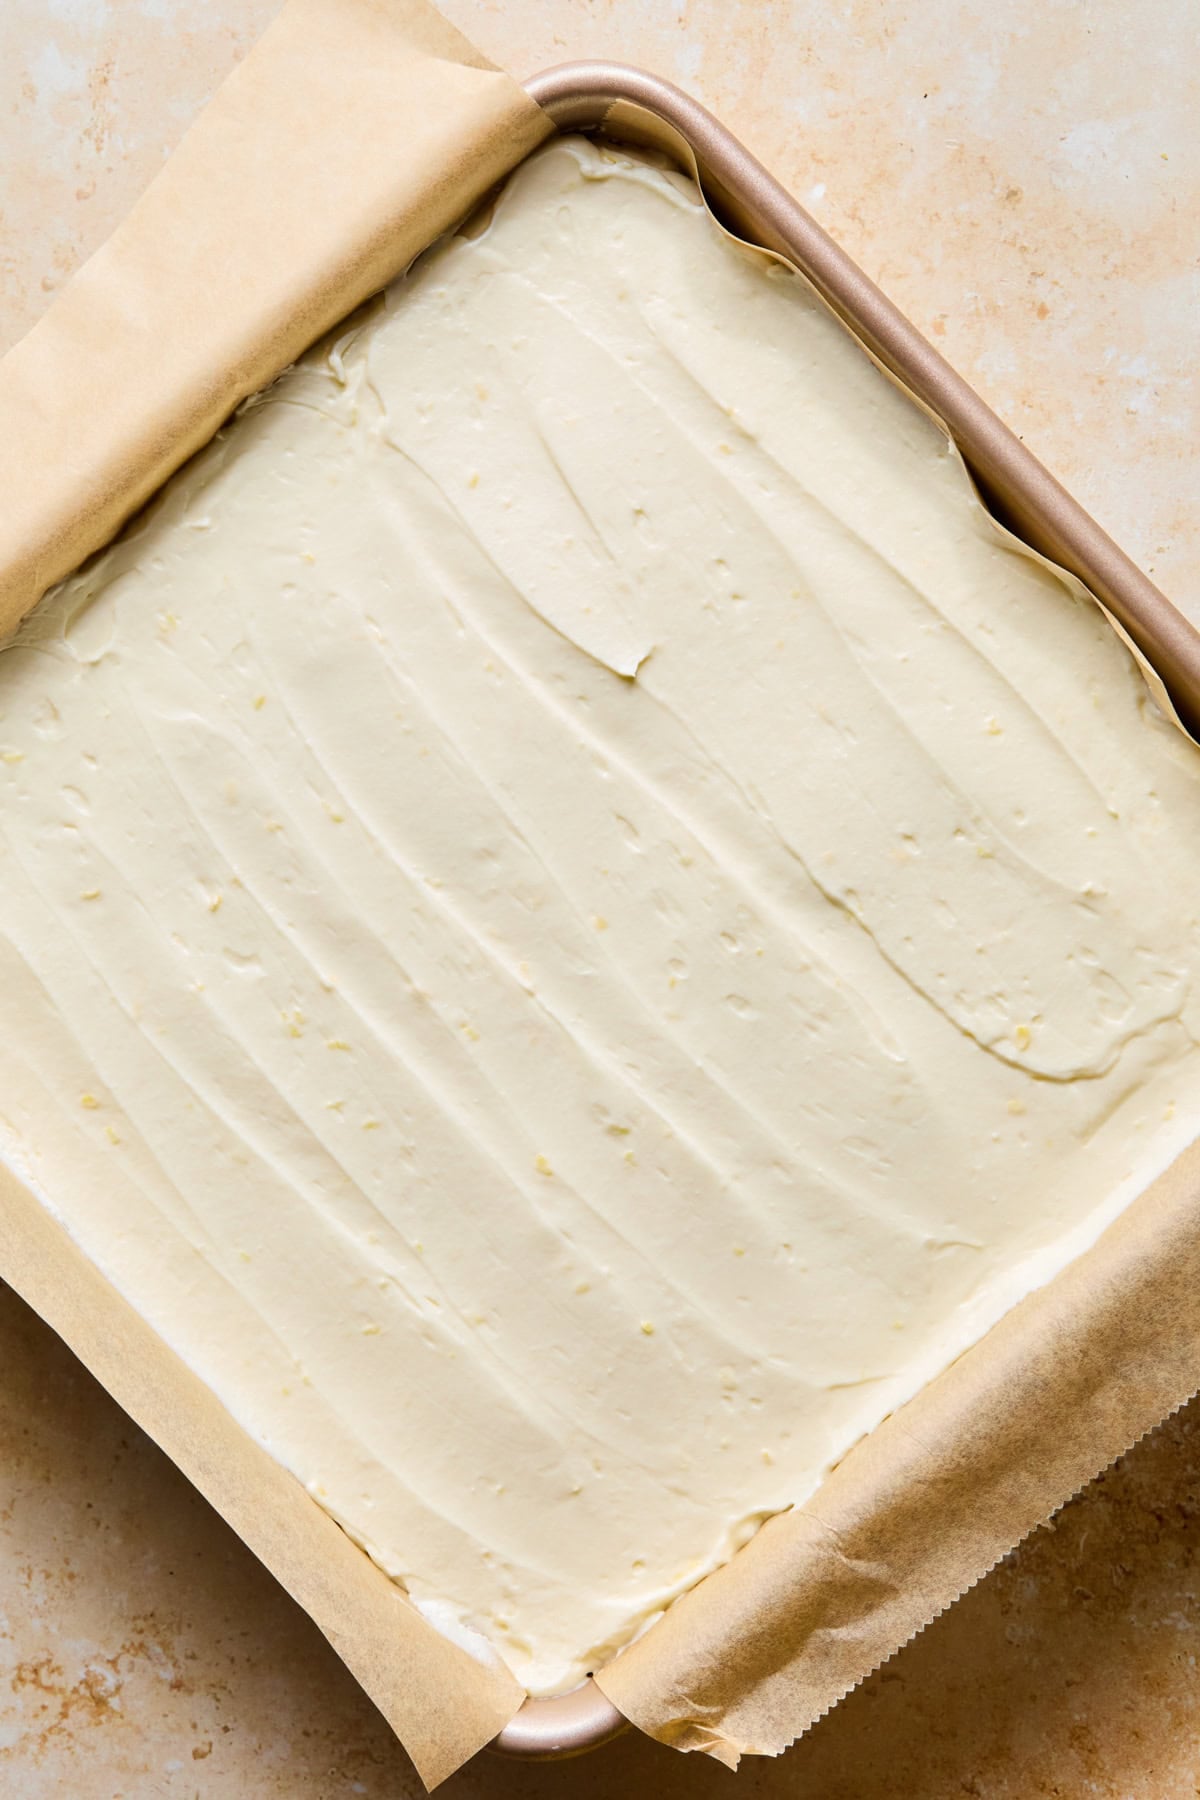
Step 10: Transfer the cheesecake mixture to chilled crust. Spread evenly until smooth. Chill for at least 6-8 hours to set—I let it set overnight for easiest slicing. Before serving, you can make the optional lemon whipped cream by beating the heavy cream in a small bowl, slowly adding in the powdered sugar, vanilla extract and lastly the lemon juice. This is a subtle lemon whipped cream flavor—for stronger flavor, fold in about 1 tsp very finely zested lemon zest (some people won’t want that texture. Slice and pipe a bit of the whipped cream on each square and a small slice of lemon. Serve!
Recipe Tips
Chill the cheesecake sufficiently. This will make for easier slicing and will hold up much better. You can eat it still if it’s not fully set, it will just be a LOT messier–consider yourself warned!
You can opt to make this in a 9 inch springform pan instead for a round cheesecake pie. It should work well in that form as well!
Tips for cutting the cheesecake bars:
- Make sure the cheesecake is chilled sufficiently. You can even freeze it for the last 30 minutes before serving.
- Take a sharp knife and run it under hot water for about 15 seconds, wiping it dry before slicing.
- Slice and then wipe between each slice. You can run it under hot water several times throughout.
Storage
Store in the refrigerator for 3-4 days in an airtight container. The creamy texture will be the best in the first 24-36 hours but it is still perfectly edible for another few days!
If you want to freeze it, allow it to set completely in the fridge first. Cover the cheesecake very tight with plastic wrap and then seal with a lid to keep it at its best texture. Freeze for up to 3 months and thaw in the refrigerator overnight.
Other No-Bake Desserts
Desserts
Funfetti Icebox Cake
Desserts
Blueberry Cheesecake Dip
Desserts
Chocolate Icebox Cake
Ice Cream and Frozen Treats
Oreo Ice Cream Pie
HUNGRY FOR MORE? Subscribe to my newsletter and follow me on Facebook, Instagram and Pinterest for all the latest!
No-Bake Lemon Cheesecake Bars
Ingredients
GRAHAM CRACKER CRUST
- 14 sheets of graham crackers, approx. 1 ¾ – 2 cups crumbs
- 7 Tbsp unsalted butter, melted
- ⅓ cup sugar
- ½ tsp vanilla
- ¼-½ tsp of ground ginger, optional
- pinch of sea salt
LEMON CHEESECAKE
- 24. oz. block cream cheese, softened to room temperature (3, 8 oz. blocks)
- ½ cup sugar
- 1 tsp vanilla extract
- 2 Tbsp lemon juice, fresh
- 1 Tbsp packed lemon zest
- ⅓ cup confectioners sugar
- ½ cup sour cream, room temperature
- 1 cup heavy whipping cream, very cold
Optional Lemon Whipped Cream
- 1 cup heavy whipping cream, very cold
- 3 Tbsp powdered sugar
- ½ tsp vanilla
- 1 Tbsp lemon juice
Instructions
- Prepare the Crust: Process the graham crackers in a food processor until fine. (You can do this in a plastic bag with a heavy wood spoon or rolling pin if you don't have a food processor.)
- Mix the graham cracker crumbs with the melted butter, vanilla, ginger, salt and sugar until combined and crumbly. Press VERY FIRMLY into a parchment lined 9×9 inch pan. Freeze for about 15 minutes while making the cheesecake filling.
- Prepare the Cheesecake Filling: In a medium bowl, use an electric mixer to beat the softened cream cheese and sugar until smooth and creamy. Add in sour cream, vanilla, lemon juice and zest, and powdered sugar. Beat until smooth.
- In a separate bowl, add the very cold whipping cream and beat on high until stiff peaks begin to form. Gently fold the whipped cream into the lemon cream cheese mixture until fully combined.
- Transfer the cheesecake mixture to chilled crust. Spread evenly until smooth. Chill for at least 6-8 hours to set—I let it set overnight for easiest slicing.
- Serving: Before serving, you can make optional lemon whipped cream by beating the heavy cream in a small bowl, slowly adding in the powdered sugar, vanilla extract and lastly the lemon juice. This is a subtle lemon whipped cream flavor—for stronger flavor, fold in about 1 tsp very finely zested lemon zest (some people won’t want that texture.
- Slice and pipe a bit of the whipped cream on each square and a small slice of lemon. Serve!
Notes
- Make sure the cheesecake is chilled sufficiently. You can even freeze it for the last 30 minutes before serving.
- Take a sharp knife and run it under hot water for about 15 seconds, wiping it dry before slicing.
- Slice and then wipe between each slice. You can run it under hot water several times throughout.
Nutrition
Nutrition information is automatically calculated, so should only be used as an approximation.
Shop This Post
 Buy Now →
  Buy Now →
  Buy Now →
  Buy Now →
  Buy Now →
Leave a comment