
This post may contain affiliate links.

These roasted strawberry cheesecake cups feature rich and syrupy roasted strawberries over top of a simple no-bake cheesecake layer. They take only minutes to prep and are great for an easy to serve dessert for any summer gathering. If you haven’t had roasted strawberries before, these will be your new obsession for sure!
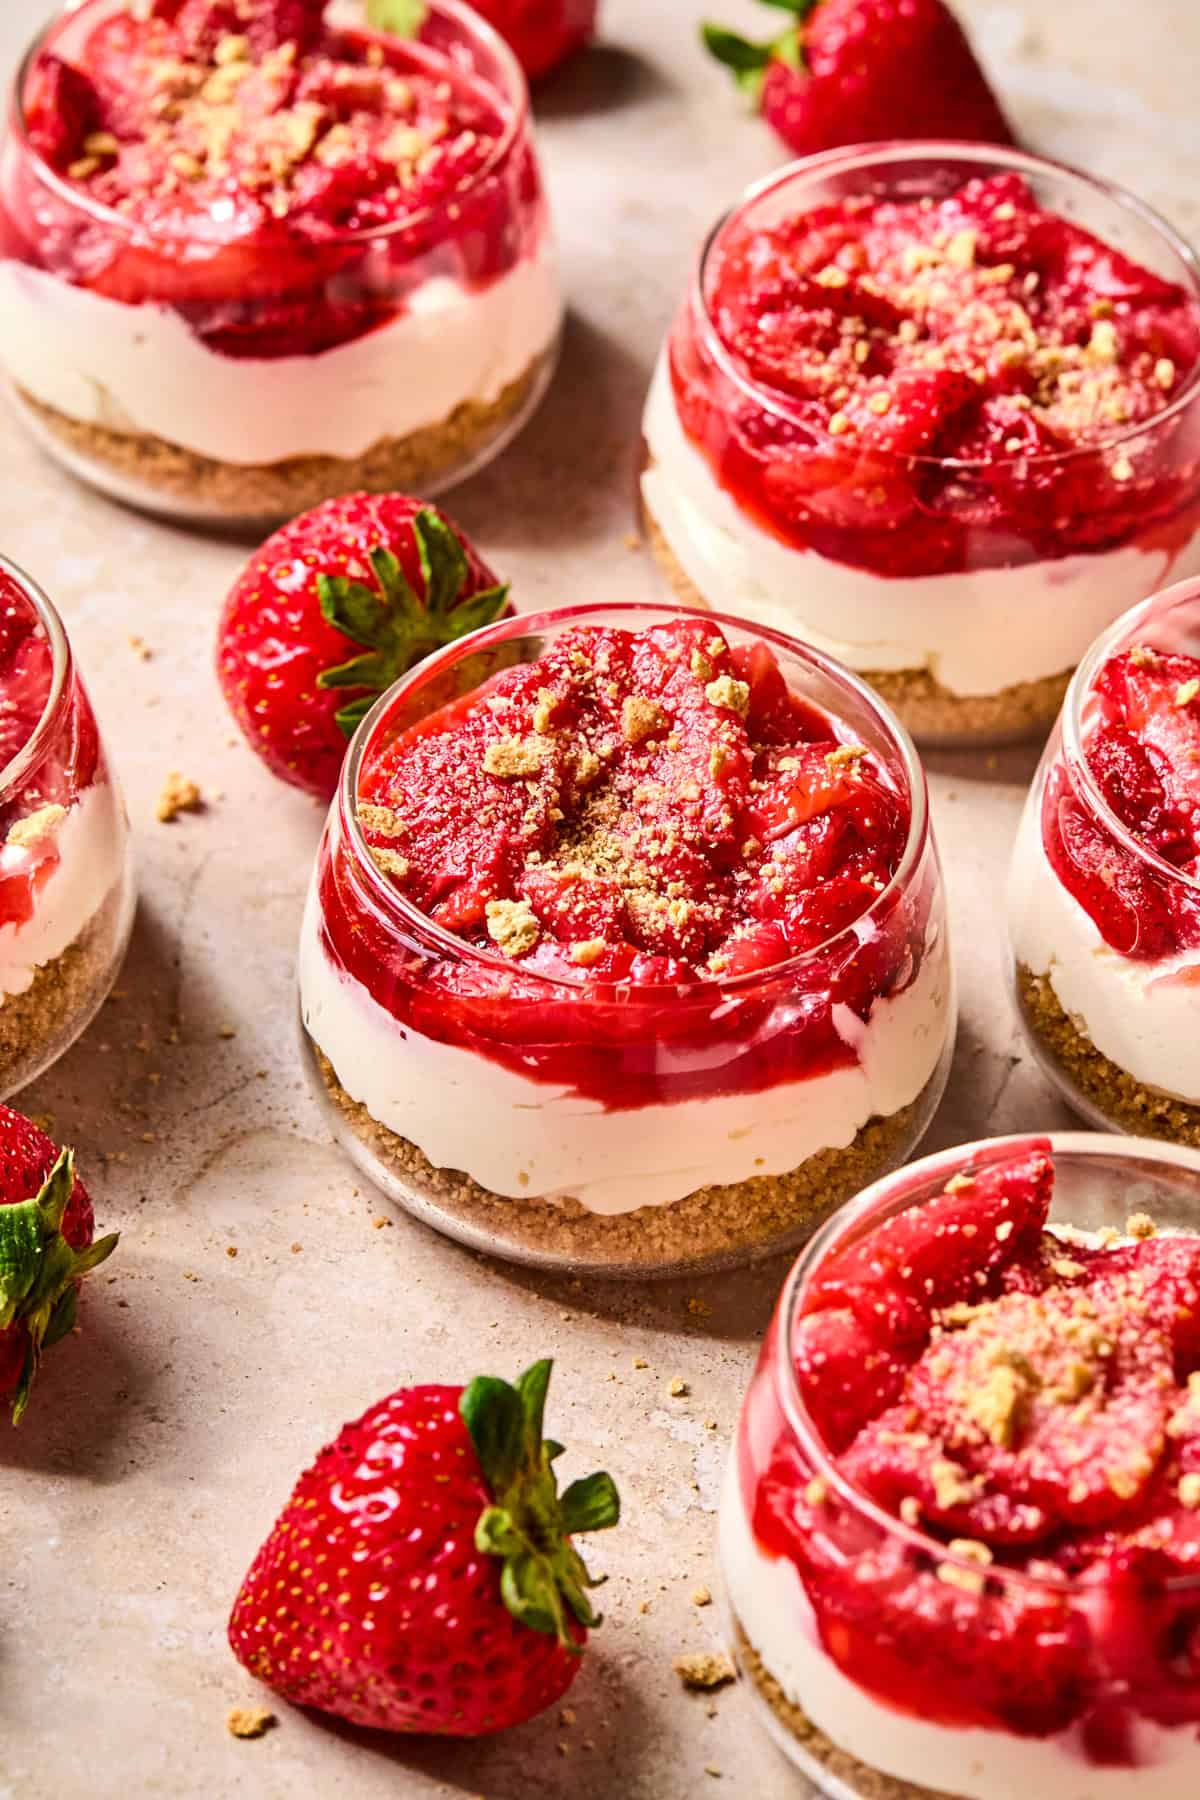
Rich and syrupy strawberries over top of a no-bake cheesecake is my idea of a perfect summer dessert.
These roasted strawberry cheesecake cups were inspired by a fan favorite, these No-Bake Oreo Cheesecake Cups, but they are next level WOW.
If you are looking for more summer desserts, try these as well: No Bake Chocolate Pie, No-Bake Lemon Cheesecake Bars, Strawberry Cream Cheese Icebox Cake or this Funfetti Icebox Cake!
Why We Love These Roasted Strawberry Cheesecake Cups

My original plan for these no-bake cheesecake cups was to just macerate the strawberries as you would in this Strawberry Peach Shortcake recipe, but I am soooo happy I opted to roast them in the end. This makes for the best rich and gooey berry goodness! This simple dessert recipe is sure to be a big win!
These roasted strawberry cheesecake cups:
- are very easy to make
- make for an easy to serve dessert recipe that is already portioned out
- make the most of summer fresh strawberries, but can also use frozen if needed
- are easily varied to meet your needs or use what you have on hand
- will be a kid and grown up favorite!
Ingredient Notes
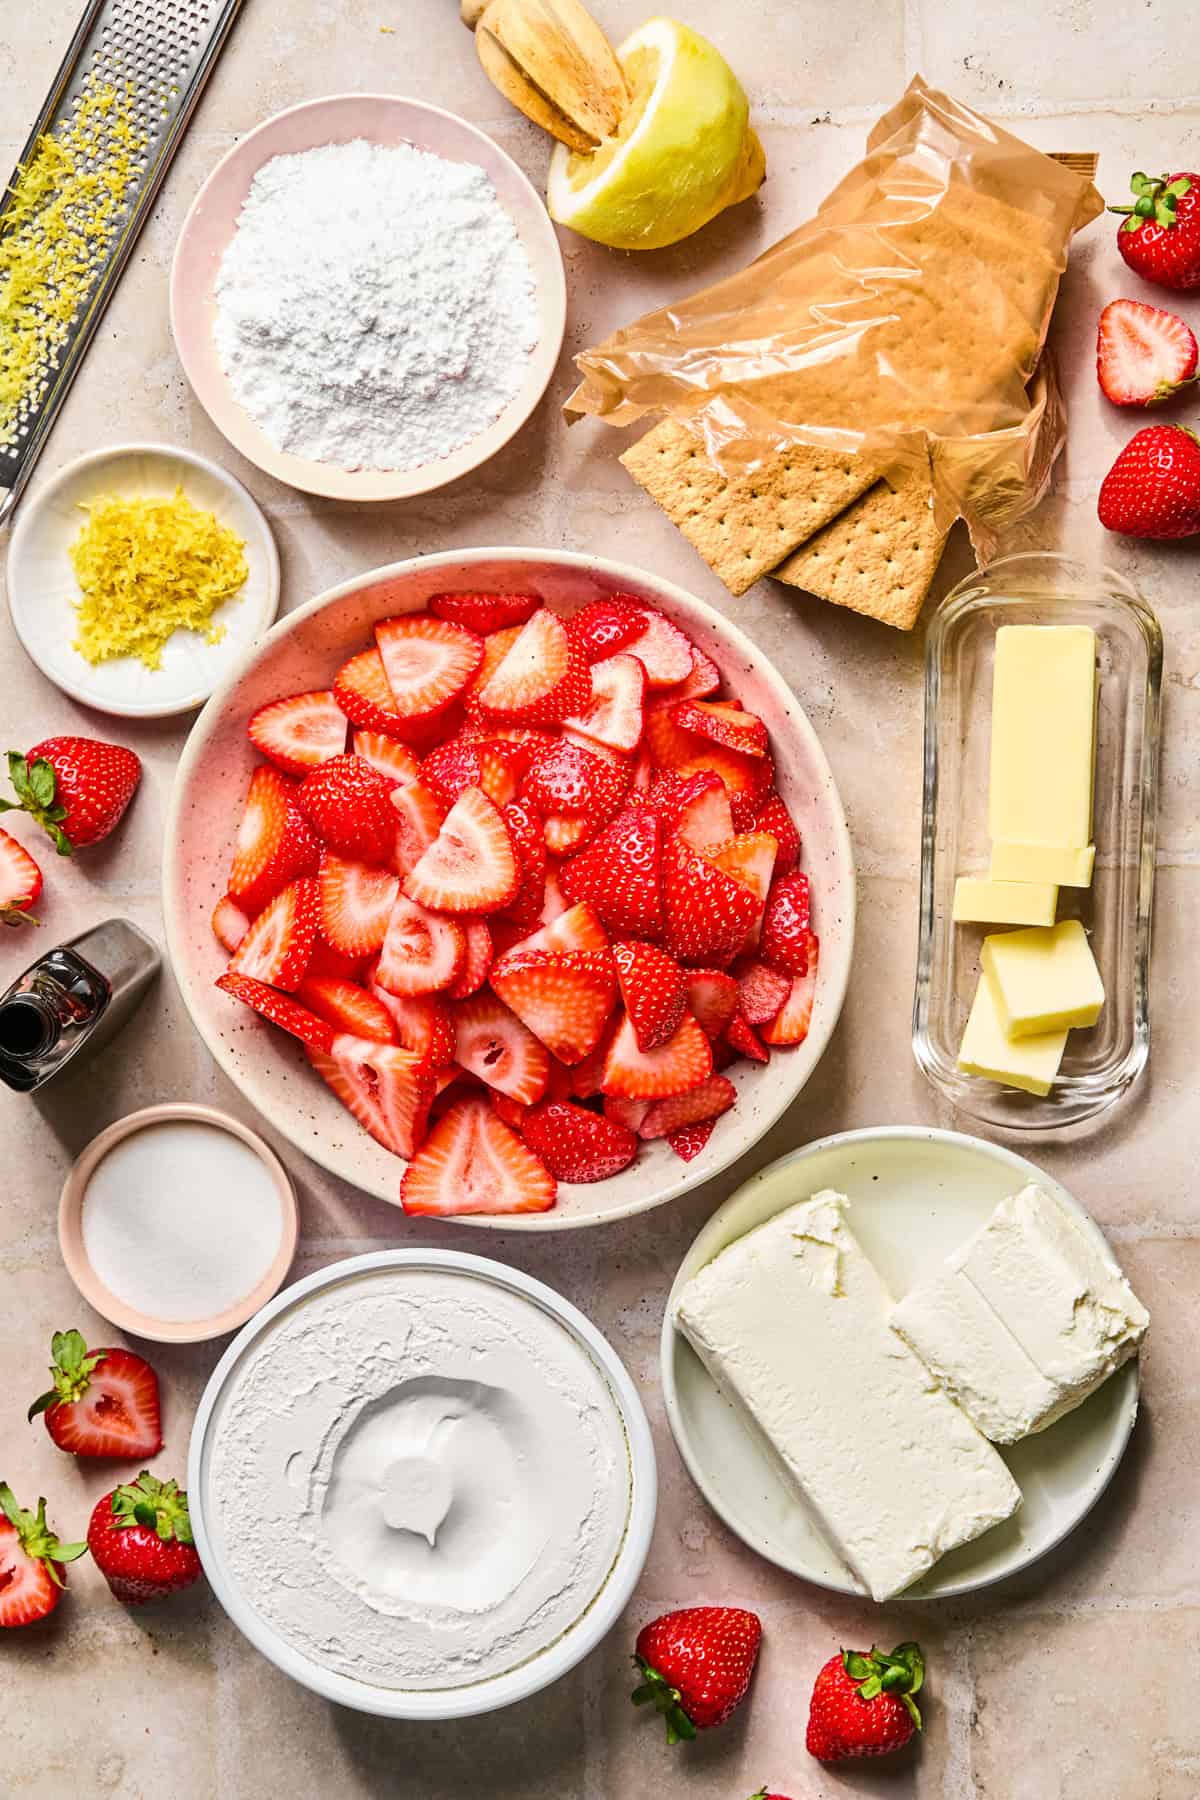
- I used cool whip instead of making homemade whipping cream in this recipe to minimize equipment as well as steps. If you want to make your own whipped cream, beat 1 1/2 cups very cold heavy whipping cream with 1/3 cup powdered sugar and 1 teaspoon vanilla extract until stiff peaks begin to form.
- Fresh strawberries are best for this recipe. You can use thawed frozen strawberries if you don’t have fresh.
- If you prefer to use unsalted butter for the crust, you can add a pinch of sea salt to the mixture instead.
Ways To Vary This Recipe
- double the roasted strawberries and swirl some into the cheesecake mixture. You can make the strawberries a day ahead of time and stir some of the chilled strawberry sauce into the actual cheesecake for even more strawberry goodness.
- vary the crust: use Golden Oreos (gluten-free are great if you need gluten free version). Use about 18-20 Oreos. You can also make a pretzel crust if you love the strawberry pretzel jello salad! Use about 1 1/2 cups of pretzel crumbs.
- add lemon zest to the cheesecake: add a big pop of citrus by adding lemon zest to the cheesecake layer as well, up to about 1 tablespoon.
Step-By-Step Instructions
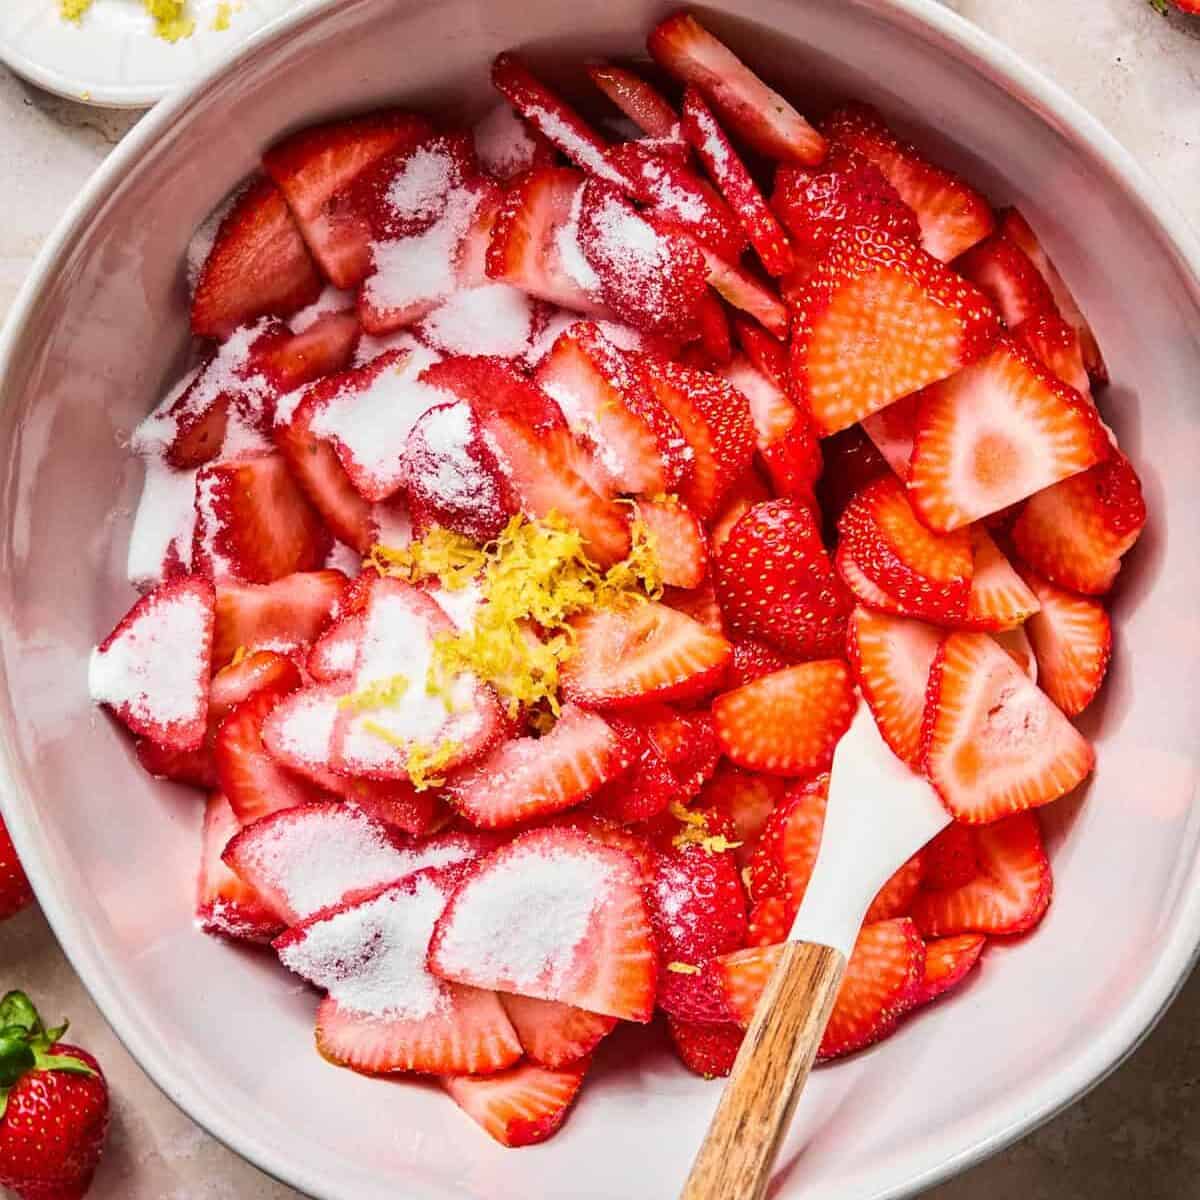
Step 1: Preheat the oven to 375°F. Stir the strawberry ingredients together to evenly coat. Add the berries to a parchment lined baking sheet or a 9×13 inch pan if preferred to get all the extra syrup in an even layer.
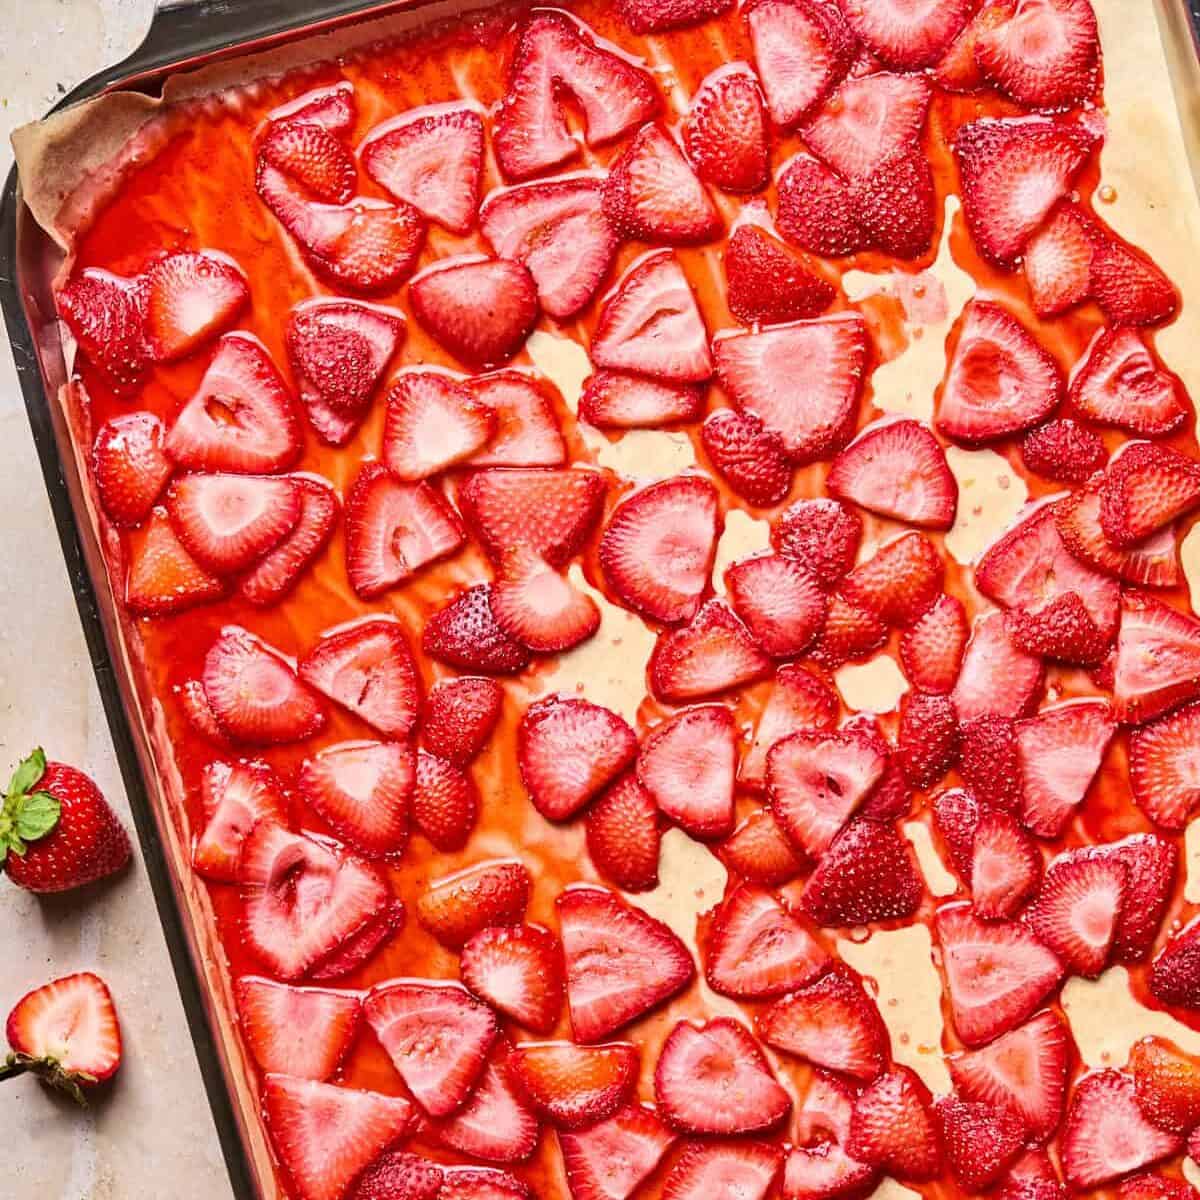
Step 2: Bake for about 20-25 minutes or until soft and tender and sitting in a bit of syrup. Remove from oven and allow to cool. Once cooled, transfer to an airtight container, trying to get as much of the syrup with the berries, and refrigerate until fully chilled, or ready to serve the cheesecakes.
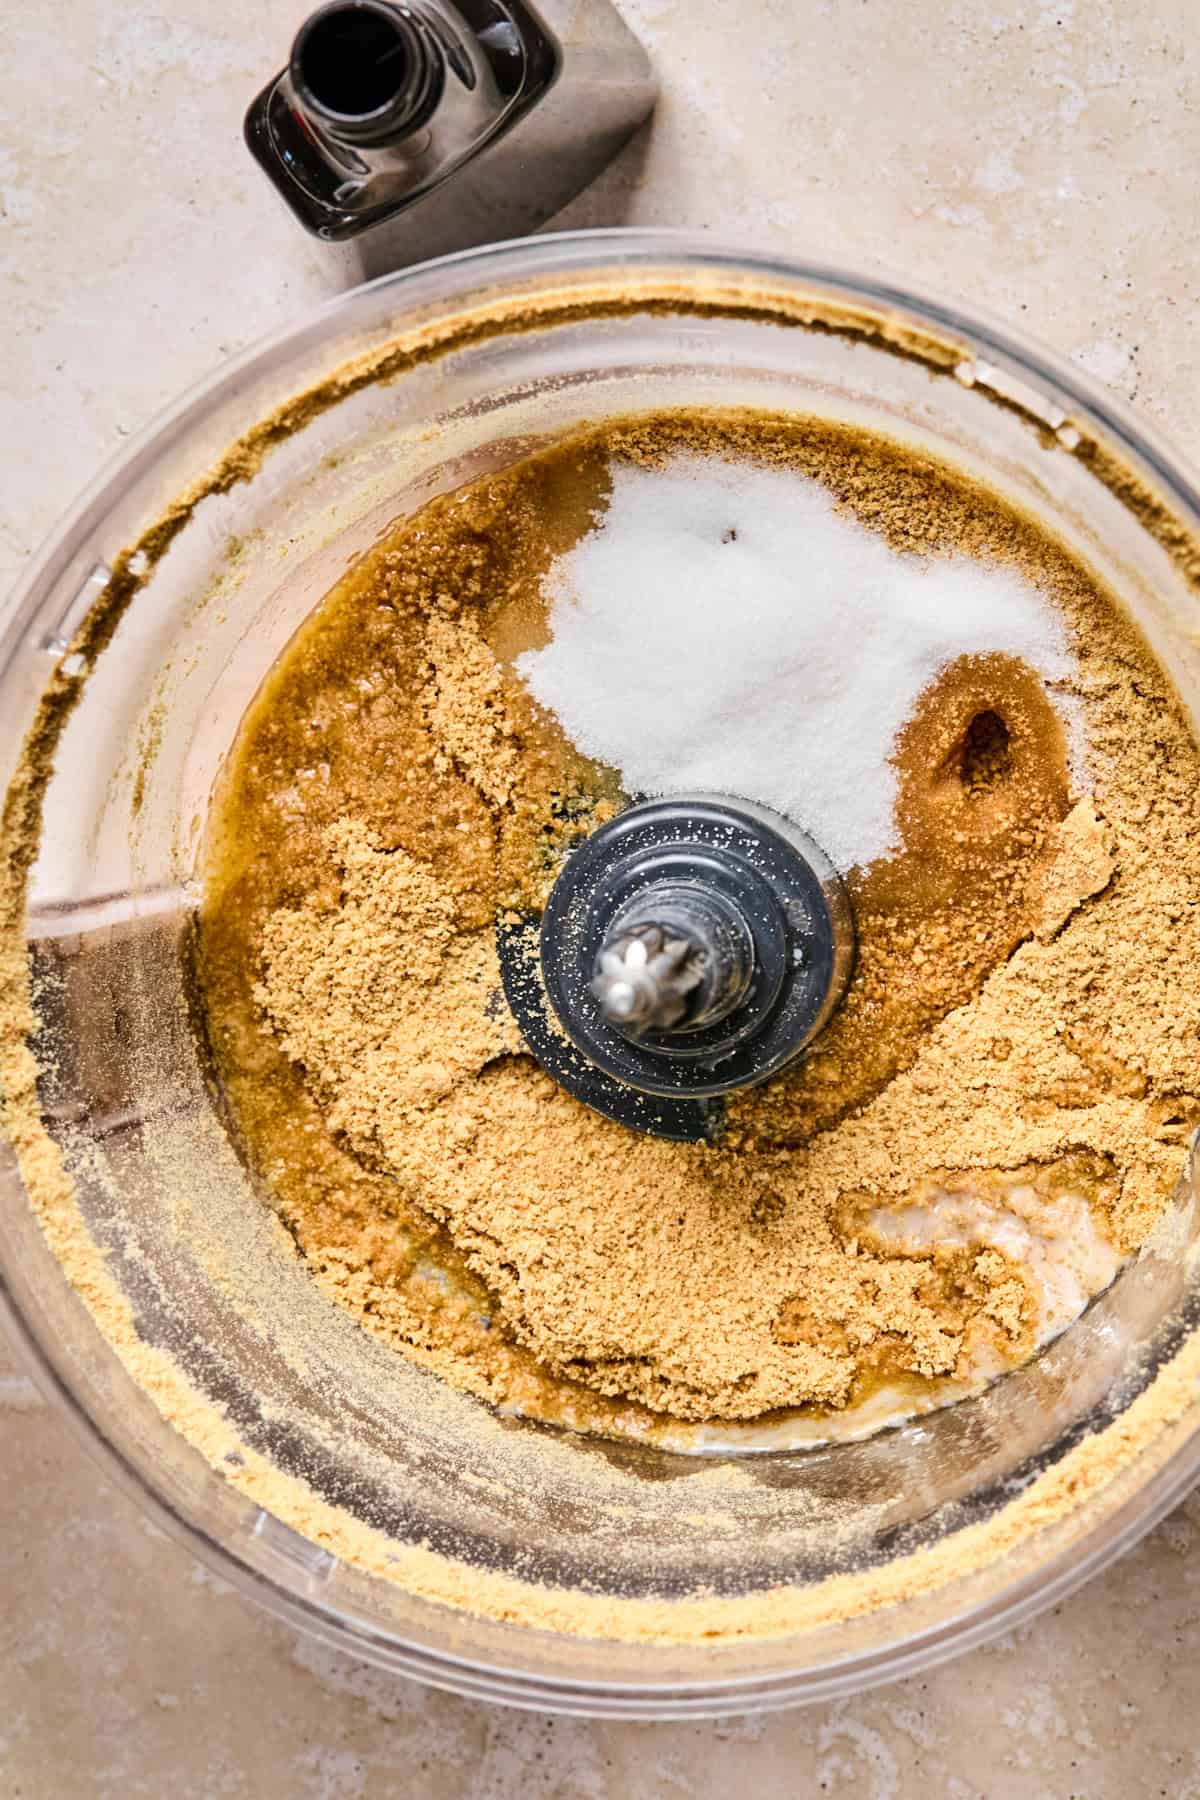
Step 3: Pulse the graham crackers in a food processor until a fine crumb. Add the butter, sugar and vanilla.
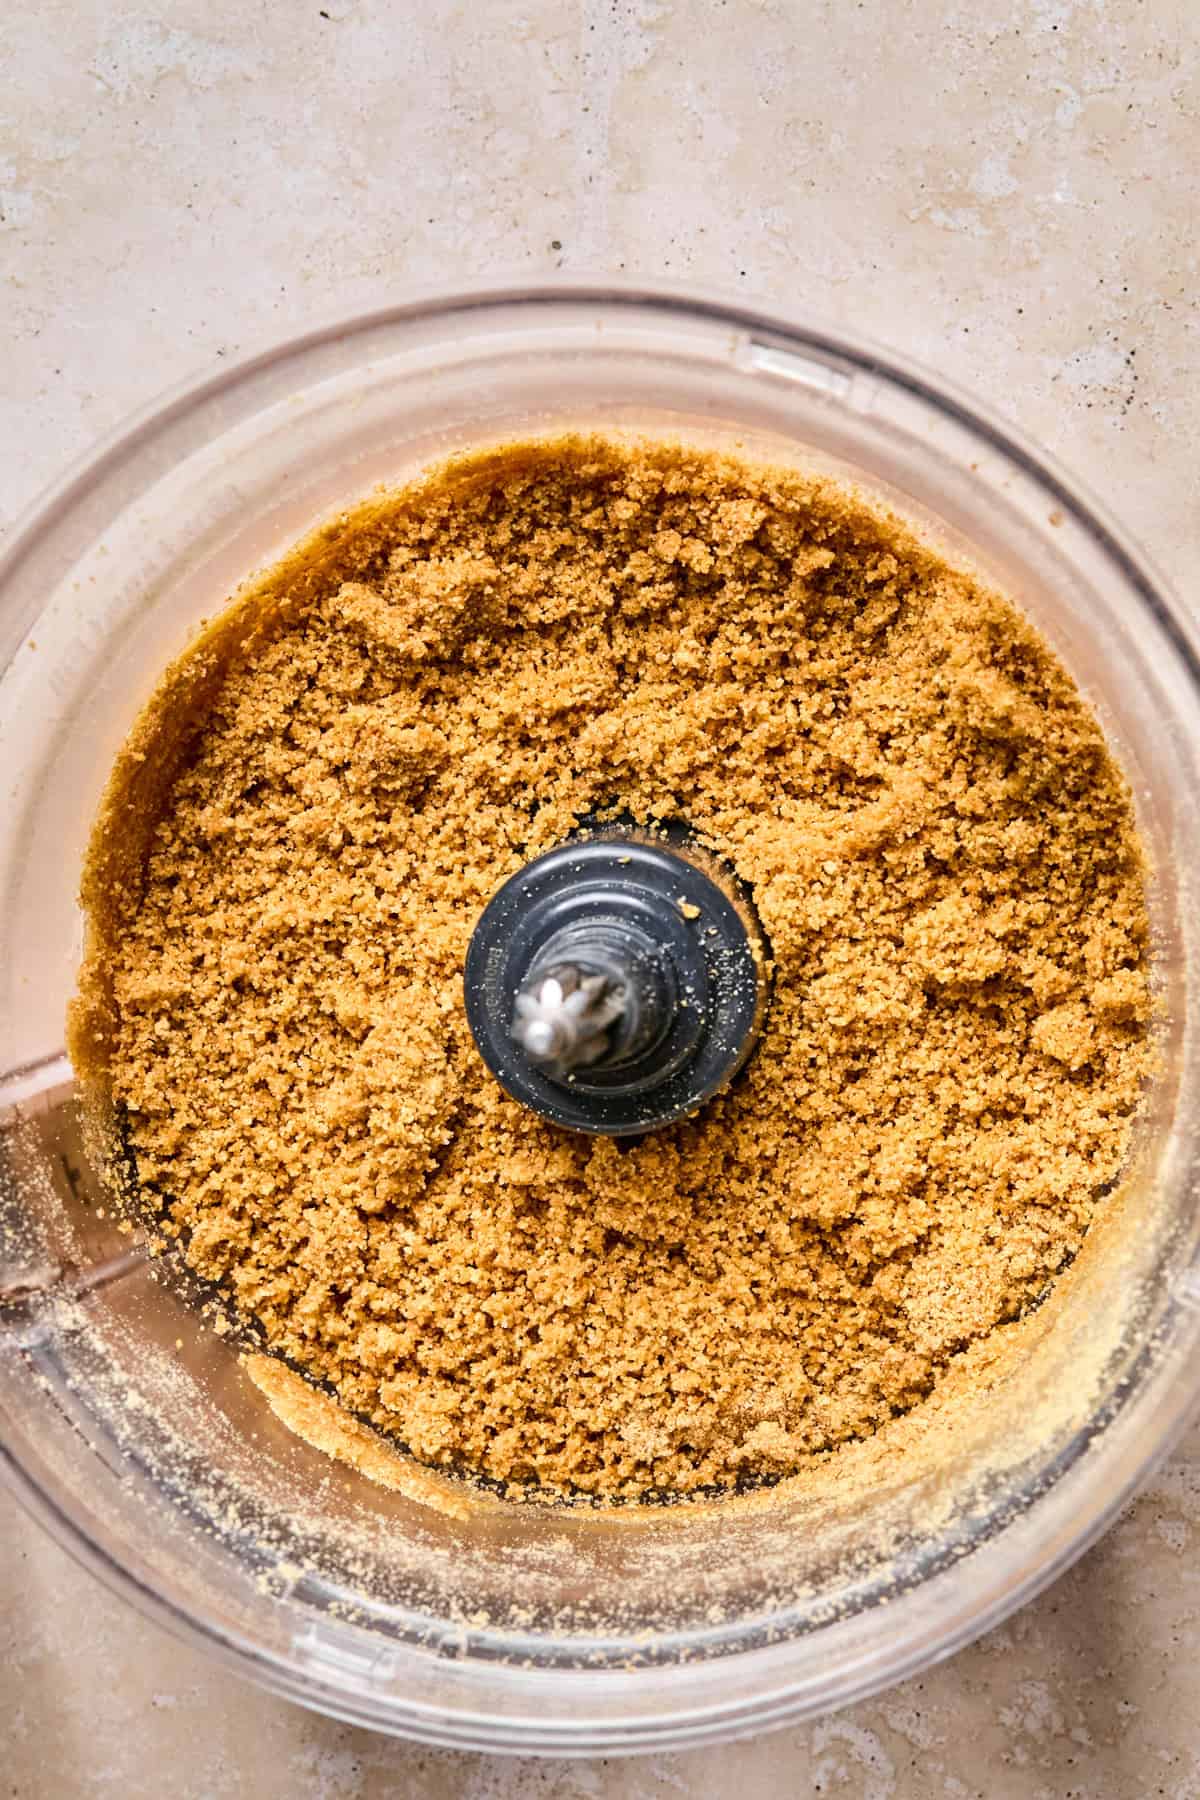
Step 4: Mix until combined and like a wet sand. (you can do this in a separate bowl or right in the food processor by pulsing.)
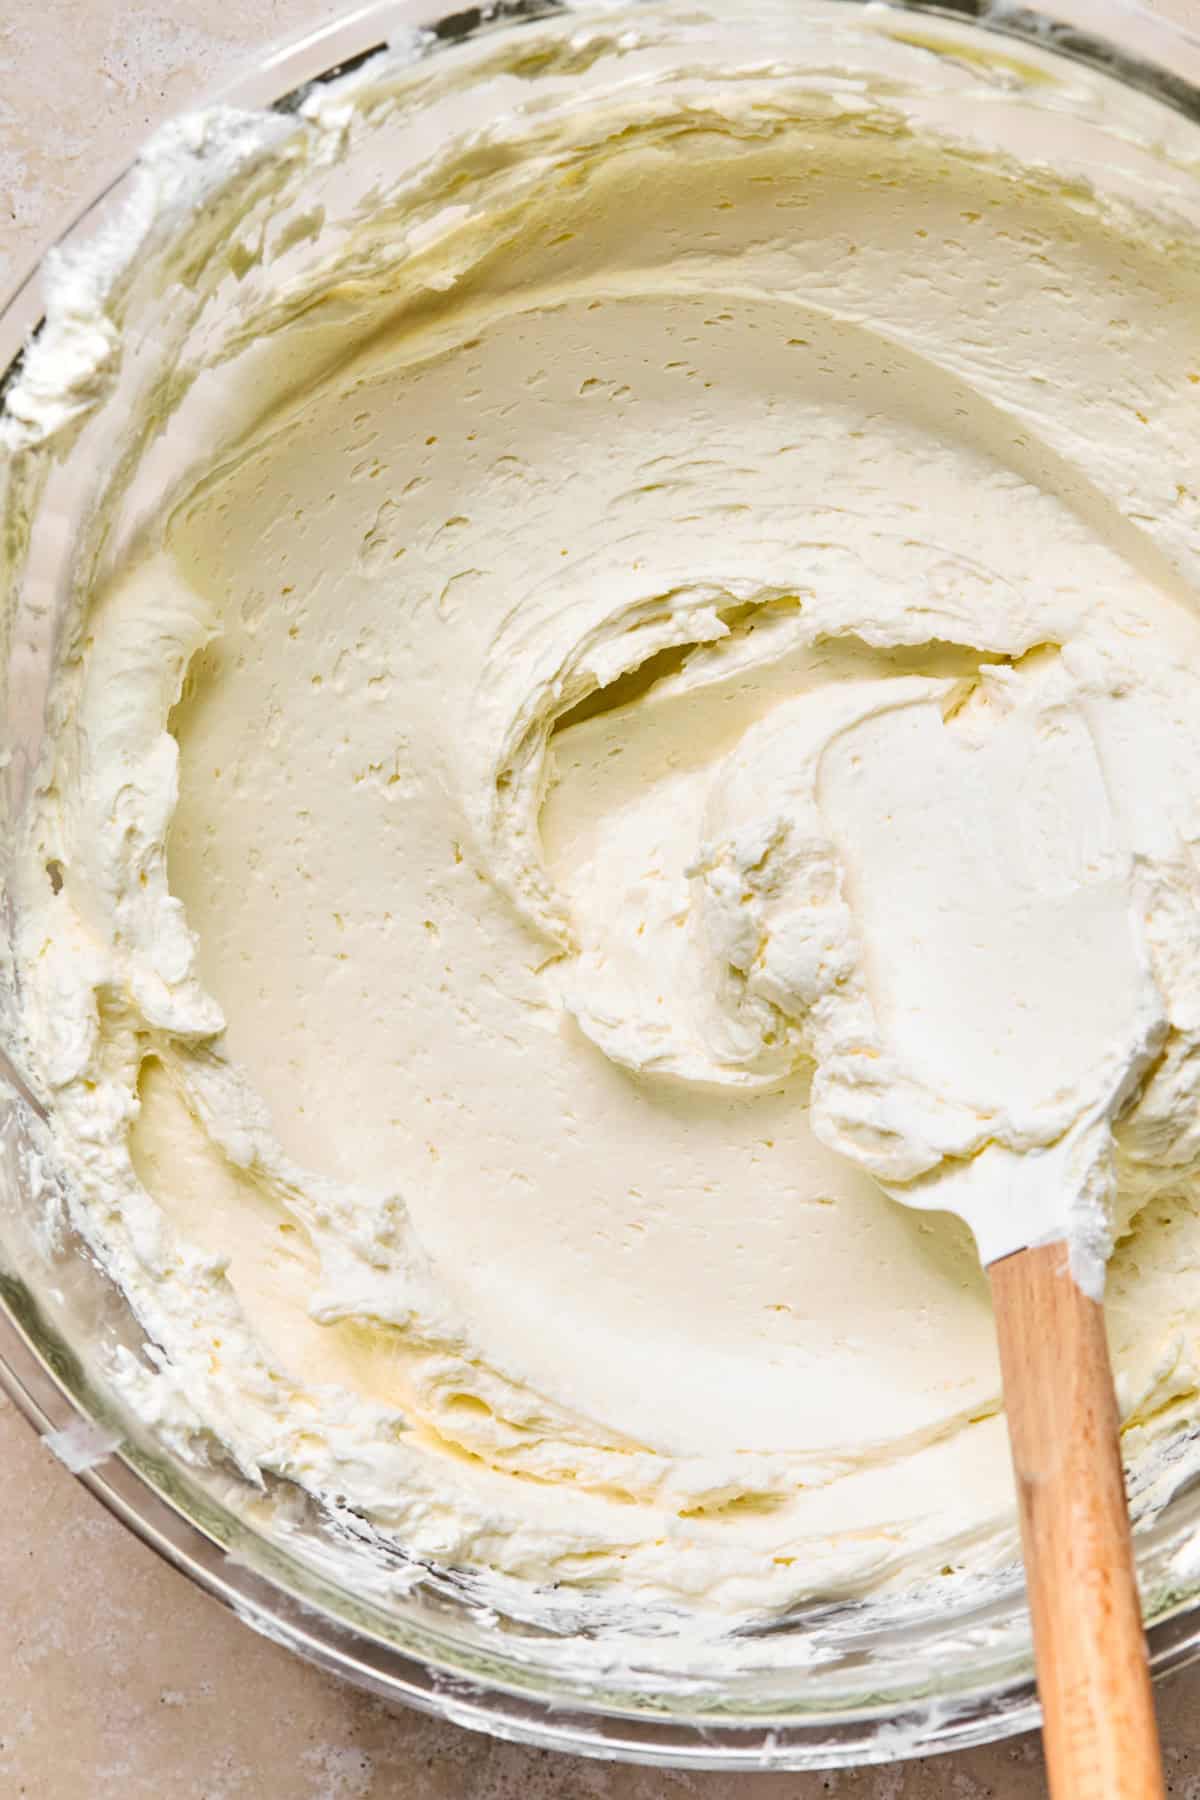
Step 5: Combine the cream cheese, powdered sugar, vanilla and lemon juice in a medium bowl. Using s sturdy spatula or a fork, mash the cream cheese and other ingredients until the cream cheese is smooth and then stir until the mixture is combined and no lumps.
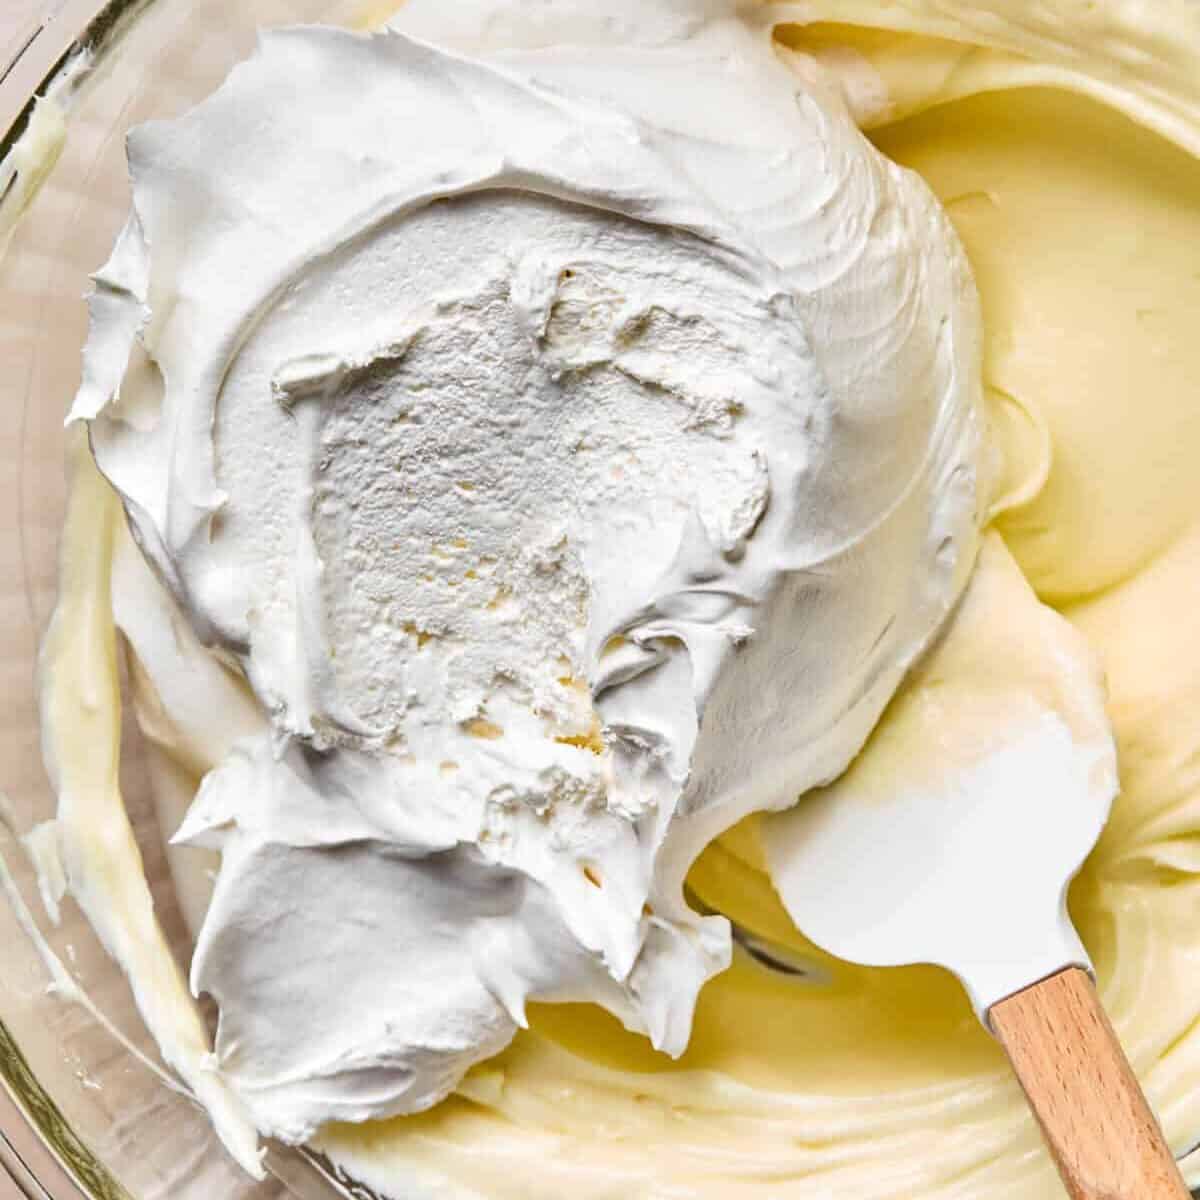
Step 6: Fold in the whipped topping until combined and no streaks are visible.
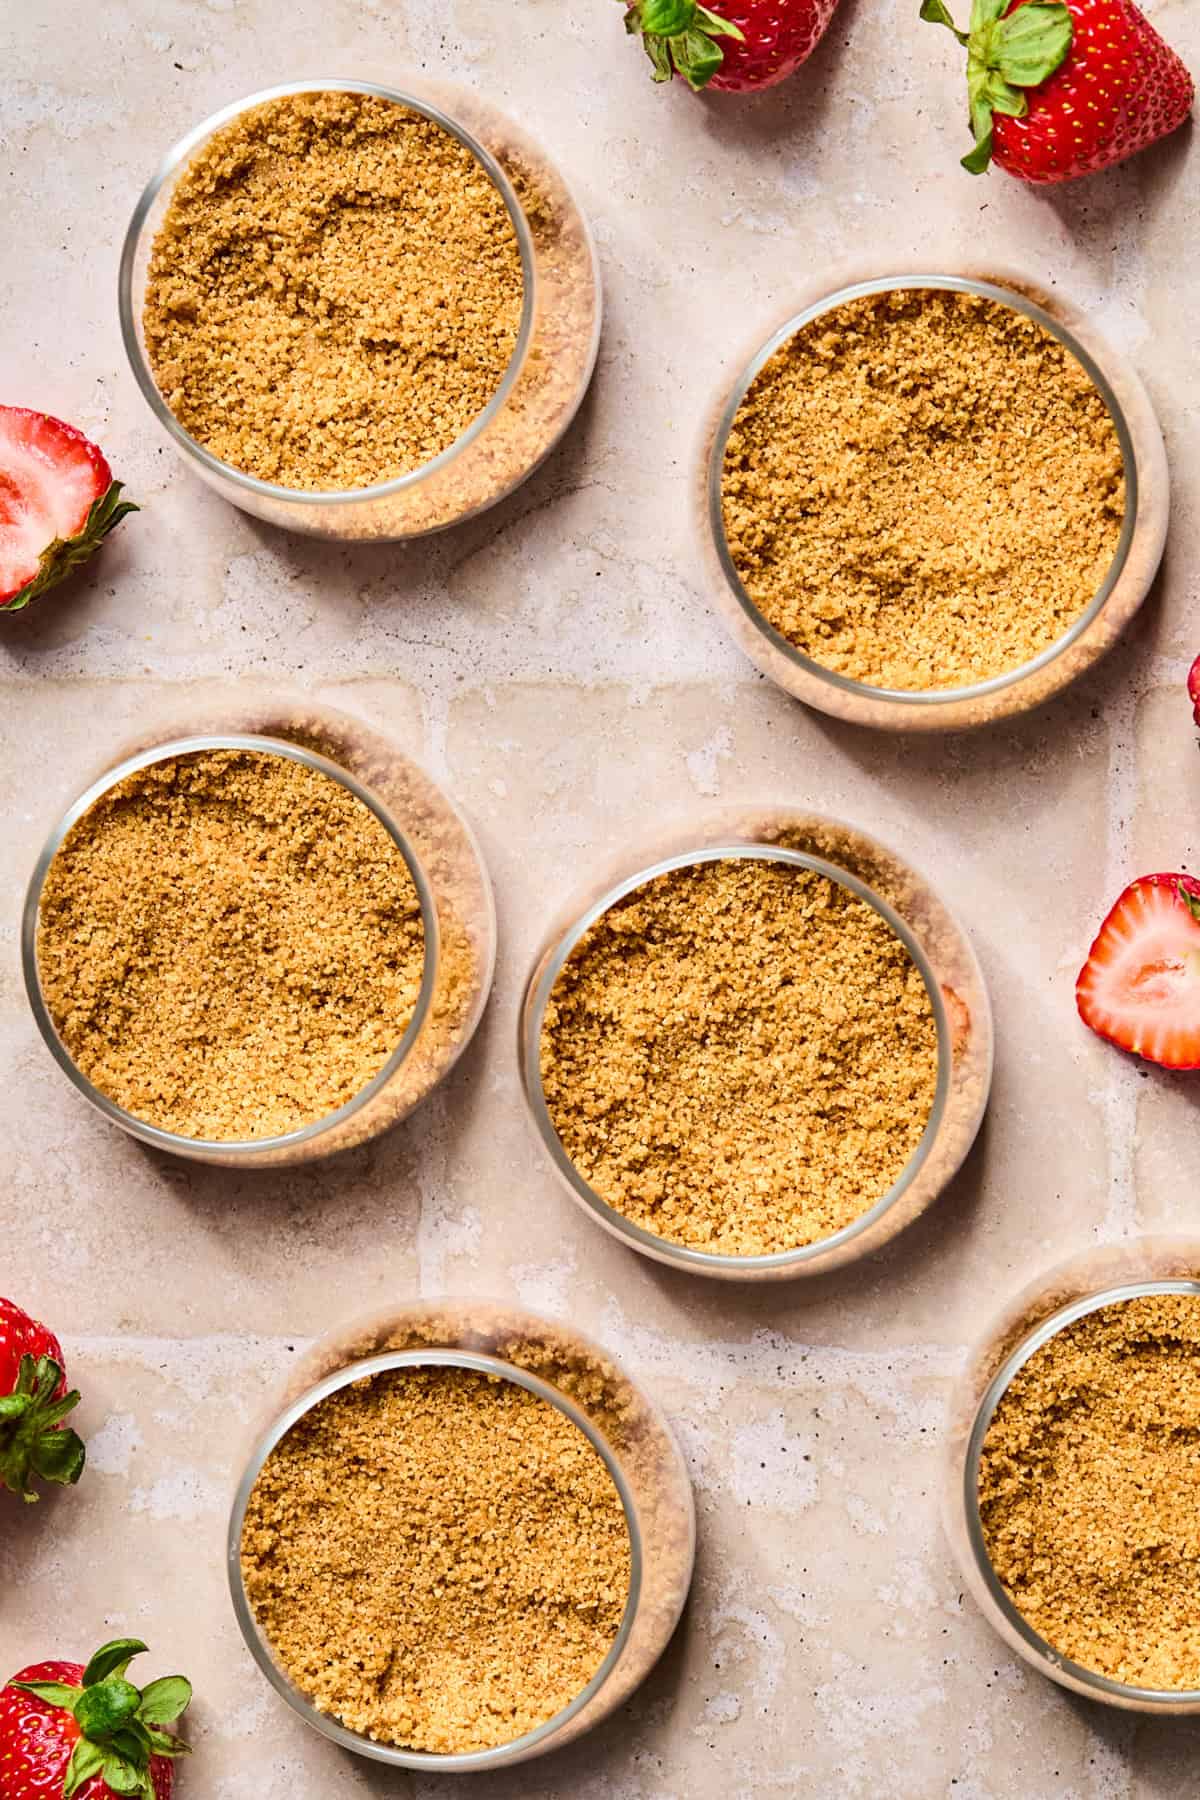
Step 7: Spoon 2-3 Tbsp. of the graham cracker mixture on the bottom of 6-8 small dessert dishes (approx. 6 oz. dishes or larger). Gently press into the bottom, but you don’t have to press into a crust as you would a pie.
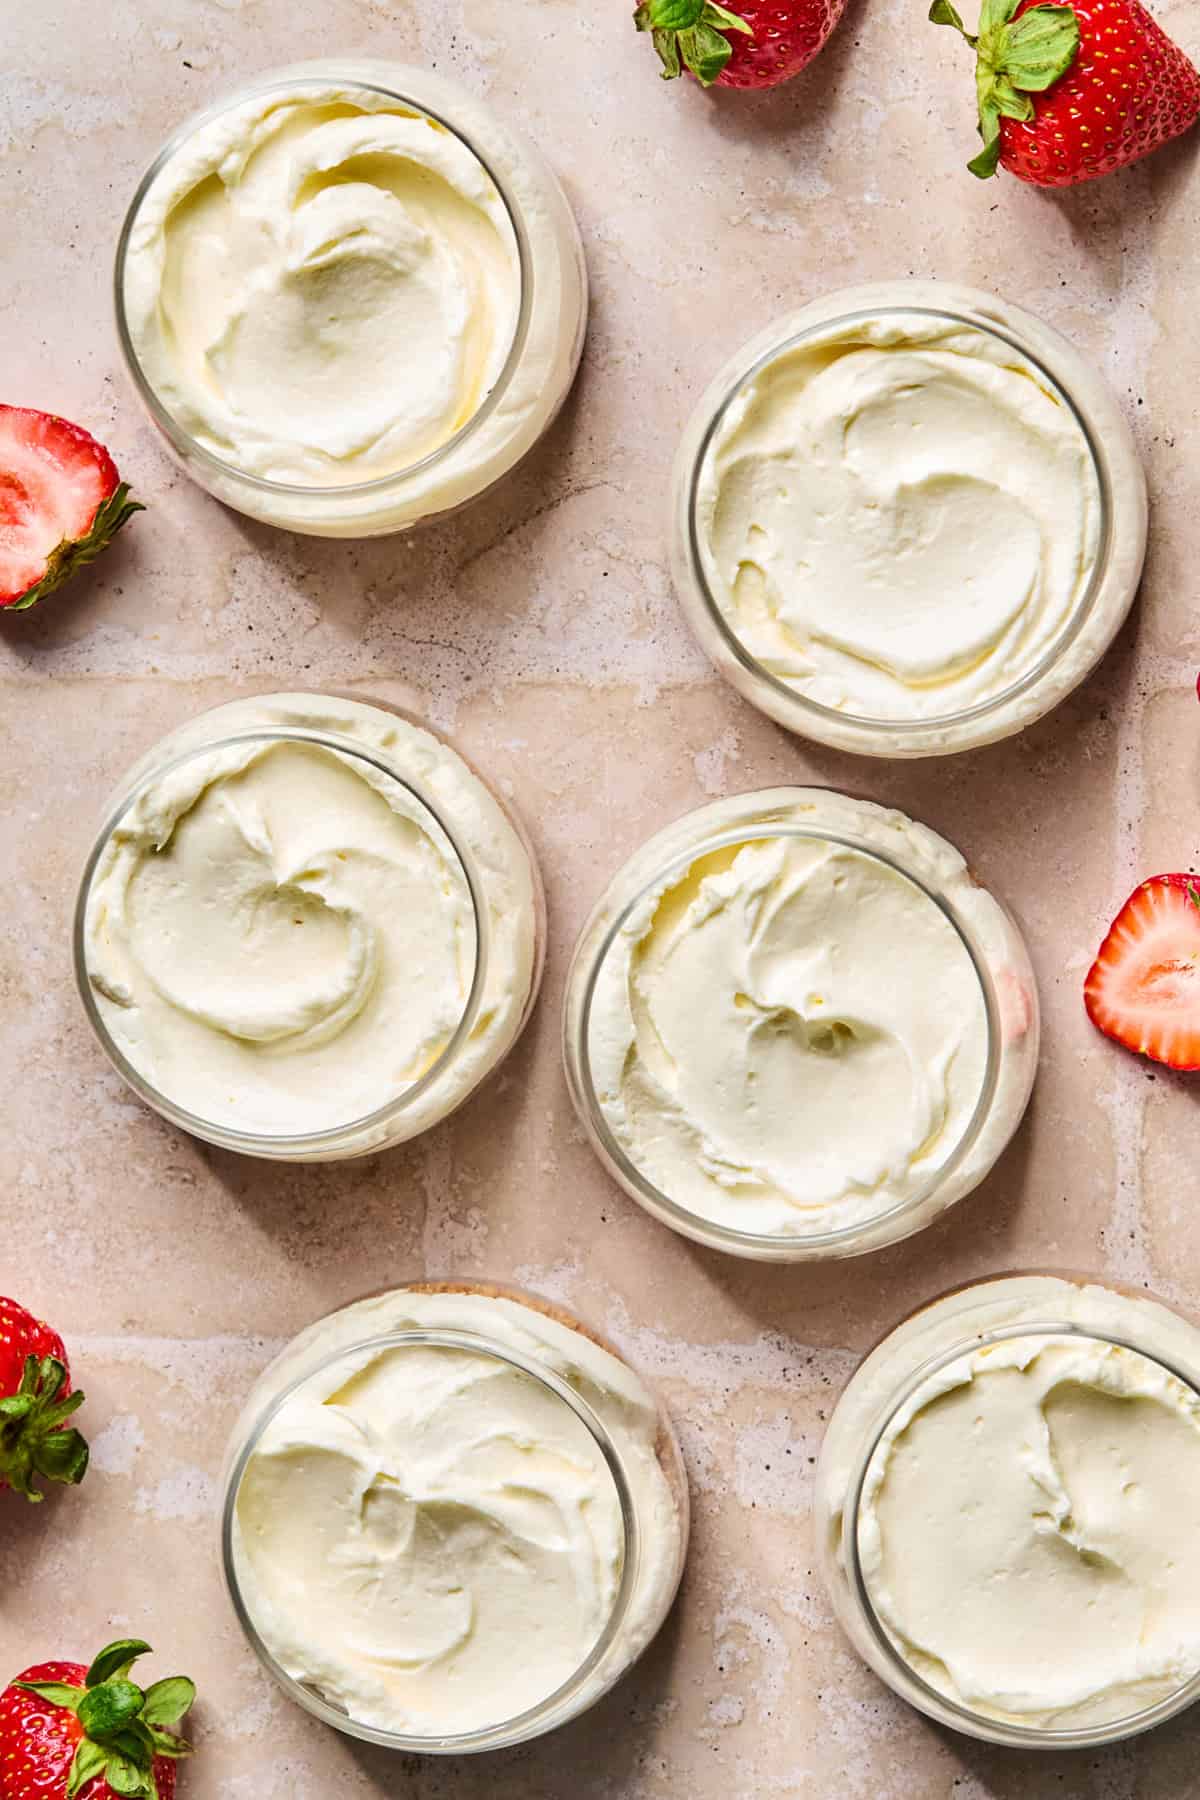
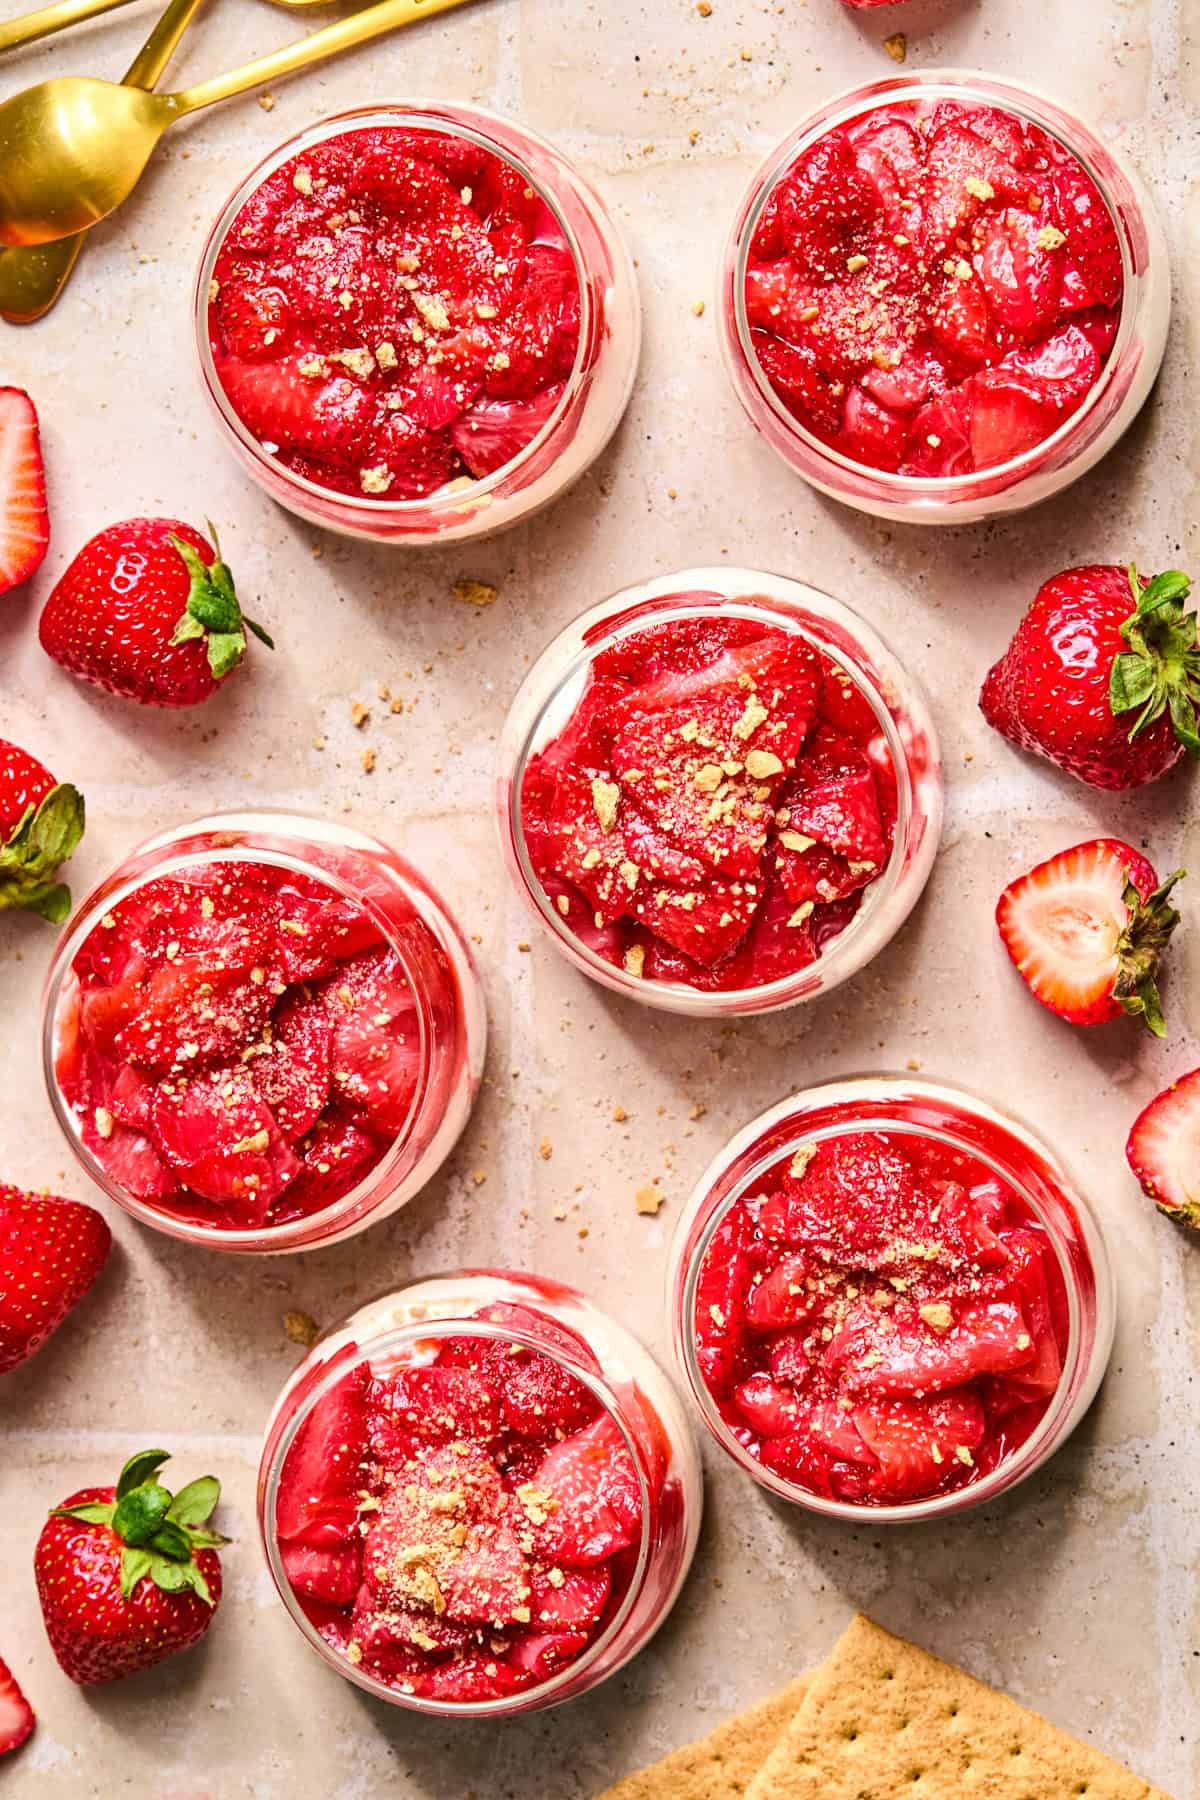
Step 8: I like to pipe the mixture into the dishes by adding this to a large ziplock bag and cutting about and inch/inch and a half slit in a corner. You can also spoon it into the cups. Spread it evenly over top. Chill for at least 2 hours to allow it to set a bit, but technically you can eat these right away if desired. Give the strawberries a stir and spoon them over top of each of the cheesecake cups when ready to serve. Sprinkle with some graham cracker crumbs or preferred garnish and enjoy!
Recipe Tips
Fold the whipped topping into the cream cheese and gently as possible. If you over mix this when adding the cool whip or whipped cream, the mixture will become less creamy. It will still taste amazing, but the cheesecake layer will be lacking in texture for sure.
Prep this recipe in advance. You can prep the strawberries and cheesecakes the day before you plan to serve it. Store the strawberries separate and then spoon on just before serving.
You can use small mason jars or dessert cups for this recipe. The cups I use were 6 oz. cups
Storage
Store cheesecakes in the refrigerator for 4-5 days, sealed airtight. They are best served within the first 2-3 days as the crust will become more soggy after that, but still edible!
You can freeze these cheesecake cups for up to 3 months as well as the roasted strawberries. If you want to spoon the berries over top of the cheesecakes first that works, or you can freeze small portions in a covered ice cube tray. Thaw overnight in the refrigerator for best results.
HUNGRY FOR MORE? Subscribe to my newsletter and follow me on Facebook, Instagram and Pinterest for all the latest!
Roasted Strawberry Cheesecake Cups
Ingredients
Roasted Strawberries
- 1 ½ lbs. strawberries, stems removed and sliced
- 3-4 Tbsp sugar
- ½ tsp lemon zest
- ½ tsp vanilla extract
Graham Cracker Layer
- one sleeve of graham crackers, (9 full sized graham crackers)
- 4 Tbsp salted butter, melted
- 2 Tbsp sugar
- ½ tsp vanilla extract
No-Bake Cheesecake Layer
- 12 oz. block cream cheese, softened
- 1 tsp vanilla extract
- ¾ cup powdered sugar
- 1 tsp lemon juice
- 8 oz. tub cool whip*(see notes for homemade whipped cream), thawed
Instructions
- Roast the strawberries: preheat the oven to 375°F. Stir the strawberry ingredients together to evenly coat. Add the berries to a parchment lined baking sheet or a 9×13 inch pan if preferred to get all the extra syrup in an even layer. Bake for about 20-25 minutes or until soft and tender and sitting in a bit of syrup.
- Remove from oven and allow to cool. Once cooled, transfer to an airtight container, trying to get as much of the syrup with the berries, and refrigerate until fully chilled, or ready to serve the cheesecakes.
- Prepare the graham cracker layer: pulse the graham crackers in a food processor until a fine crumb. Add the butter, sugar and vanilla and mix until combined and like a wet sand. (you can do this in a separate bowl or right in the food processor.)
- Spoon 2-3 Tbsp. of the graham cracker mixture on the bottom of 6-8 small dessert dishes (approx. 6 oz. dishes or larger). Gently press into the bottom, but you don’t have to press into a crust as you would a pie.
- Prepare the cheesecake filling: Combine the cream cheese, powdered sugar, vanilla and lemon juice in a medium bowl. Using s sturdy spatula or a fork, mash the cream cheese and other ingredients until the cream cheese is smooth and then stir until the mixture is combined and no lumps.
- Fold in the whipped topping until combined and no streaks are visible.
- I like to pipe the mixture into the dishes by adding this to a large ziplock bag and cutting about and inch/inch and a half slit in a corner. You can also spoon it into the cups. Spread it evenly over top. (if making 6, you will put about ¾ cup of the mixture in each, if making 8, it will be more like ½ cup—roughly.)
- For best results, chill for about 2 hours to allow it to set a bit, but technically you can eat these right away if desired.
- Give the strawberries a stir and spoon them over top of each of the cheesecake cups when ready to serve. Sprinkle with some graham cracker crumbs or preferred garnish and enjoy!
Notes
Nutrition
Nutrition information is automatically calculated, so should only be used as an approximation.









Leave a comment