This post may contain affiliate links.

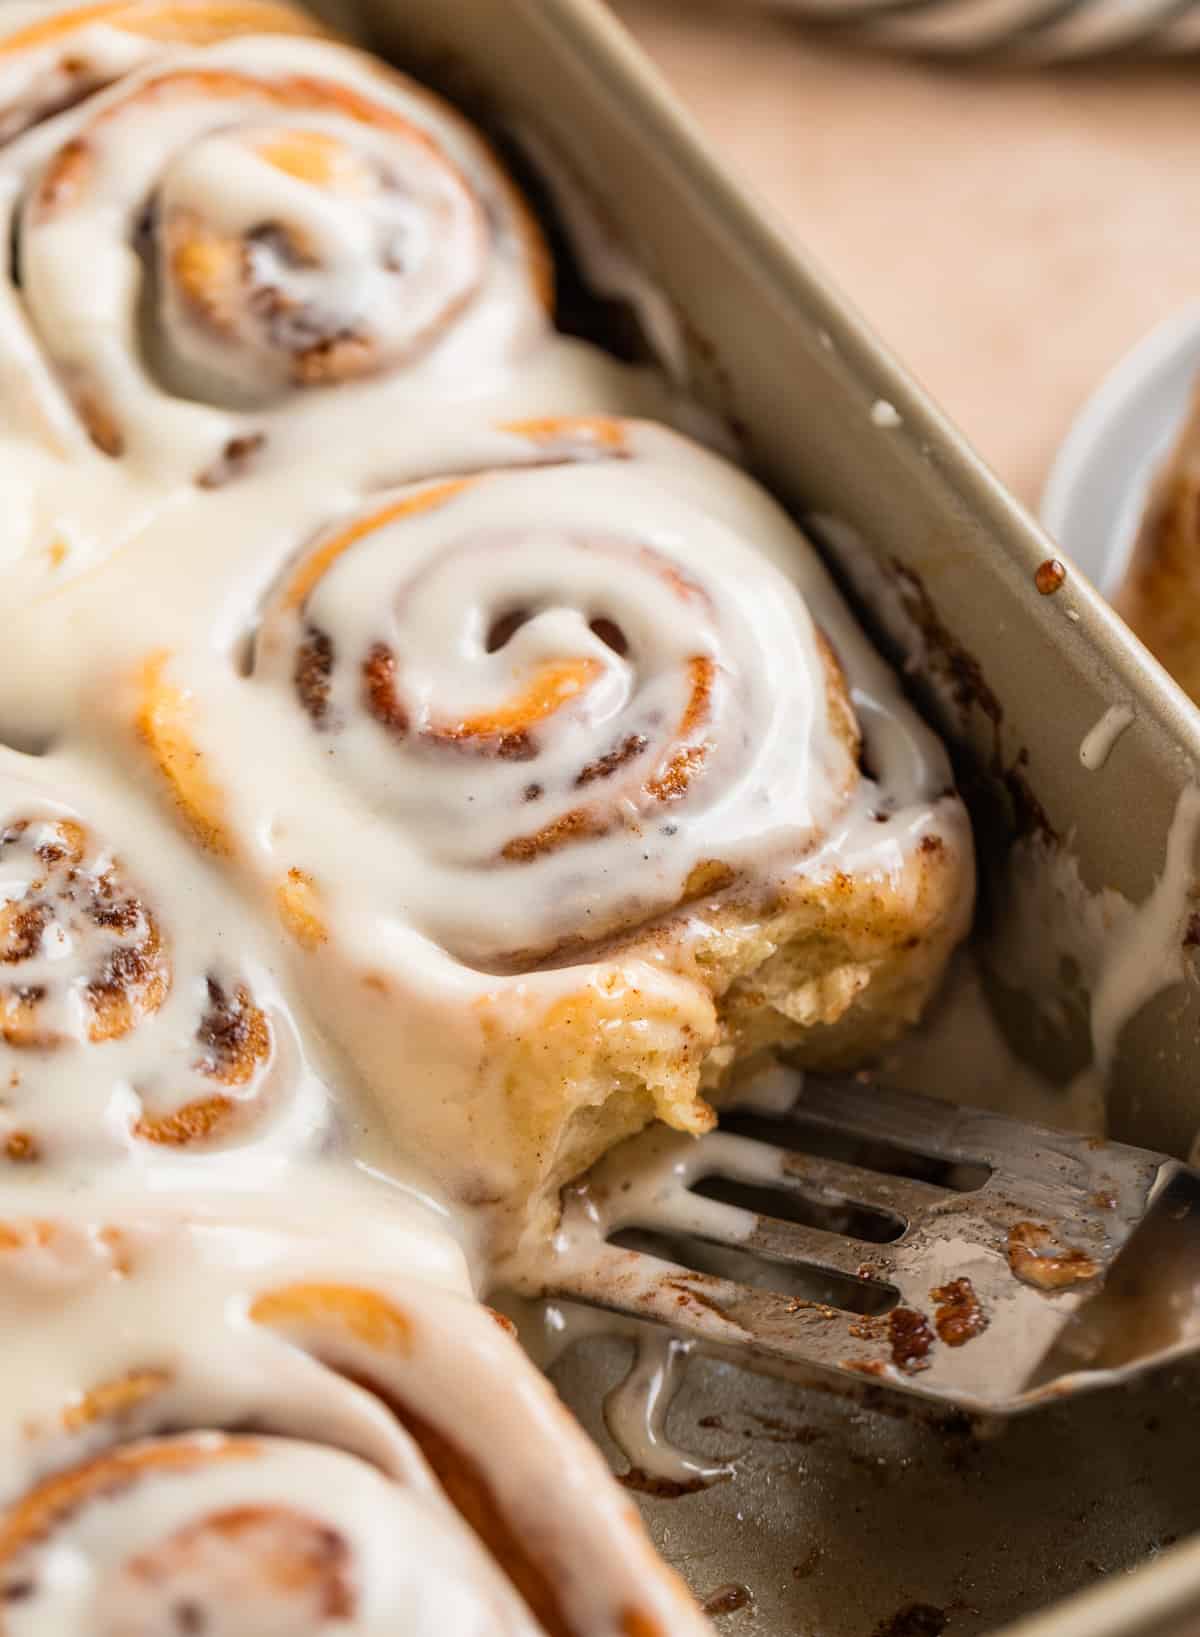
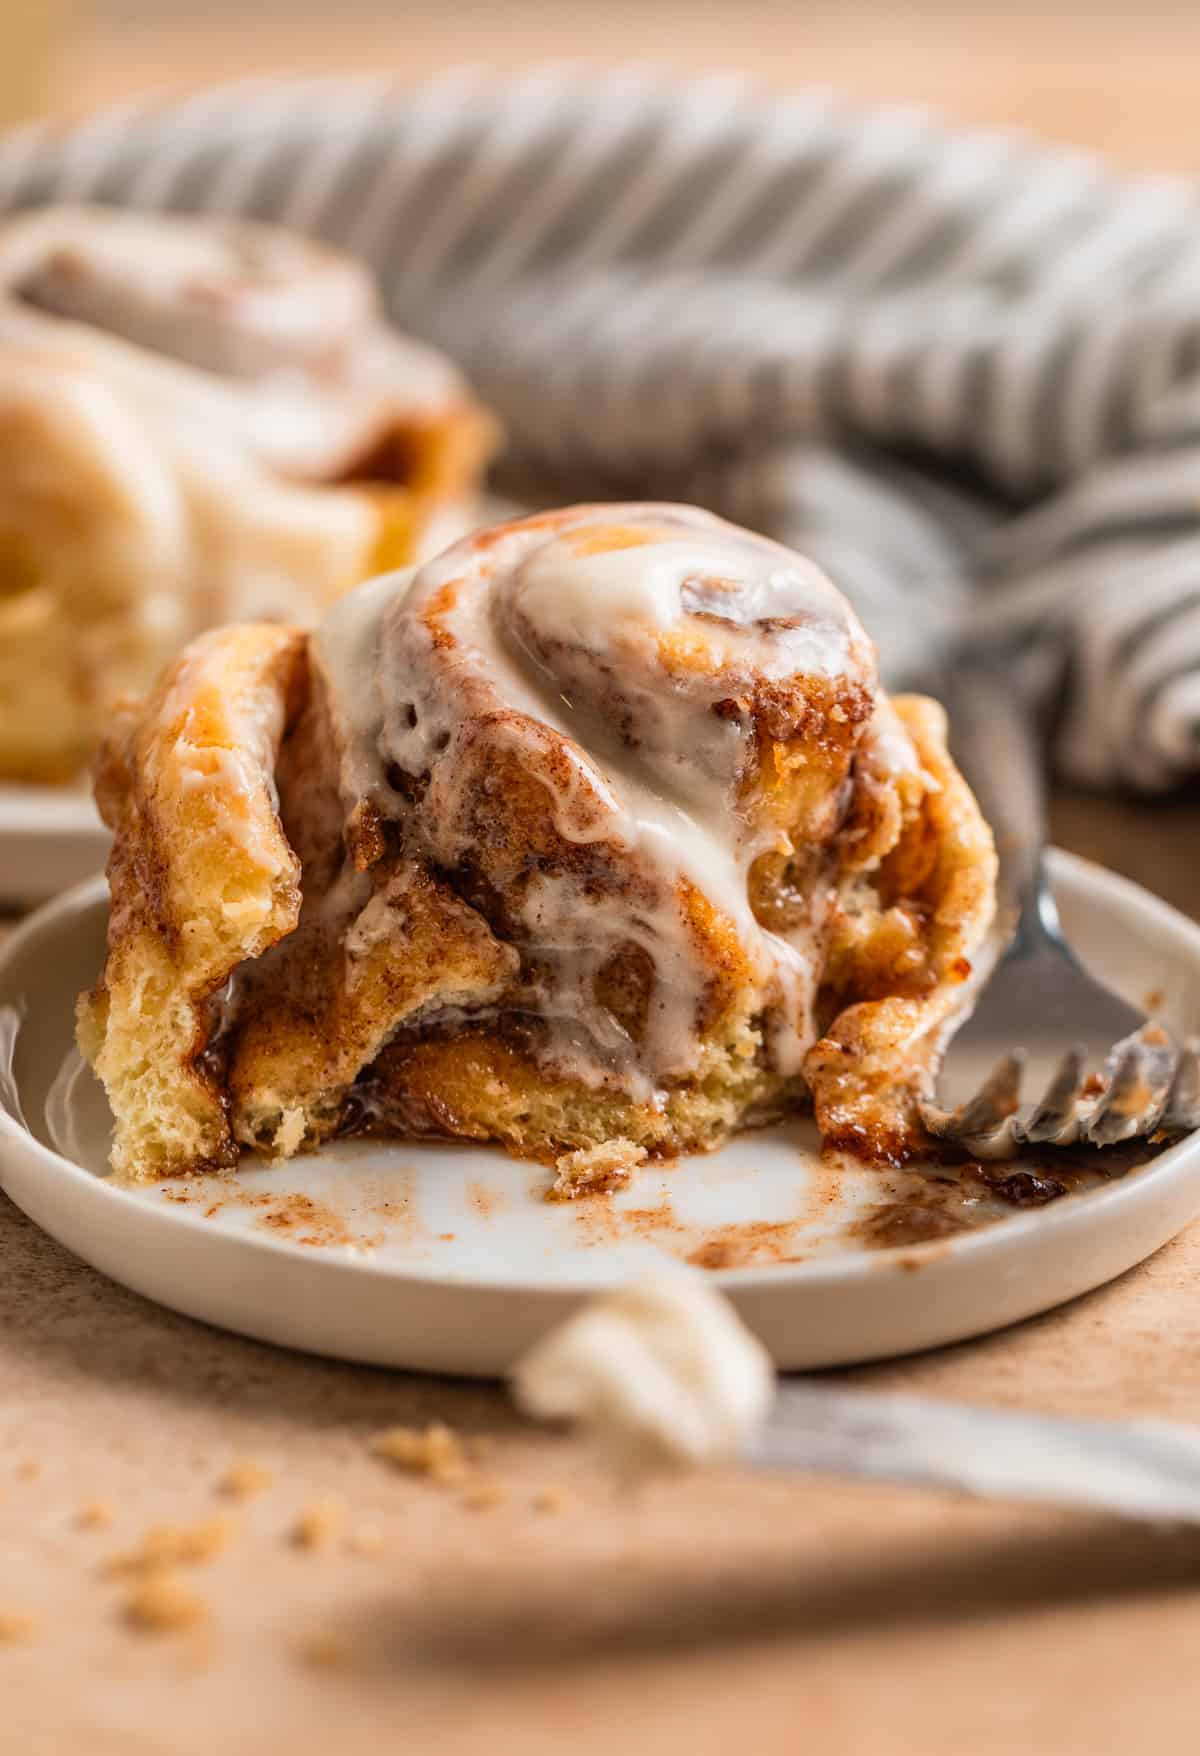
Gooey and delicious, these Buttermilk Cinnamon Rolls have the perfect tang and are so light and fluffy thanks to the use of buttermilk. Smothered in cream cheese frosting, these are the best treat to wake up to! Easy to make overnight so that they can be baked in the morning.
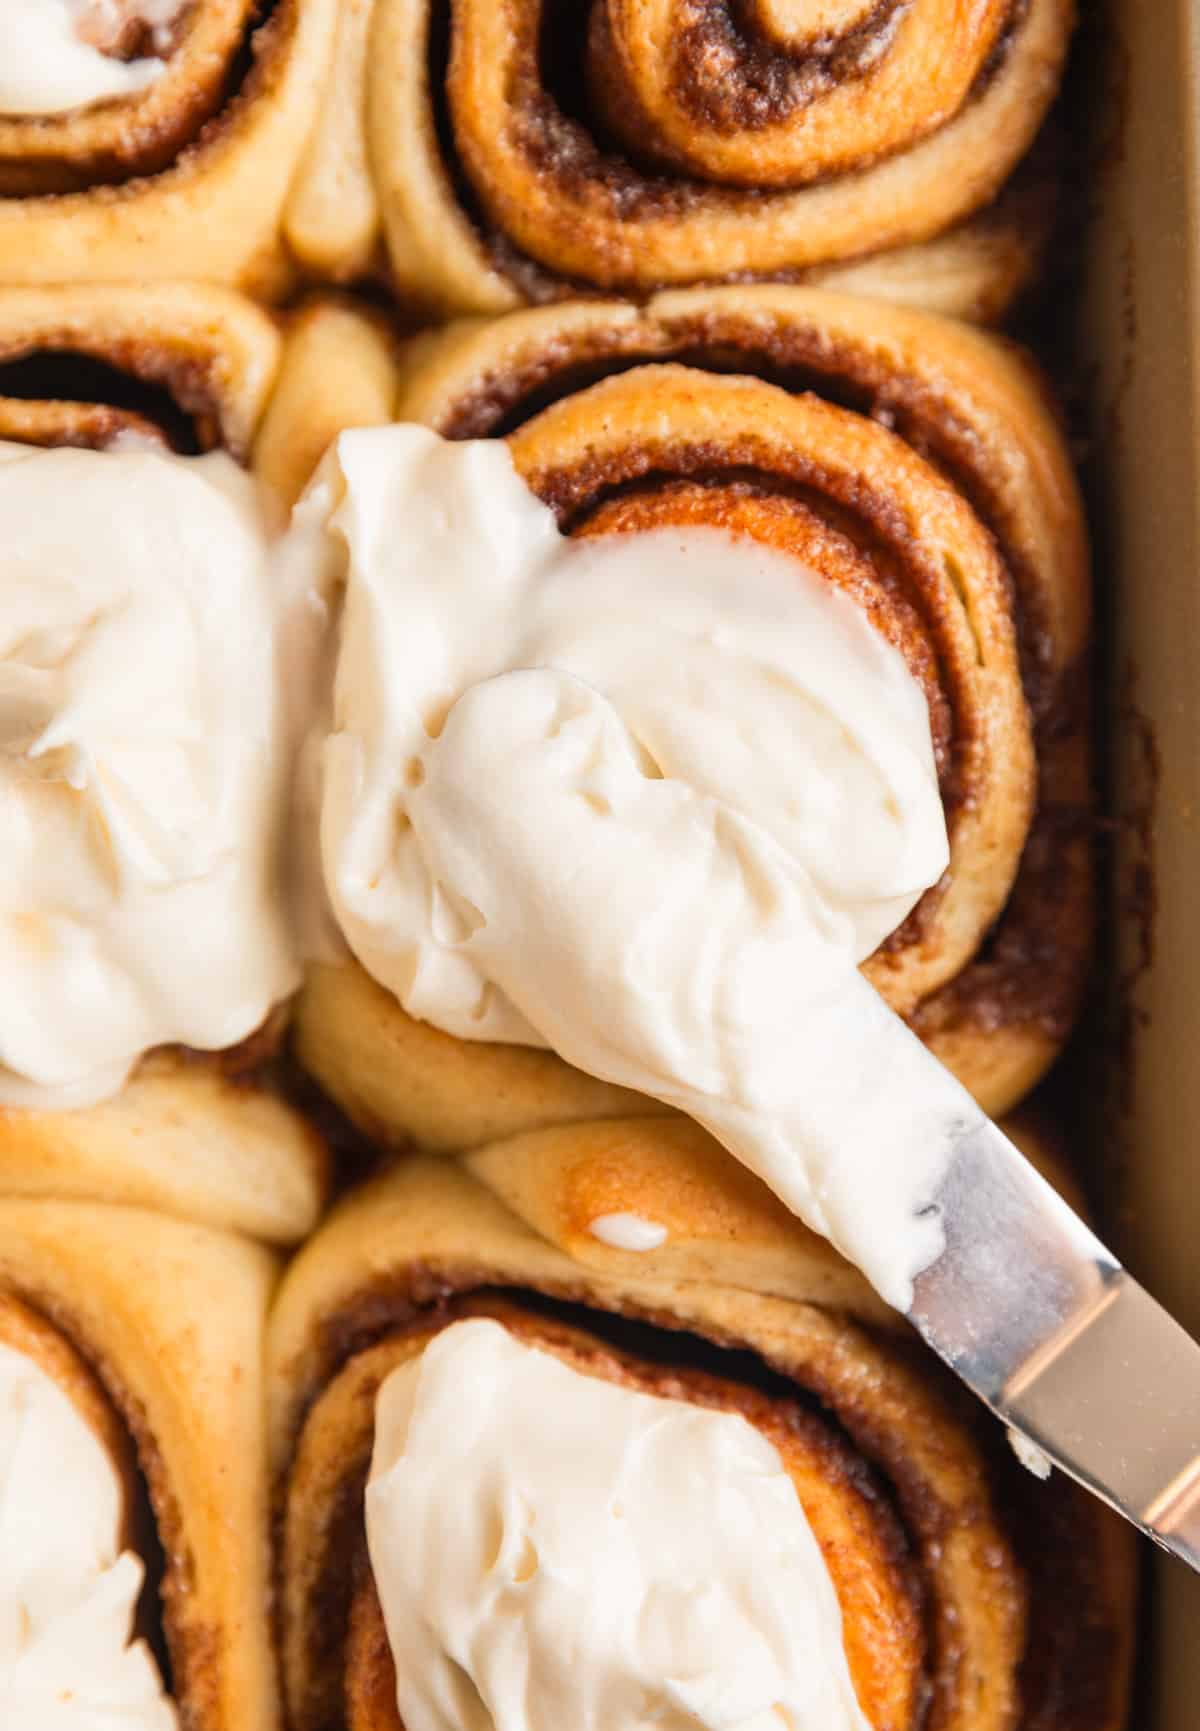
Table of Contents
Are cinnamon rolls a Christmas morning family tradition? They have become one for ours! While they may take a bit longer than other recipes, they are certainly a must.
These buttermilk cinnamon rolls are a perfect breakfast recipe to wake up to on a holiday morning and beyond. You certainly don’t need a special occasion for homemade cinnamon rolls, but it will feel like one when you make these!
For a quicker recipe, try these puff pastry cinnamon rolls as well. And cinnabon lovers, these homemade cinnamon rolls from Tastes of Lizzy T are a cult classic as well!
Why You Will Love These Buttermilk Cinnamon Rolls
- They have an amazing classic cinnamon roll flavor with a twist. Nothing like the classic, but adding buttermilk to this recipe adds flavor and also makes your cinnamon rolls even lighter and fluffier. The acidity in buttermilk helps break down the gluten and proteins which will make your cinnamon rolls oh so tender! Buttermilk should be making an appearance in more baked goods indeed.
- Can be made in advance. When it comes to cinnamon rolls, they can be a lot if you decide to make them in the morning. Just a lot of waiting. However, these can be prepped a day in advance so that you just have to allow the rolls to rise one last time before baking. No need to get up at the crack of dawn!
- As far as cinnamon rolls go, it’s a pretty darn simple and straightforward recipe! Cinnamon rolls have always been a daunting recipe to me. However, I have found this buttermilk cinnamon roll recipe to be very basic in it’s own way and pretty fail proof. So even a beginner can master them!
Ingredient Notes
For the Cinnamon Rolls:
- buttermilk: obviously the key ingredient that sets these fluffy cinnamon rolls apart. Buttermilk will add a tang to the flavor as well as make the rolls soft and fluffy. I have used regular and low fat buttermilk and both have worked great. If you cannot get a hold of any buttermilk, you can make your own or in a pinch, whole milk will work as well, the flavor will just be slightly different.
- instant yeast: make sure it is “instant active yeast” for best results. Using the instant active dry yeast will cut out a lot of time when it comes to the dough and allowing it to rise.
- salted butter: salted butter is my preference overall in this buttermilk cinnamon roll recipe. It rounds out the flavor nicely. You could use unsalted but I find the flavor lacking in doing so.
- sugar: white sugar is used in the cinnamon roll dough
- salt: sea salt or table salt will work fine
- eggs: large eggs, room temperature
- flour: all purpose flour, spooned and leveled. Make sure to have extra for rolling the dough or to add when kneading if the dough seems too sticky
- brown sugar: light or dark brown sugar, whatever is your preference.
- cinnamon: your favorite cinnamon, and don’t hold back!
- heavy cream: this is to brush over top of your cinnamon rolls before baking. You can certainly use whole milk instead if desired.
For the Cream Cheese Frosting:
- salted butter: again, salted butter is our preference. If you use unsalted, that is fine, just add a pinch of salt into the frosting.
- cream cheese: full fat is ideal and will have the best flavor and texture in the recipe
- vanilla: vanilla extract is ideal over imitation. You can add a touch of maple extract or even almond extract to vary the flavor slightly
- powdered sugar: adjust the amount of this ingredient to desired thickness
Step-By-Step Instructions
I have tried to include lots of photos to help you along the way of making this recipe. I find it to be pretty fail proof after making it many times and hope you will make it with ease as well!
- To start warm the buttermilk slightly. You DO NOT want to overheat the buttermilk as it easily curdles. I warm it on low over the stove until it hits about 85°F and then remove it from the heat so it doesn’t go over 90°F when it curdles.
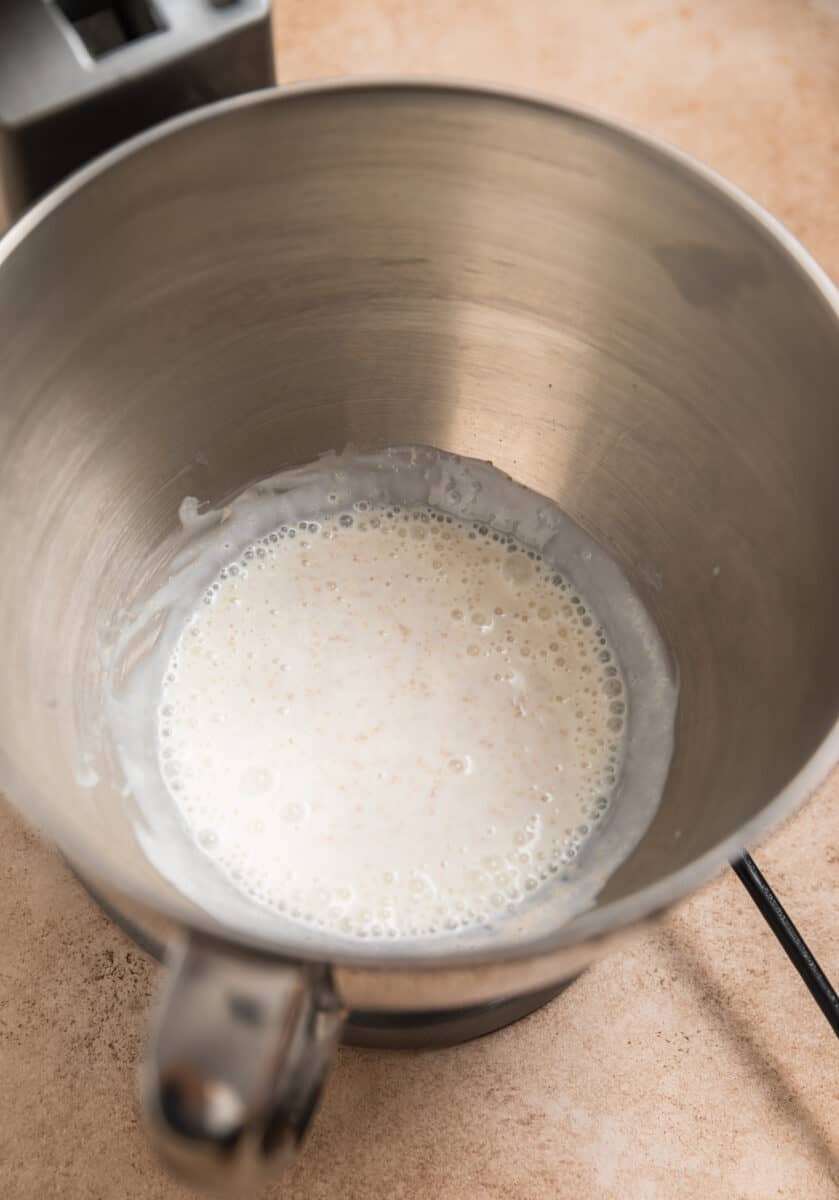
- Transfer the warmed buttermilk to the bowl of a stand mixer and sprinkle the instant yeast over and whisk together. Allow it to sit for about 10 minutes. It will become slightly frothy and bubbly which will let you know it is activated.
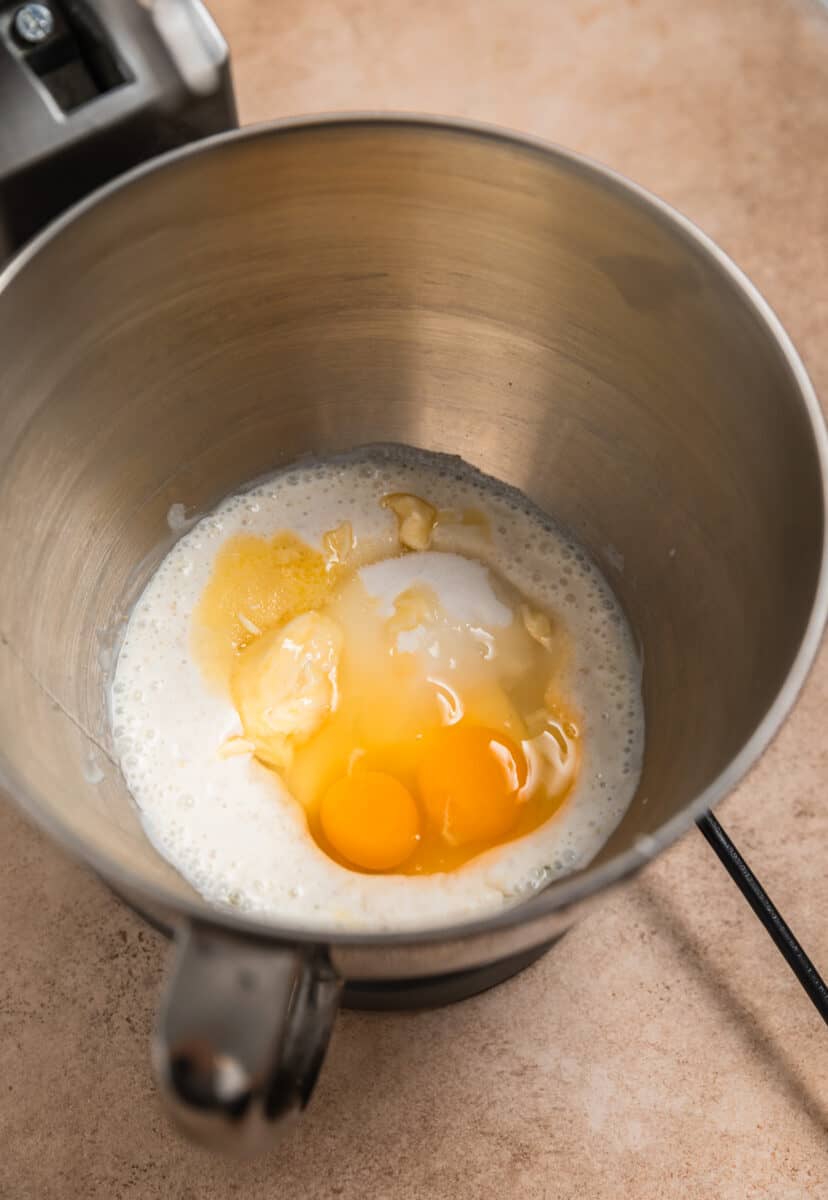
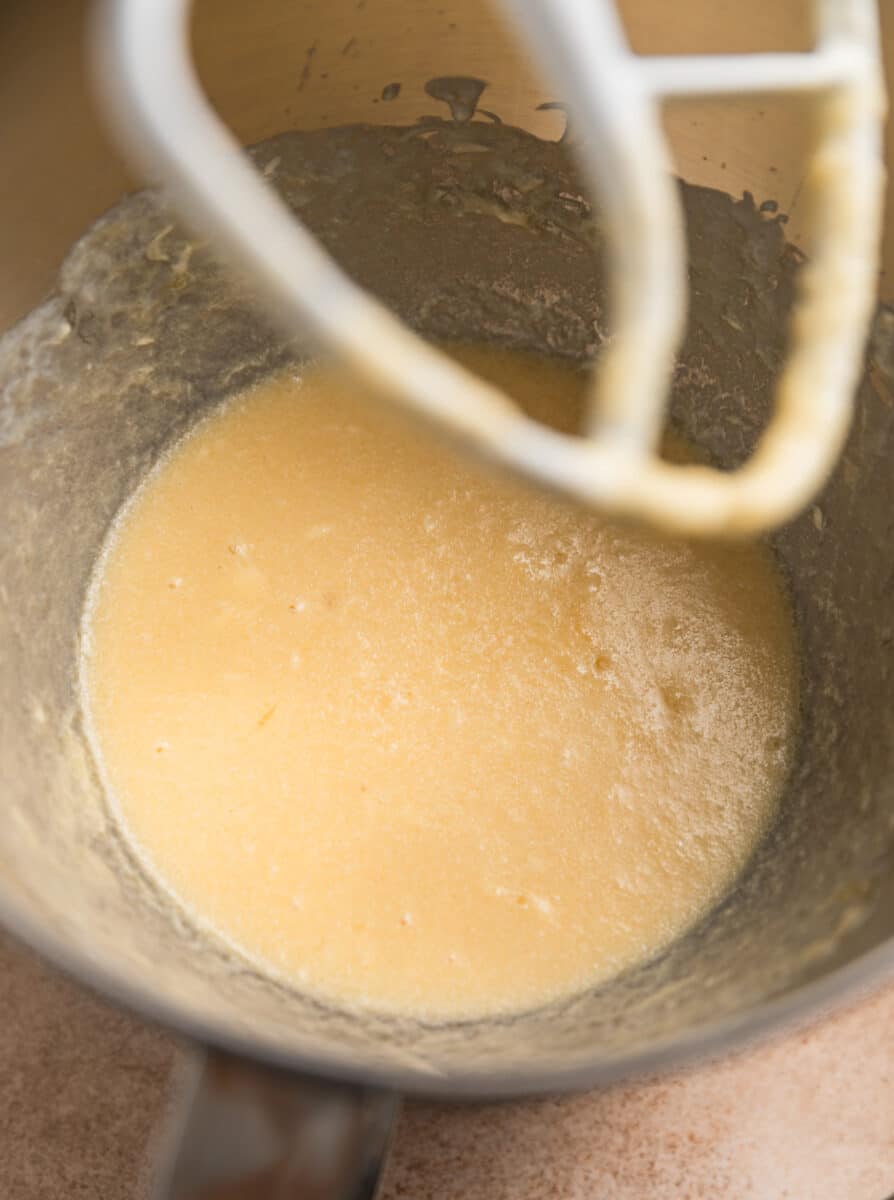
- Add the room temperature eggs, soft butter and sugar to the yeast mixture and beat with the paddle attachment on medium until smooth and incorporated. (**If you see small clumps, don’t be worried. Sometimes the butter will clump slightly from the variance in temperatures)
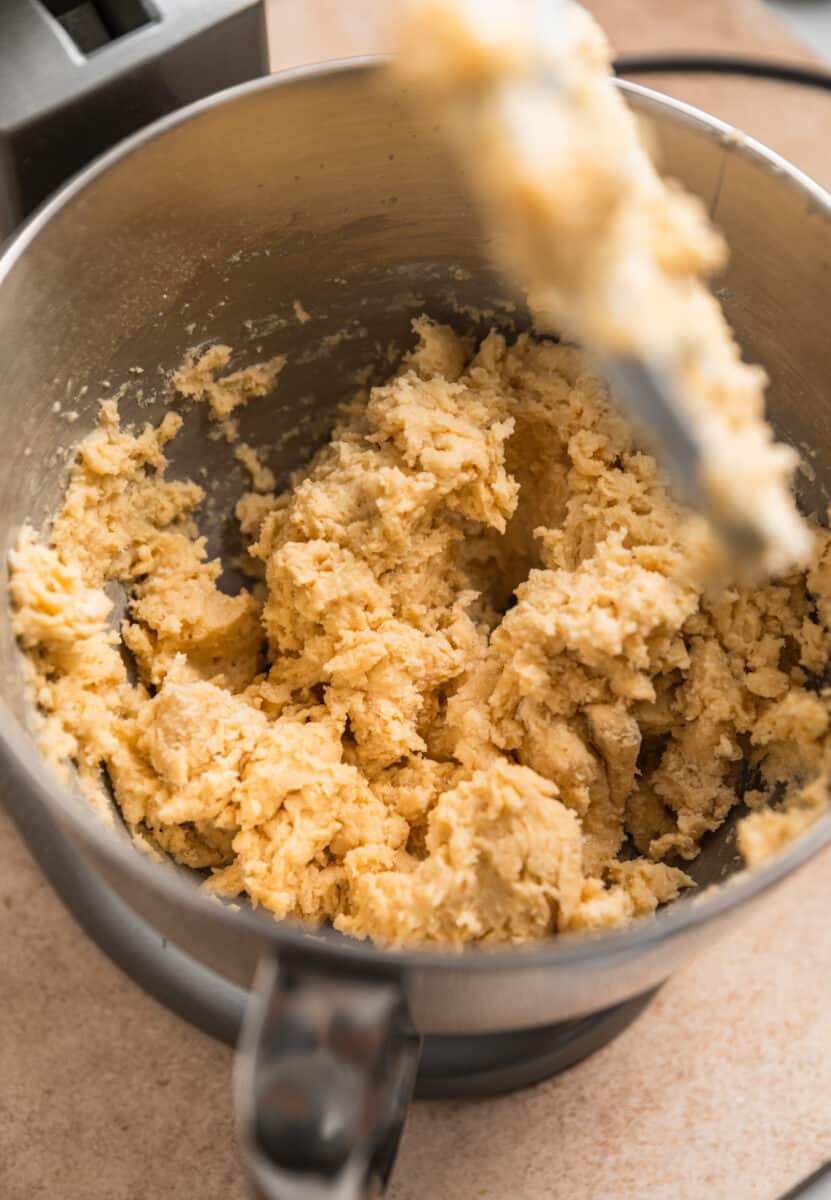
- Add the 4 cups of flour and salt and beat until incorporated.
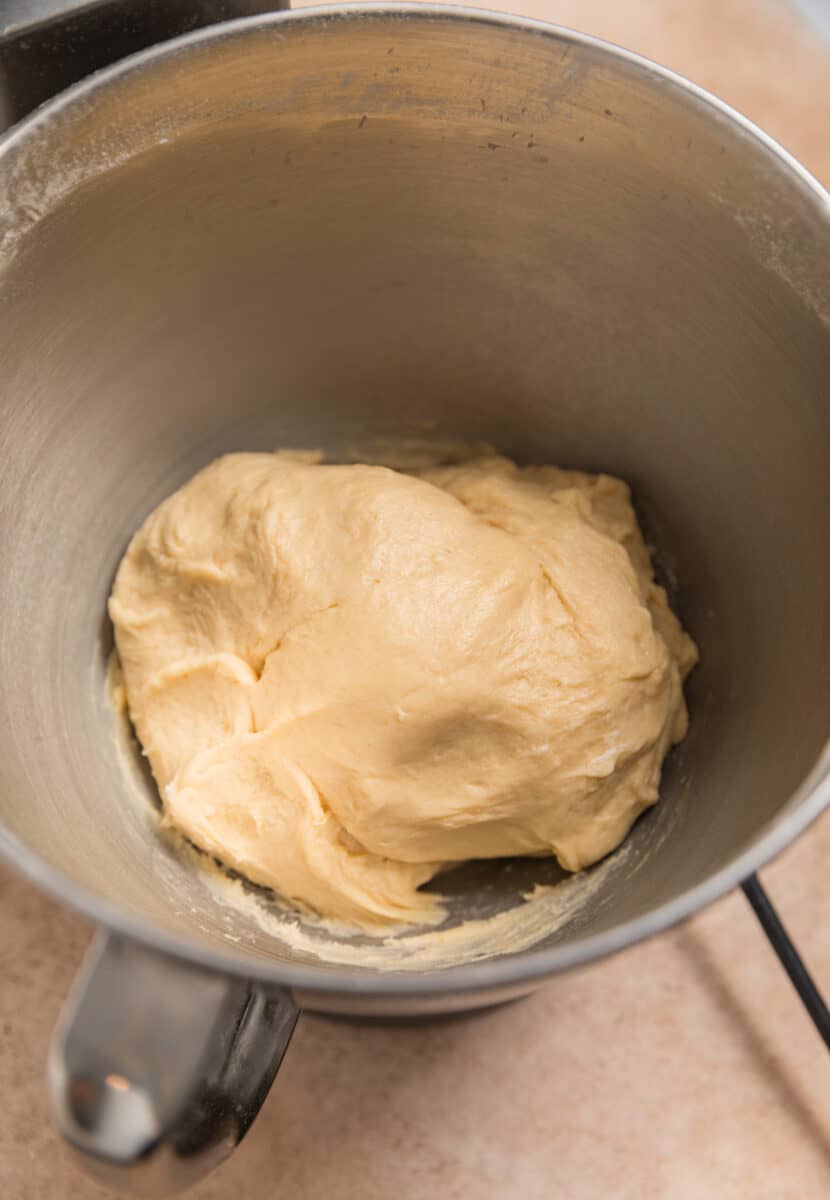
- Remove the paddle attachment from the mixer and replace it with the dough hook. Knead the dough for about 5-7 minutes on low speed. If the dough seems to be very sticky and sticking to the sides of the bowl, add more flour, about 1-2 tablespoons at a time. If you don’t have a stand mixer, you can knead the dough by hand instead.
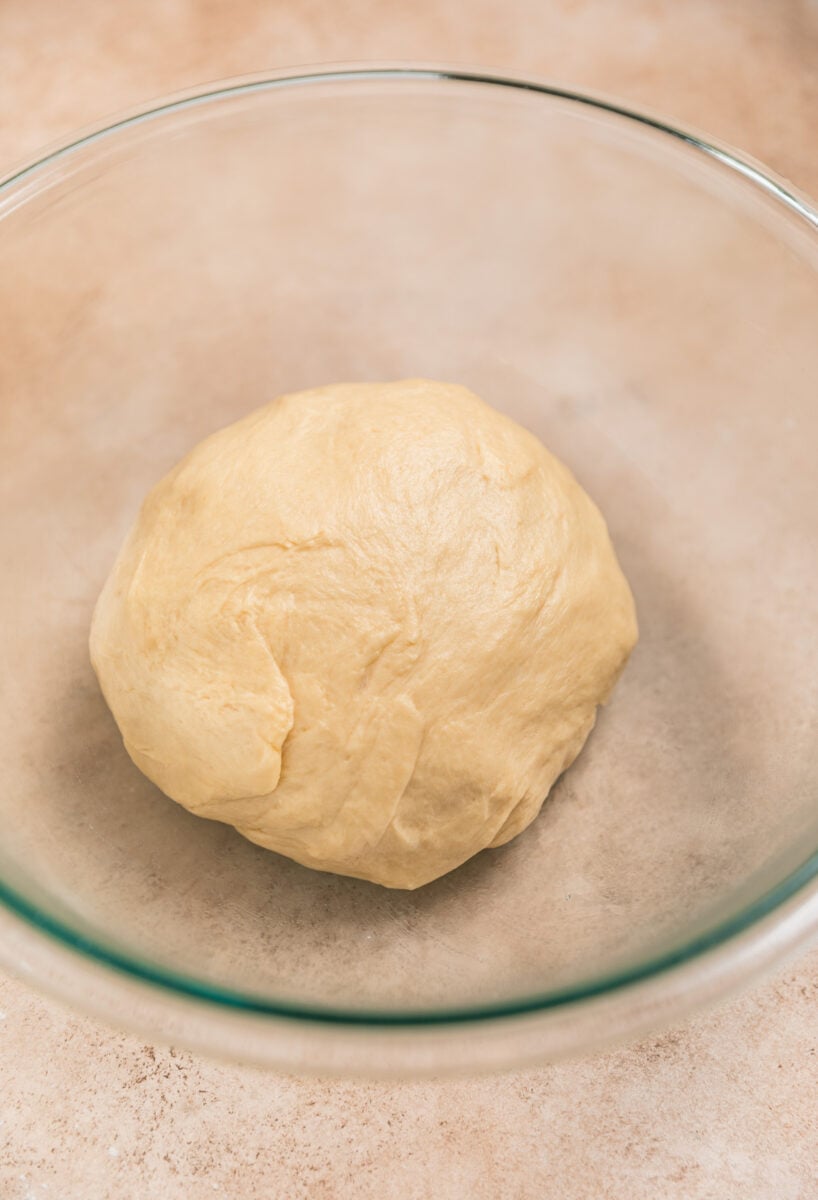
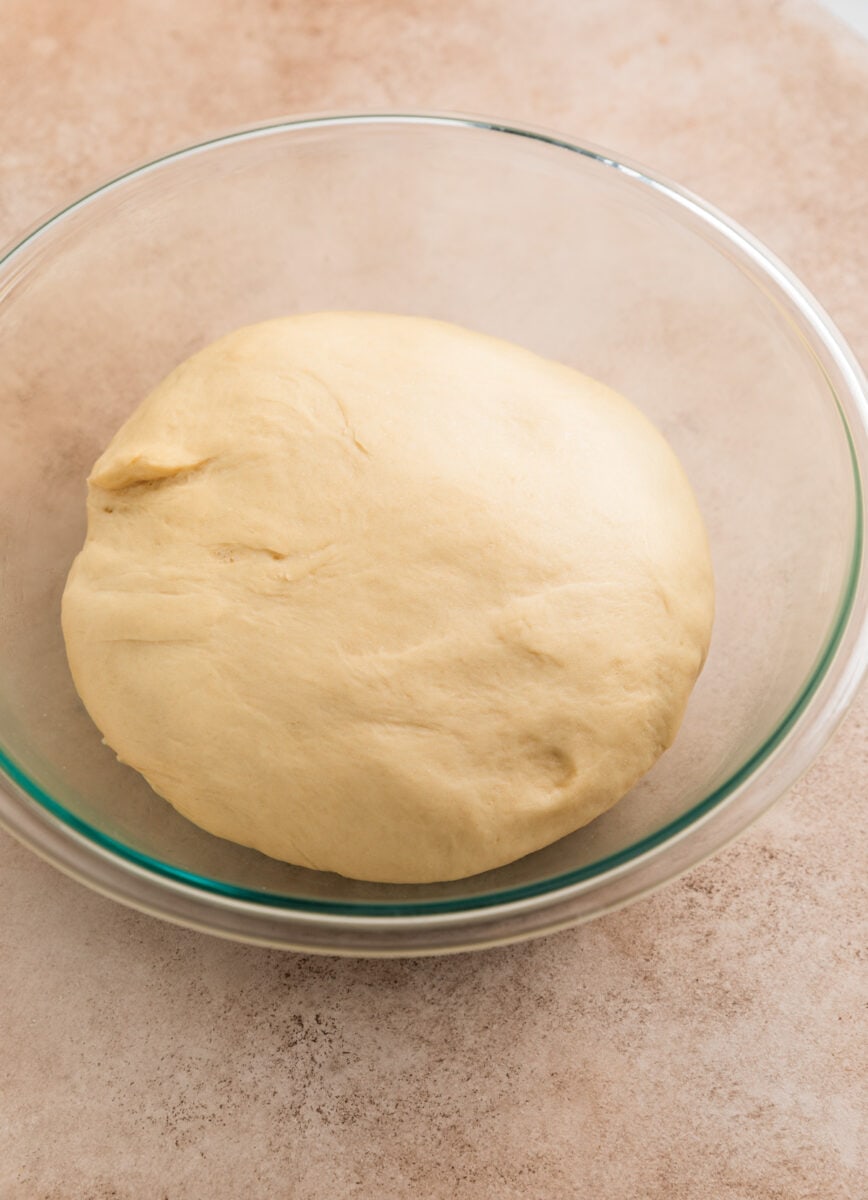
- Transfer dough to a large bowl that has been sprayed with oil. Cover with a towel and set in a warm place to let the dough rise. It should double in size.
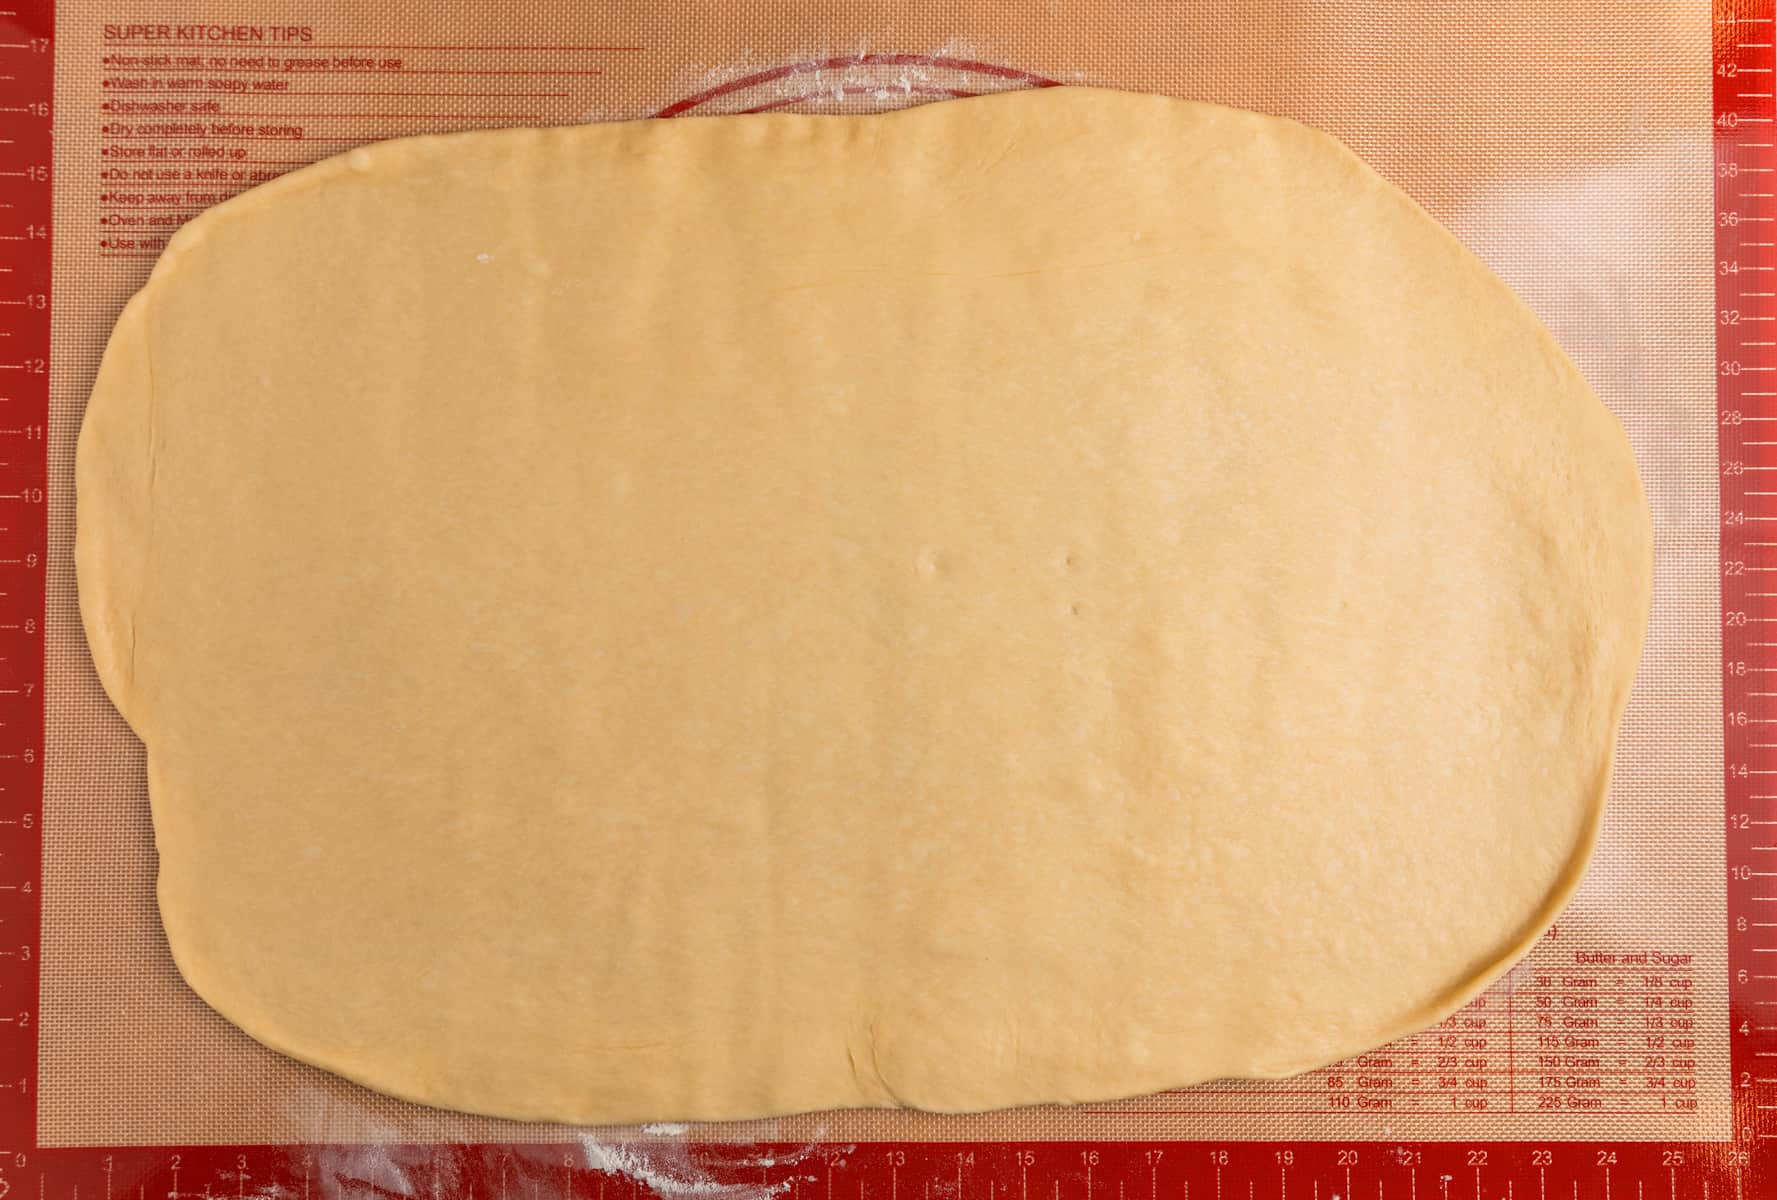
- Place the dough on a lightly floured surface. You can start to form it in a slightly rectangular shape to help when rolling it out. Use a rolling pin to roll the dough out to about 24 inches long and about 16 inches wide. It does not have to perfect, promise
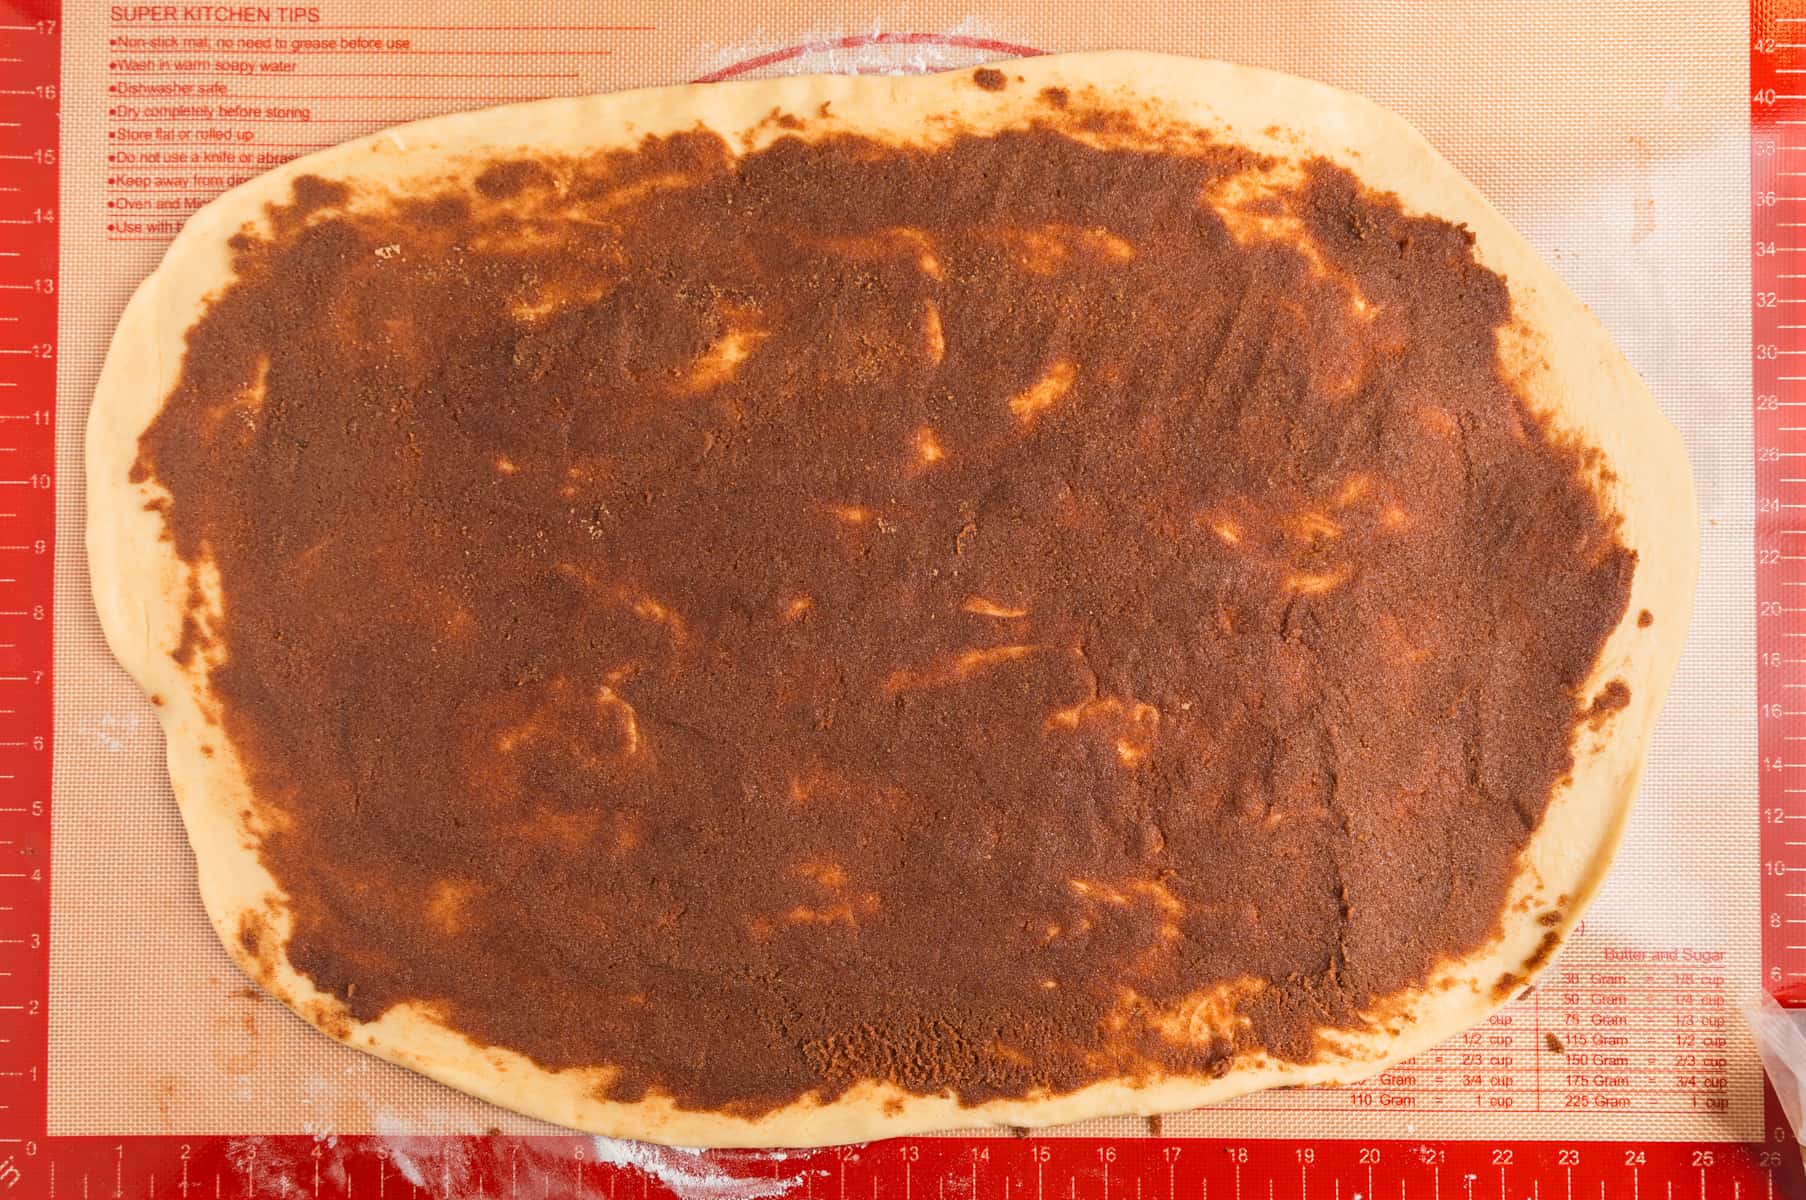
- Use a rubber spatula to spread the butter, brown sugar and cinnamon mixture over the dough. A spoon can work as well here. You don’t have to cover all the way to the edges. I usually leave a little less than a 1/2 inch border.
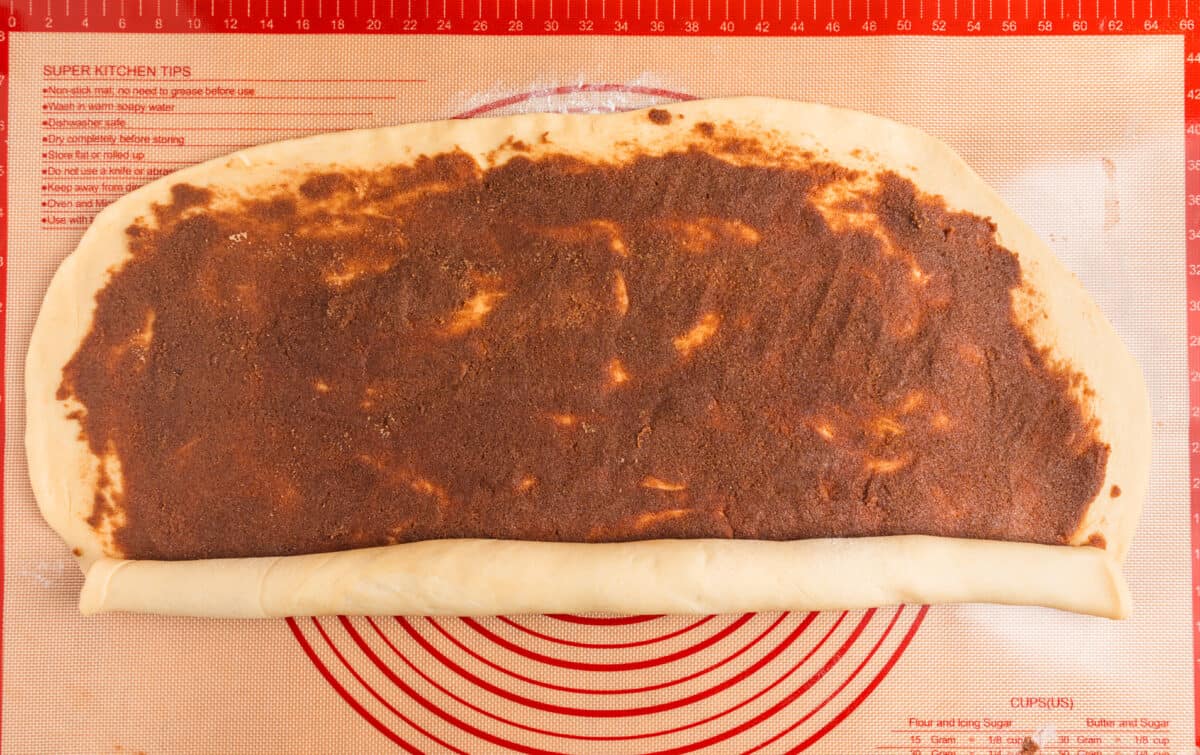
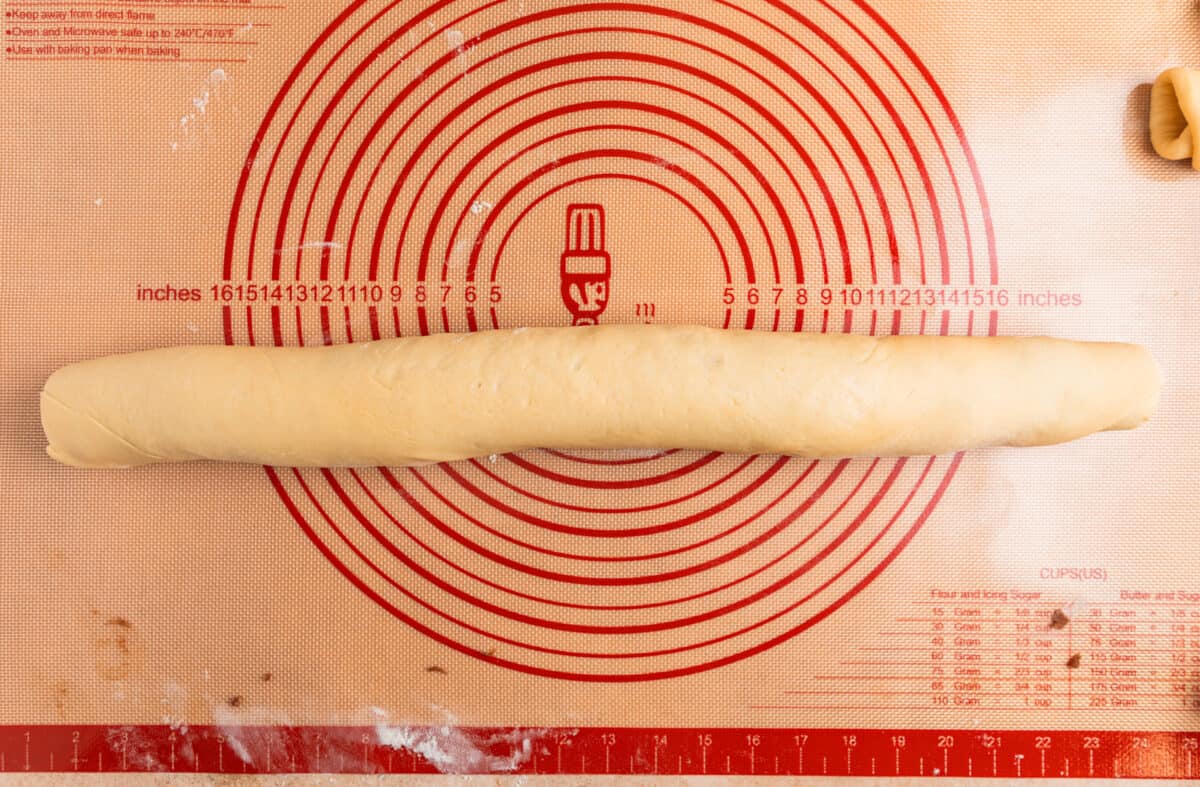
- Start to roll the dough from the 24 inch side and roll to form a tight log. Try to roll the dough tight, but not overly tight or the centers can pop up when baking.
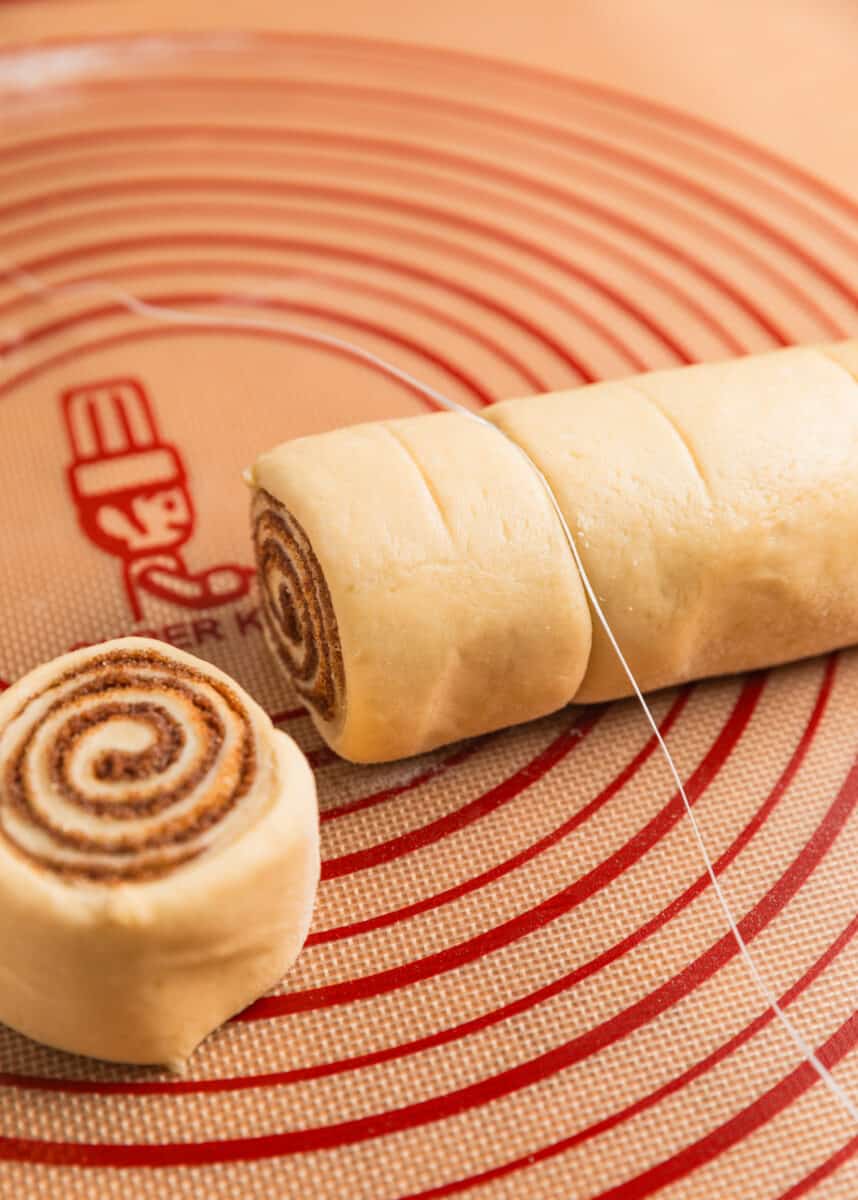
- You can trim the ends off of the dough if you’d like, or leave them. Use unflavored dental floss or a sharp knife to cut the cinnamon rolls about 1 3/4 inches (if you trimmed the ends). I like to place an indentation where that is by measuring before cutting.
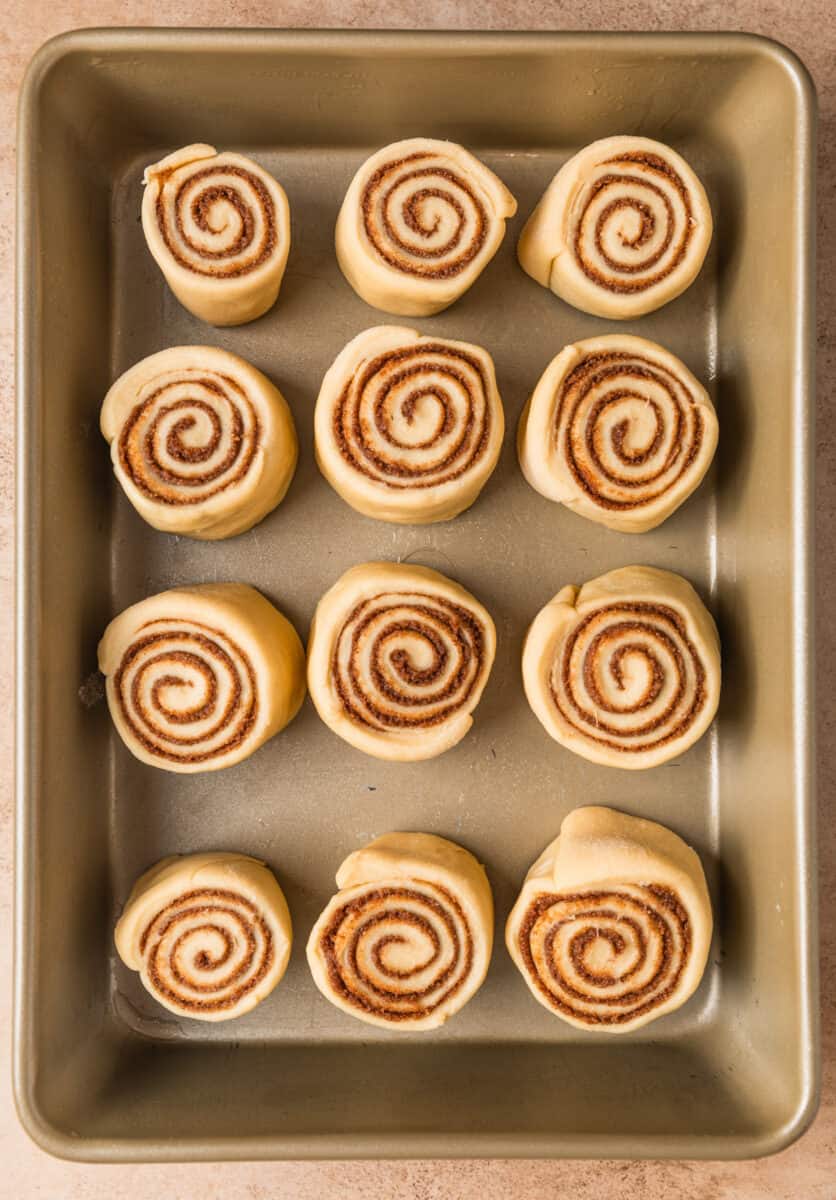
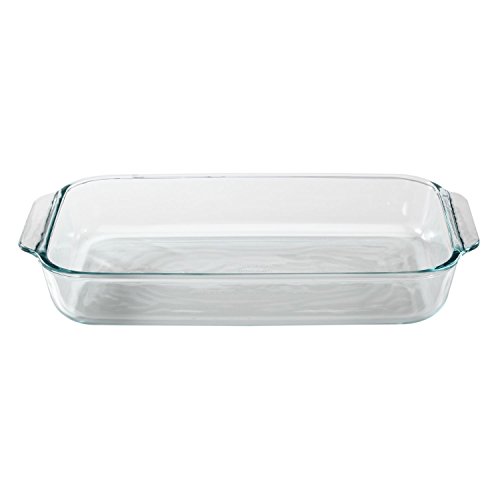
- Place the cut buttermilk cinnamon rolls in a greased 9×13 inch metal or glass baking pan. You can line the pan with parchment paper if preferred.
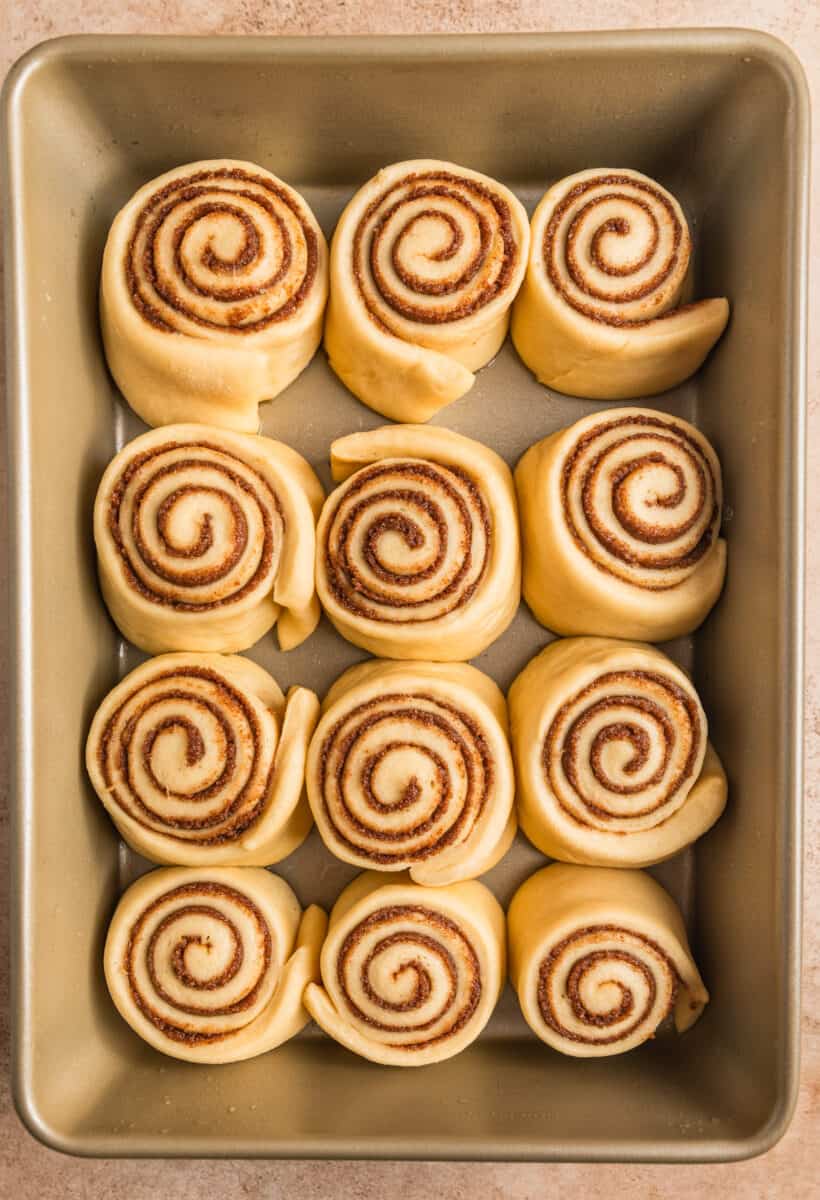
- Cover the rolls and allow them to sit in a warm spot until they about double in size. This can take about 1 hour. You can speed it up by turning on the oven for about 2 minutes and then shutting it off. Place the rolls in the oven and they should rise in about 30 minutes.
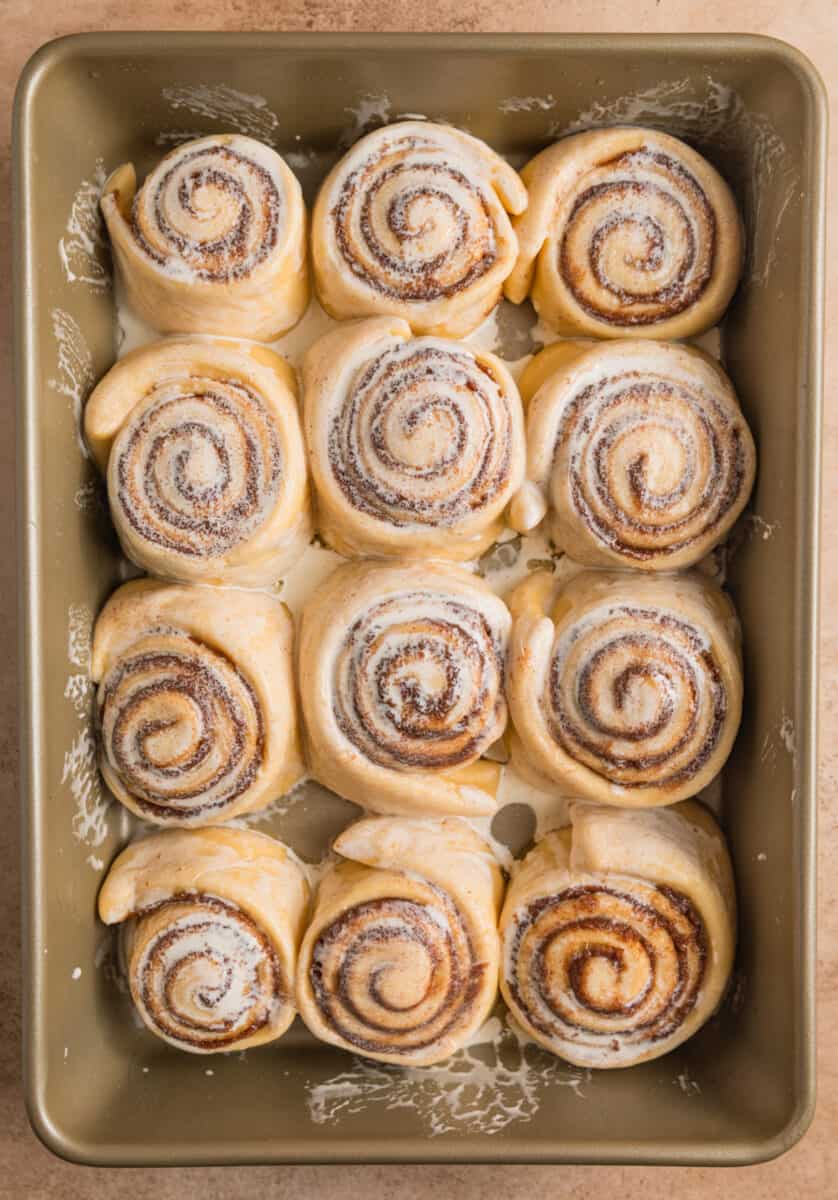
- Once the cinnamon rolls have doubled in size, preheat the oven to 350°F. While the oven preheats brush the tops and sides of the rolls with heavy cream (or whole milk).
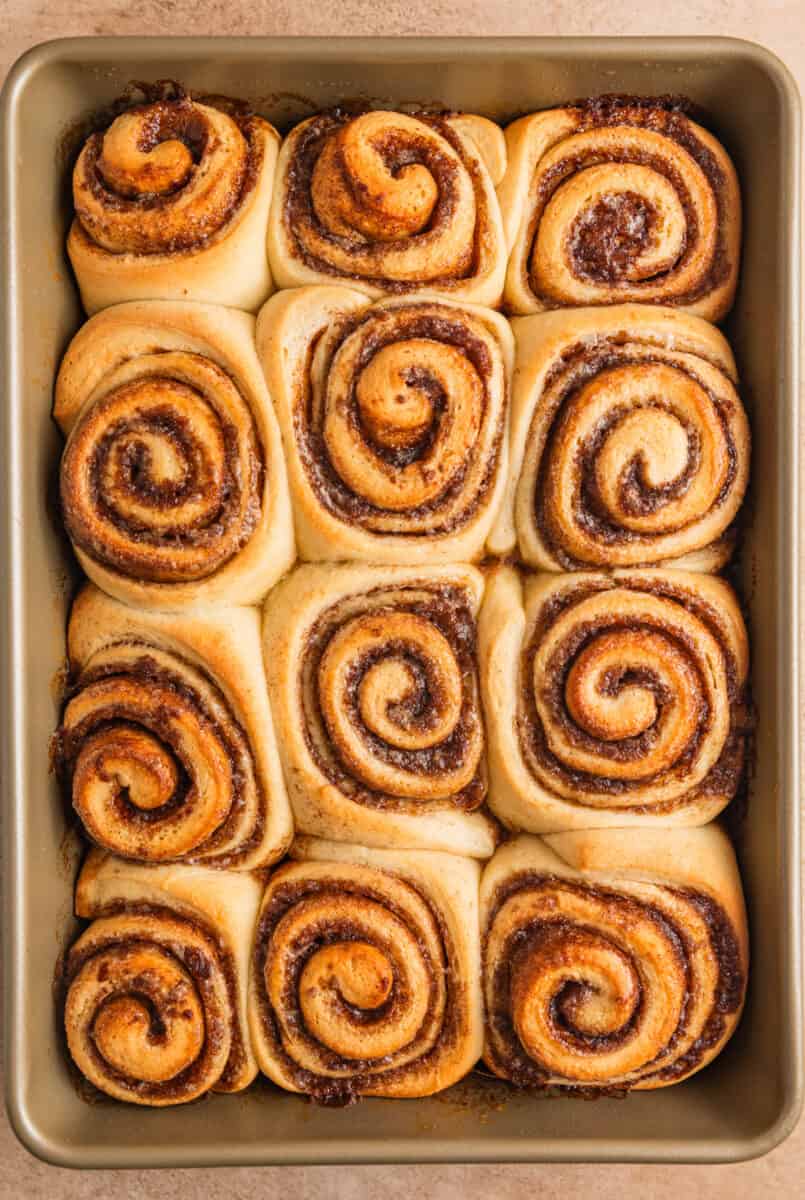
- Bake the buttermilk cinnamon rolls for approximately 25 minutes, checking at 20 minutes and then adjusting as needed. Cinnamon rolls are done when tops are golden brown and the internal temperature of the center roll reads about 190°F – 200°F. You can also pull out the center cinnamon roll and make sure it is not undone or overly wet and gooey, as in not baked, to test doneness.
Prepare the Cream Cheese Frosting:
While the cinnamon rolls bake, prepare the cream cheese frosting. You can use another icing of your choice if you don’t prefer a cream cheese variation.
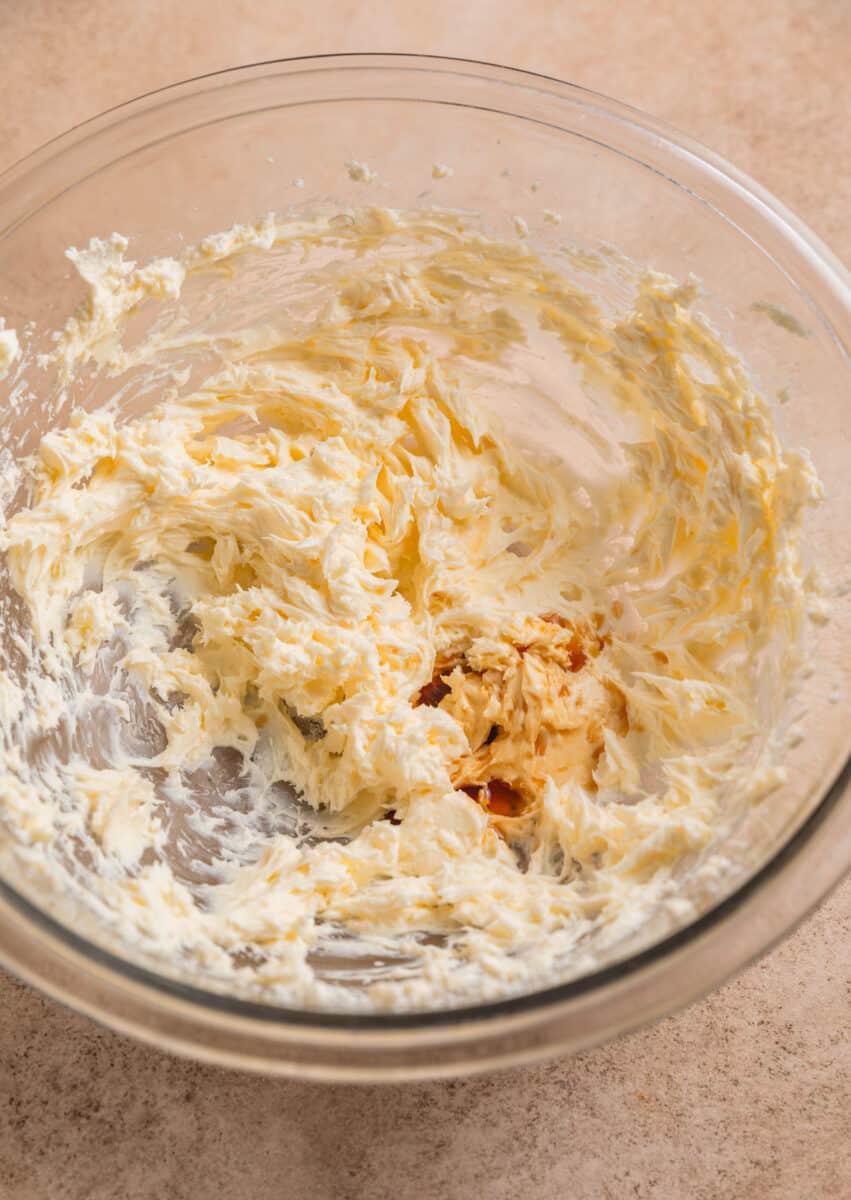
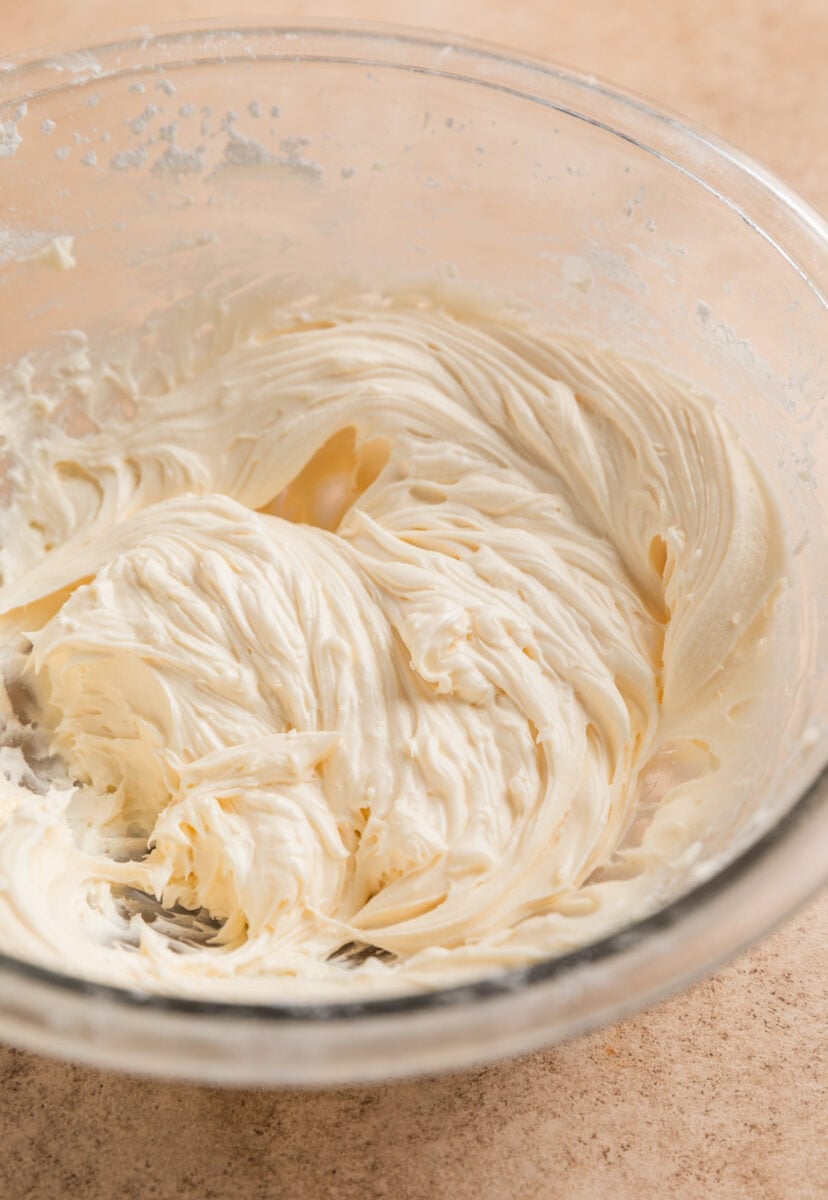
- Cream the softened butter and cream cheese until smooth.
- Add in the vanilla and beat to combine.
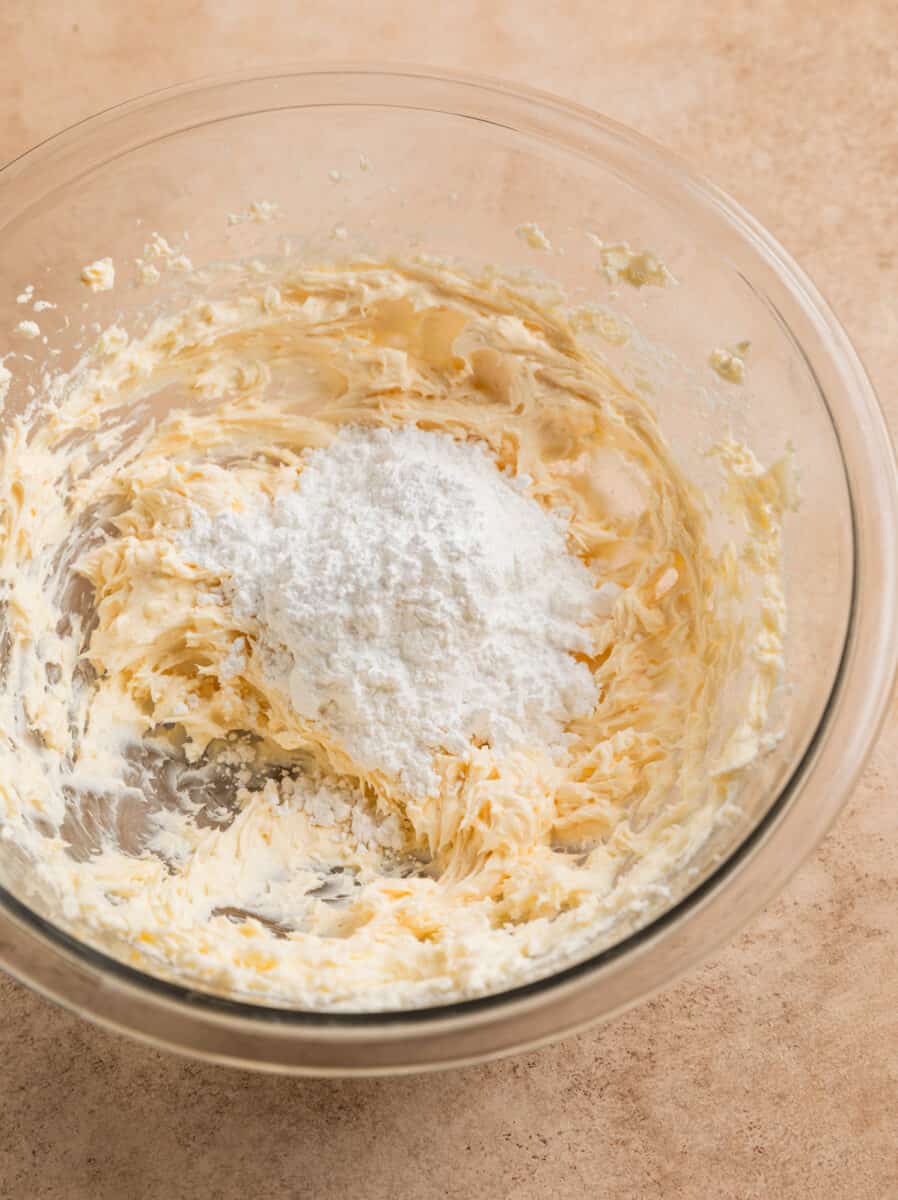
- Slowly add the powdered sugar until desired consistency. Some prefer their icing on the thin side and others like it nice and thick–do what works for you!
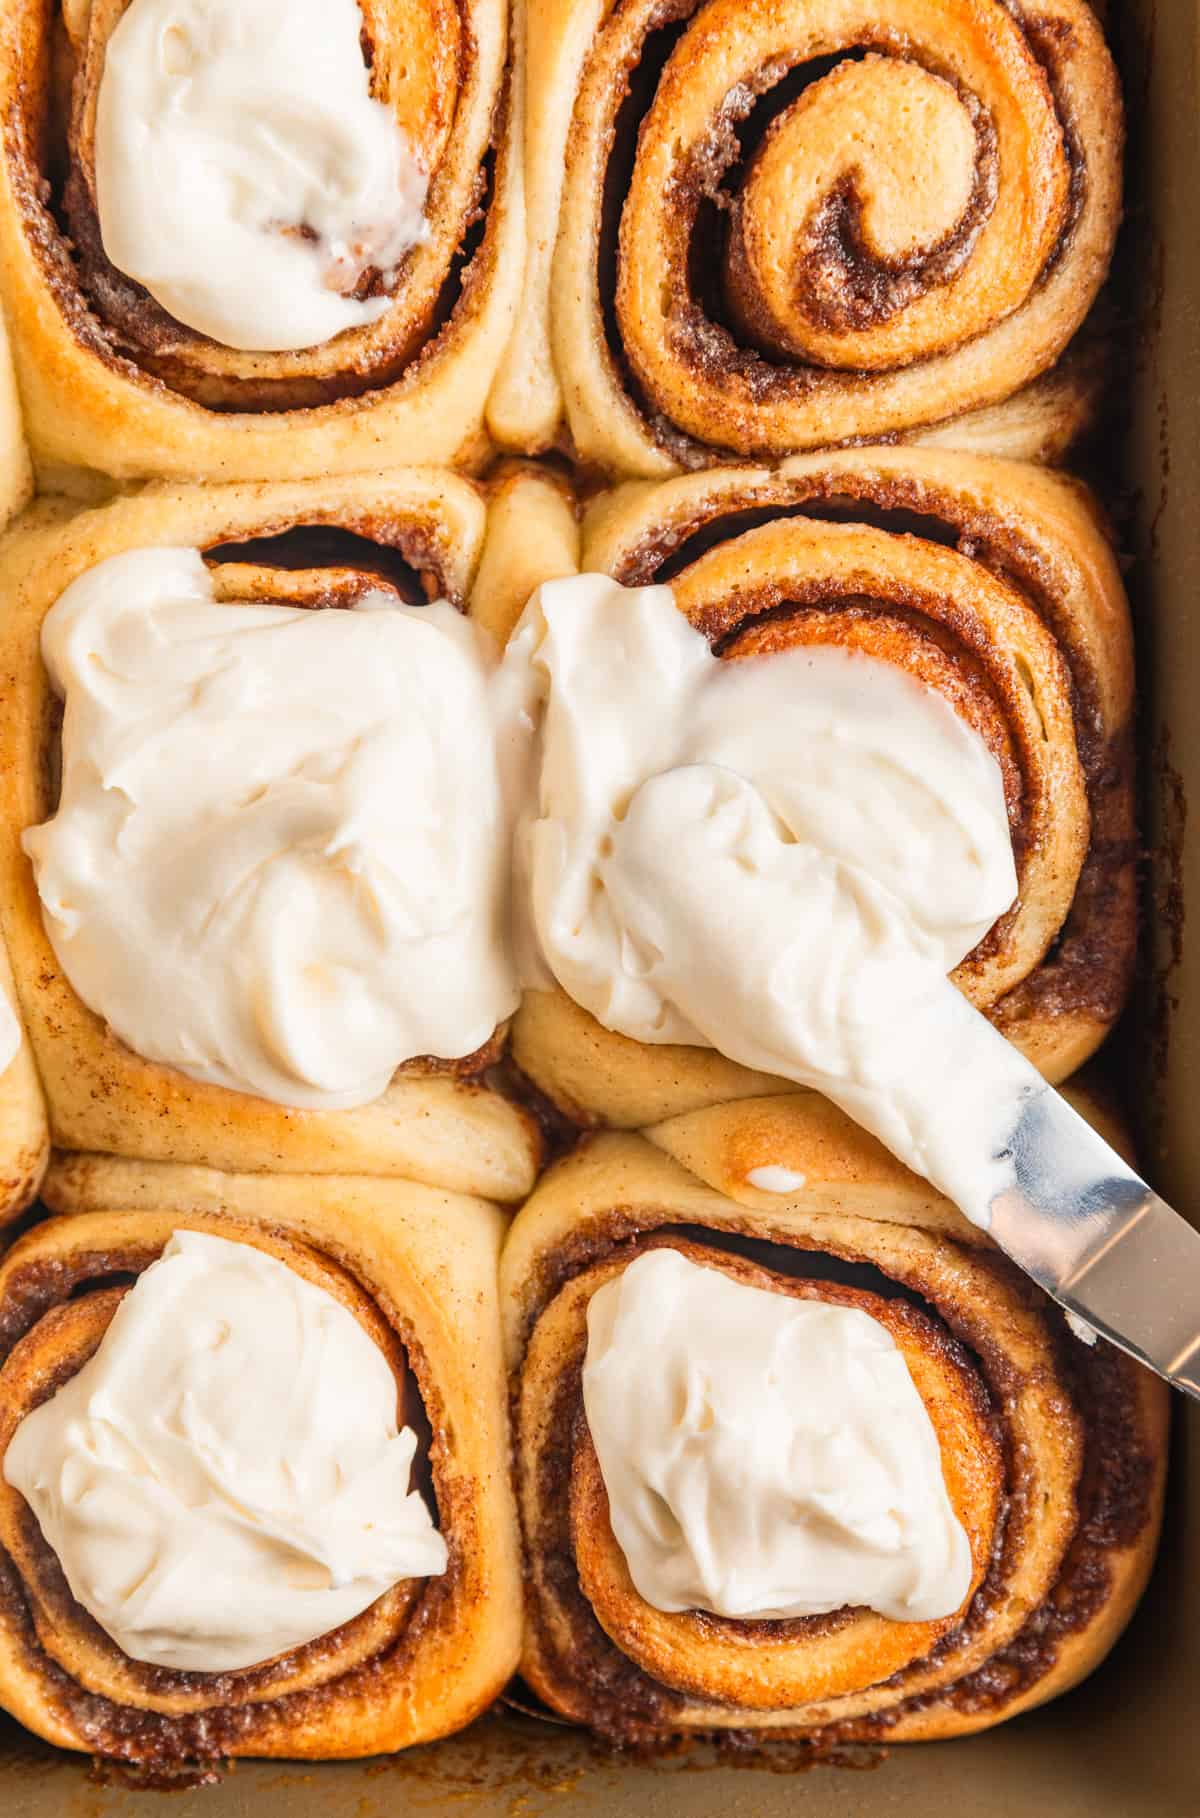
Frost Your Buttermilk Cinnamon Rolls:
The key to frosting your cinnamon rolls is making sure they are still warm, but not overly hot when you ice them.
- Allow them to cool for about 5-10 minutes. Then spoon equal amounts of cream cheese icing over top of each cinnamon roll.
- Allow it to sit for about a minute or two. This will make it so easy to spread.
- Once icing is warmed up a bit use an offset spatula or knife to spread over top of the rolls and allow it to spill over to the sides.
I am a huge icing fan so this makes a fair amount of the cream cheese frosting. You can be a bit more conservative in frosting these if desired.
Overnight Cinnamon Roll Instructions
It is super easy to make these overnight cinnamon rolls. Follow all instructions up until the buttermilk cinnamon rolls are cut and placed in the prepared pan.
Once they are in the pan, do not allow them to rise. Instead cover and seal with plastic wrap tightly and refrigerate for up to 24 hours.
The next morning, about an hour or so before baking, remove the rolls and allow them to warm up and then rise. From there, all other directions are the same!
Recipe Tips
Do not worry if the mixture of buttermilk, butter and eggs looks curdled. This scared me the first few times making these cinnamon rolls. While the mixture may look slightly curdled, it is more likely just the butter clumping up slightly from the difference in temperature between the buttermilk and butter. Your dough will still look smooth in the end.
You can make this cinnamon roll dough without a stand mixer. It will take a bit more effort as you will have to knead the dough, but it is still perfectly doable. Knead the cinnamon roll dough until smooth and you can poke your finger into it without dough sticking to it. It should be a little tacky but not super sticky.
You can tent the cinnamon rolls with aluminum foil to avoid the tops getting too dark while baking. If you don’t want the tops of your rolls to be too browned, after about 12 minutes of baking, loosely tent a piece of foil over the cinnamon rolls and bake until done.
Depending on how cool your home is, the rise time for your dough may vary. Try to find a very warm spot in your house. A spot near a vent, in a warm (but not on) oven, or another cozy spot for the quickest time.
Storage
You can technically keep these buttermilk cinnamon rolls at room temperature for 1-2 days but I find it best to refrigerate them sealed well in an airtight container for about 4-5 days and then reheating before eating.
You can freeze baked and iced cinnamon rolls as well. Allow the cinnamon rolls to cool completely. Arrange in a single layer in a pan or on a plate and freeze for about 1-2 hours before transferring them to a freezer safe airtight container. Separate layers with wax paper for best results.
Other Breakfast Recipes
Christmas
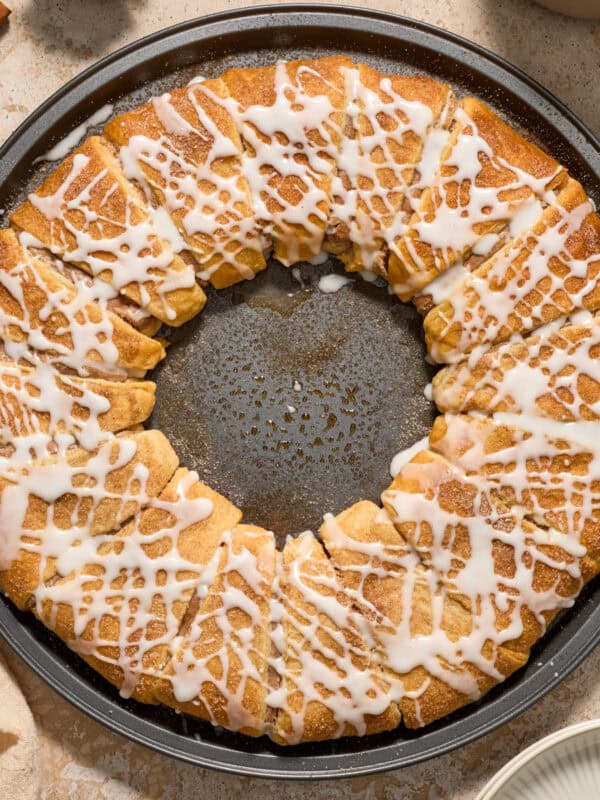
Cinnamon Crescent Roll Wreath
Breakfast
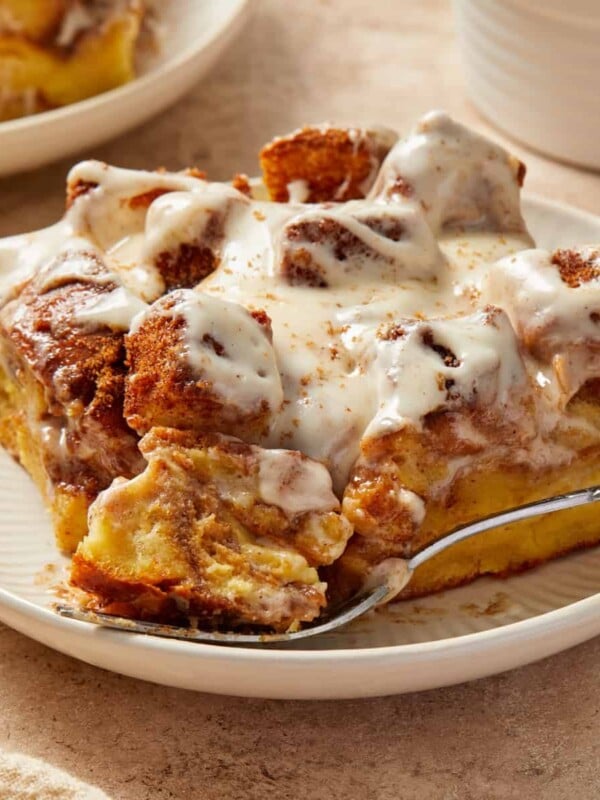
Cinnamon Roll Baked French Toast
Fall Recipes
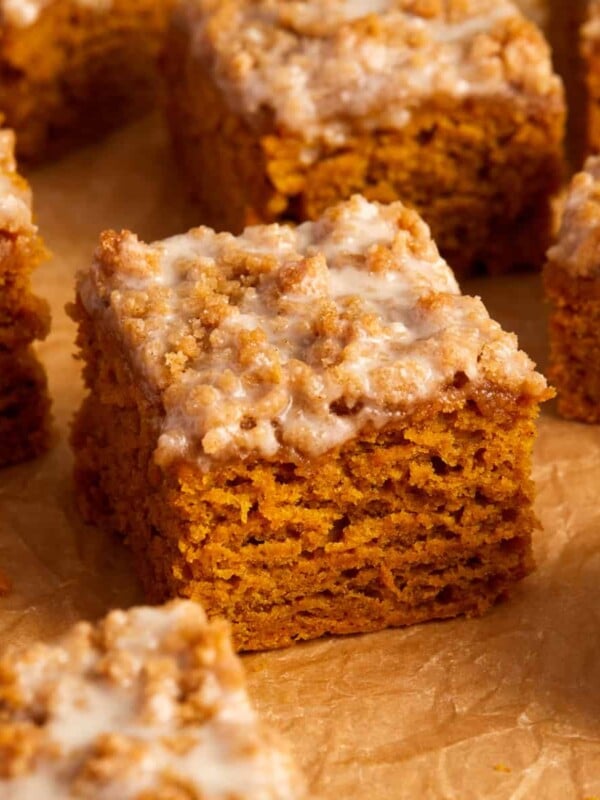
Cinnamon Streusel Pumpkin Coffee Cake
Breakfast
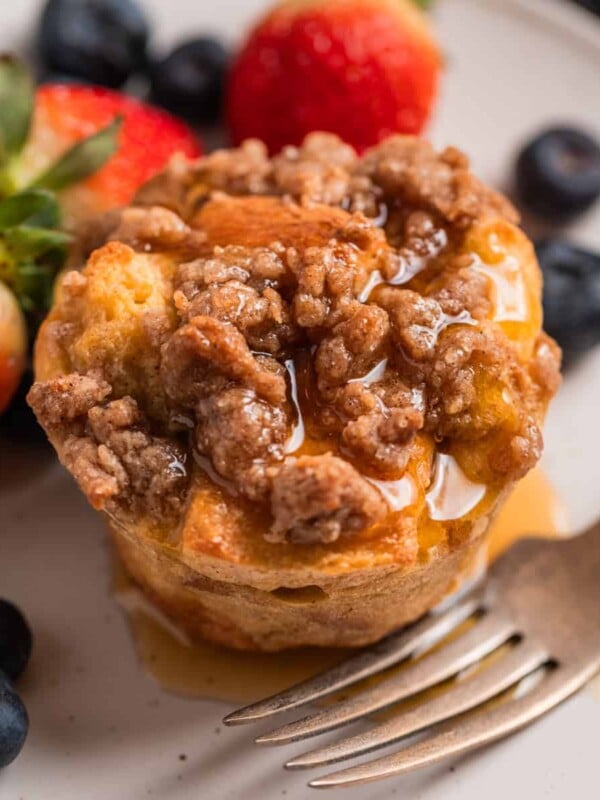
French Toast Muffins
HUNGRY FOR MORE? Subscribe to my newsletter and follow me on Facebook, Instagram and Pinterest for all the latest!
Buttermilk Cinnamon Rolls

Ingredients
For the Dough:
- 1 cup buttermilk , warmed to 90°F
- 1 pack instant active yeast, (.25 oz or 2 ¼ tsp), (also called "rapid rise)
- ½ cup salted butter, very soft or somewhat melted
- ⅓ cup white sugar
- ½ tsp salt
- 2 large eggs
- 4 cups all purpose flour, more as needed
- ¼ cup heavy cream, for brushing the tops, or whole milk
For the Filling:
- ½ cup salted butter, very soft
- 1 ¼ cup brown sugar
- 2 Tbsp cinnamon
Cream Cheese Frosting:
- 5 Tbsp salted butter, softened
- 4 oz cream cheese
- 1 tsp vanilla extract
- 1 ½ – 2 cups powdered sugar
Instructions
Prepare the Dough:
- To start warm the buttermilk slightly. Warm it on low over the stove until it hits about 85°F and then remove it from the heat so it doesn't go over 90°F when it curdles. You may also microwave in about 20 second increments at 50% power level.
- Transfer the warmed buttermilk to the bowl of a stand mixer and sprinkle the instant yeast over and whisk together. Allow it to sit for about 7-10 minutes. It will become slightly frothy and bubbly which will let you know it is activated.
- Add the room temperature eggs, soft butter and sugar to the yeast mixture and beat with the paddle attachment on medium until smooth and incorporated. (**If you see small clumps, don't be worried. Sometimes the butter will clump slightly from the variance in temperatures)
- Add the 4 cups of flour and salt and beat until incorporated. Remove the paddle attachment from the mixer and replace it with the dough hook. Knead the dough for about 5-7 minutes on low speed. If the dough seems to be very sticky and sticking to the sides of the bowl, add more flour, about 1-2 tablespoons at a time. The dough should form a nice smooth ball and be tacky and pliable, but not sticky when it is ready. If you don't have a stand mixer, you can knead the dough by hand instead.
- Transfer dough to a large bowl that has been sprayed with oil. Cover with a towel and set in a warm place to let the dough rise. It should double in size. (You can set your oven to preheat to 350°F and allow it to warm up for about 2-3 minutes and then turn the oven off. Then allow the dough to sit in the warm oven to rise.)
Assemble the Cinnamon Rolls:
- Mix together the very softened butter, cinnamon and brown sugar for the filling.
- Place the risen dough on a lightly floured surface. You can start to form it in a slightly rectangular shape to help when rolling it out. Use a rolling pin to roll the dough out to about 24 inches long and about 16 inches wide. It does not have to perfect.
- Use a rubber spatula to spread the butter, brown sugar and cinnamon mixture over the dough leaving about 1/2 inch border.
- Start to roll the dough from the 24 inch side and roll to form a tight log. Try to roll the dough tight, but not overly tight or the centers can pop up when baking. Trim the ends off if desired.
- Use unflavored dental floss or a sharp knife to cut the cinnamon rolls about 1 3/4 inches (if you trimmed the ends or 2 inches if not). I like to place an indentation where that is by measuring before cutting.
- Place the cut cinnamon rolls in a greased 9×13 inch metal or glass baking pan. (If doing an overnight version, seal and refrigerate here). Cover the rolls and allow them to sit in a warm spot until they about double in size. This can take about 1 hour. You can speed it up by turning on the oven for about 2 minutes and then shutting it off. Place the rolls in the oven and they should rise in about 30 minutes.
Bake:
- Preheat the oven to 350°F. While the oven preheats brush the tops and sides of the rolls with heavy cream (or whole milk).
- Bake the buttermilk cinnamon rolls for approximately 25 minutes, checking at 20 minutes and then adjusting as needed. Cinnamon rolls are done when tops are golden brown and the internal temperature of the center roll reads about 190°F – 200°F. You can also pull out the center cinnamon roll and make sure it is not undone or overly wet and gooey, as in not baked, to test doneness.
Prepare Cream Cheese Icing:
- Cream the softened butter and cream cheese until smooth. Add in the vanilla and beat to combine. Slowly add the powdered sugar until desired consistency.
- Allow baked cinnamon rolls to cool for about 5-10 minutes. Then spoon equal amounts of cream cheese icing over top of each cinnamon roll. Allow it to sit for about a minute or two. This will make it so easy to spread.Once icing is warmed up a bit use an offset spatula or knife to spread over top of the rolls and allow it to spill over to the sides.
- Serve cinnamon rolls immediately.
- Store leftover cinnamon rolls for 1-2 days sealed at room temperature or refrigerated for up to 5 days.
Notes
Nutrition
Nutrition information is automatically calculated, so should only be used as an approximation.
Shop This Post
 Buy Now →
  Buy Now →
  Buy Now →
Can I freeze n then bake?
Hi! Yes, you can. Once you roll them and cut the cinnamon rolls, you will want to freeze them. Then thaw overnight when you want to bake and let them rise for about 2 hours before baking. Hope this helps!
Hey There!
Question I know it says 90 Degrees for the buttermilk but the Fleischmann Rapidrise says 120-130? Should it still work at 90?
Thank you for your help!
Hi! Usually as long as the water is warm, it should work, I have not had any issues to date, but that is interesting to know!
Light and fluffy. I only needed half, and the recipe was easily divided. Next time, I will roll out thinner and use more filling for smaller rolls.
Glad halving the recipe worked well for you!
Hello I absolutely love making these cinnamon rolls. Found your recipe about 5 months ago. Made this recipe more than 30 times and have alternated it as well. Thank you so much. My mom had her own recipe for over 30 years and moved over to you’re recipe because she loved it so much.
Oh wow! Now that is very impressive! Thank you so much for sharing this with me!
These are so delicious, easy for first time cinnamon roll makers and not too sweet! My one question if freezing is what is the best way to reheat them from frozen? Can’t wait to make these a regular treat in our home!
Hi! I saw your comment on Instagram but wanted to acknowledge it here too. If they are frozen I would bake at 350 with foil loosely tented over it checking at about 10-15 minutes and then adjusting as needed until warmed through. So happy these made your family’s day times three!