This post may contain affiliate links.

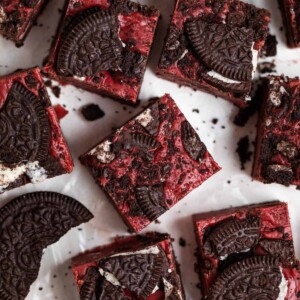
This Oreo Red Velvet Fudge is a simple, delicious treat the whole crew will love. Only 10 minutes to prepare, the red color gives it a fun and more festive feel for any celebration. Perfect to gift to someone special, enjoy with your friends and family and so much more!
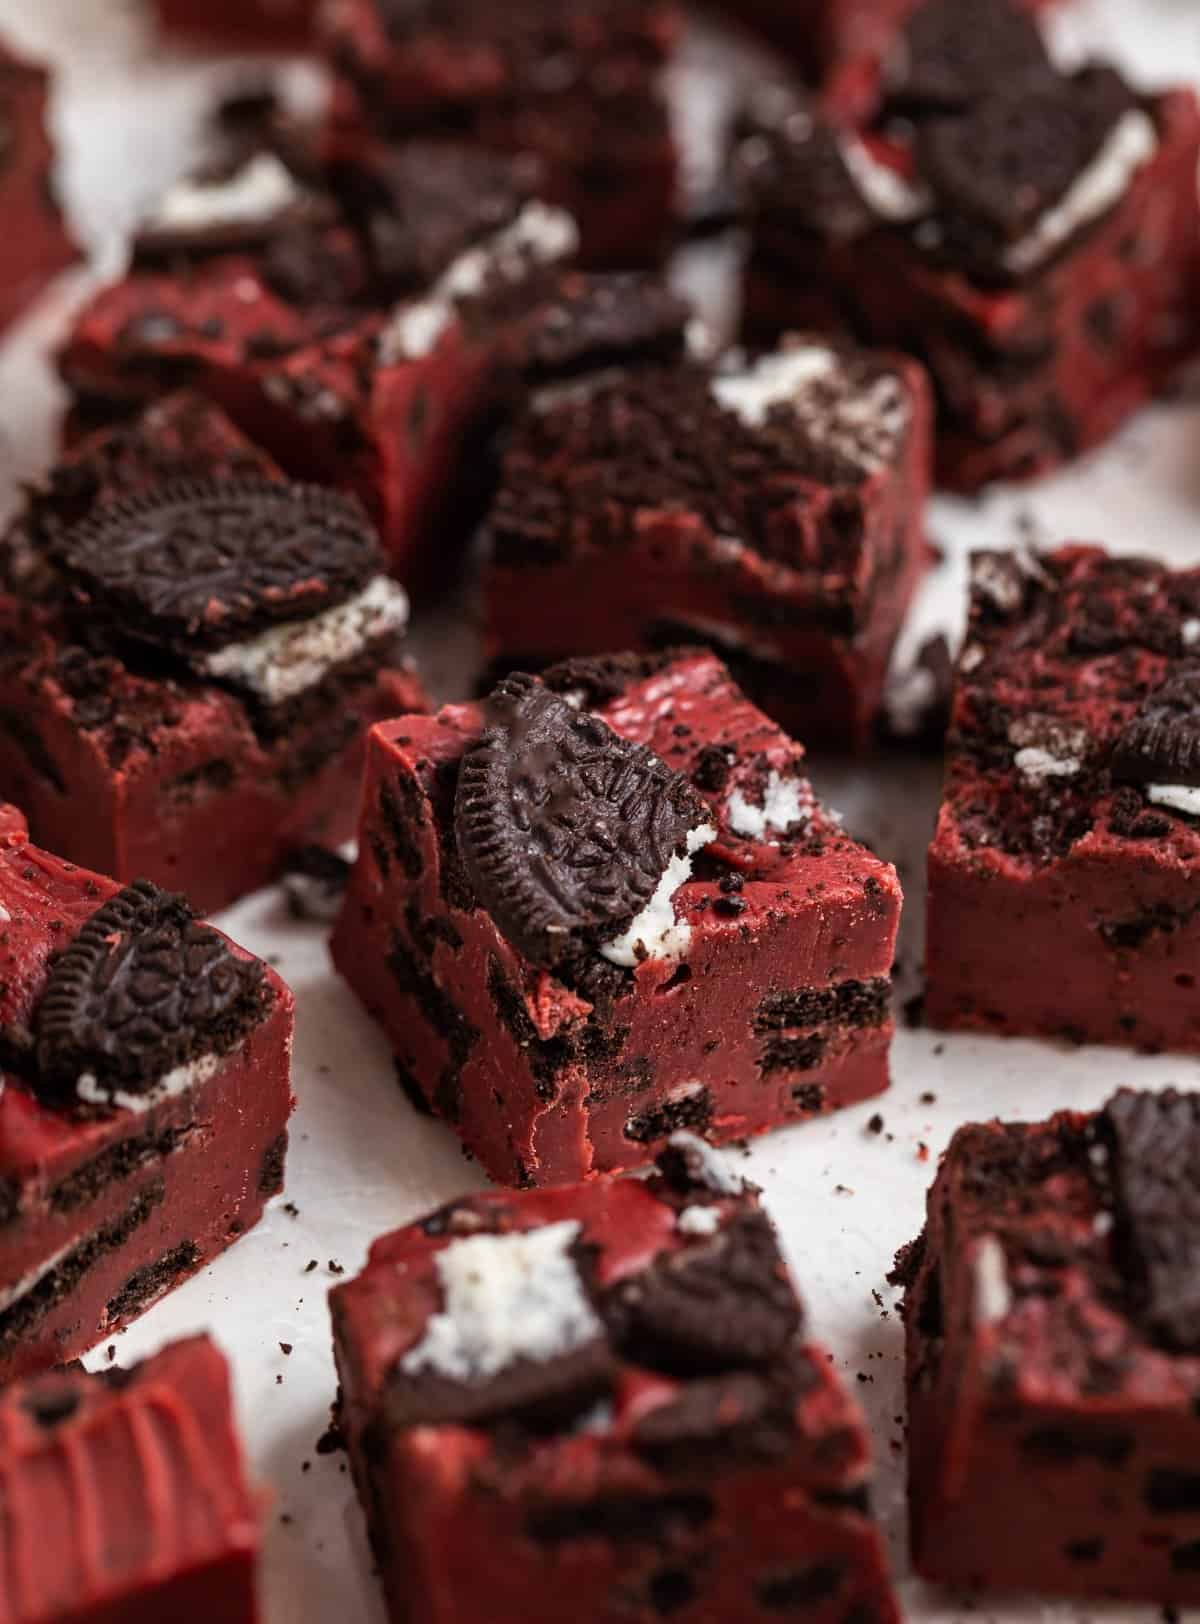
A lot of times you see fudge only around the holidays but I am a big fan of it all year round! This red velvet fudge packed with crushed Oreos is a family favorite and it is so easy to see why!
Could be a great option for Valentine’s Day as well–your sweetie will love it! And if peanut butter is more your style, don’t forget to check out this microwave peanut butter fudge as well!
If you love Oreos, check out these holiday Oreo recipes as well and try this Pretzel Toffee for another easy holiday recipe!
For other fun red velvet recipes, try these Red Velvet Cake Mix Cookies with Cream Cheese Icing, Red Velvet Blossom Cookies or Red Velvet Cheesecake Dip.
Why You Will Love This Red Velvet Fudge
- No baking required! No bake recipes are my favorite especially when it comes to desserts. I love the option to have a delicious sweet treat that doesn’t take a lot of time or fuss to whip up. Golden Oreo truffles are also a perfect option for the no baker in us all.
- It is so simple to make. You have to give the pan your full attention while making this, but this red velvet fudge is as easy as stirring, and that is just about it. It’s a good one to get the whole crew in on and have everyone take turns stirring the pot!
- Fudge is a treat that lasts a fairly long time. These treats won’t go bad quickly. Fudge can often stay good for several weeks and if you freeze it, several months.
- It is SO DELICIOUS! I mean, that is what we are really here for–the taste. This Oreo packed, rich and creamy fudge is the perfect treat to hit the spot when your sweet tooth is calling.
What You Will Need:
- white chocolate: What I strongly suggest is using a high quality chocolate in this recipe if possible. When it comes to a simple fudge recipe like this one versus that old fashioned variation, you are really looking for a good chocolate for the flavor and creamier texture. I really like using Ghiradelli in this red velvet fudge recipe.
- chocolate chips: as stated, use a high quality chocolate chip. I suggest semi-sweet or milk chocolate in this recipe. I like the color that comes from the semi-sweet but actually prefer the flavor from the milk chocolate chip variation. When I tested it with dark chocolate, the red color didn’t come through as I preferred.
- marshmallows: a staple in lots of old fashioned variations and a must in my opinion in all fudge! Marshmallows add a creaminess to the texture that is unbeatable!
- butter: I use a bit of unsalted butter for extra creaminess. While you can technically make this recipe without it, I find it adds to it overall.
- sweetened condensed milk: perfect in so many sweet treats like these Condensed Milk Brownies! Use full fat and triple check that you have sweetened condensed milk and not evaporated milk. Evaporated milk will not work.
- food coloring: beet juice was the traditional color source of color for a red velvet cake, so you could give that a try–lots of natural red food dyes are actually from beets. The amount of dye you will need is based on what kind you use. I typically have the liquid versus the gel on hand.
- Oreos: I typically use classic versus the double stuffed Oreos. The best part about this red velvet fudge is that Oreo makes gluten free now so you can easily use those for a gluten free variation!
How To Make This Red Velvet Oreo Fudge:
While making this red velvet fudge is super easy, it is very important to follow the directions explicitly and keep a constant eye on it at all times while preparing.
Before beginning, line an 8×8 inch pan with parchment allowing for overhang so it will come up the sides as well.
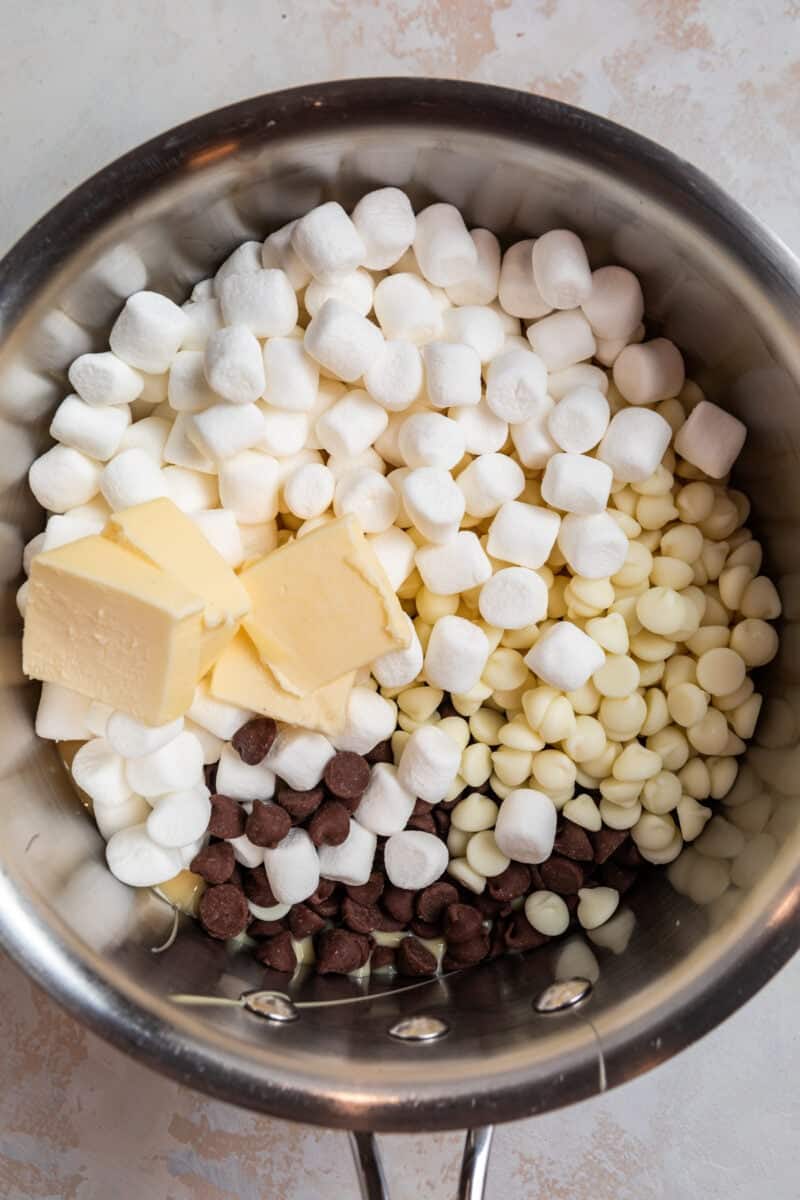
- Combine the sweetened condensed milk, mini marshmallows, white and semi-sweet chocolate chips and the butter (sliced in this pieces) in a sauce pan. Heat over low to medium-low heat.
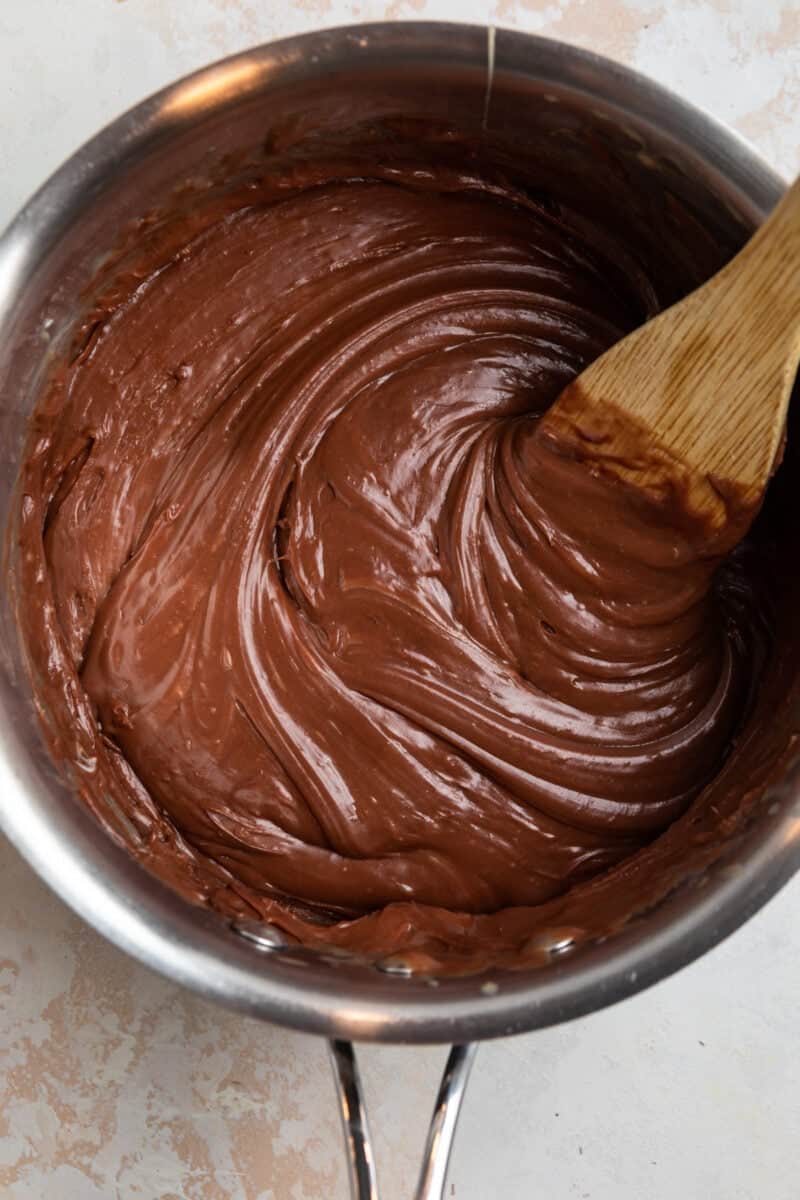
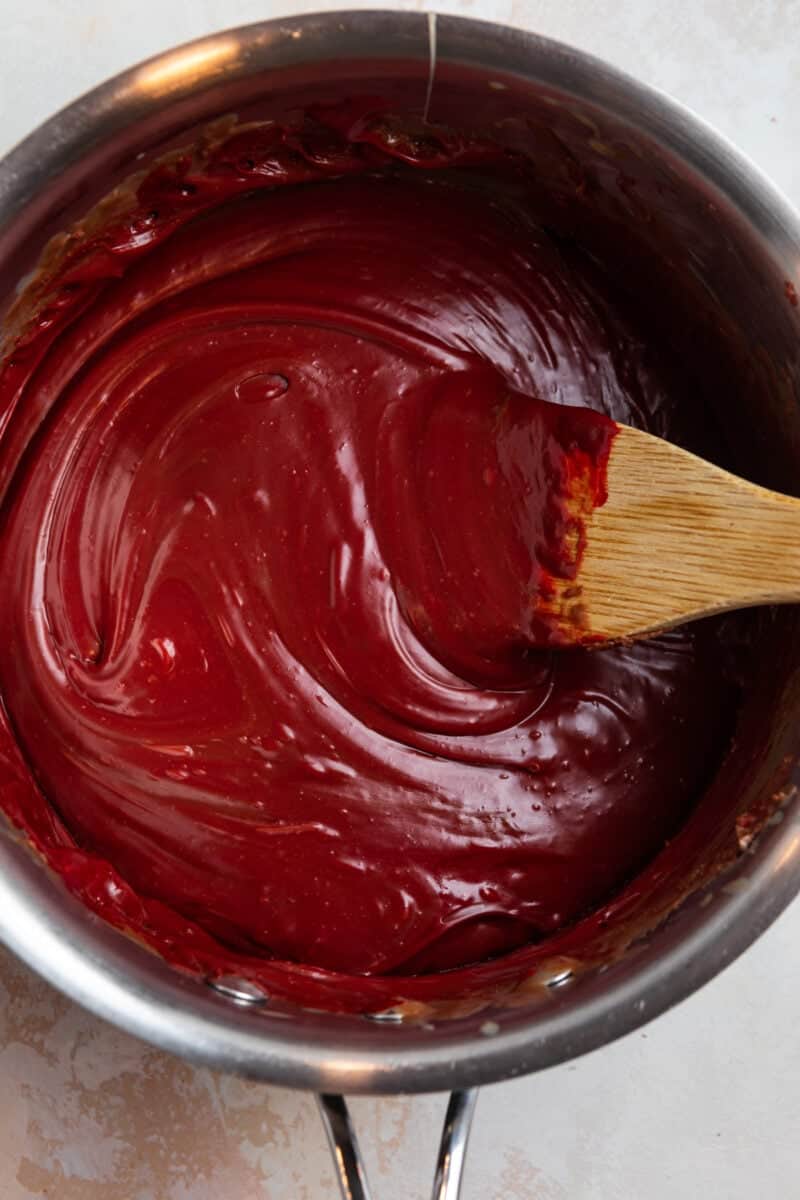
- Once the pot heats up and the chocolate begins melting, start stirring constantly with a wooden spoon or sturdy spatula. The mixture will require some muscle for sure. You want to keep the chocolate from settling on the bottom or the sides for too long of a time–you don’t want to scald the chocolate or it will seize up and become thick and chalky. The process can take from 7-9 minutes but slow and low heat is the way to go.
- Once the chocolate and butter is completely melted and the mixture looks smooth and fudgy, remove it from the heat. Stir in the vanilla and food coloring. Stir in about 3/4 of the chopped Oreos.
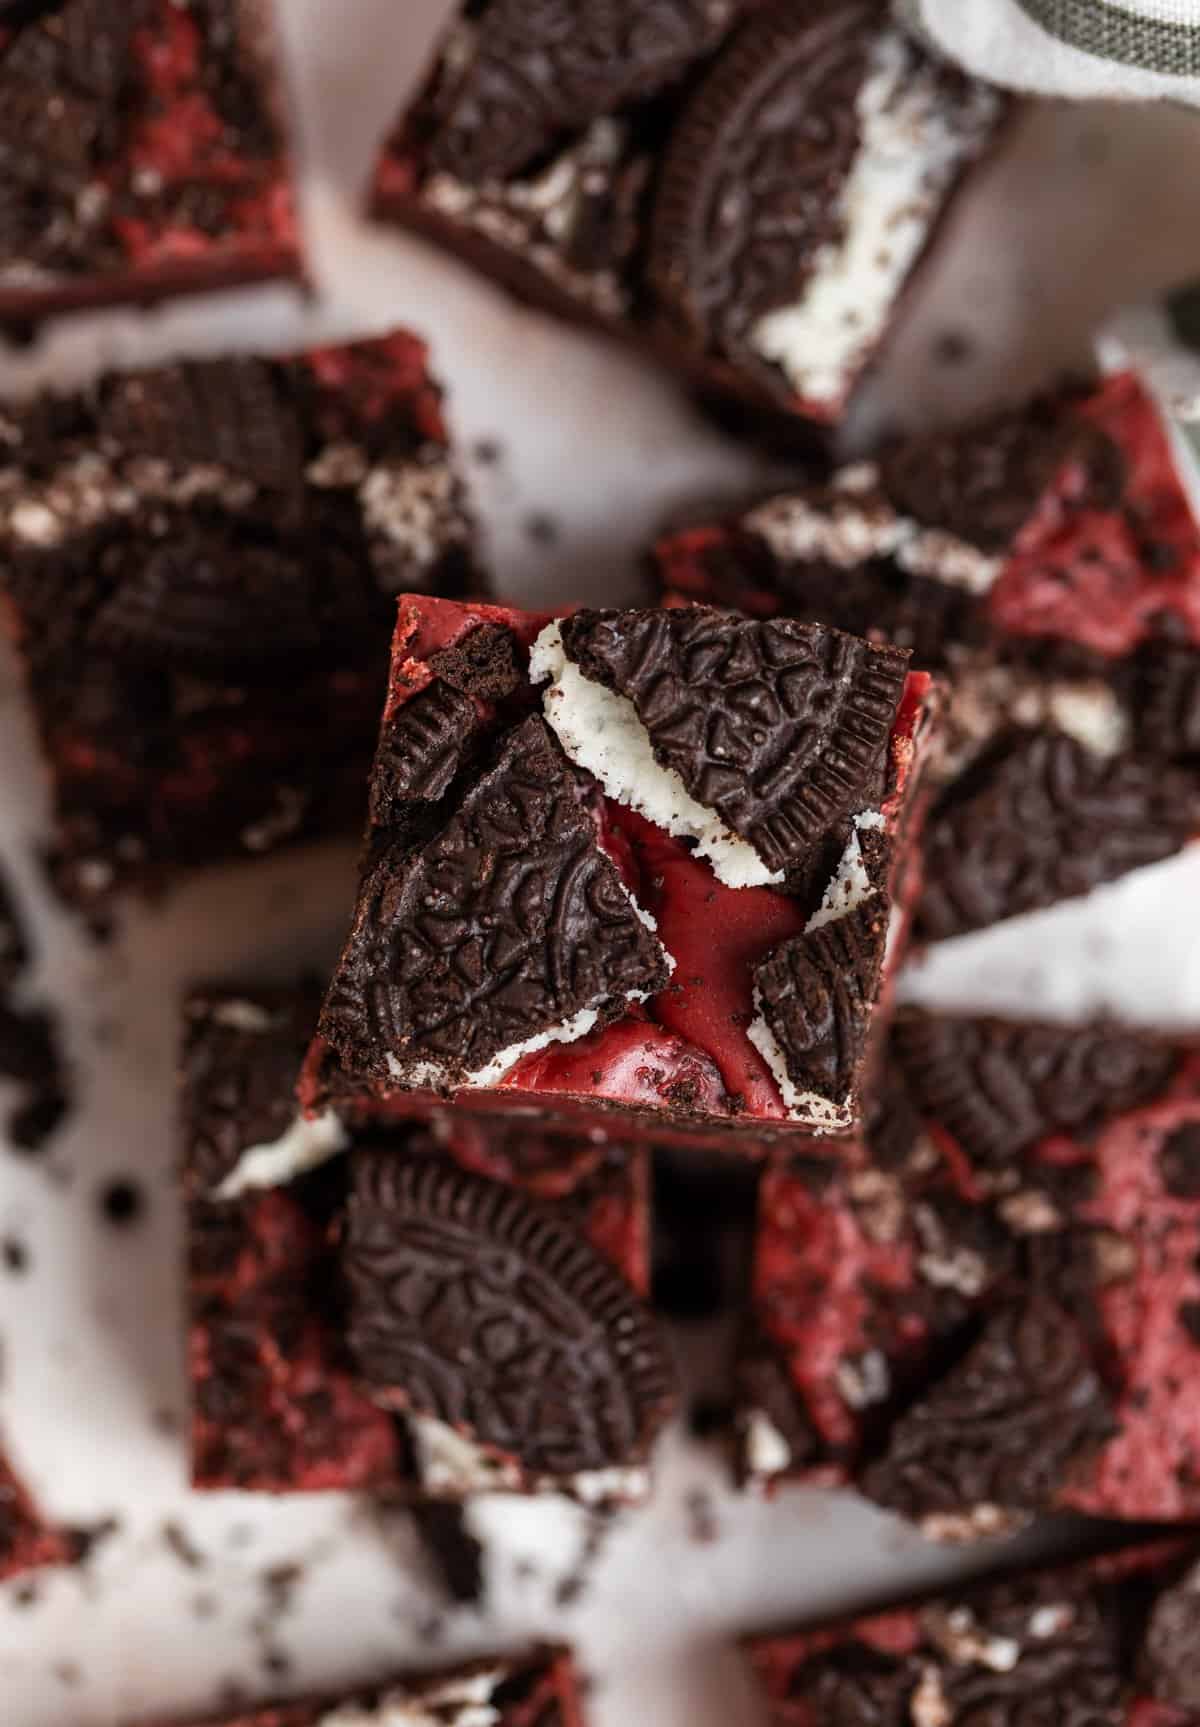
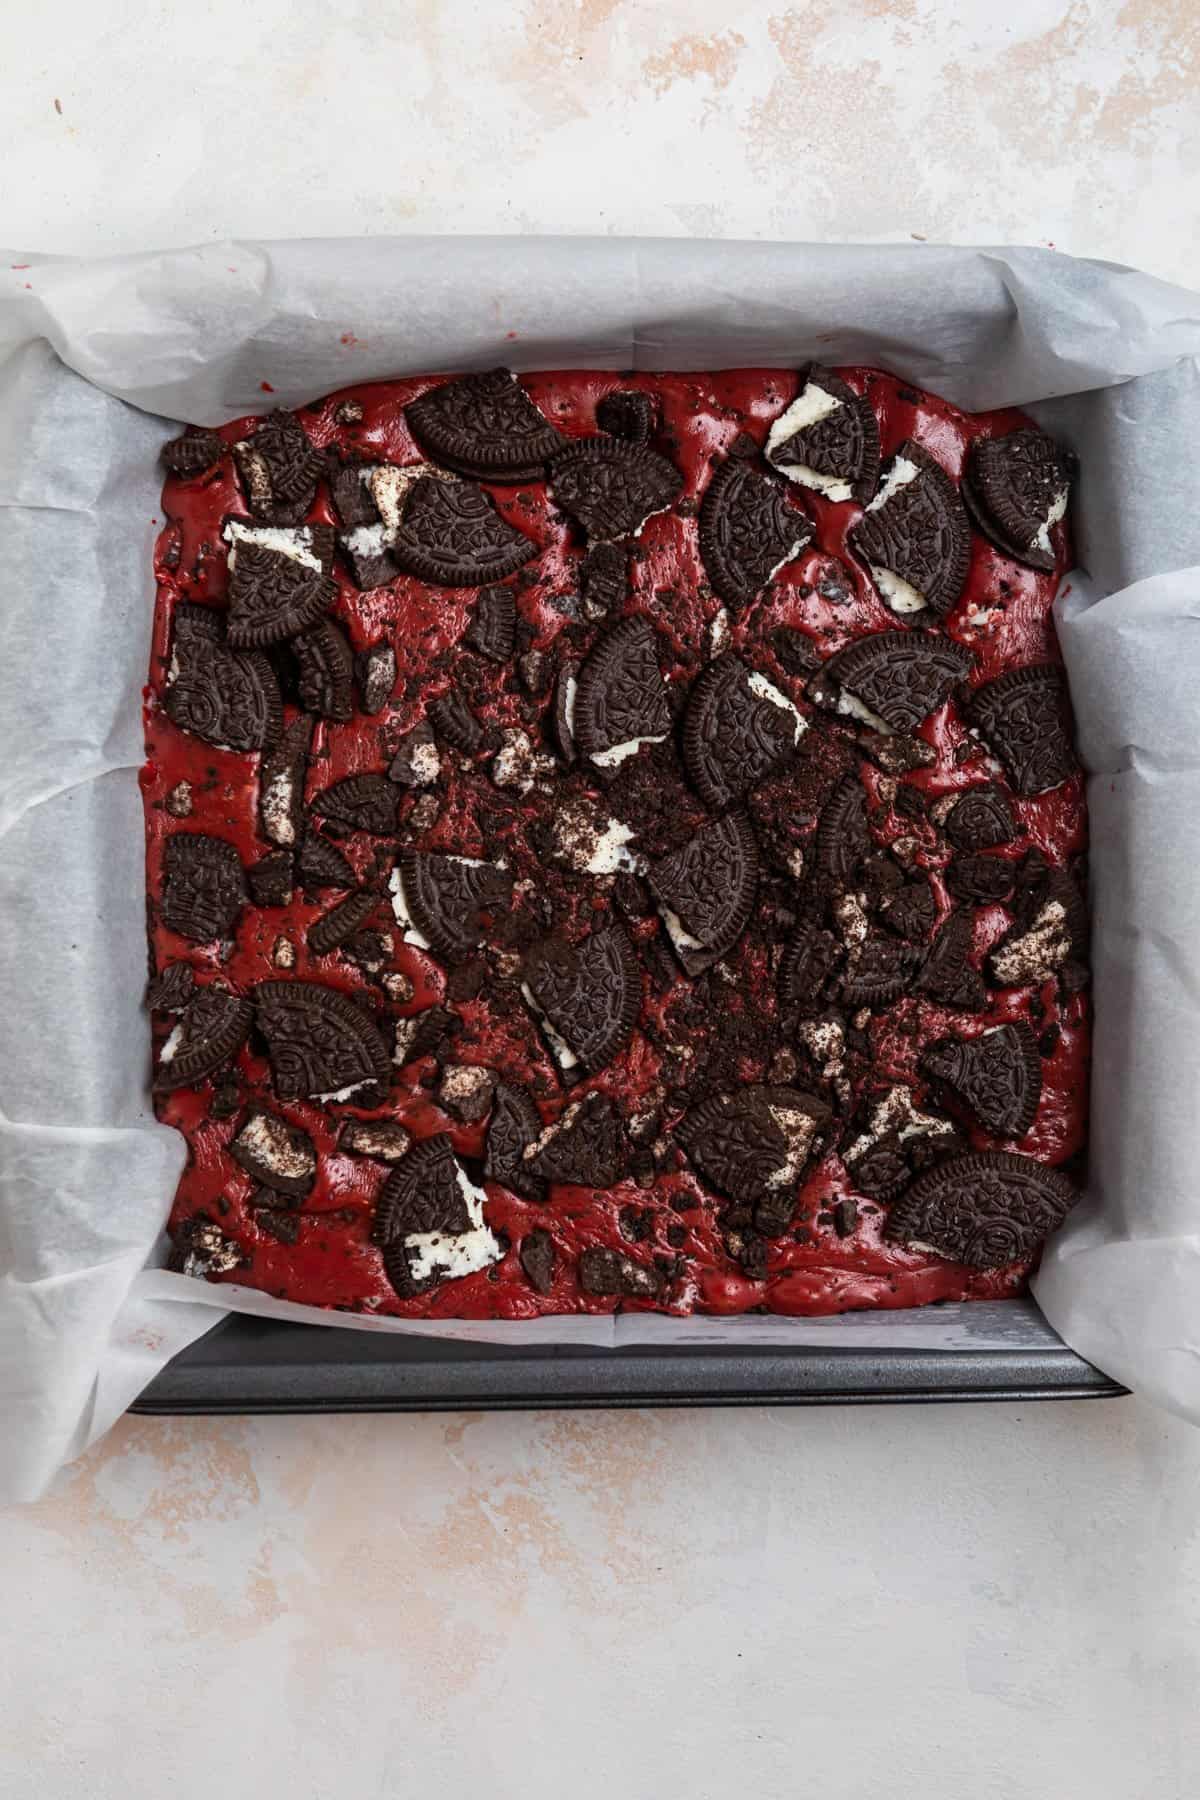
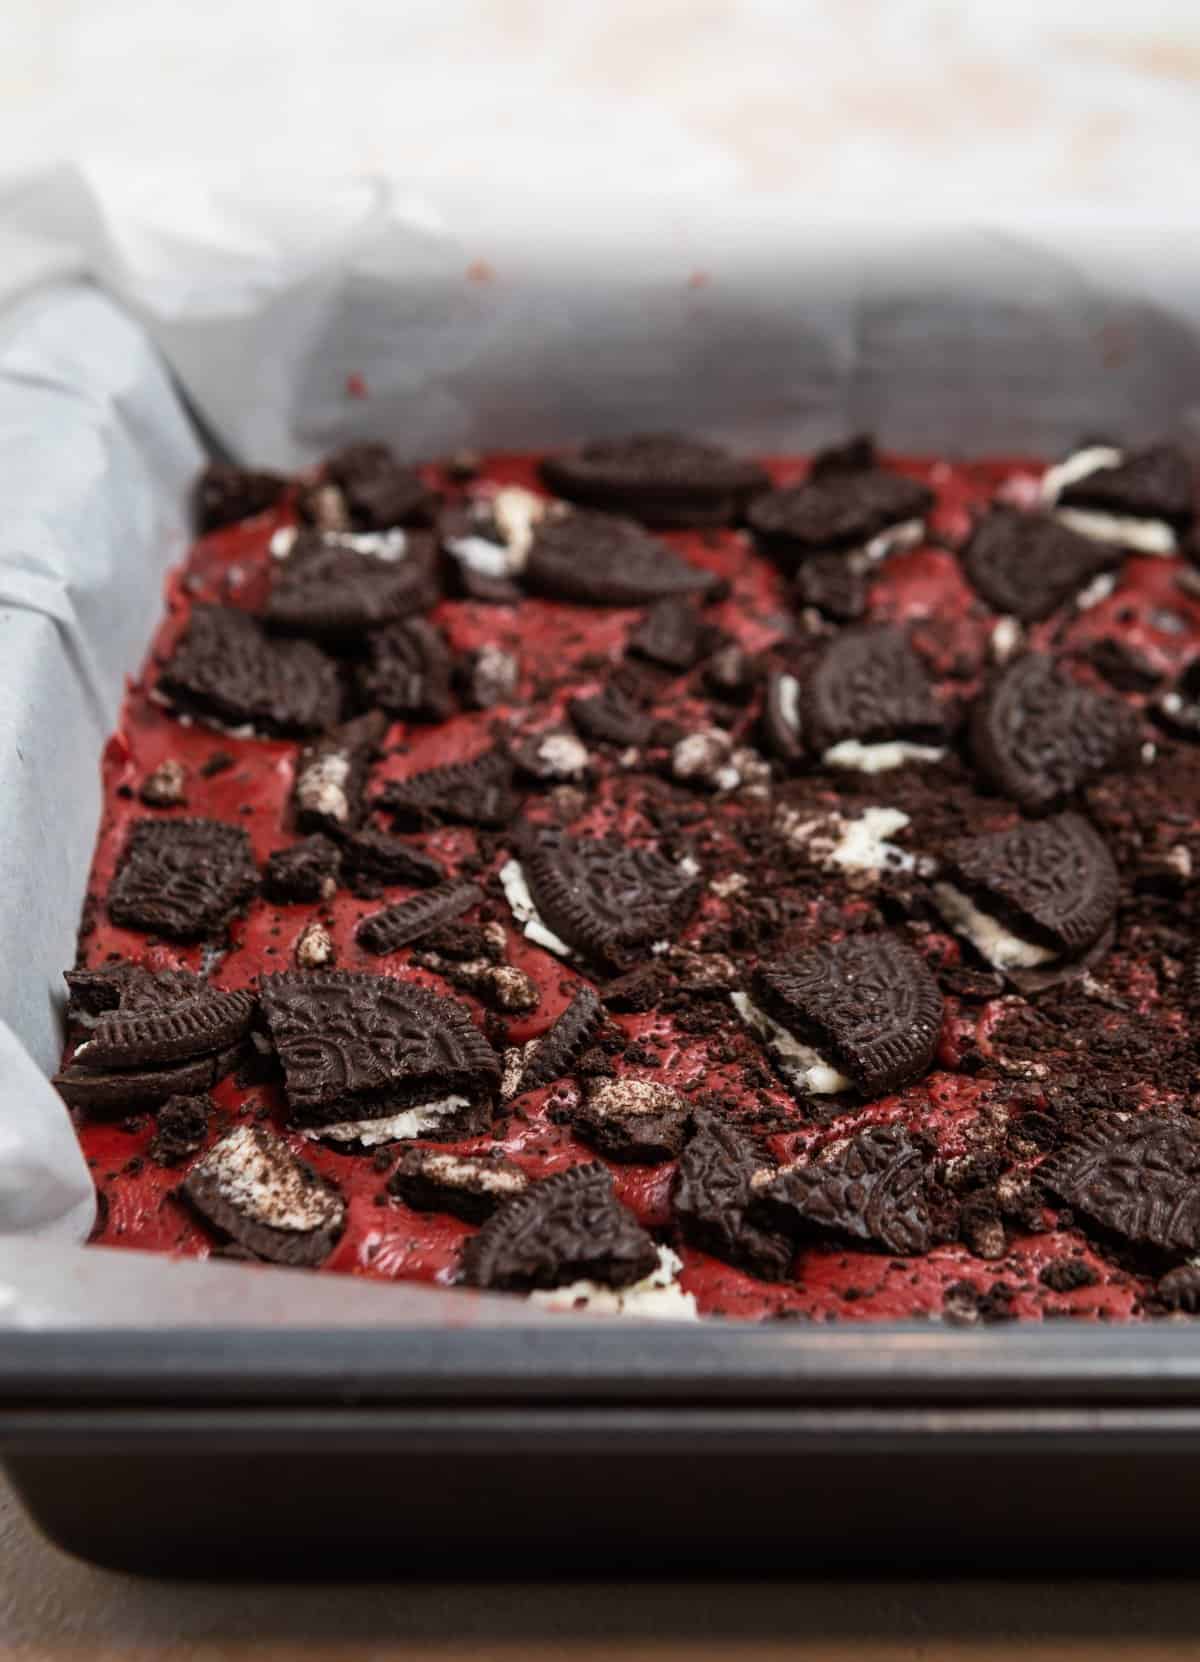
- Transfer the mixture into prepared baking pan and spread evenly, tapping the pan a few times as well to help it settle. Cover with remaining chopped Oreos, pressing them gently into the fudge. You can add more if desired.
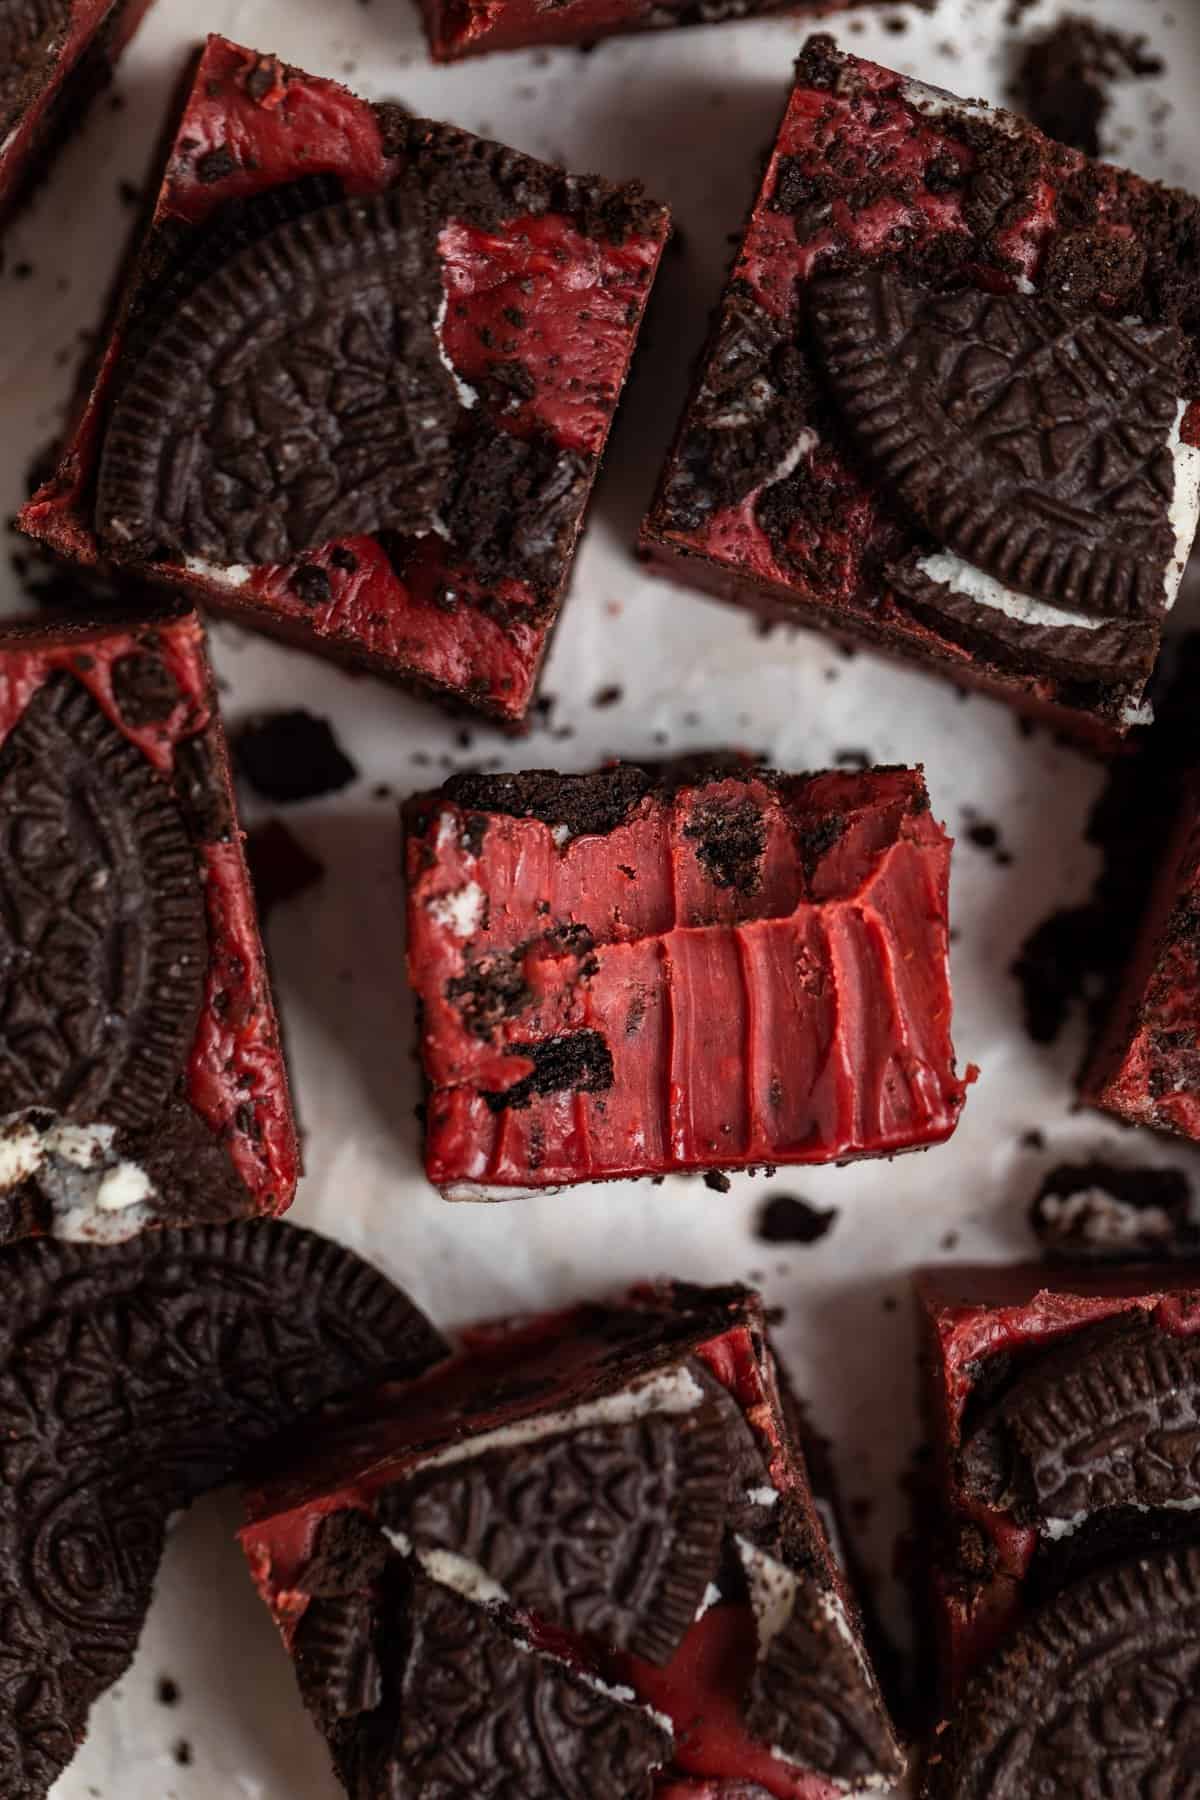
- Chill for about 2 hours or more until firm. Cut and enjoy!
Recipe Notes and Pro-Tips:
- Use high quality chocolate chips for best results. When chocolate is the main event of a recipe, I find the better quality is ideal. The texture will be creamy and the flavor richer. Regular chocolate chips will work, I just think it makes for the best
- Do not step away from the stove. This red velvet Oreo fudge is fairly foolproof but if you walk away from it, you are playing with fire. If the chocolate gets too hot, it’s not going to work out. Stay by the oven and stir it constantly so that you don’t risk the chocolate burning in any way.
- While you could make this in the microwave, I don’t recommend it. There are lots of fudge recipes that use the microwave to melt it all. You technically could use a microwave safe bowl and follow the directions but using 25 second bursts and stirring in between. I find it not as safe of an option as its more likely to overcook.
Red Velvet Fudge Storage Instructions:
For best results, keep this fudge in the refrigerator until about 15 minutes before serving.
In the refrigerator, in an air tight container, the fudge will keep for about 2-3 weeks–ours never lasts that long though.
If you want to freeze the red velvet fudge, keep it in an air tight container for up to 3 months. Ideally, you want to flash freeze it so the pieces don’t get stuck together.
Other No Bake Treats:
- No Bake Cookie Butter Cookies
- Golden Oreo Truffles
- No Bake Cheesecake Bites
- Chocolate Mint Puppy Chow
- 5 Ingredient Amaretto Truffles
- No Bake Chocolate Pie
- No Bake Peppermint Oreo Cheesecake
HUNGRY FOR MORE? Subscribe to my newsletter and follow me on Facebook, Instagram and Pinterest for all the latest!
Red Velvet Fudge With Oreos
Ingredients
- 1 can sweetened condensed milk, 14 oz.
- 2 c white chocolate chips
- 1 c semi-sweet chocolate chips
- 2 c mini marshmallows
- 2 T unsalted butter, sliced into smaller pieces
- ½ tsp vanilla extract
- 1 tsp red food coloring, more or less as desired
- 2½ c crushed Oreos (about 24-28 Oreos), more as desired
Instructions
- Prepare an 8×8 inch baking pan by lining with parchment making sure there is plenty for overhang to go up the sides. In a plastic bag, crush the oreos with a large spoon.
- In a medium sauce pan, combine the condensed milk (make sure it's NOT evaporated milk), chocolate and white chocolate chips, butter, and mini marshmallows. On low to medium-low heat, aim for lower for better results, heat the ingredients, stirring constantly until smooth and everything is fully melted. This can take about 8-10 minutes.
- Once everything is melted, remove from the heat and stir in the vanilla and red food coloring. Fold in about 2 cups of the crushed Oreos.
- Transfer the mixture to the parchment lined pan and spread evenly. Tap the pan several times on a counter or table to settle. Sprinkle remaining Oreos over top and gently press into the fudge.
- Chill for about 4 hours, or until fully set. Remove and slice into desired size pieces. If you do 1 inch pieces, you can get 64 pieces! Enjoy!
Notes
- Use high quality chocolate chips for best results. When chocolate is the main event of a recipe, I find the better quality is ideal. The texture will be creamy and the flavor richer. Regular chocolate chips will work, I just think it makes for the best
- Do not step away from the stove. This red velvet Oreo fudge is fairly foolproof but if you walk away from it, you are playing with fire. If the chocolate gets too hot, it’s not going to work out. Stay by the oven and stir it constantly so that you don’t risk the chocolate burning in any way.
- While you could make this in the microwave, I don’t recommend it. There are lots of fudge recipes that use the microwave to melt it all. You technically could use a microwave safe bowl and follow the directions but using 25 second bursts and stirring in between. I find it not as safe of an option as its more likely to overcook.
Nutrition
Nutrition information is automatically calculated, so should only be used as an approximation.
Shop This Post:
 Buy Now →
  Buy Now →
  Buy Now →
Made this for a Moms’ game night and it was a huge hit! Hubby took the leftovers to work and people raved and asked for the recipe. Will be making again for our next game night.
Love love love this! Everything is better with Oreos ❤️