
This post may contain affiliate links.

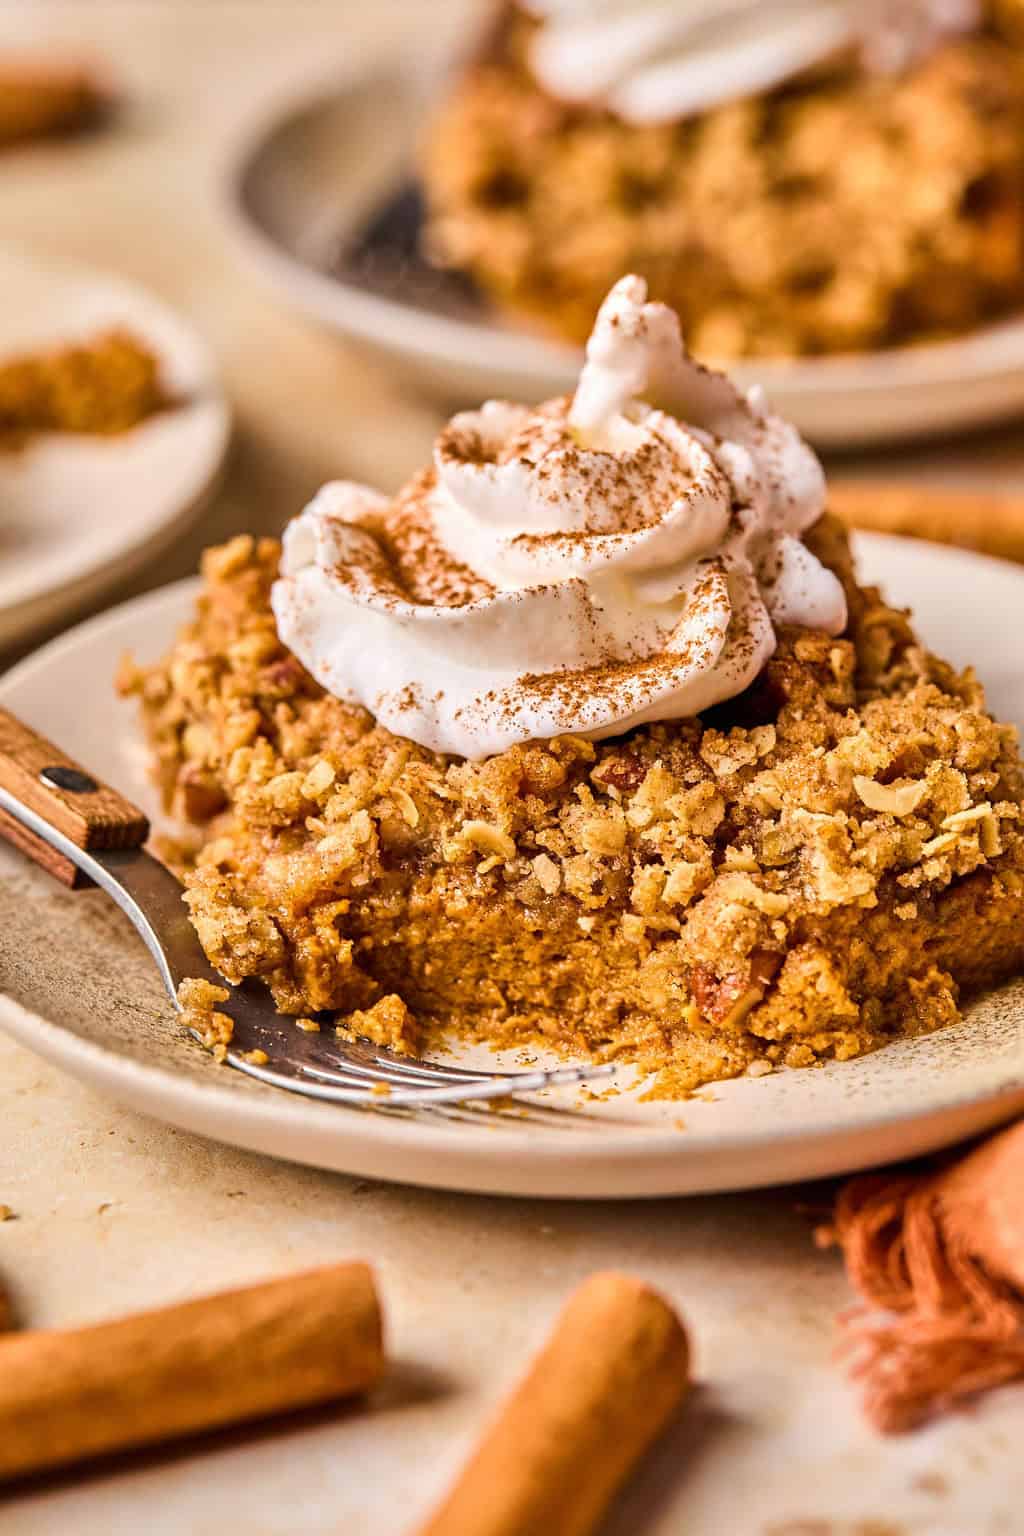
Think crumble/crisp meets pumpkin pie in this simple, warm Pumpkin Crumble. Only about 10 minutes or so of prep and a thick pumpkin pie layer topped with a buttery oat topping. You can slice it up after letting it set and chill, or spoon it up like a classic crisp recipe! Change up your favorite fall recipe for this version!
-Originally published November 2014. Updated November 2019-
This Pumpkin Crumble combines two of my favorite dessert recipe options: classic Pumpkin Pie and a fruit crisp/crumble ( I looked up the difference between crisps and crumbles and while crisps normally have oats and crumbles do not, they are used pretty interchangeably these days.)
When you don’t have to make a pie crust, you automatically make a pumpkin dessert that much easier. That’s why this is my go-to for when I want pumpkin pie, but I want it very quickly and with minimal effort!
Love pumpkin? Try these other simple fall recipes as well: No Bake Pumpkin Cheesecake Bars, Mini Pumpkin Pies, Pumpkin Crisp Cups, Pumpkin French Toast Casserole, Pumpkin Carrot Muffins or Pumpkin Chip Banana Bread.
Why We Love This Pumpkin Pie Crumble Recipe

It only takes minutes to prep. Stir together the pumpkin layer ingredients and then stir together the crumble topping ingredients. Not much beyond that aside from baking and waiting!
Rich creamy pumpkin layer topped with crumbly topping–divine! It’s a crustless pumpkin pie with my favorite–a crispy oat topping. This is seriously every pumpkin lover’s dream a simple dessert recipe that will win the holiday season!
Can easily be made ahead of time. If you are trying to make a lot of dishes, then you can get this one done and out of the way a day in advance. I personally enjoy this recipe chilled so the pumpkin layer can set more before serving.
This has been a FAVORITE of our family for almost 10 years now. Hope you enjoy it!
Ingredient Notes
For the Pumpkin Layer:
- pumpkin: make sure it is pumpkin purée and not pumpkin pie filling. Pumpkin pie filling is already sweetened and spiced. If you use that, it will be a bit much with the other ingredients.
- evaporated milk: not condensed milk–they are found in the same section in the grocery. This makes the pumpkin layer nice and creamy.
- eggs: 2 large eggs. Room temperature for best results.
- brown sugar: you can opt for light or dark, I use light. The brown sugar adds richness and flavor to the pumpkin pie crumble.
- spices: Instead of pumpkin pie spice, I like a combination of warm spices to make my own including: cinnamon, ginger and cloves. You can add nutmeg as well if desired. I am not a huge fan of nutmeg overall. If preferred, you can use only pumpkin spice.
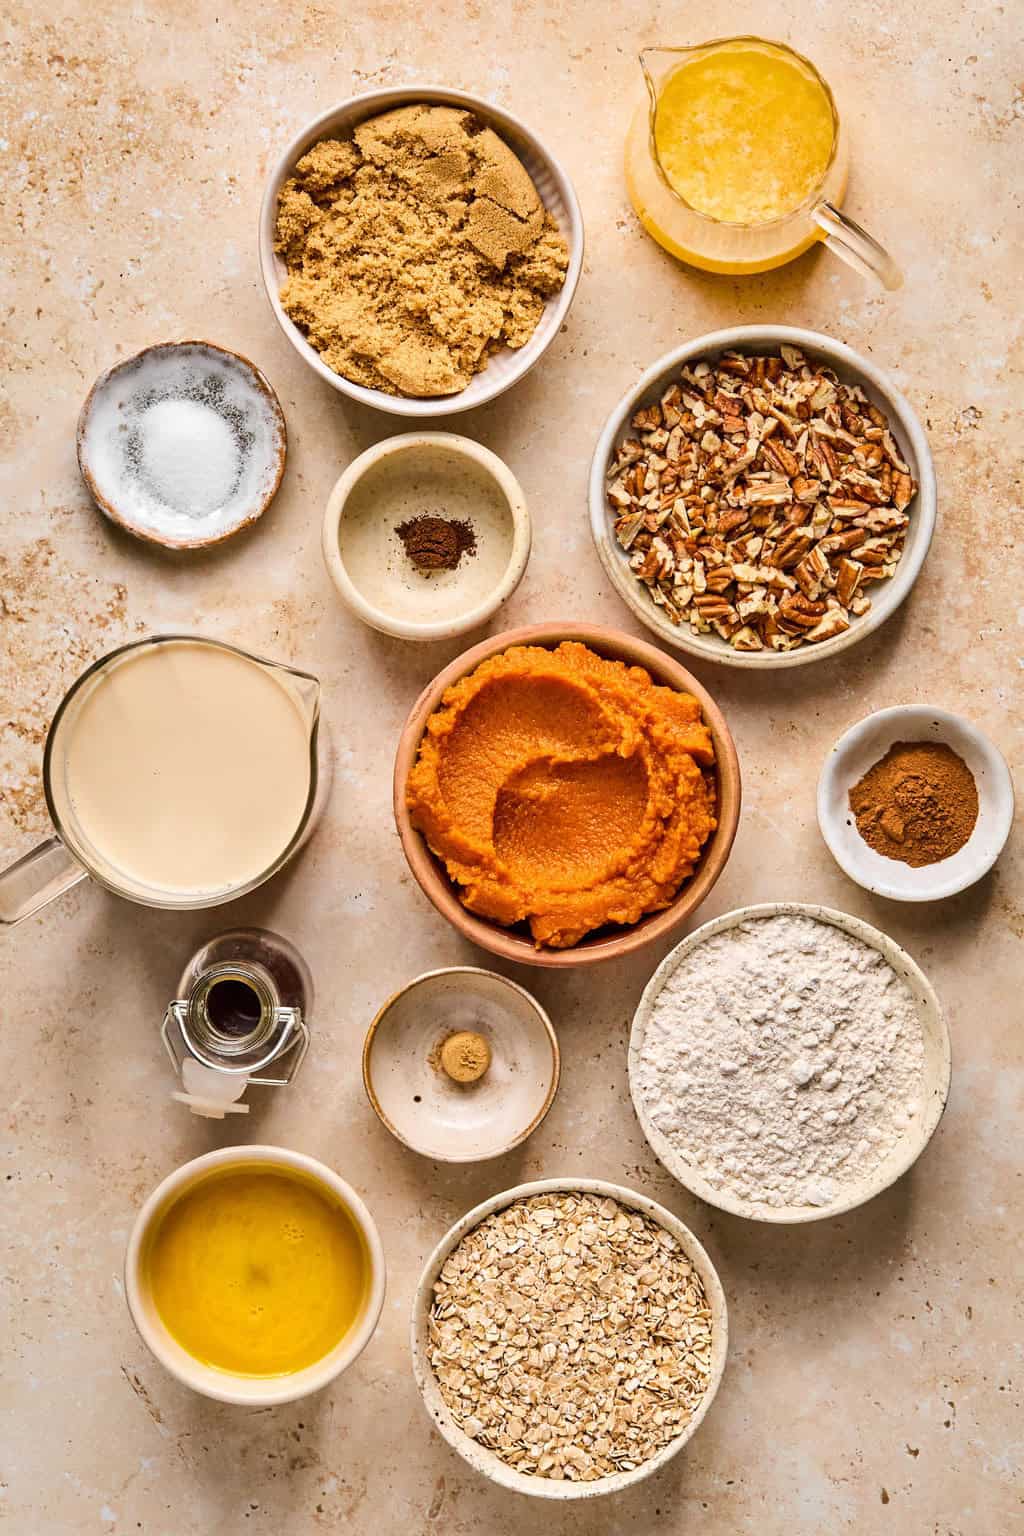
For the Crumble Topping:
- butter: unsalted melted butter. If you have salted, just omit or half the salt when adding the spices.
- quick oats: While rolled oats or old-fashioned oats can be used, the quick oats hold the crumble layer together and blend in better.
- flour: All purpose flour. A 1:1 gluten free flour can be substituted.
- pecans: these are optional. You can omit these if you don’t want the extra crunch or have an allergy. Walnuts can be subbed if you prefer them.
Step-by-Step Instructions:
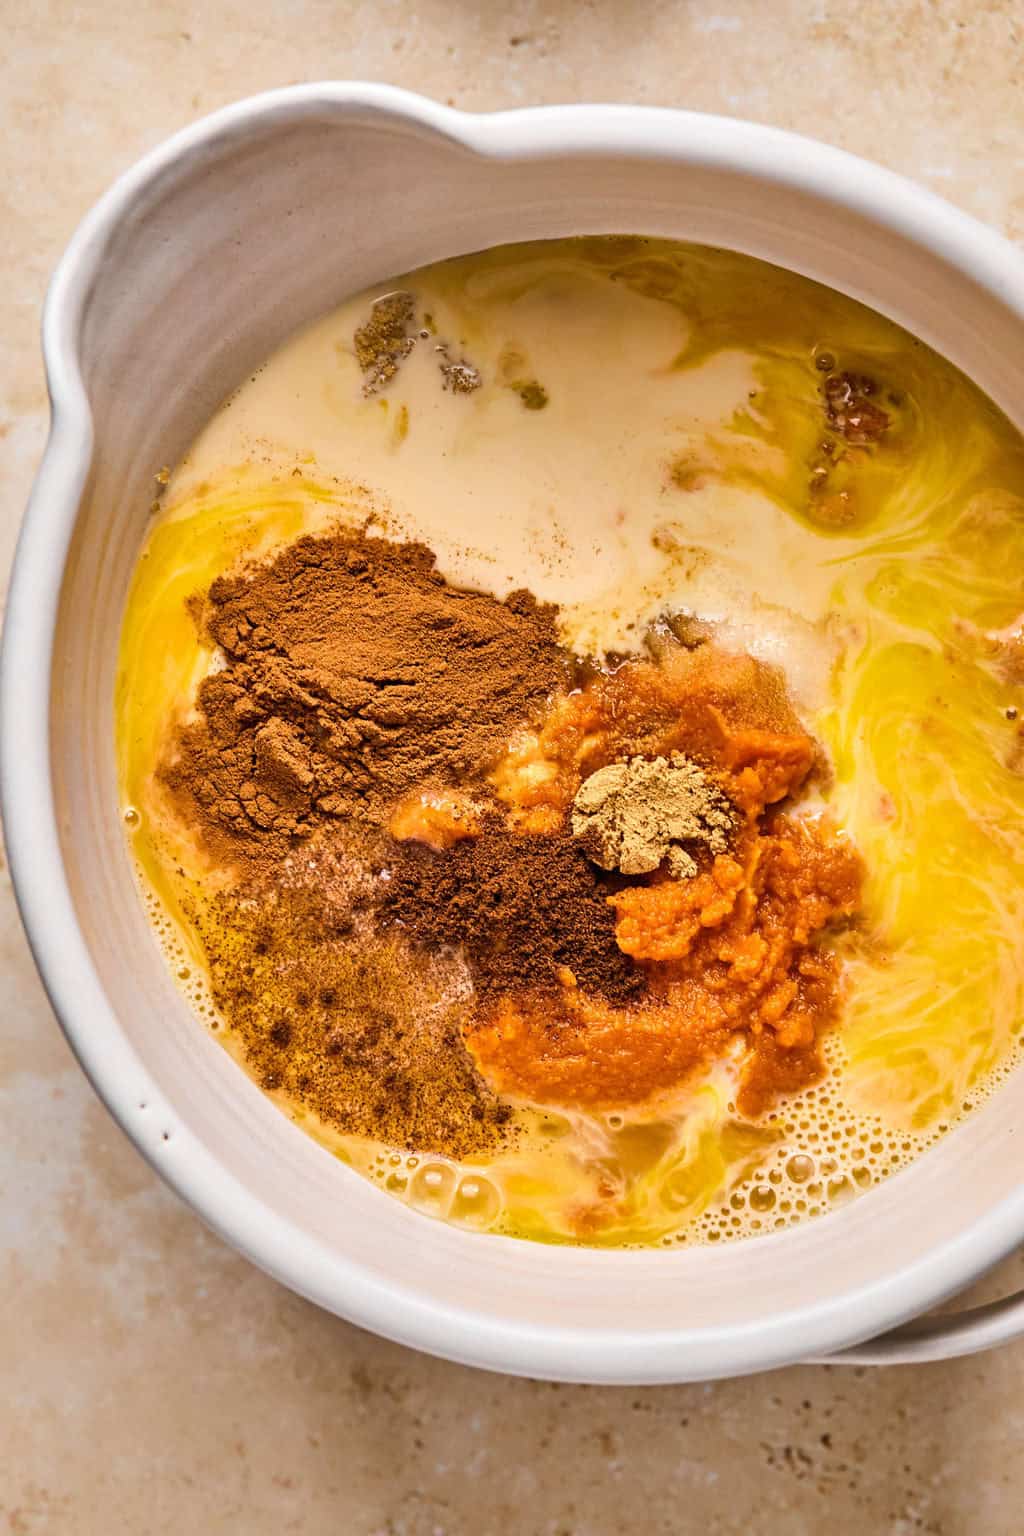
Step 1: Add pumpkin layer ingredients to a mixing bowl.
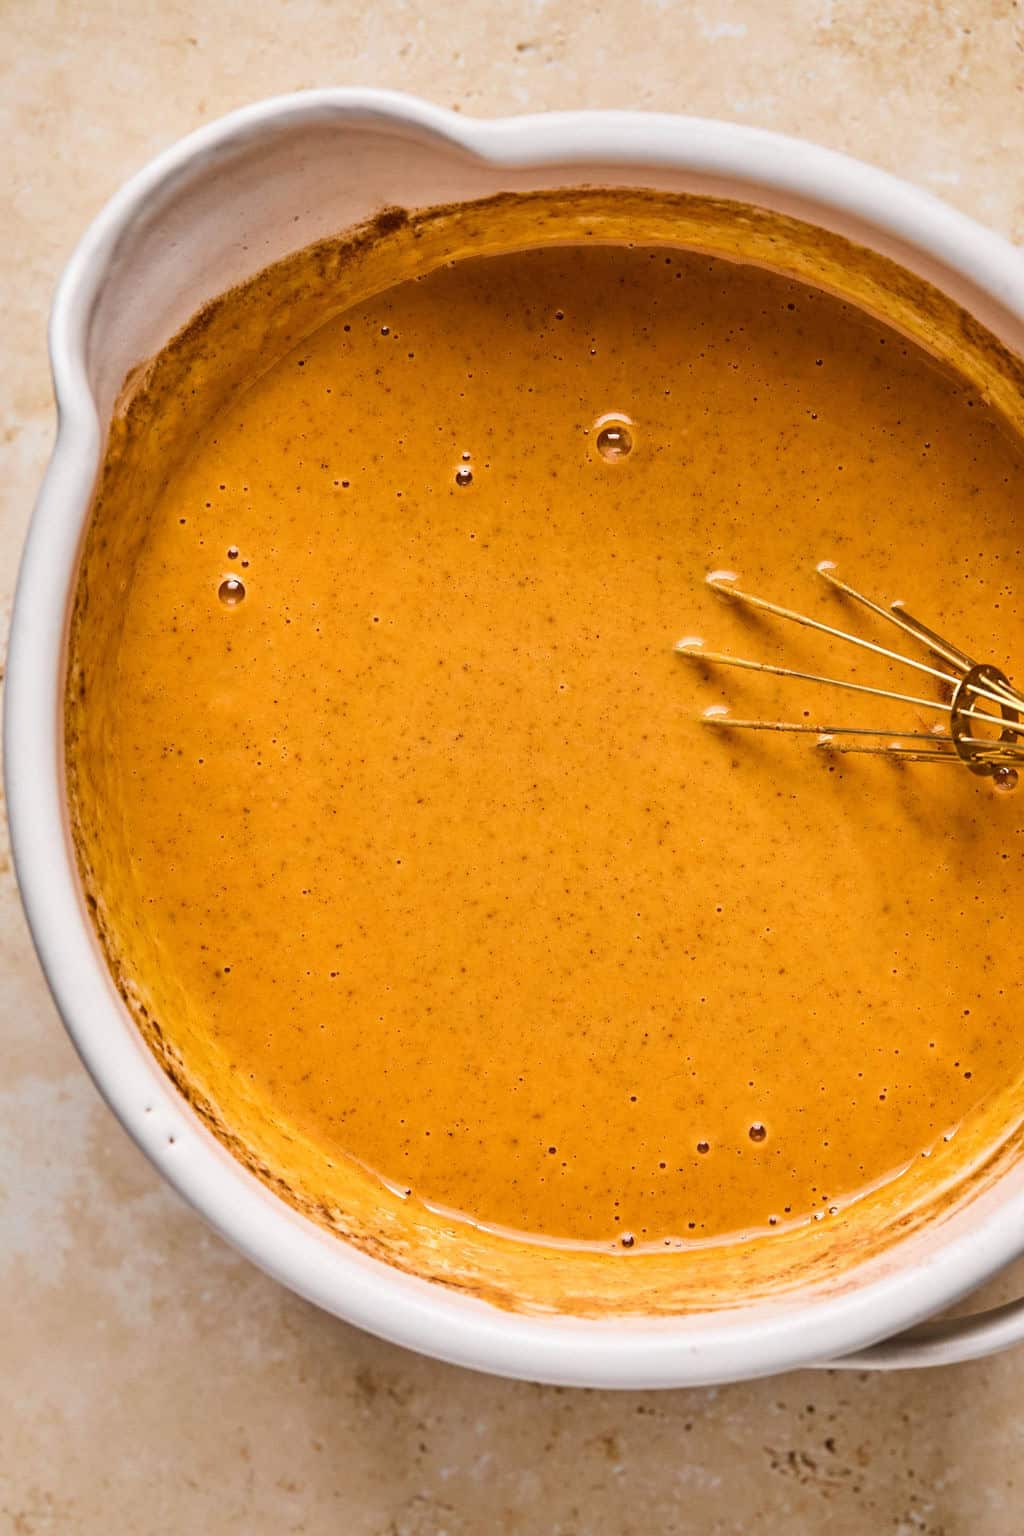
Step 2: Whisk together until smooth.
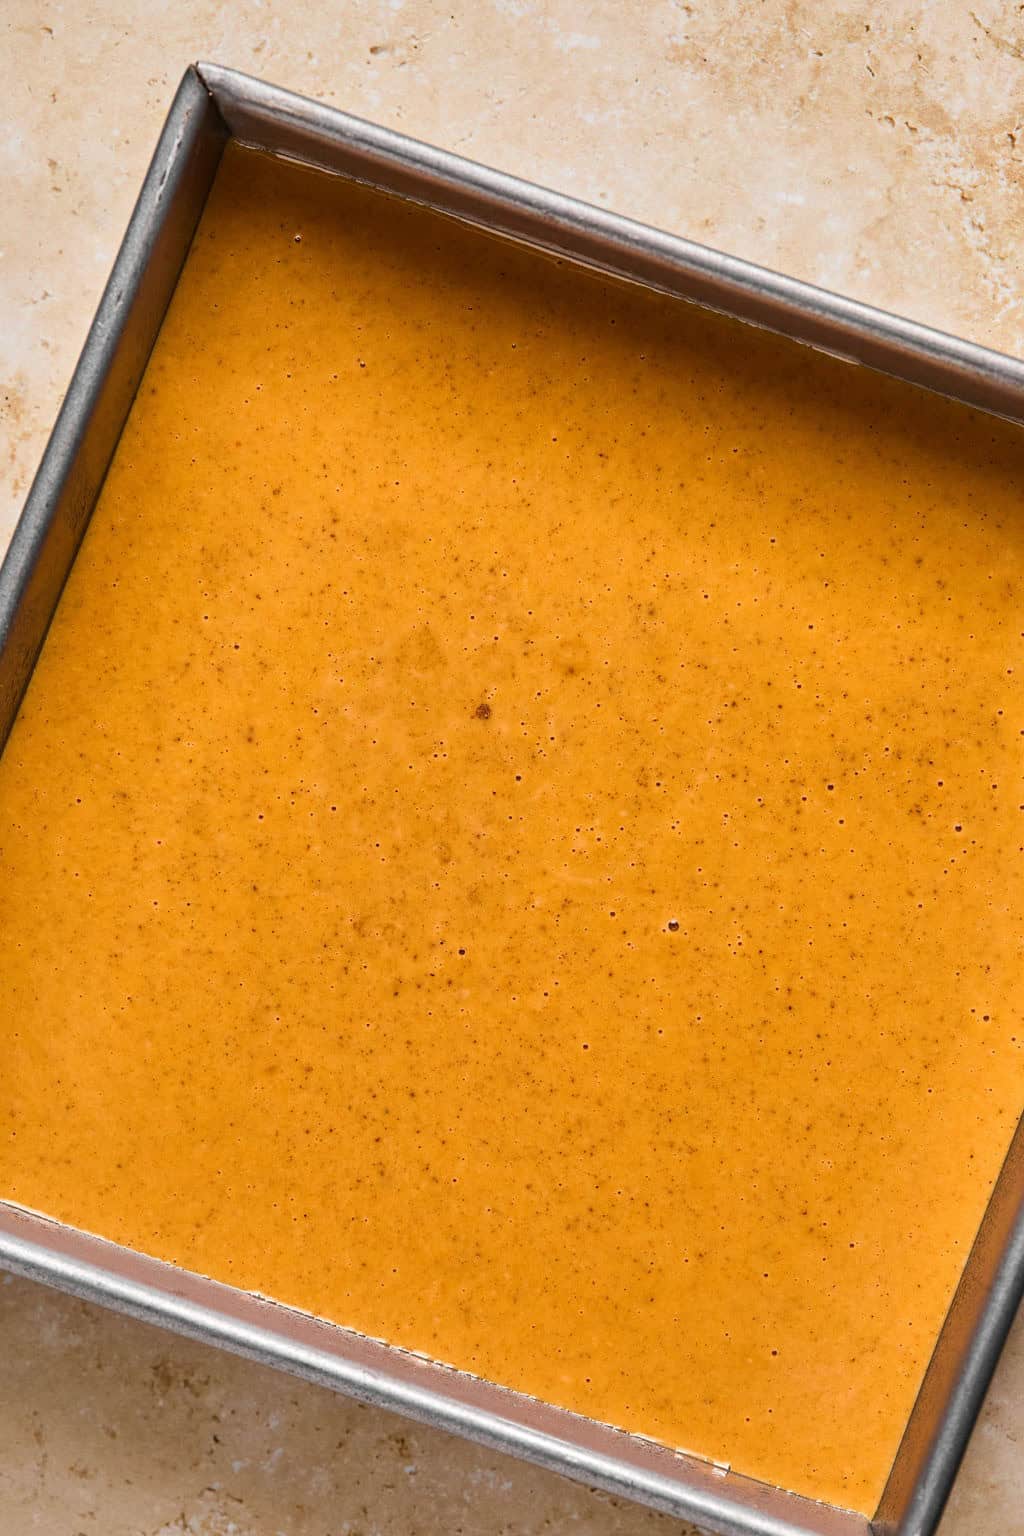
Step 3: Pour mixture into a greased 8×8 inch baking pan. (You can use a 9 inch pan but the pumpkin layer is a bit thin for my liking if doing it that way. A round 8-9 inch cast iron skillet or pan will work as well! Bake for about 20-25 minutes before adding the crumble layer over top.
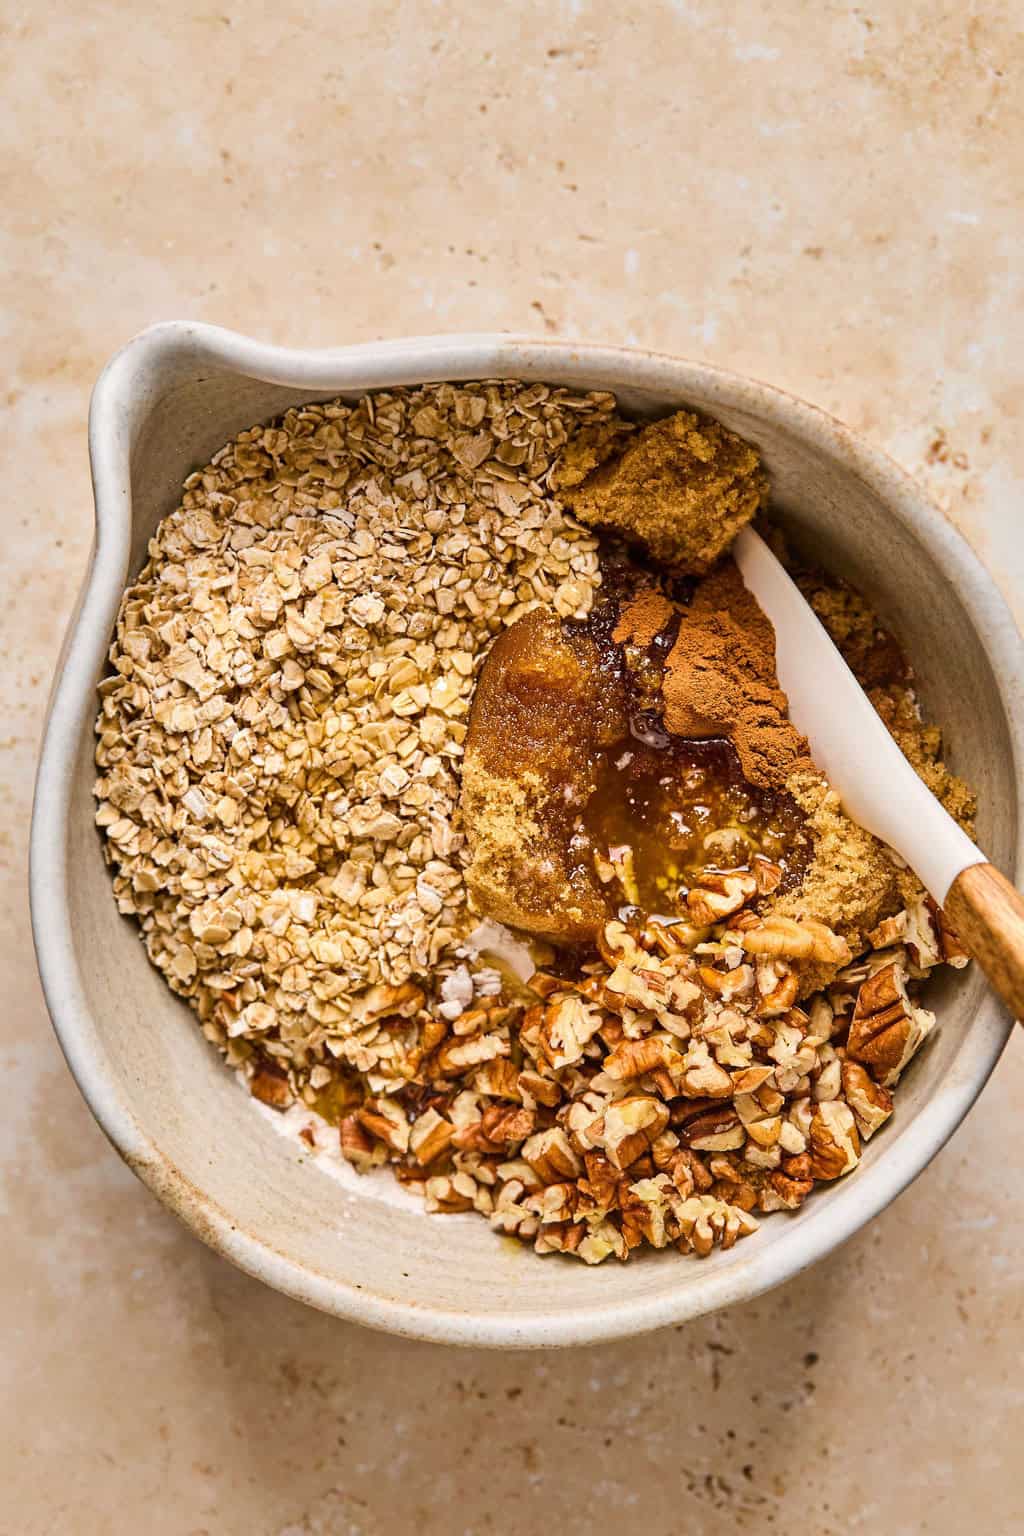
Step 4: While the pumpkin filling is baking, combine the crumble layer ingredients starting with half of the butter.
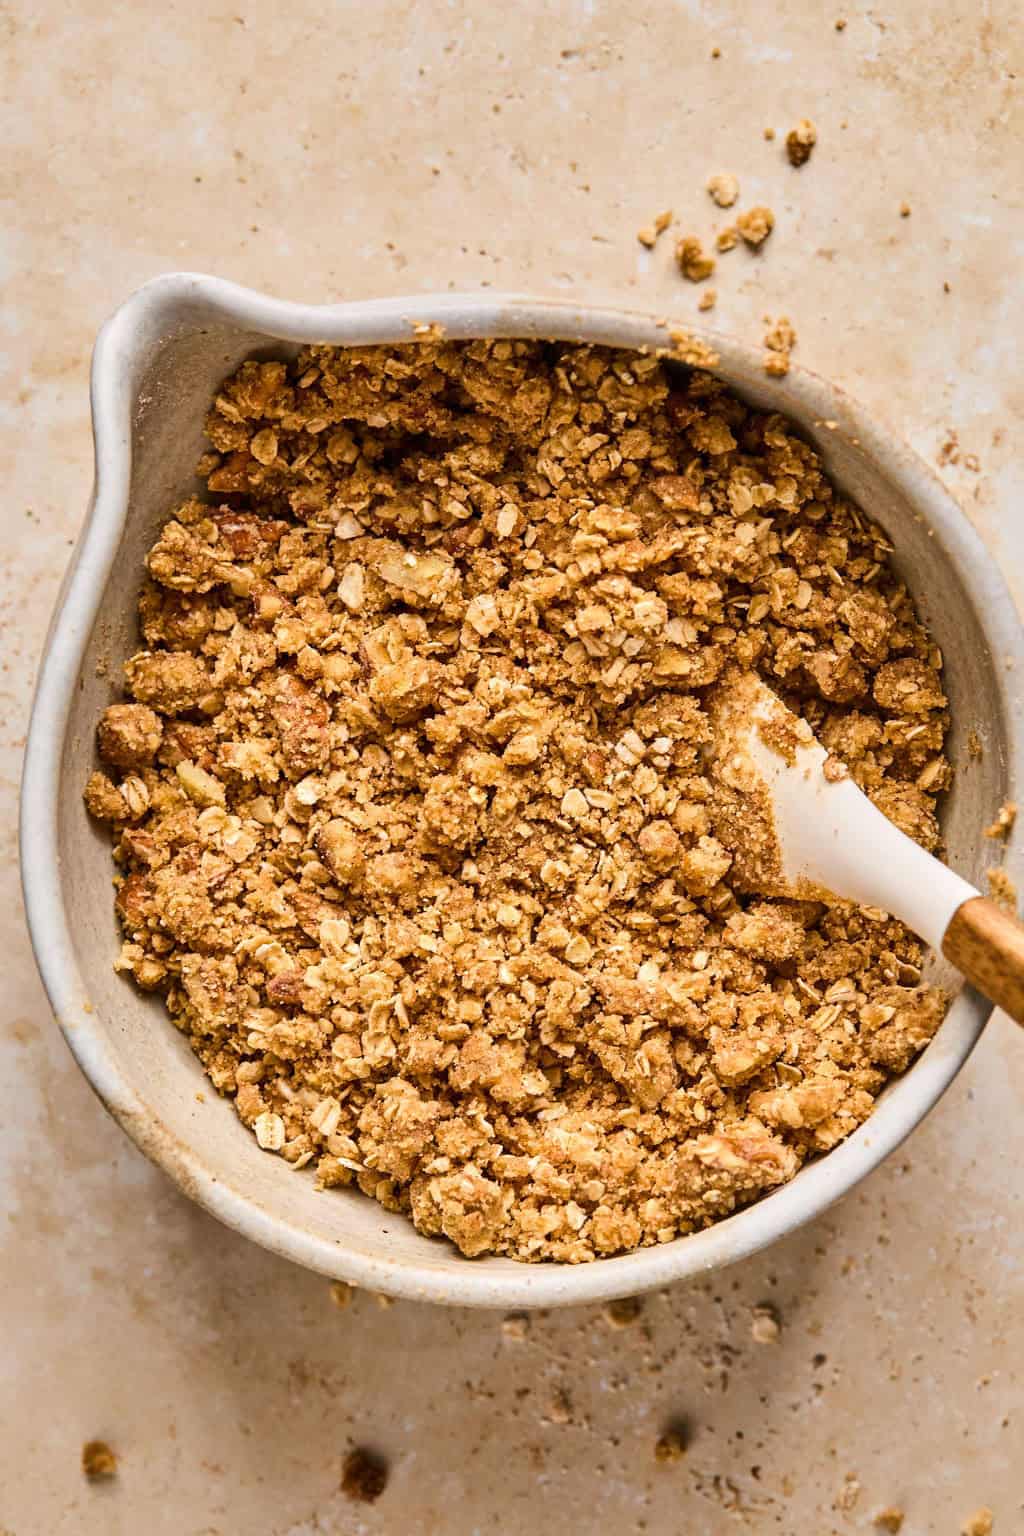
Step 5: Slowly add more butter until moist but still crumbly.
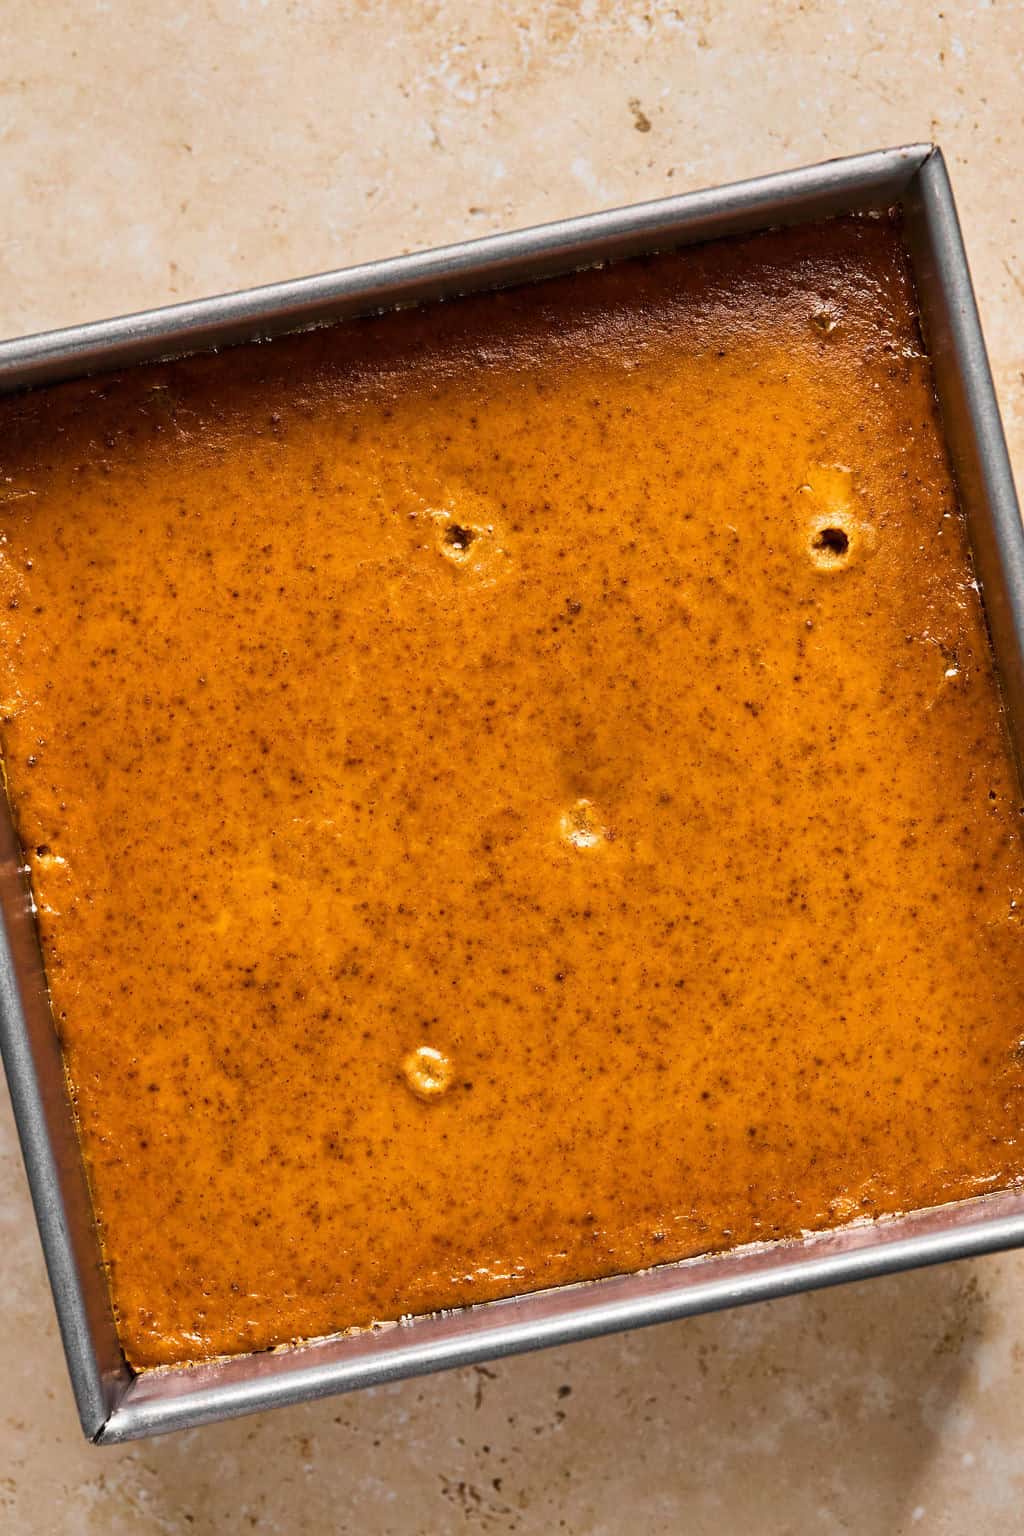
Step 6: After the pumpkin layer has baked for about 20-25 minutes and is set up a bit, remove it from the oven.
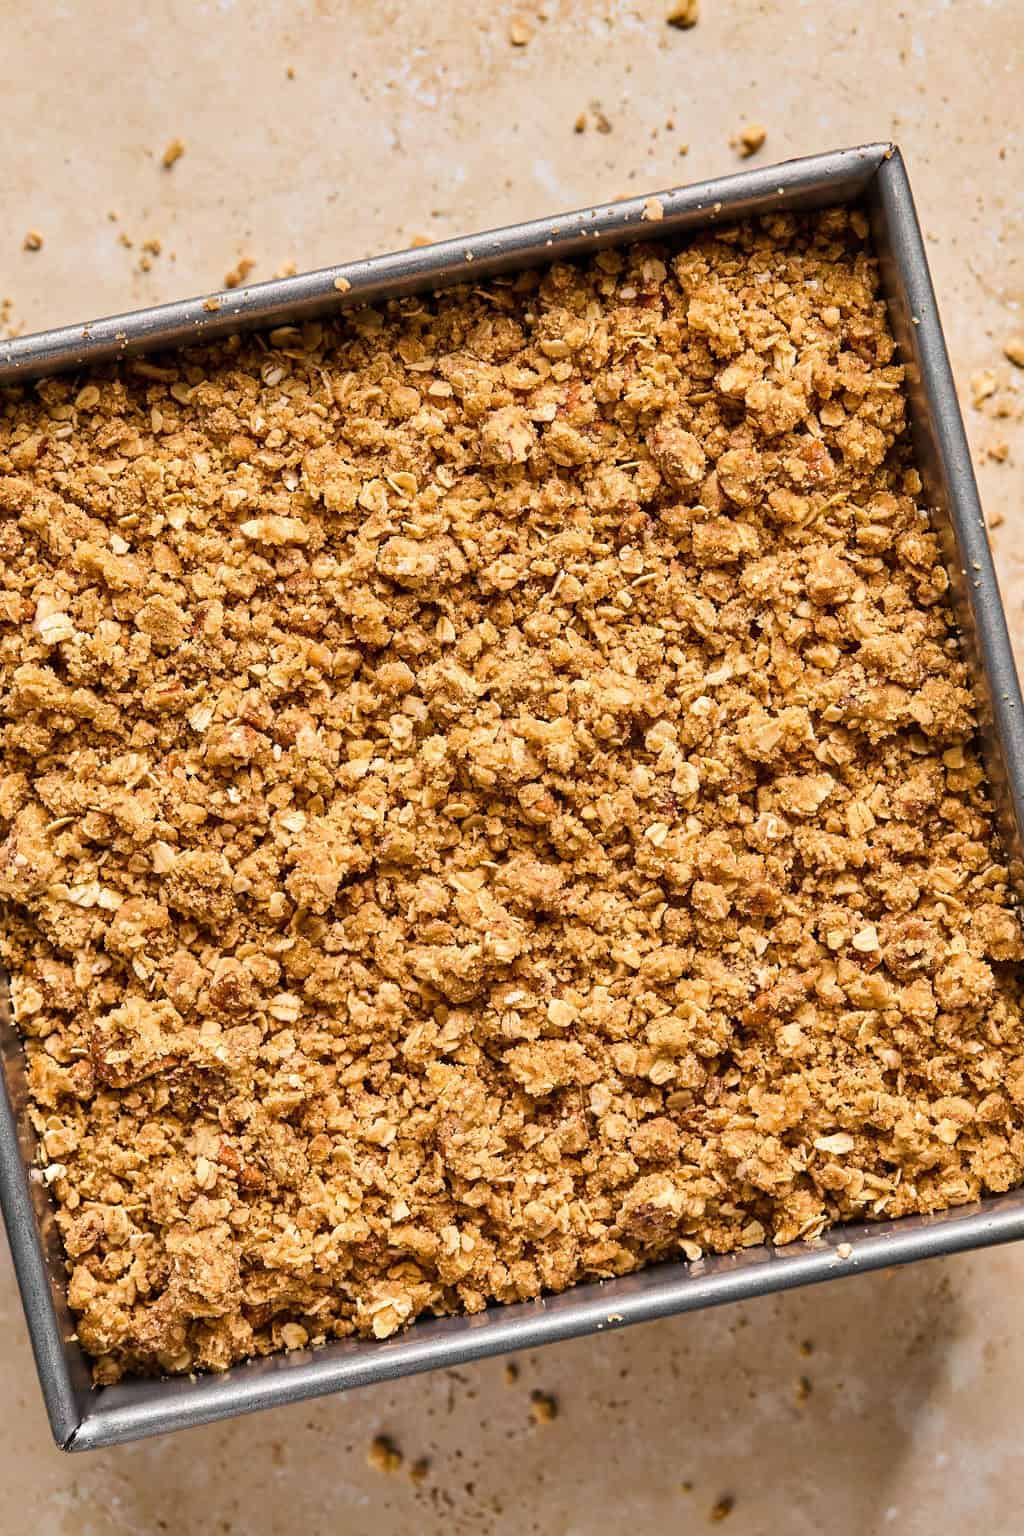
Step 7: Gently sprinkle the crumbly oat topping over the slightly cooked pumpkin layer evenly.
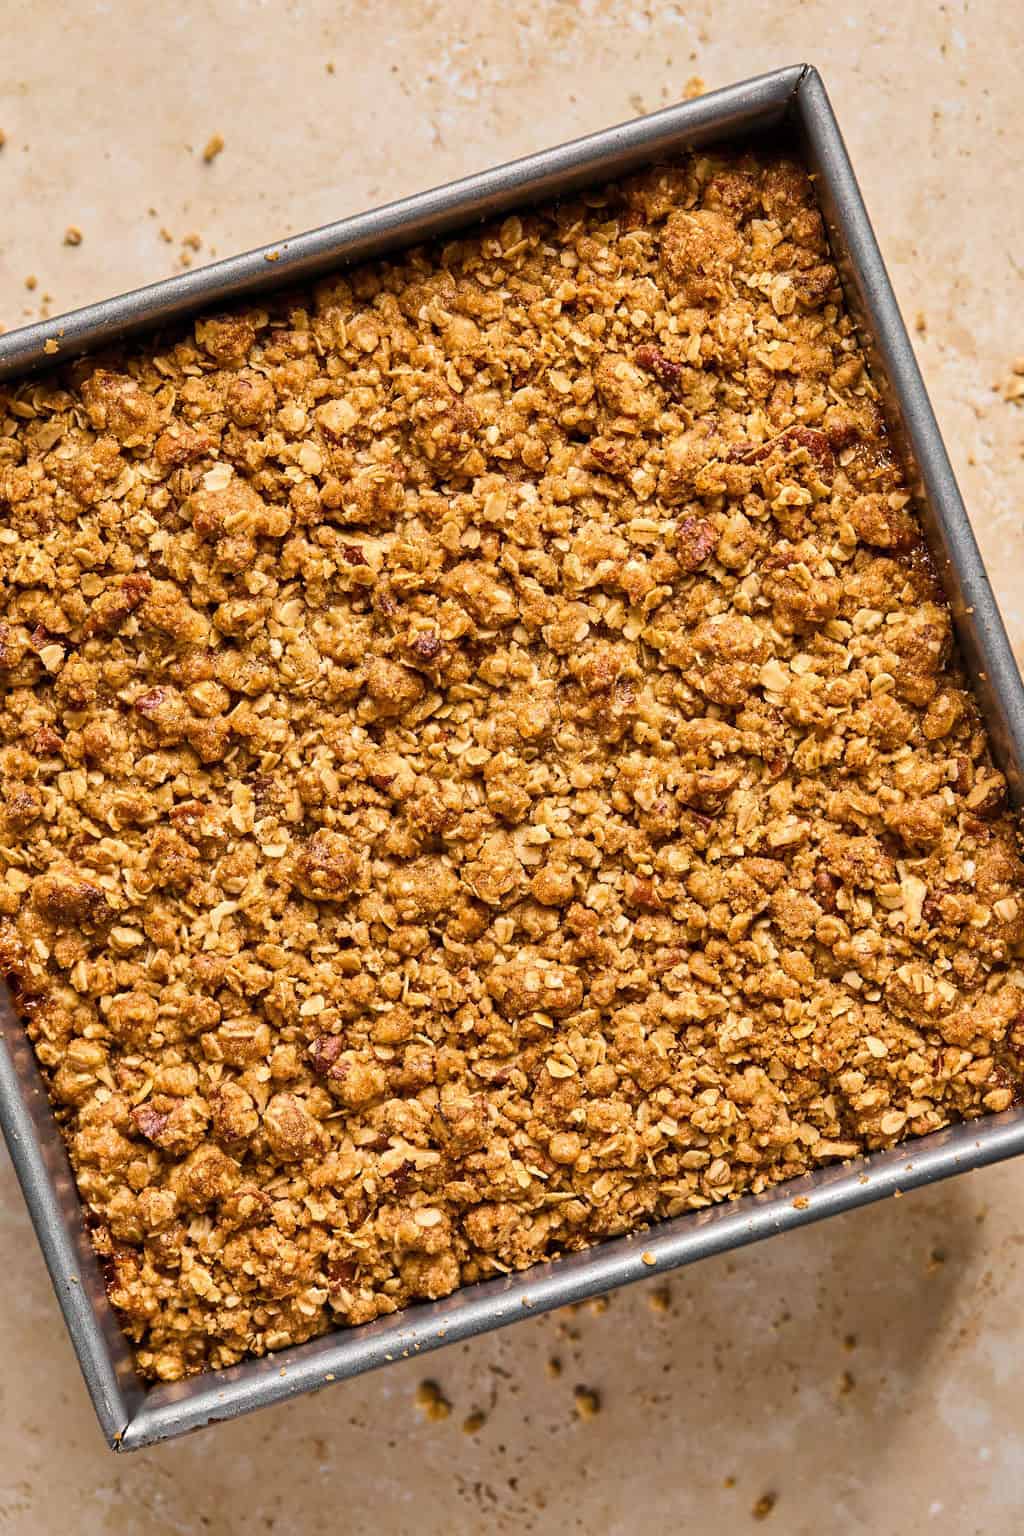
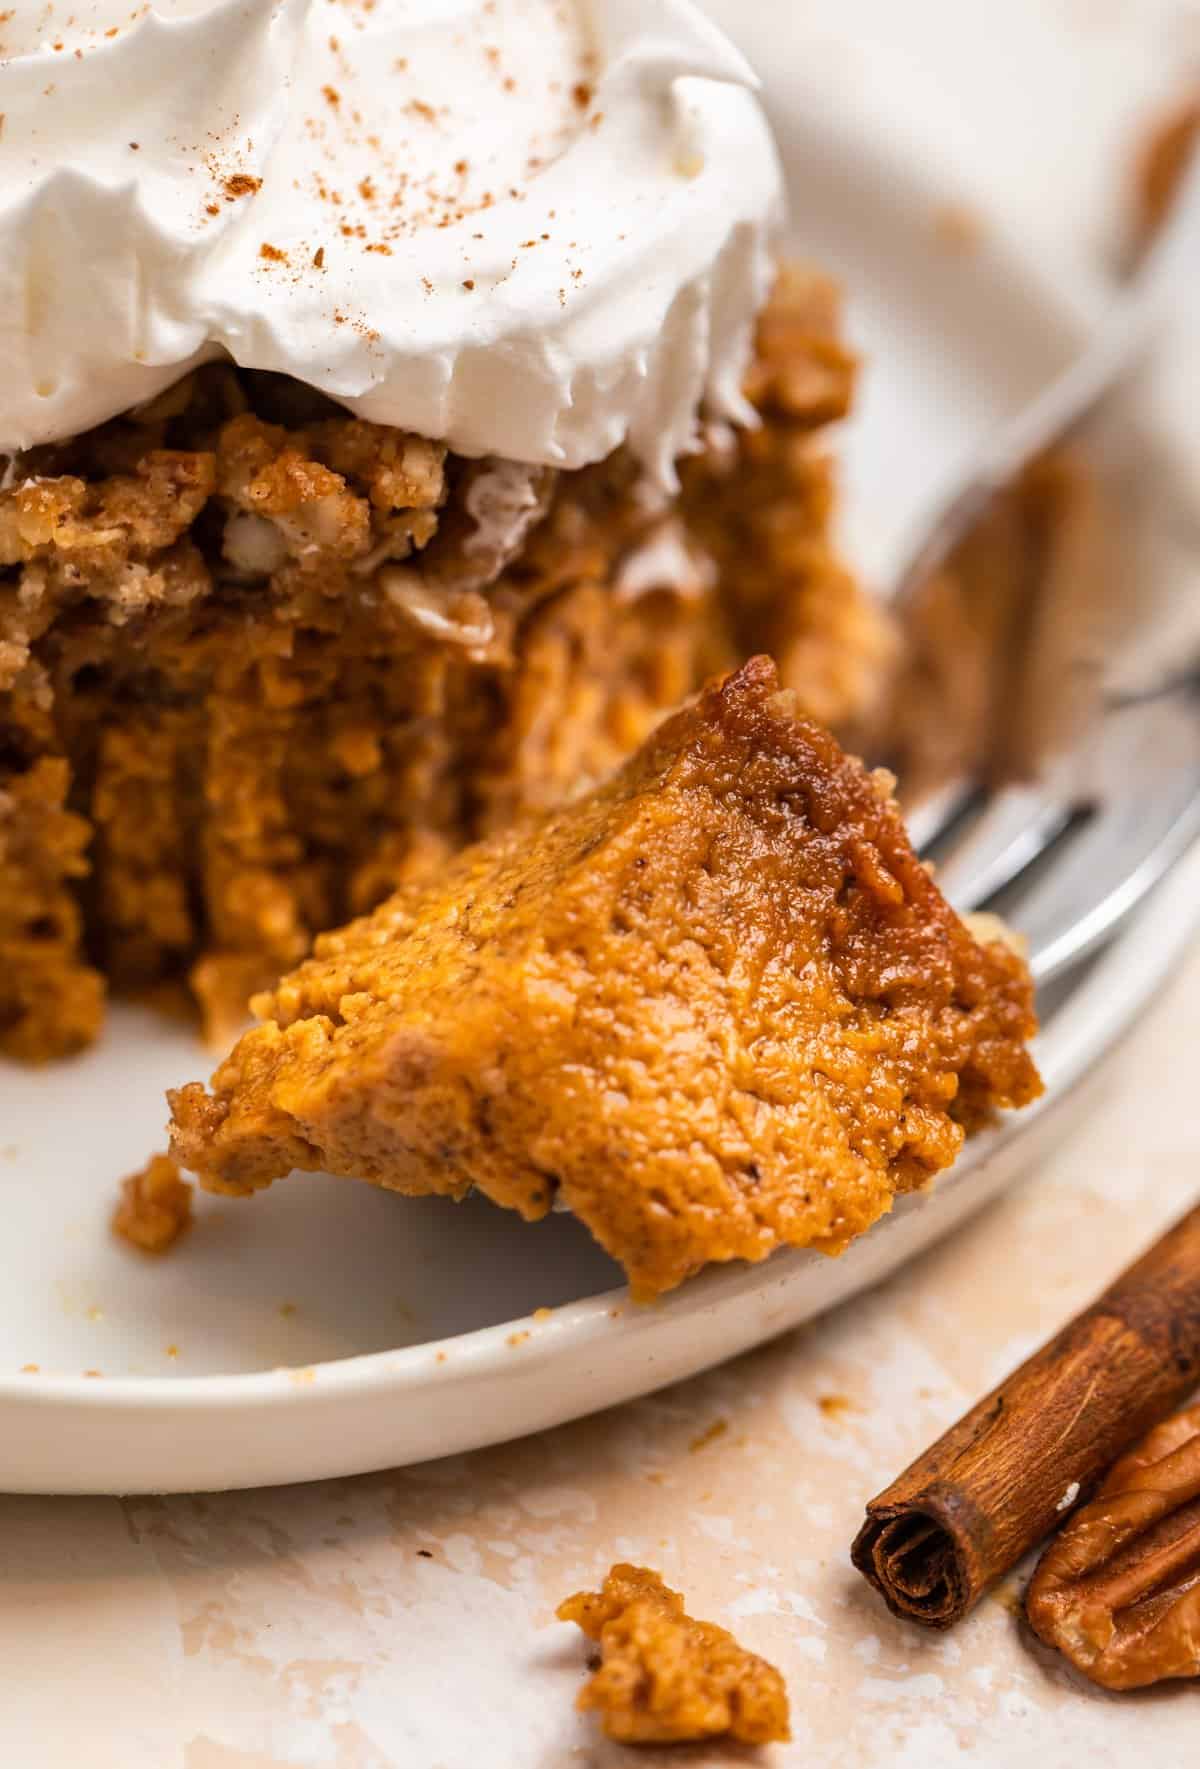
Step 8: Bake another 25-35 minutes or until golden brown and a toothpick pulls out of the pumpkin clean. Remove from the oven and allow to cool until ready to serve–we like to allow it to set for several hours at room temperature or chill it so the pumpkin layer really sets up. Serve it with ice cream or maybe Pumpkin Spice Whipped Cream! (If you chill this recipe, it sets up very nicely like a pumpkin pie and is easier to get the nice slices. If you want to serve it warm more like a pumpkin crisp, it is easier to spoon it out.)
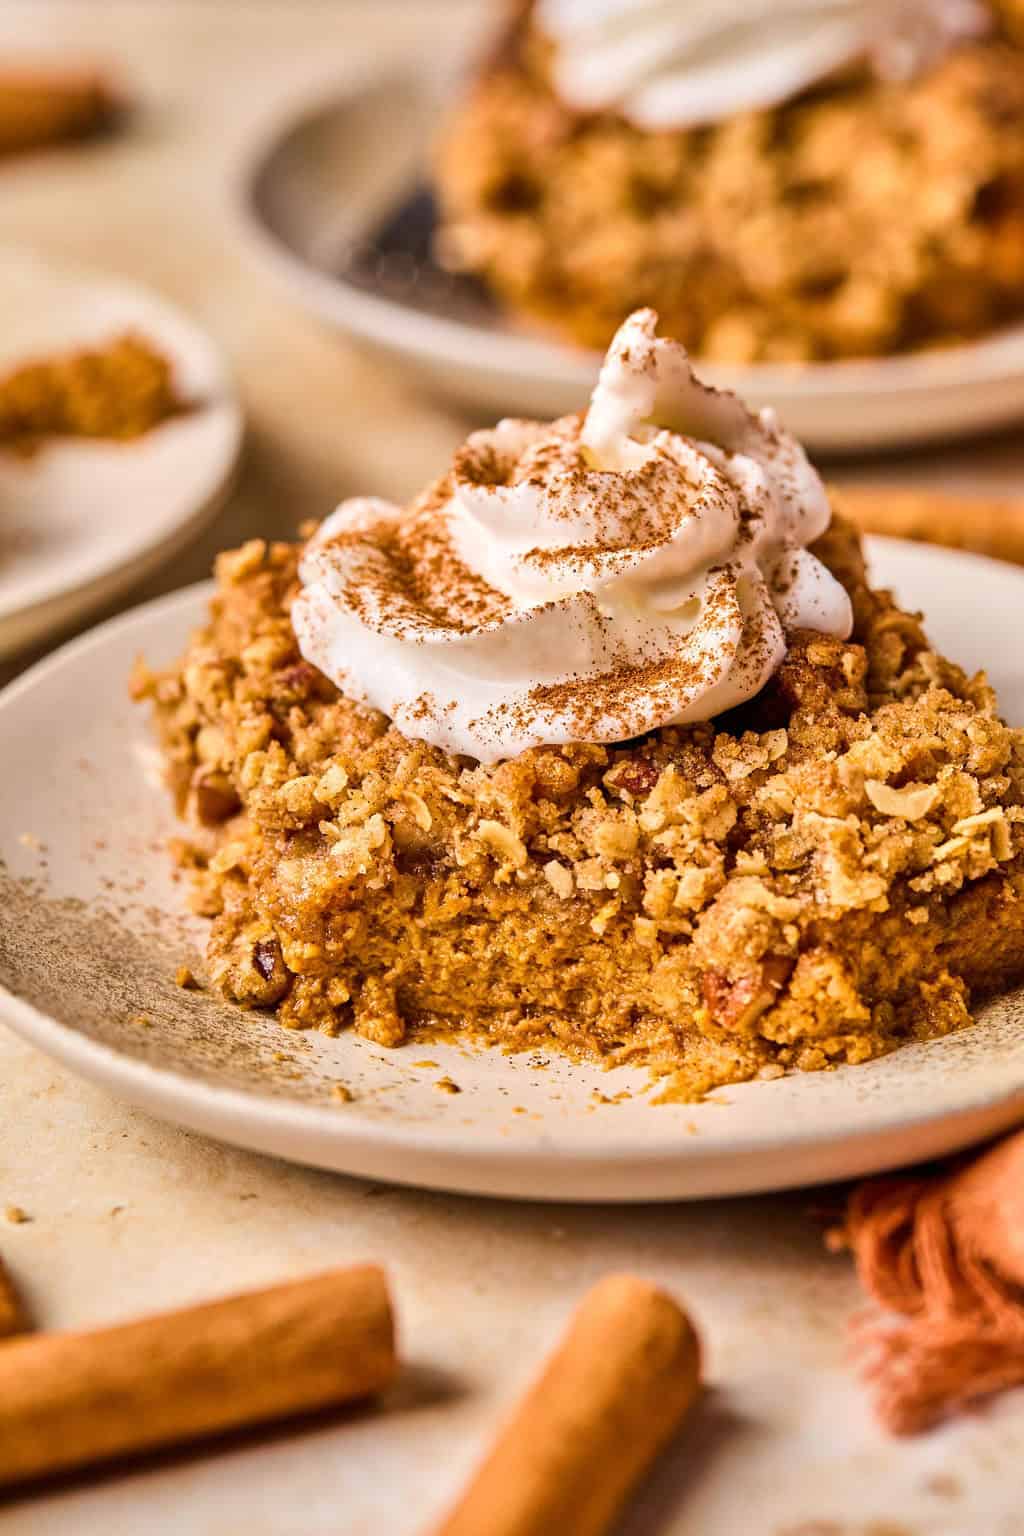
Recipe Tips
- I prefer to use an 8×8 inch pan when making this pumpkin crumble. I like the pumpkin layer to be nice and thick. I have made it in a 9×9 inch pan as well and that still works–the layers a bit more even. A round pan can work as well if preferred. If doubling the recipe, use a 9×13 inch pan.
- I like a thick crumble layer, but you don’t have to use it all. I think the reason I love this simple dessert recipe over a traditional pumpkin pie is because of the buttery oat topping. The crumble layer ingredient measurements are made to accommodate an 8 inch or 9 inch pan. If using an 8 inch pan, it may be more than enough for your liking. If so, no need to use it all!
- For easier cutting, chill overnight to allow the pumpkin to set. Use a very sharp knife and wipe it in between slices. The crumble part will press the pumpkin down a bit when slicing so it can end up a bit messier–still tastes amazing! This can just as easily be a spoon and serve recipe–no need for pretty slices, that is why it is a crumble and not a pie, right??
- If you prefer pumpkin pie spice, you can opt for that versus the varying spices I used in the recipe.
- If you are looking to make this gluten free, use a 1:1 all purpose gluten free flour and gluten free quick oats.
Storage
To store this pumpkin crumble, place it in an airtight container and refrigerate up to 4-5 days. You can serve it cold, warm it up a bit or serve it at room temperature.
To freeze, make sure the dish is completely cooled, and then store in a freezer safe, airtight container. Freeze for up to 3 months and thaw overnight in the refrigerator.
Other Pumpkin Recipes:
- Pumpkin Chip Banana Bread
- Pumpkin Pie Overnight Oats
- No Bake Caramel Apple Cheesecake
- No Bake Pumpkin Crumble Bars
- Pumpkin Ricotta Pasta Bake
- Cinnamon Streusel Pumpkin Coffee Cake
- Pumpkin Carrot Muffins
- Pumpkin Ricotta Pasta Bake
- Pumpkin Pie Baked Oatmeal
HUNGRY FOR MORE? Subscribe to my newsletter and follow me on Facebook, Instagram and Pinterest for all the latest!
Pumpkin Pie Crumble

Ingredients
Filling:
- 1 can pumpkin purée, (15 oz.)
- ½ cup brown sugar, packed, up to1/3 cup more for added sweetness*
- 2 eggs, lightly beaten
- 1 ½ tsp. cinnamon, (you can opt for all pumpkin pie spice in place of cinnamon, cloves and ginger)
- ¼ tsp ground cloves
- ¼ tsp ground ginger
- 1 tsp. vanilla extract
- 1 can evaporated milk (12 oz.)
- ½ tsp sea salt
Topping:
- ¾ cup flour
- ¾ cup quick oats
- ½ cup butter, melted
- ½ cup brown sugar
- 1 – 1½ tsp cinnamon
- 1 tsp vanilla extract
- ½ cup chopped pecans (optional)
- Dash of sea salt
Instructions
- Preheat oven to 375°
- Combine all pie filling ingredients and stir well. Grease an 8×8 baking pan. (9×9 will work as well, the pumpkin layer will be thinner though.)
- Pour filling into pan and place in oven to bake.
- While filling is baking, combine and stir topping ingredients together but start with only half of the butter. Slowly add in more until a moist, but still crumbly texture. You may not need all the butter.
- After about 20 minutes, the filling should set a bit and be able to hold up the crumble topping. Evenly cover the filling with the topping. (NOTE: You really want this to stay on top of the filling as much as possible. In order to do so, it helps to use fingers to lightly crumble and distribute it all rather than spooning all of it in one big dump. )
- Bake for another 25-35 minutes or until the topping is a golden brown. Test the pumpkin filling with a toothpick as well. If it comes out clean, then it’s ready!
- Let cool before serving. For best texture and ease of cutting allow it to cool for about 3-4 hours for the pumpkin layer to really set up. We like to chill it for quicker setting. Store in the refrigerator.
Video
Notes
Nutrition
Nutrition information is automatically calculated, so should only be used as an approximation.
Shop This Post:
 Buy Now →
  Buy Now →
  Buy Now →
  Buy Now →








What consistency am I looking for at the 20 minute mark when I’m supposed to add the crumble? A slight wobble?
Hi! Yes, a slight wobble is a good way to put it. The edges usually solidify first. As long as it’s not super thin you are good!!
Hello! Does this freeze well? I was hoping to get a few jobs done ahead of time 🙂
Hi! You can freeze this, yes! I would double top it with foil and make sure it is super air tight!
Thank you Lorie!
You bet! Happy Thanksgiving!
Can you use regular old fashioned oats instead of “quick oats?”
Hi! You can. The texture will be different but they should work fine!
Everyone loved this and agreed we should have it for Thanksgiving instead of pumpkin pie or cheesecake… high praise indeed!
So so happy to hear this!!! I have made this every year the past 4 years and it never disappoints. Happy Thanksgiving!
Would a ceramic baking dish work with this recipe instead of a baking pan?
Hi! Yes, you should be fine!
Love it!! Thank you, will definitely make this again
Thanks so so much Nicky! We just had it for Thanksgiving too!
This was amazing. So easy and delish. Thank you!
So happy you enjoyed it, Jen. Thanks!
Oh my these were delicious!!! Just made and everyone loved them! I believe they are better than pie!! Can I double this? Thank you for sharing.
Tiffany
Phlanx’s Marketing Specialist
Hi! So happy it was such a hit! We love this as well. If you double it, a 9×13 inch pan should be great for this!
Well isn’t this the perfect treat for fall! Bring on the pumpkin!!!!
Aaaamen!
Hi! I can’t wait to try this – it looks and sounds amazing! I was wondering whether you can reheat it once cooked and cooked? And the best way of doing this?
Thanks!
Hi Natalie! I have reheated it. I need to add those details to the recipe so thanks for bringing that to my attention. I pop it in the oven at 350 degrees and bake it for about 10-20 minutes or until it’s warmed up a bit. If you are concerned about the top drying out, you can drizzle a bit of melted butter over top and that helps. Hope you love this one, I make it every year!!
You are so smart! I am in love with this recipe. I love making crumble as I can never be bothered with pie crust, but I never thought of making a pumpkin crumble. I am seriously sold and can’t wait to whip this up! Thanks 🙂
It’s been a hit at our holiday gatherings the past couple years, hope it becomes one of yours as well! Thanks Yolanda!