
This post may contain affiliate links.

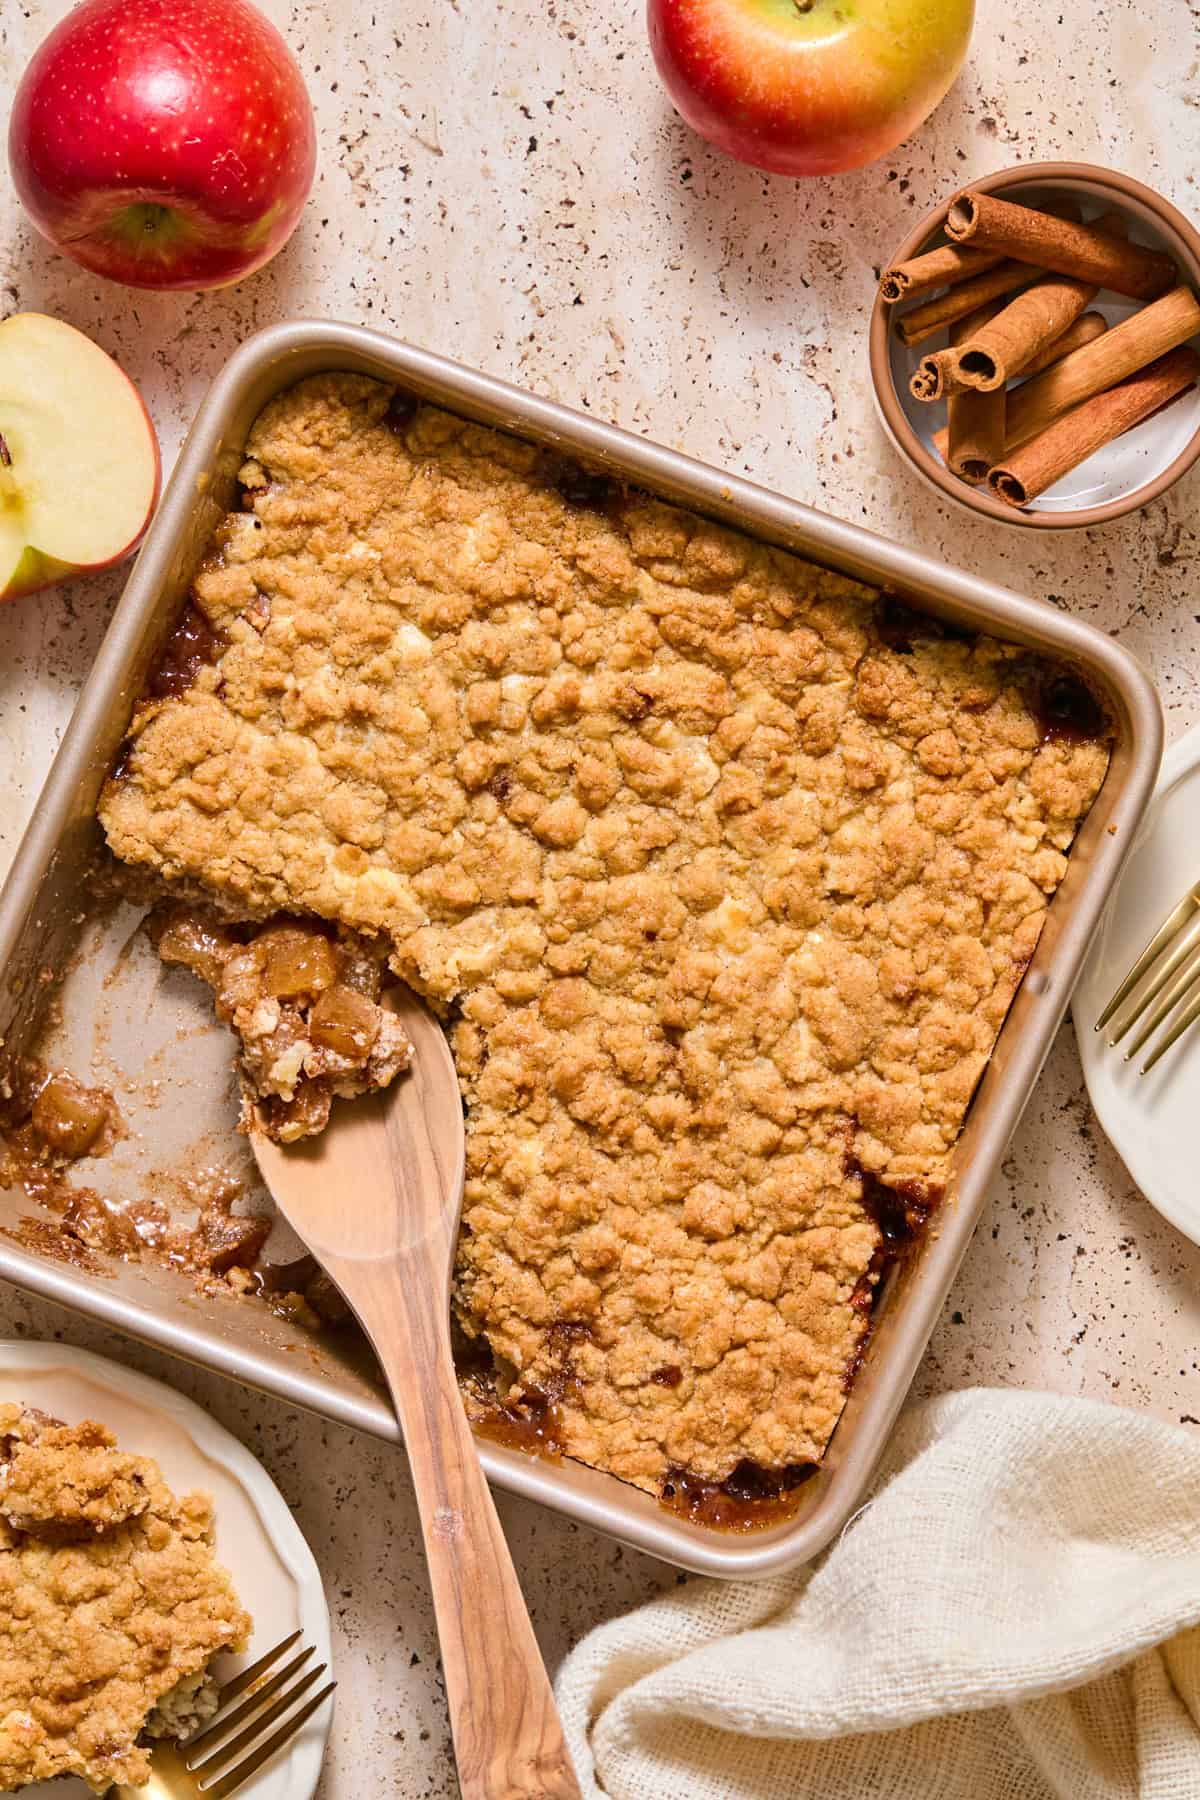
You really can have it all with this simple cozy cream cheese apple cobbler recipe. A layer of gooey spiced apples topped with a cheesecake layer and then covered in a brown sugar cobbler topping. This dessert is going to be a fall favorite and the recipe that everyone begs for the recipe!
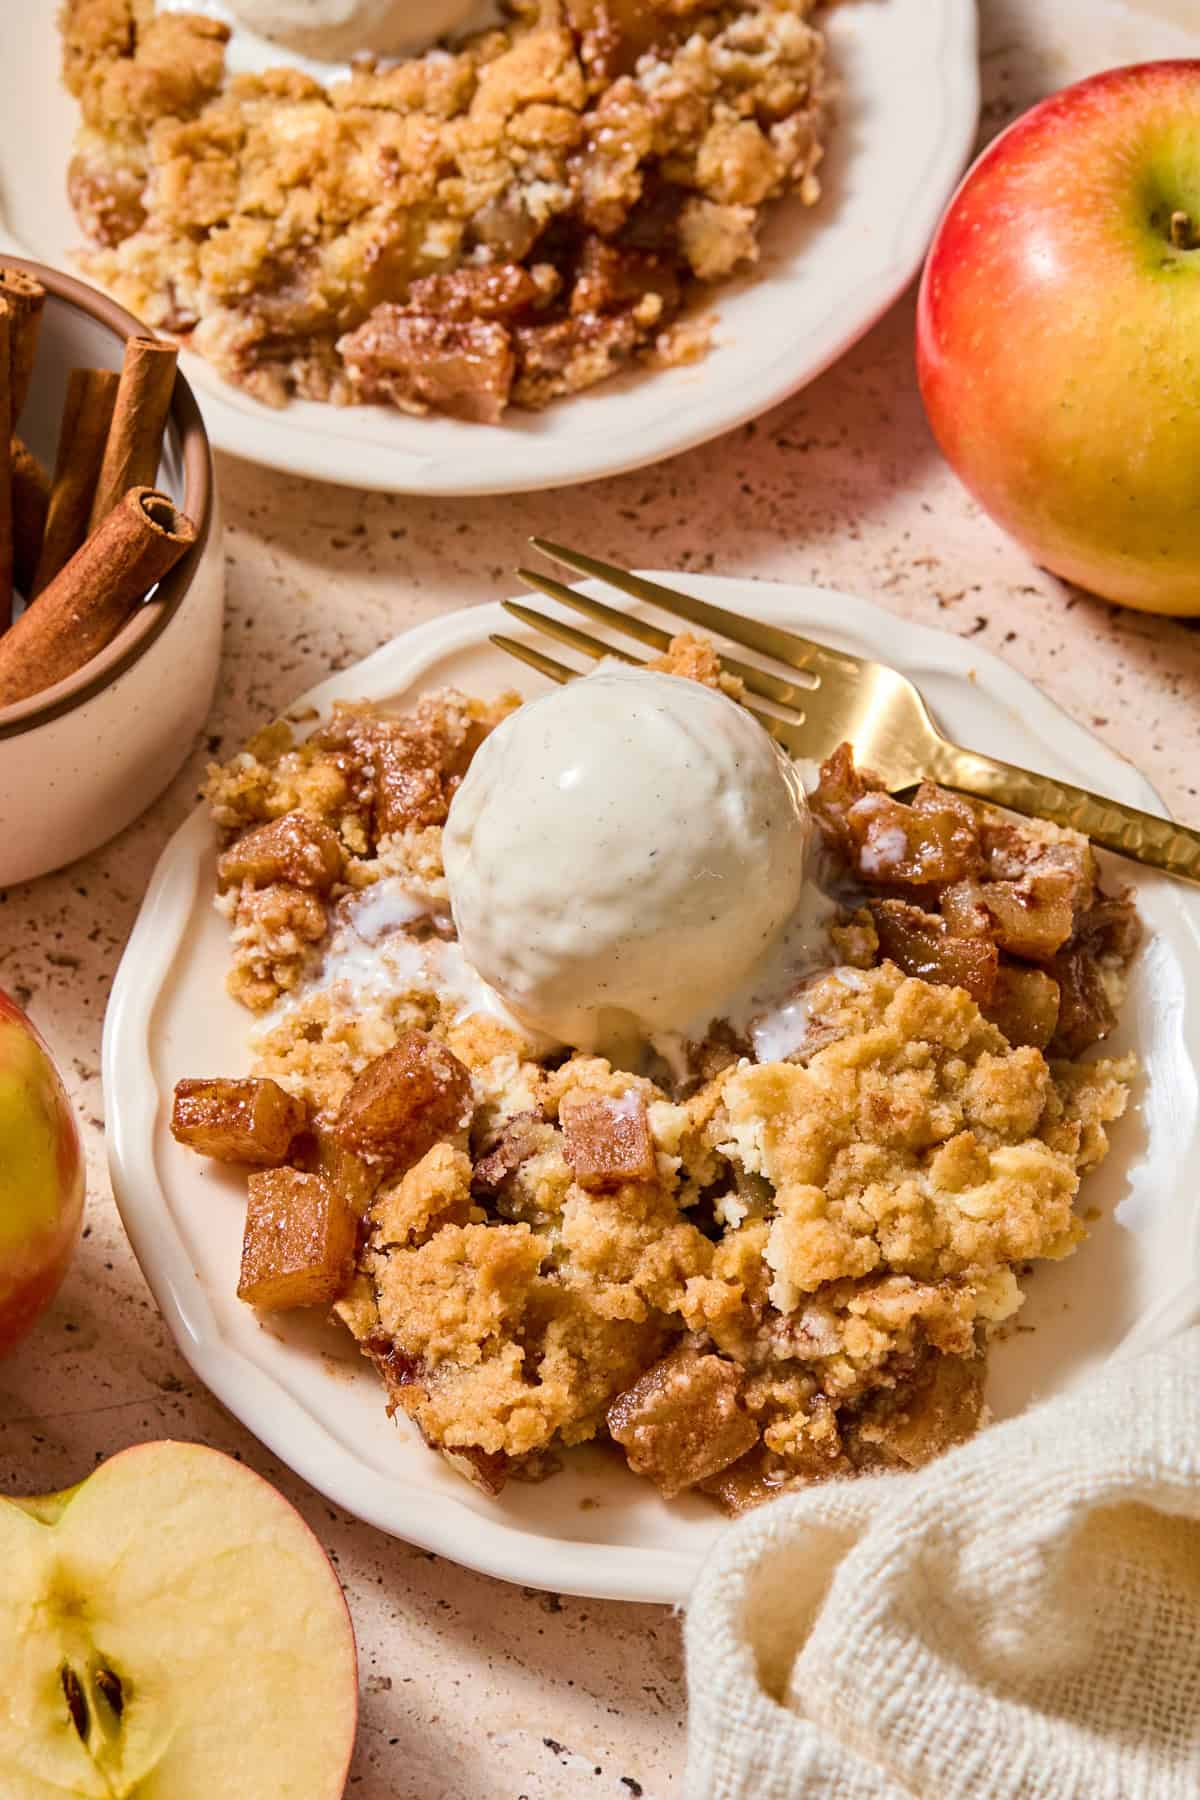
Over the summer, I made this cream cheese peach cobbler and I just knew that when I started on fall recipes, there would HAVE to be an apple version.
This layered dessert features all the cinnamon spiced apples topped with a creamy cheesecake layer and then my favorite, a crumbled cobbler topping. The dessert recipe that fall was made for!
Why We Love This Cream Cheese Apple Cobbler

The second I get my hands on the first fall apples, I go all in on the cozy fall recipes. From this Apple Arugula Salad to this popular Apple Dump Cake, I dive right in. This fall dessert is a combo of two dessert favorites, so you don’t have to pick one or the other!
This cream cheese apple cobbler:
- has three different layers that make the perfect combo for flavor and texutres.
- is freezer friendly
- is a perfect make ahead dessert recipe
- makes for a great showstopper dessert for any fall gathering and more
If you are craving all of the fall recipes too, try these other apple favorites: Apple Crumble Bars, Apple Cinnamon Donuts with Apple Cider Glaze, Apple Sheet Pan Pancakes or this quick and easy Puff Pastry Apple Tart!
Ingredient Notes
See full recipe below in recipe card with exact measurements.
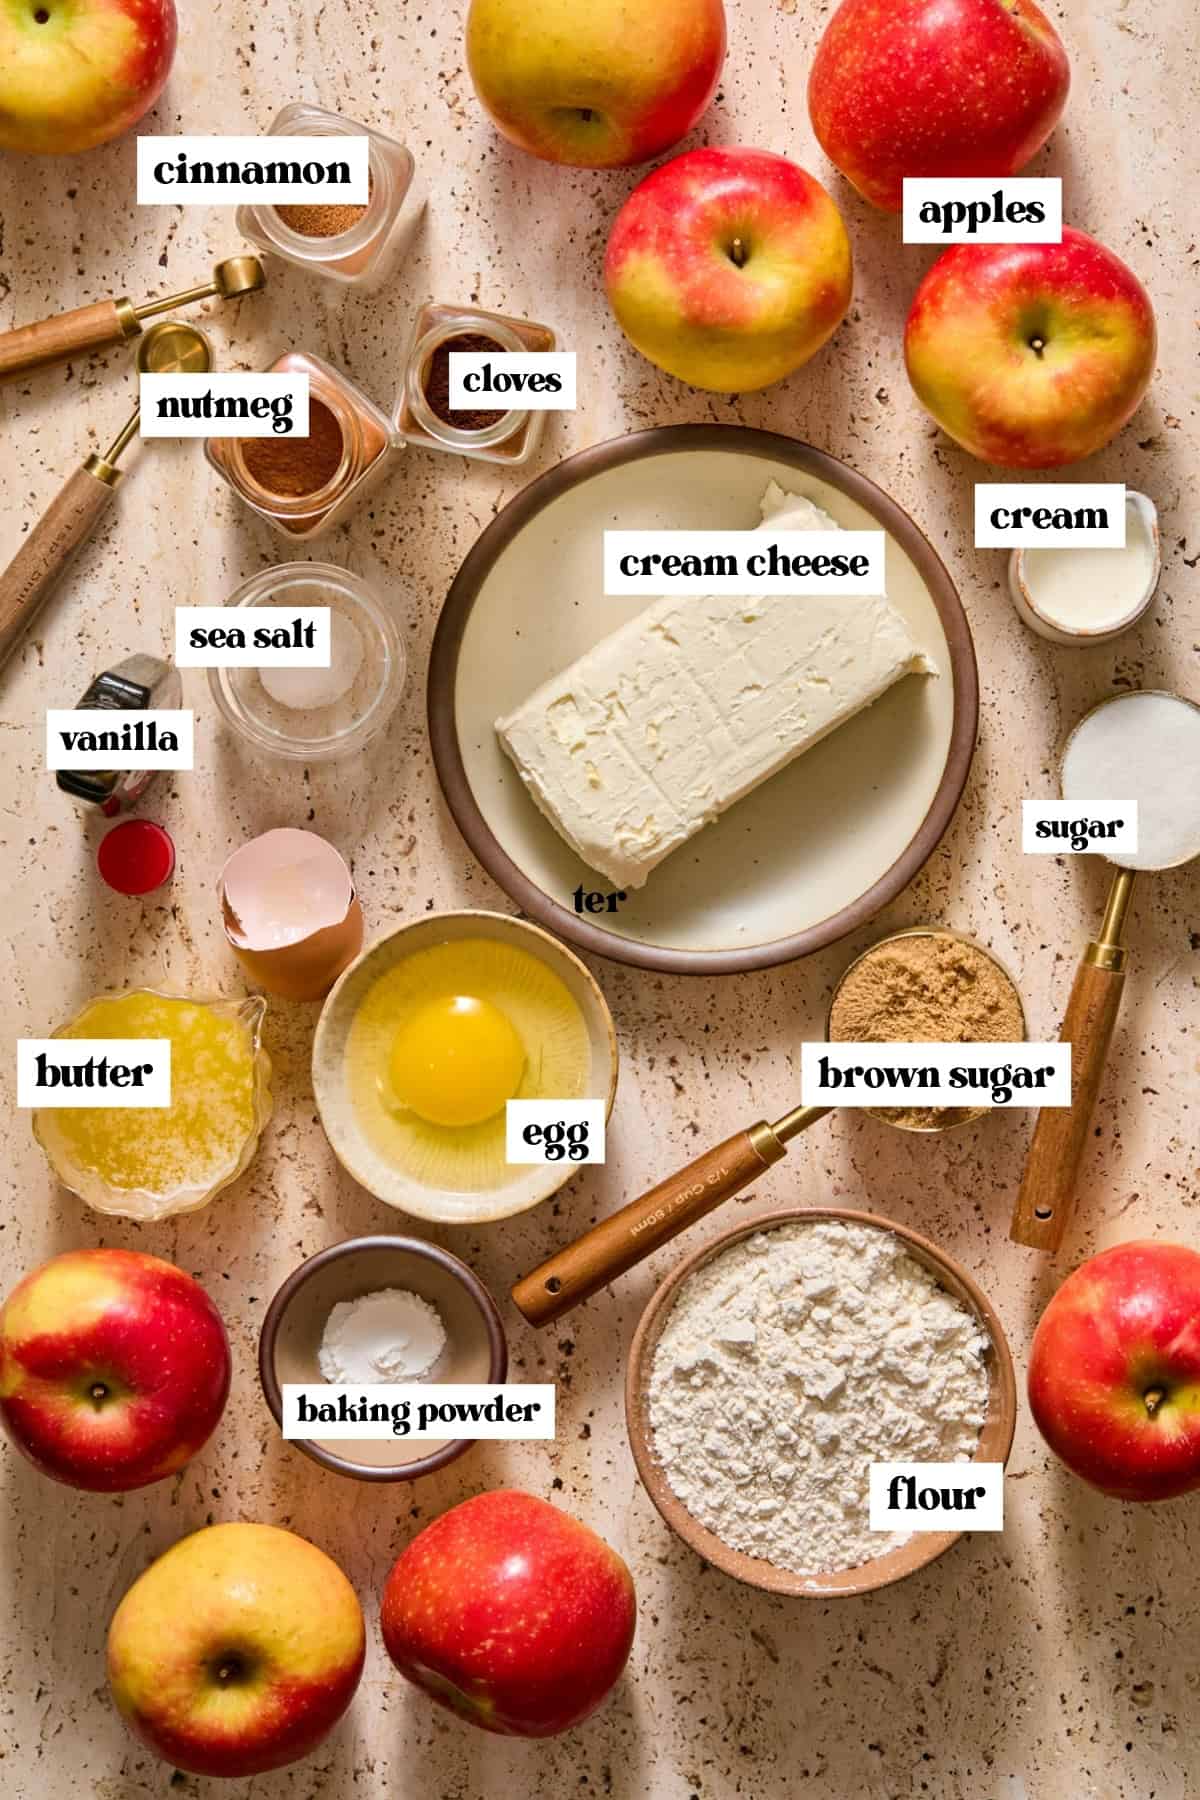
- We prefer Fuji apples or Gala apples over the typical favorites like Granny Smith or Honeycrisp apples. I suggest using any of these and selecting your favorite overall for the best apple layer.
- You are welcome to remove the skin from your apples but I would rather have the extra time. I can be a bit lazy in the kitchen at times and I really feel like the apple skins on in this cobbler recipe is just as tasty!
- For a gluten-free variation, sub a 1:1 baking all purpose gluten-free flour for the flour and the rest should be good to go.
- For best results, use full fat dairy in this recipe–the cream cheese,
Ways To Vary This Apple Cream Cheese Cobbler
- add more warm spices: you are welcome to add some all-spice or ginger to round the flavor.
- spice up the cheesecake or cobbler layer: you can add a touch of cinnamon, ginger or nutmeg to either to add even more flavor.
- Make the cobbler and cheesecake layers more separated. I tested making this cheesecake cobbler by doing dollops of the cheesecake without spreading and then filled in the cobbler between them or slightly layering over top. I didn’t think it looked quite as pretty to be honest but you had more separation of the different textures which some may prefer. The cheesecake may start to get a bit too brown toward the end, so loosely tent foil over top and allow it to fully bake.
Step-By-Step Instructions
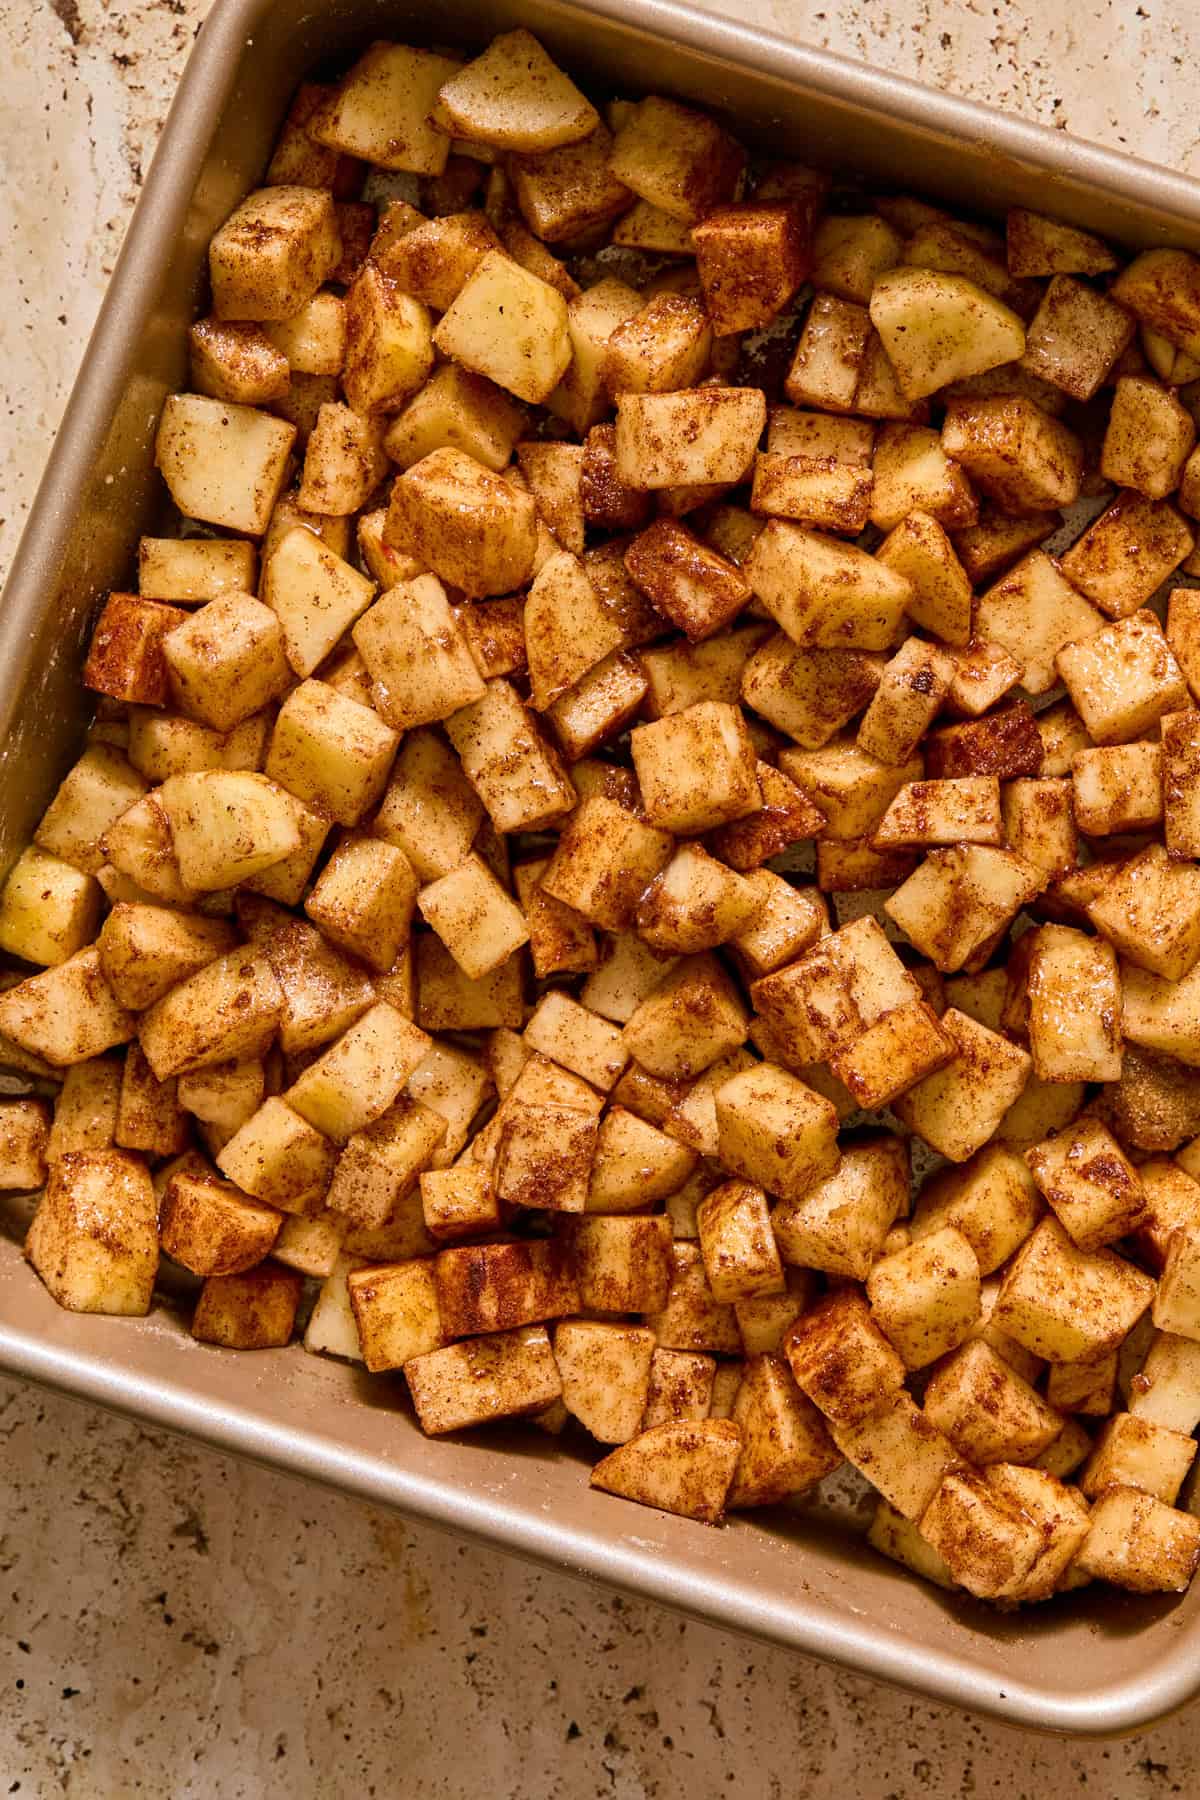
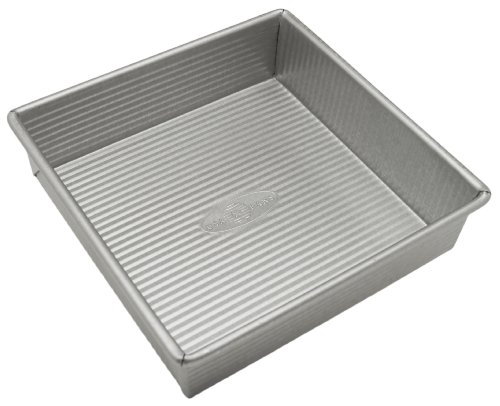
Step 1: Spray a 9×9 inch baking pan with oil (just realizing as I am typing this that I never did this when testing the apple version and it turned out fine, hmmmm). Add the apple layer ingredients into the pan and toss to combine. Set aside.
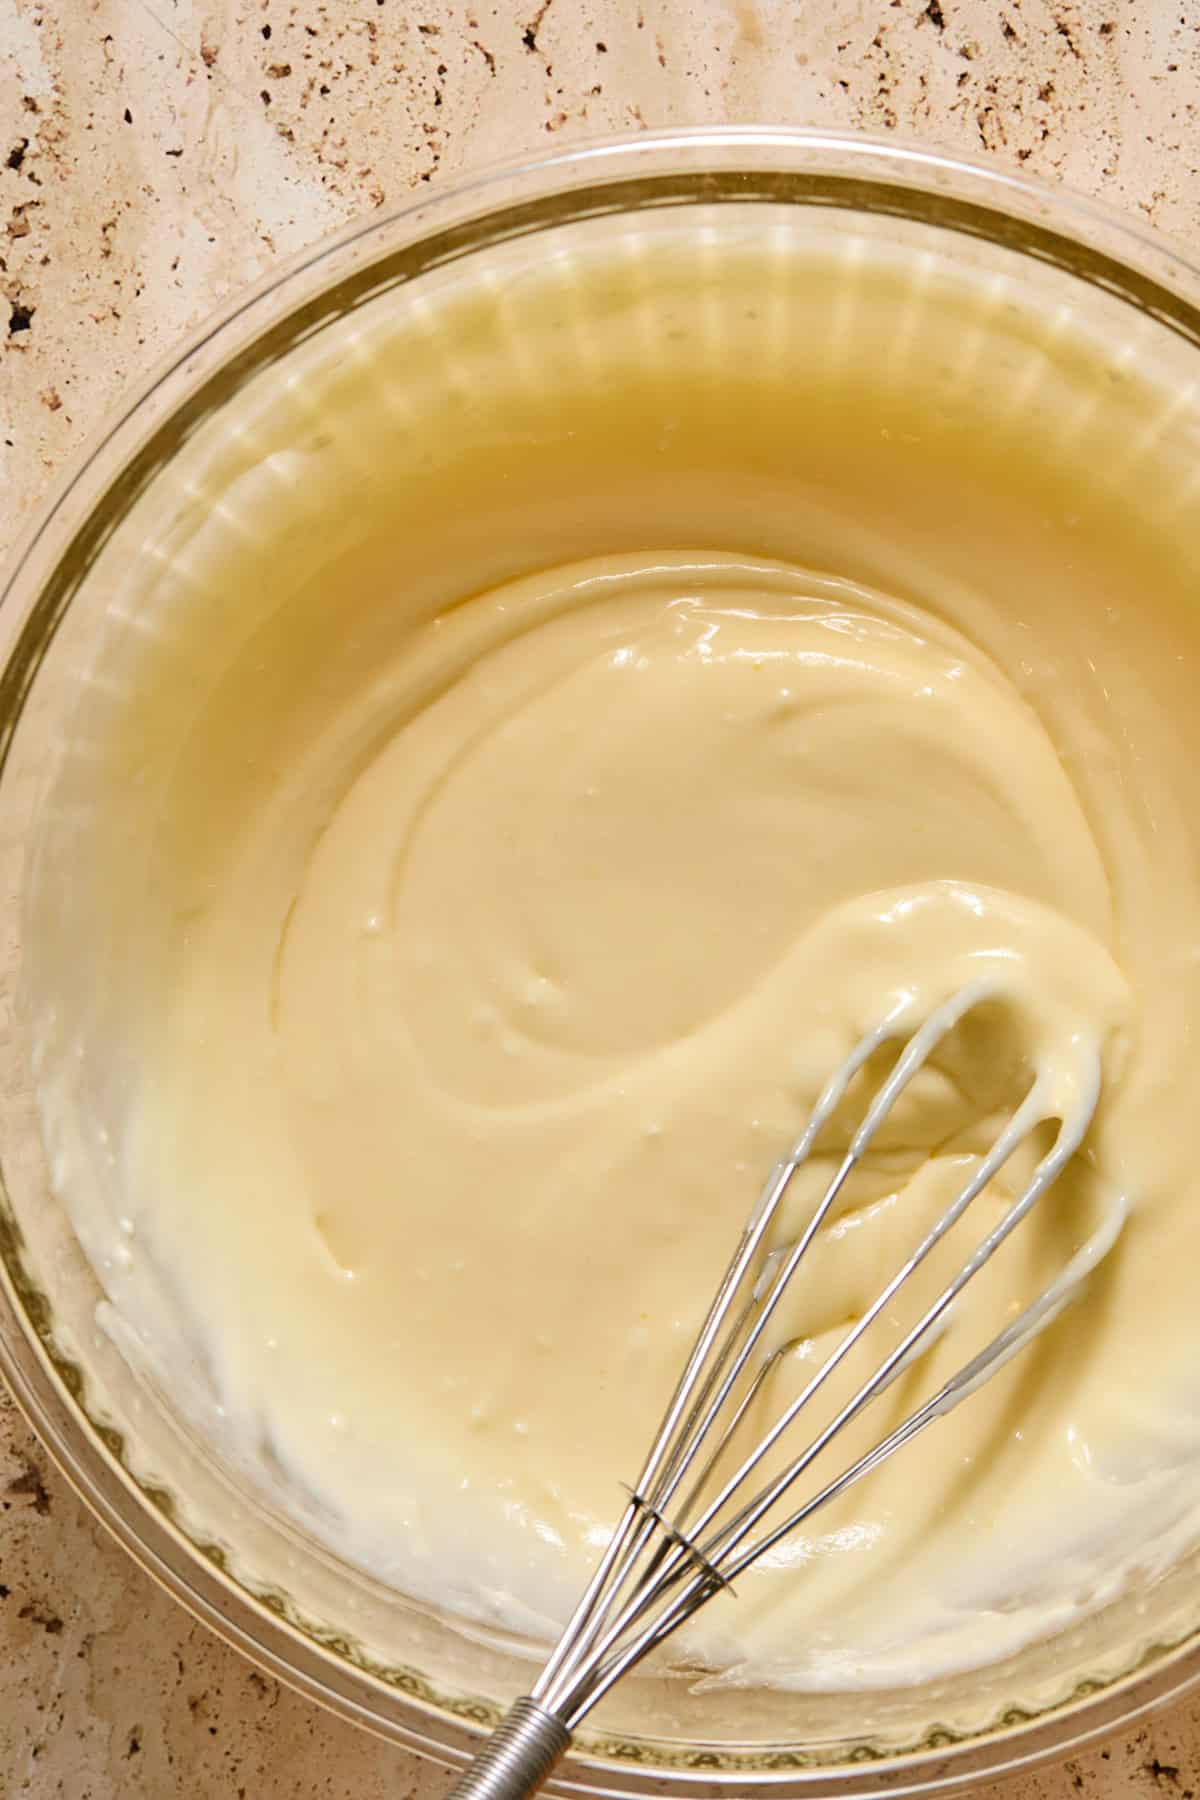
Step 2: Use a fork to sort of press and mash the softened cream cheese until easy to work with. Stir in the egg, sugar and vanilla until combined and then use a whisk to mix the rest of the way to allow it to become nice and smooth. Make sure the ingredients are room temperature for the best texture.
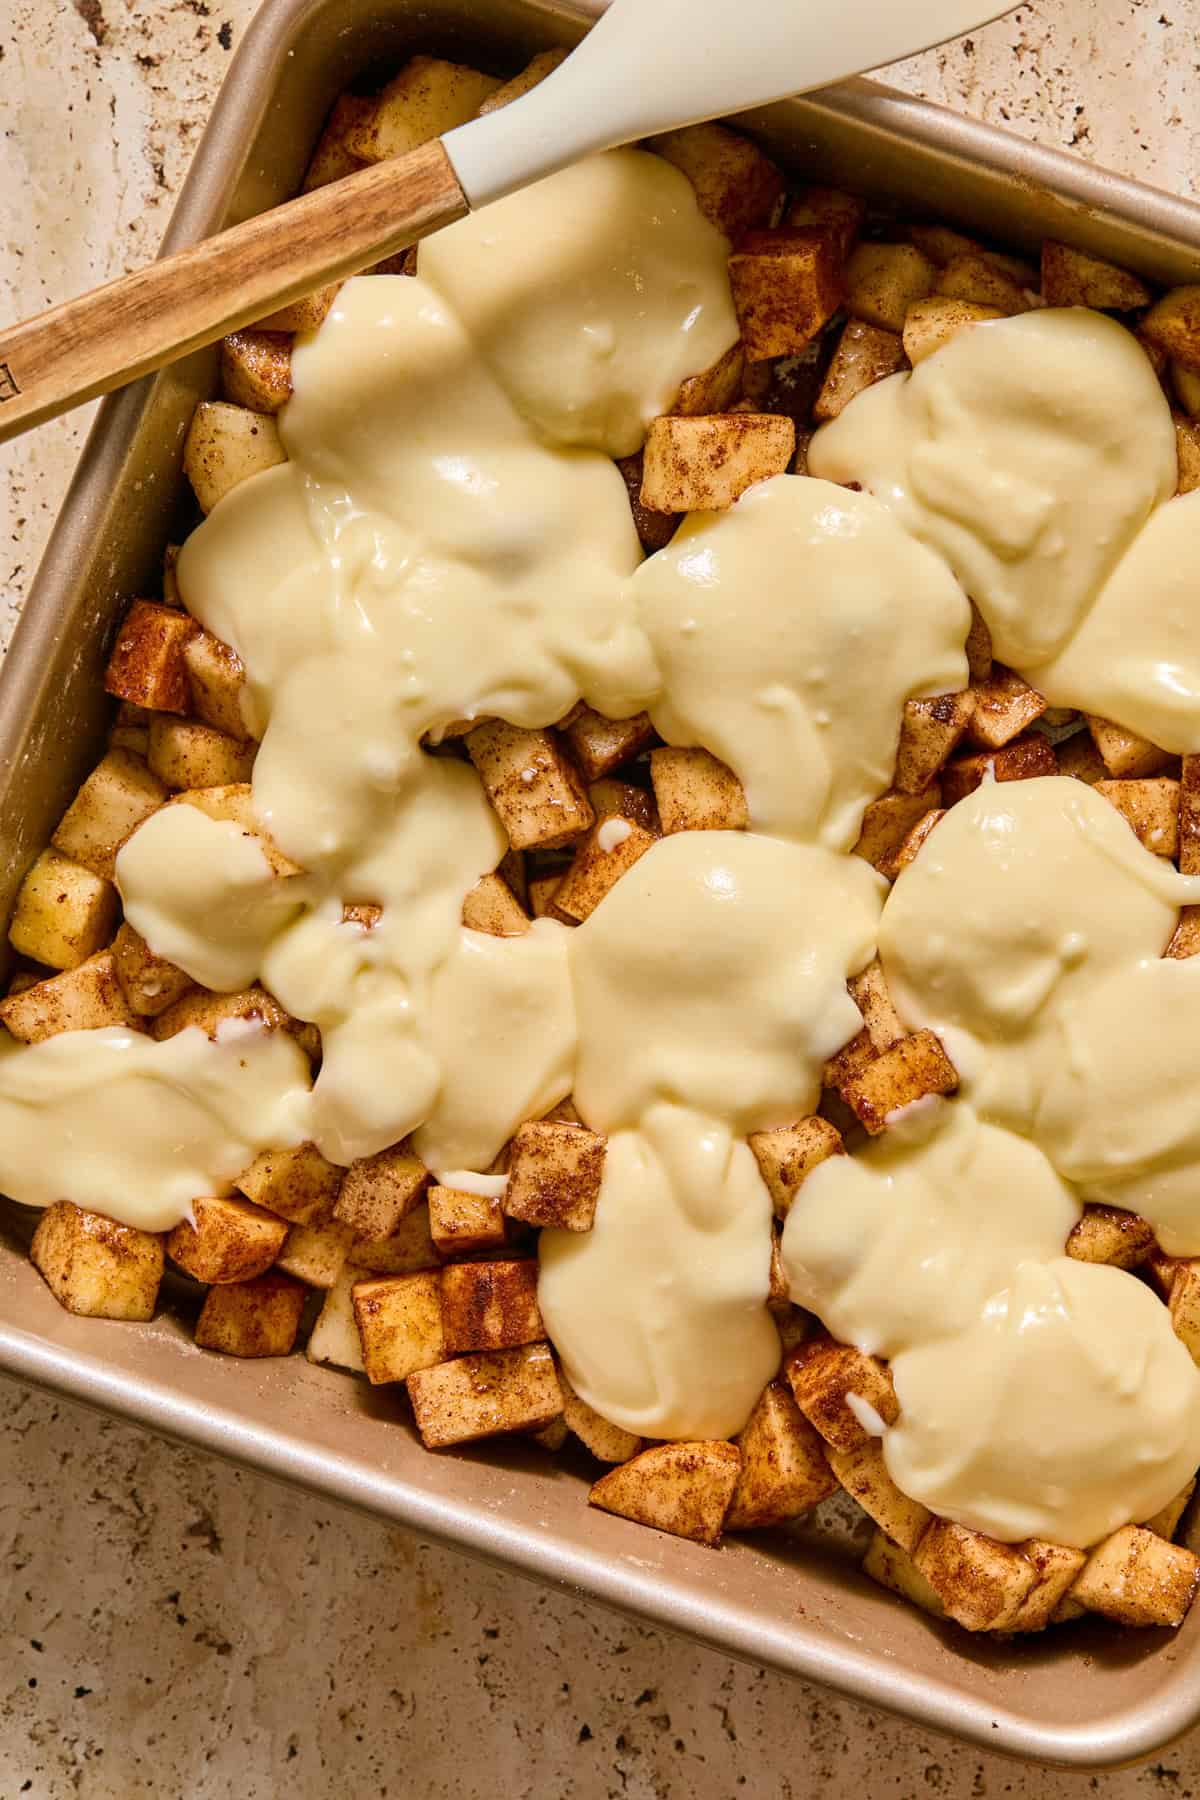
Step 3: Pour or spoon the cream cheese mixture over top of the apples, gently spreading to cover. It doesn’t have to perfectly cover the apples you can spoon it as much as you can! You can also leave it in dollops for a more pronounced cheesecake section throughout the dish.
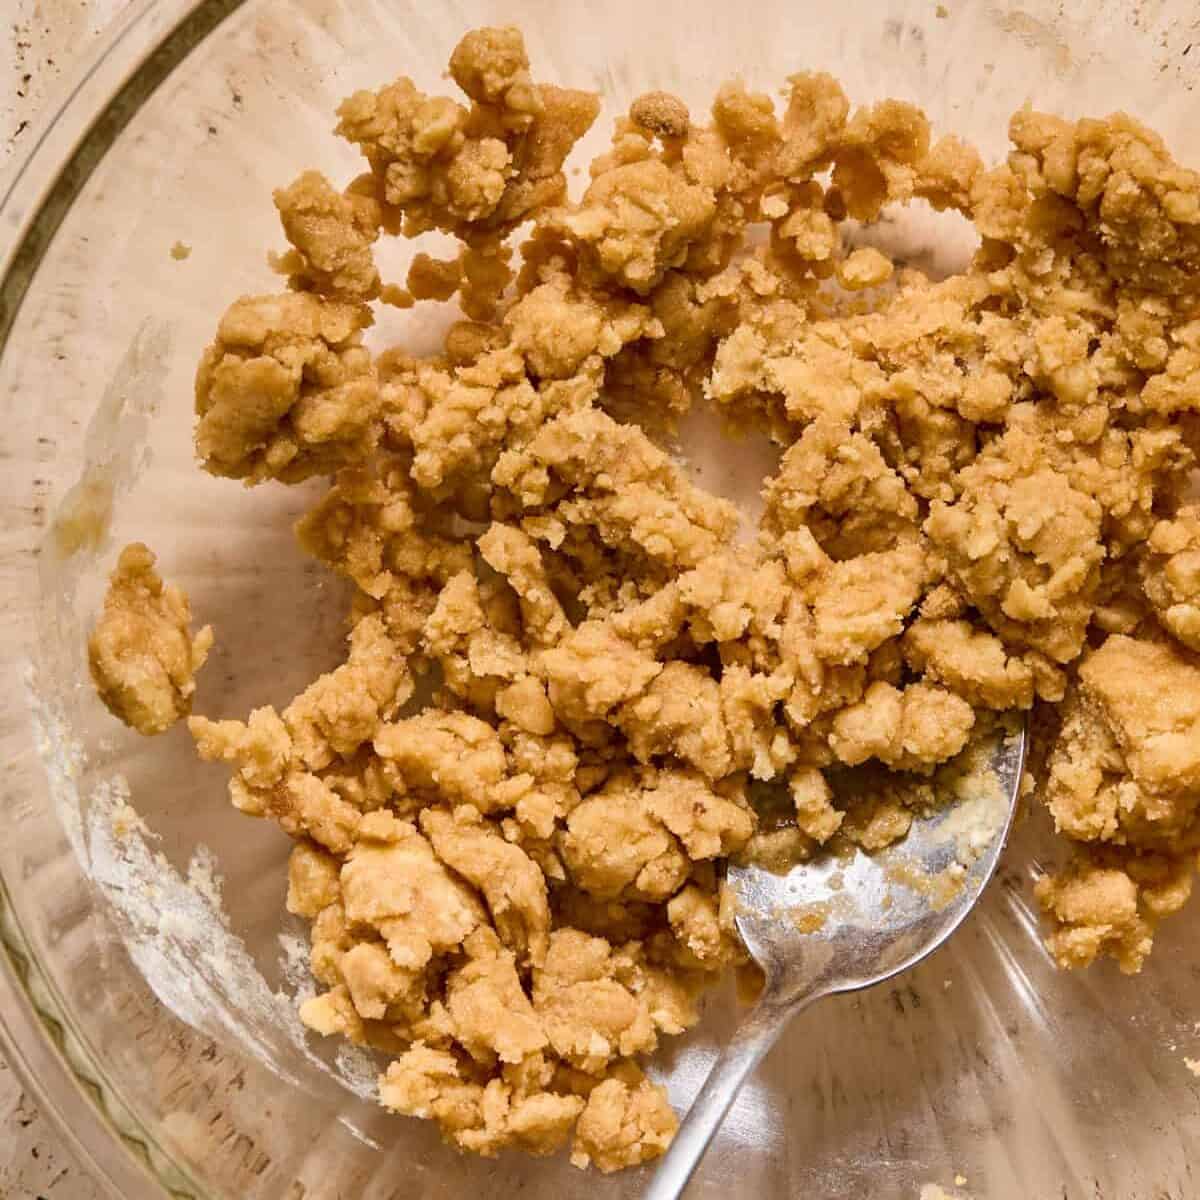
Step 4: Combine the cobbler topping layer ingredients and stir to combine until it pulls together somewhat like a dough.
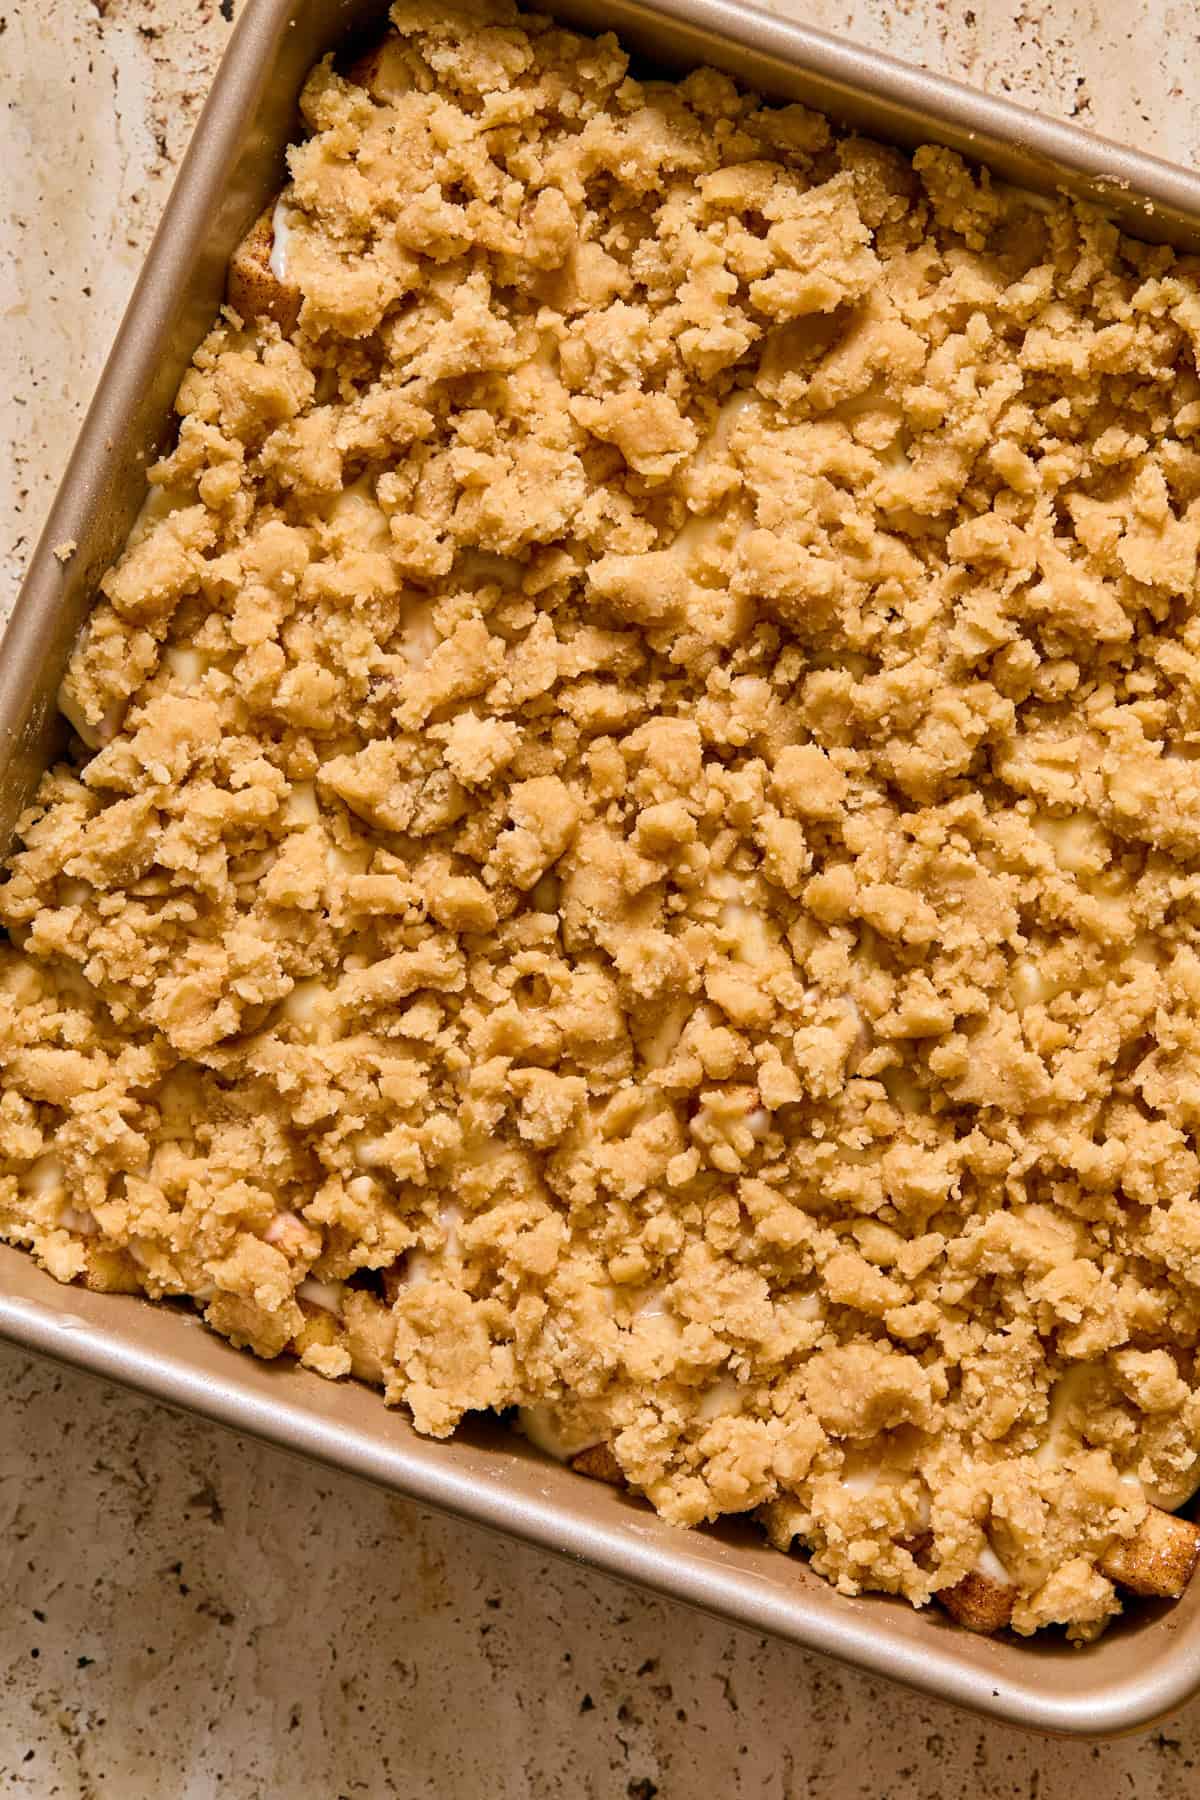
Step 5: Spread the dough in chunks/crumbles over top of the cream cheese layer. (You can form little disks and lay them over top or sprinkle big chunks, just try to keep it in as even of a layer as possible.)
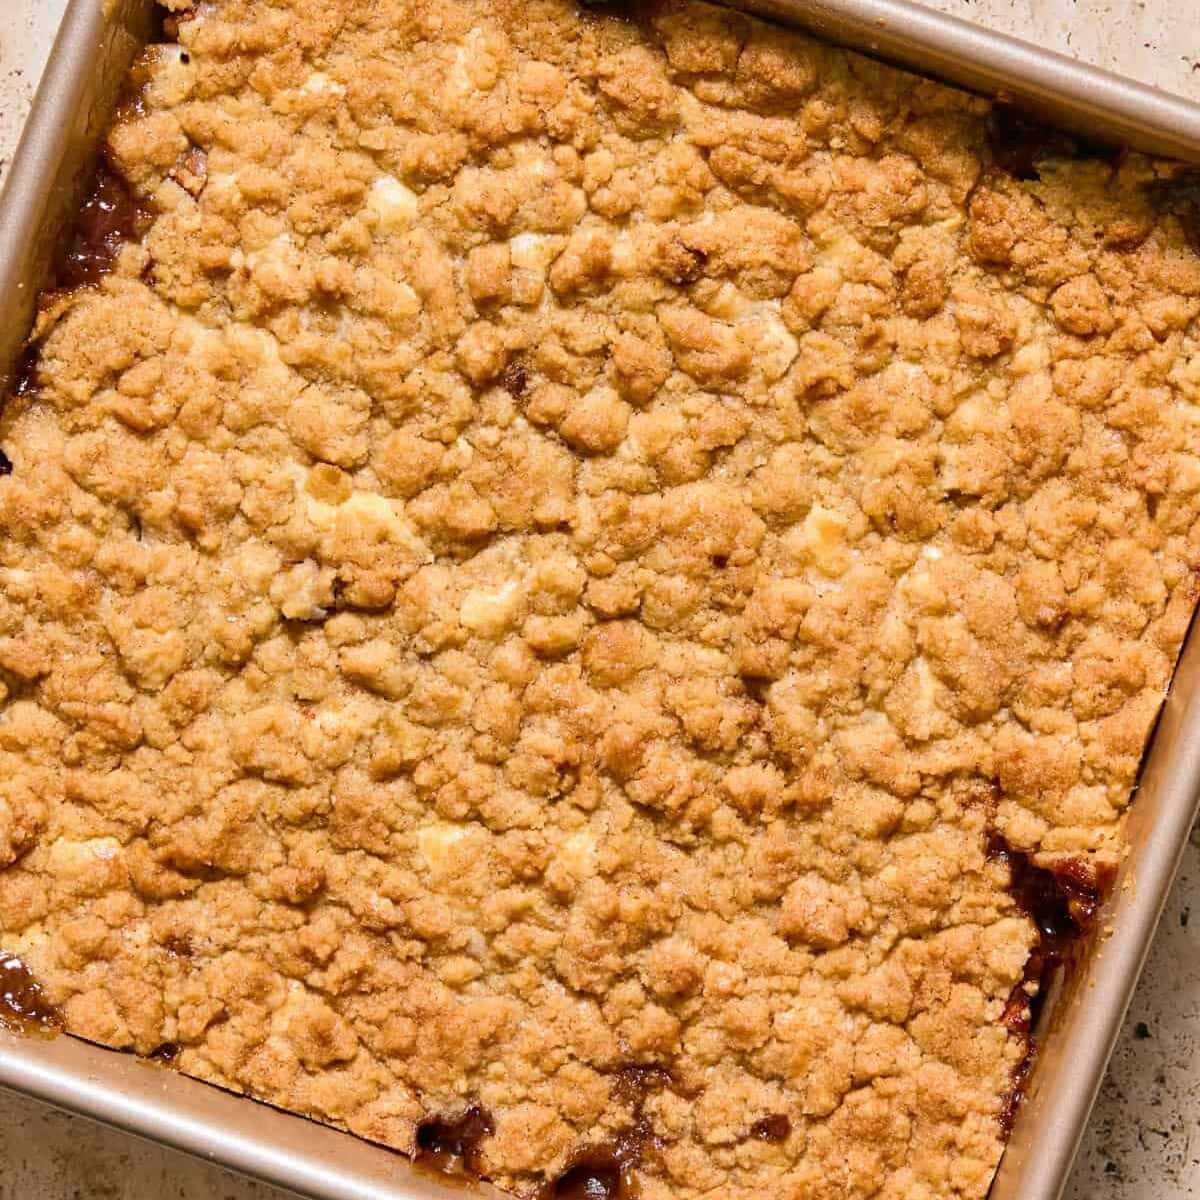
Step 6: Bake uncovered for about 30-40 minutes or until the apple layer is bubbling and you see nice thick sauce around the edges, the cream cheese and cobbler layers are set and cobbler is golden brown—the center should be set. You can broil for the final two minutes for extra golden brown crunchy top. Remove from oven and allow to cool, then chill to set for about 1 hour.
Recipe Tips
Room temperature ingredients are KEY to success in this recipe. For the cheesecake layer to bake up smooth, start with room temperature cream cheese but also, use room temperature apples in that layer. If the apples are cold, they can cause the cheesecake layer to look more piecey or almost curdled. It will still be safe to eat, but it doesn’t have the same smoothness you will want from the cream cheese layer.
Serving this dessert chilled or room temperature is strongly suggested. Allowing the cream cheese layer to set up more improves the texture. It doesn’t have to be chilled for hours, but at least allow it set.
Storage
Store this cheesecake cobbler in the refrigerator in an airtight container for about 3-4 days. Allow it to sit out for about 15-20 minutes before serving to make it a bit easier to slice.
You can freeze this dessert for up to 3 months. Make sure it is fully cooled and set before putting in a freezer safe container. Allow it to thaw in the refrigerator.
HUNGRY FOR MORE? Subscribe to my newsletter and follow me on Facebook, Instagram and Pinterest for all the latest!
Cream Cheese Apple Cobbler
Ingredients
APPLE LAYER
- 8 small apples, peeled and chopped (I cut ¼ inch- ½ inch slices and then half those, so not super small, but not full slices) about 5ish cups
- ¼ cup sugar
- ¼ cup brown sugar, packed
- 2 tsp cinnamon
- ¼ tsp nutmeg
- ¼ tsp cloves
- 1 Tbsp flour
CHEESECAKE LAYER
- 8 oz cream cheese, softened to room temperature
- 1 egg, room temperature
- ½ cup sugar
- 1 tsp vanilla extract
COBBLER TOPPING
- 5 Tbsp melted salted butter, slightly cooled
- ¾- 1 cup all-purpose flour, spooned and leveled
- ¼ cup sugar
- ⅓ cup brown sugar, packed
- 1 tsp vanilla extract
- 2 Tbsp heavy cream
- ½ tsp baking powder
- ½ tsp cinnamon
- ¼ tsp salt
Instructions
- Preheat oven to 350°F.
- Apple Layer: Spray a 9×9 inch baking pan with oil (just realizing as I am typing this that I never did this when testing the apple version and it turned out fine, hmmmm). Add the apple layer ingredients into the pan and toss to combine. Set aside.
- Cheesecake Layer: Use a fork to sort of press and mash the softened cream cheese until easy to work with. Stir in the egg, sugar and vanilla until combined and then use a whisk to mix the rest of the way to allow it to become nice and smooth. Make sure the ingredients are room temperature for the best texture.
- Pour or spoon the mixture over top of the apples, gently spreading to cover. It doesn’t have to perfectly cover the apples you can spoon it as much as you can! You can leave it in dollops for more pronounced cheesecake sections dispersed through the dessert.
- Cobbler Layer: Combine the cobbler topping layer ingredients (start with the ¾ cup of flour and add more if the mixture is much too wet) and stir to combine until it pulls together somewhat like a dough. Spread the dough in chunks/crumbles over top of the cream cheese layer. (You can form little disks and lay them over top or sprinkle big chunks, just try to keep it in as even of a layer as possible.)
- Bake uncovered for about 30-40 minutes or until the apple layer is bubbling and you see nice thick sauce around the edges, the cream cheese and cobbler layers are set and cobbler is golden brown—the center should be set. You can broil for the final two minutes for extra golden brown crunchy top.
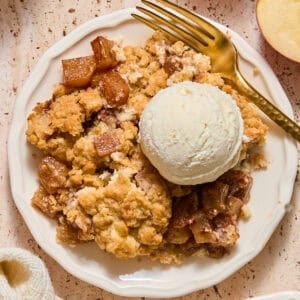
- Remove from oven and allow to cool, then chill to set for about 1 hour. This is best after chilling to set. You can certainly serve it at room temperature. Serve with a big scoop of vanilla ice cream.
Notes
Nutrition
Nutrition information is automatically calculated, so should only be used as an approximation.
Shop This Post
 Buy Now →
  Buy Now →
  Buy Now →








Leave a comment