This post may contain affiliate links.
This post may contain affiliate links.
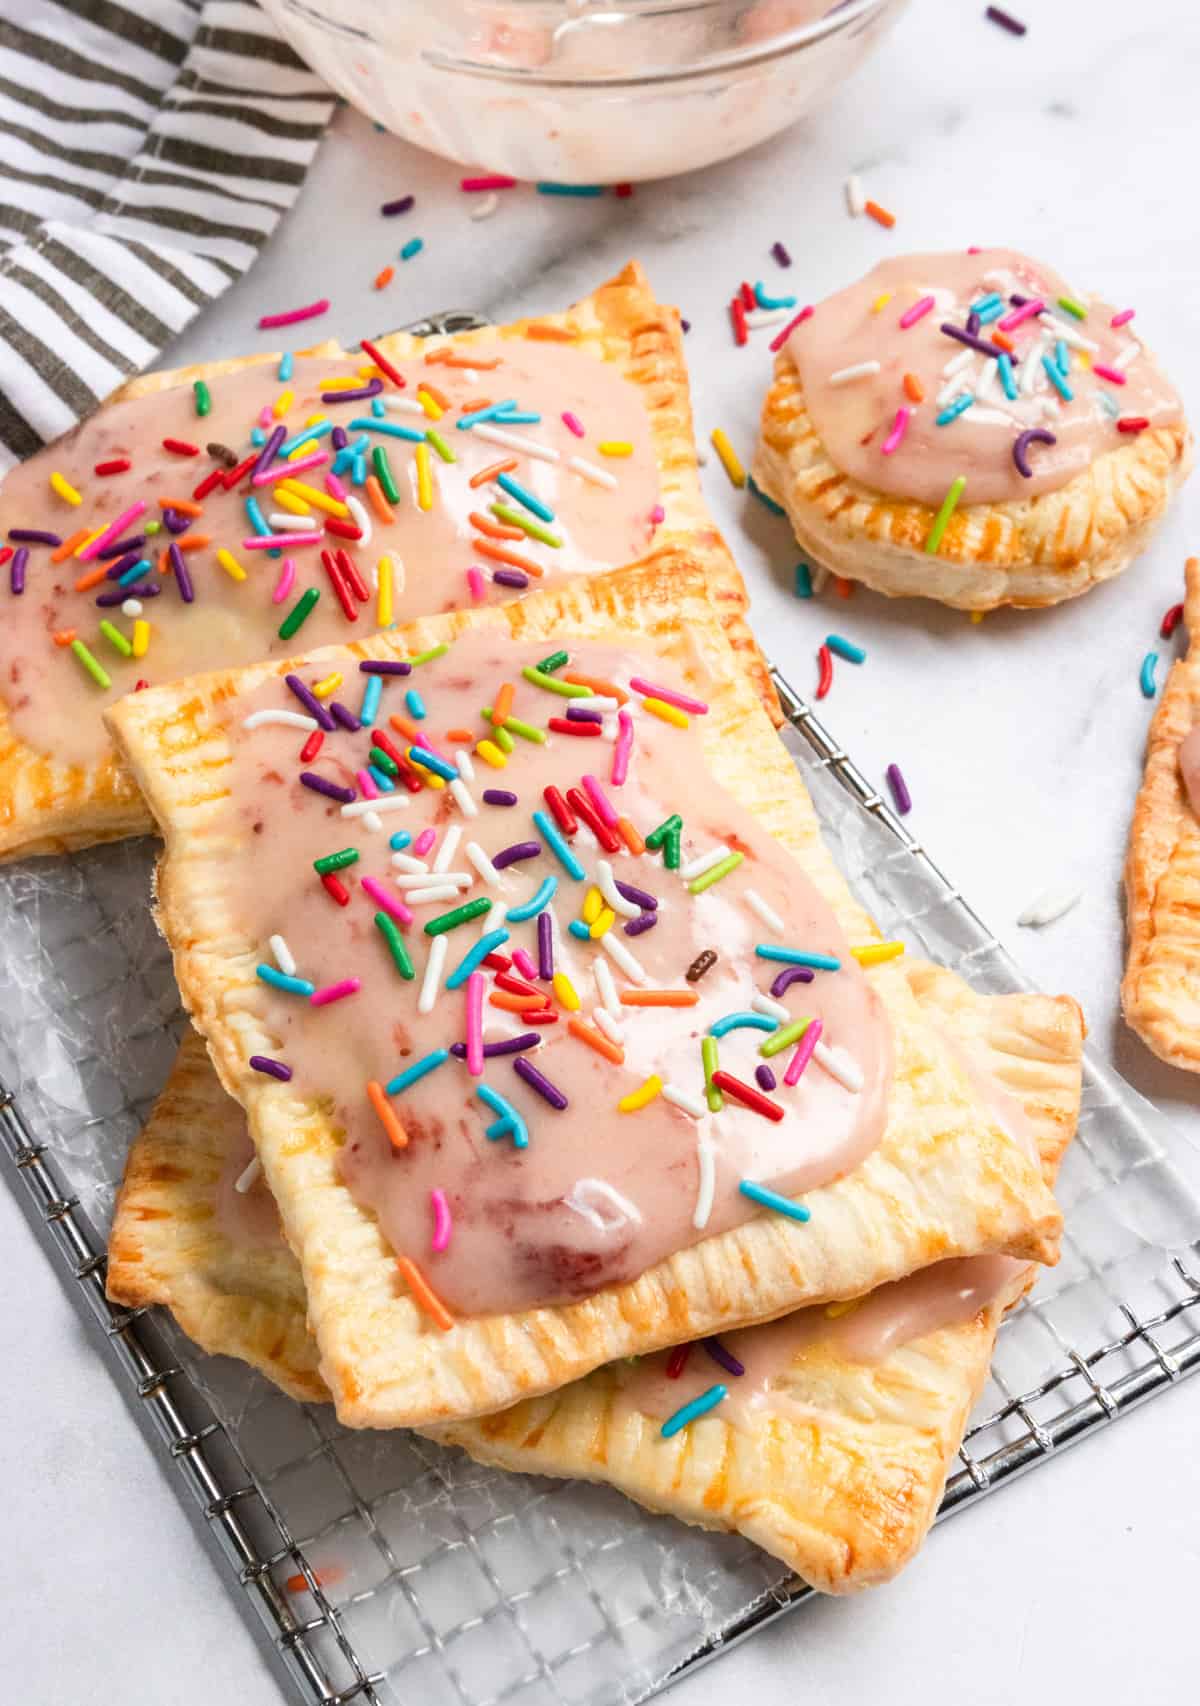
Looking for an easy homemade pop tarts recipe?! Look no further! These delicious and simple pop tarts are made your way and in no time! Use pre-made pie crust or make your own. Have it your way and enjoy this easy breakfast recipe!
This recipe was originally published March 2019 and updated to include step by step photos August 2020.
I have made these homemade pop tarts with pie crust at least 10 times in the past year and have never made the same flavor twice.
This recipe is the EASIEST pop tart recipe you will find and also the most versatile. Fill it with any flavor jam, or maybe even some Nutella. Whip these pastries up without any fancy baking tools and just the basics you can find around your home.
Have the fancy baking supplies? By all means, pull them out! But this pop tart recipe is for the days when the kiddos want a fun little treat to help make, or for a day you are craving a homemade pastry but just don’t have all of the time to invest.
These pop tarts are homemade, but with very little effort and there is NOTHING wrong with that!
Why you will love these pop tarts:
- The kids can easily help make them. The fun of making your own pop tarts can really be all about the kids. They can help make their favorite breakfast treat and without much headache. They can cut the dough, spoon the jam, crimp the edges and add the egg wash. Not much they can’t do in this recipe!
- You can make them any flavor. Strawberry, blackberry, blueberry, Nutella, brown sugar–whatever you wish, it can be yours!
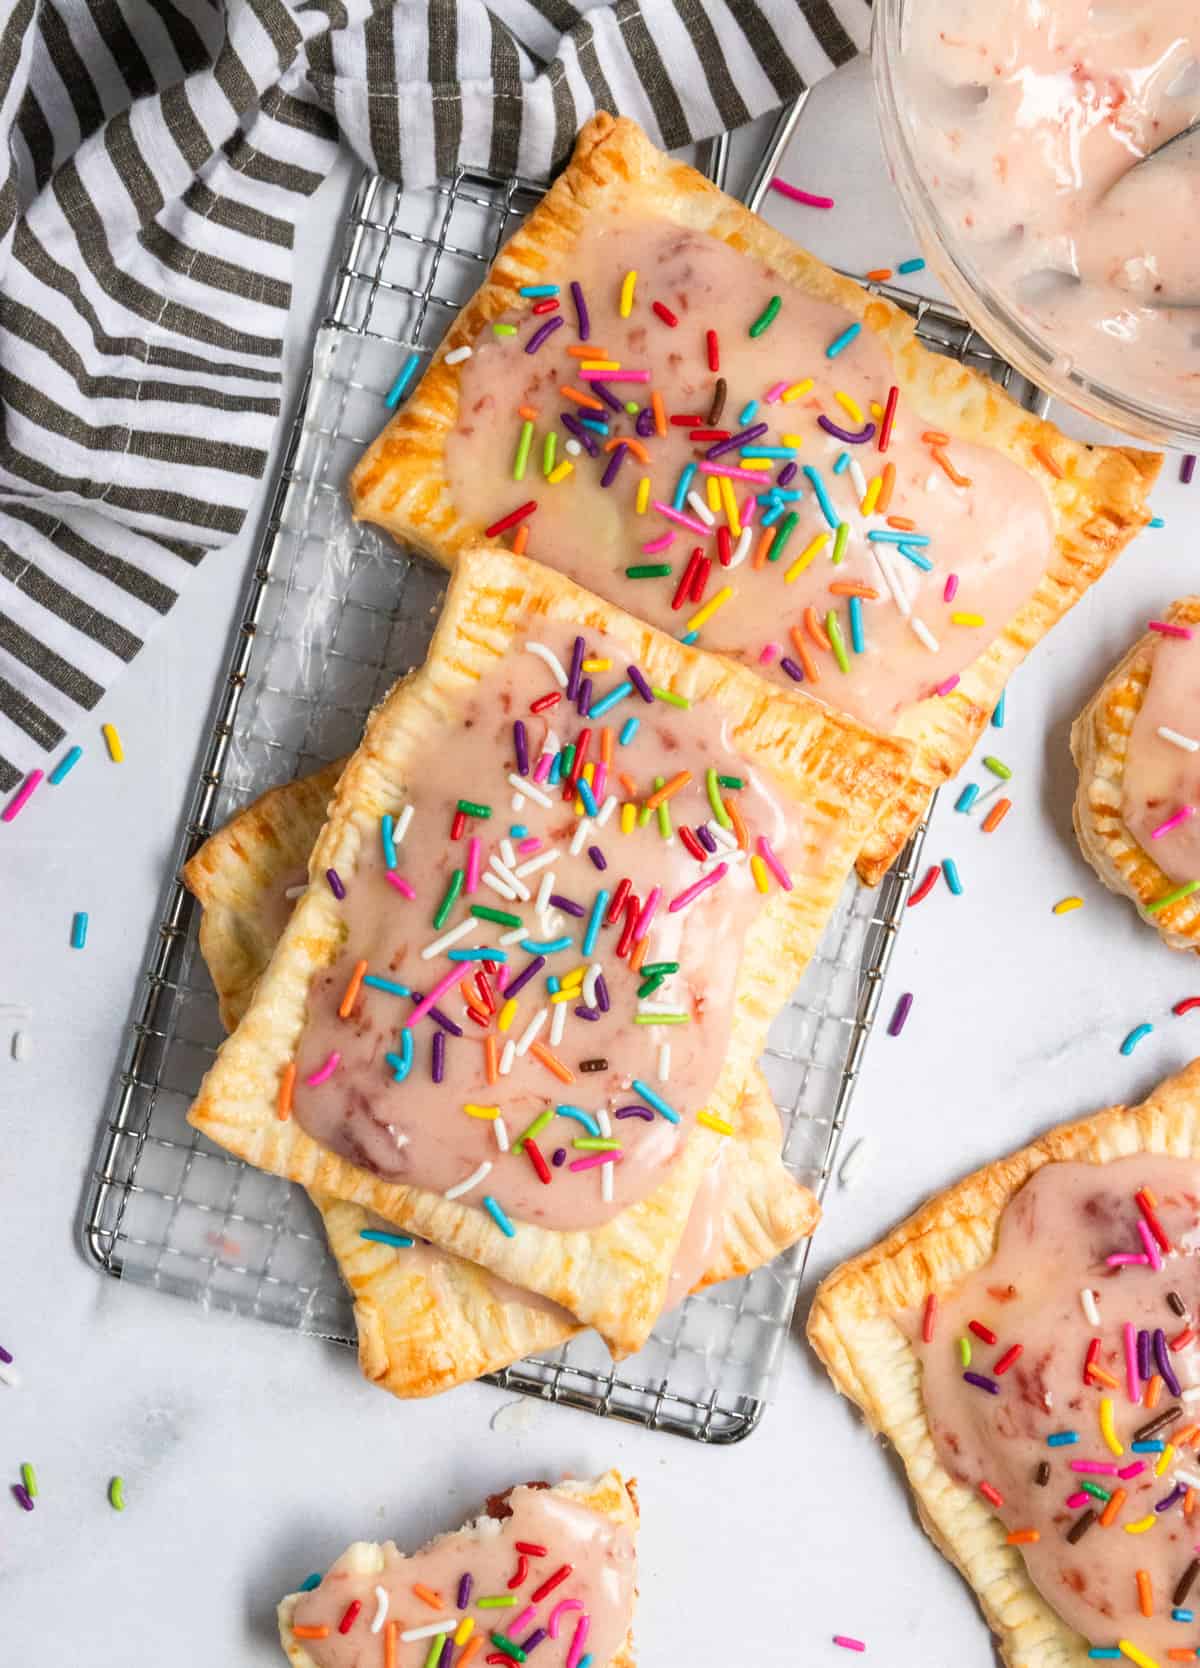
- You have full control of the amount of icing. There was nothing worse than opening up a package of store bought pop tarts and realizing you were skimped of a full corner of the icing. Not with these homemade pop tarts! You can smother them and cover them as much as you like!
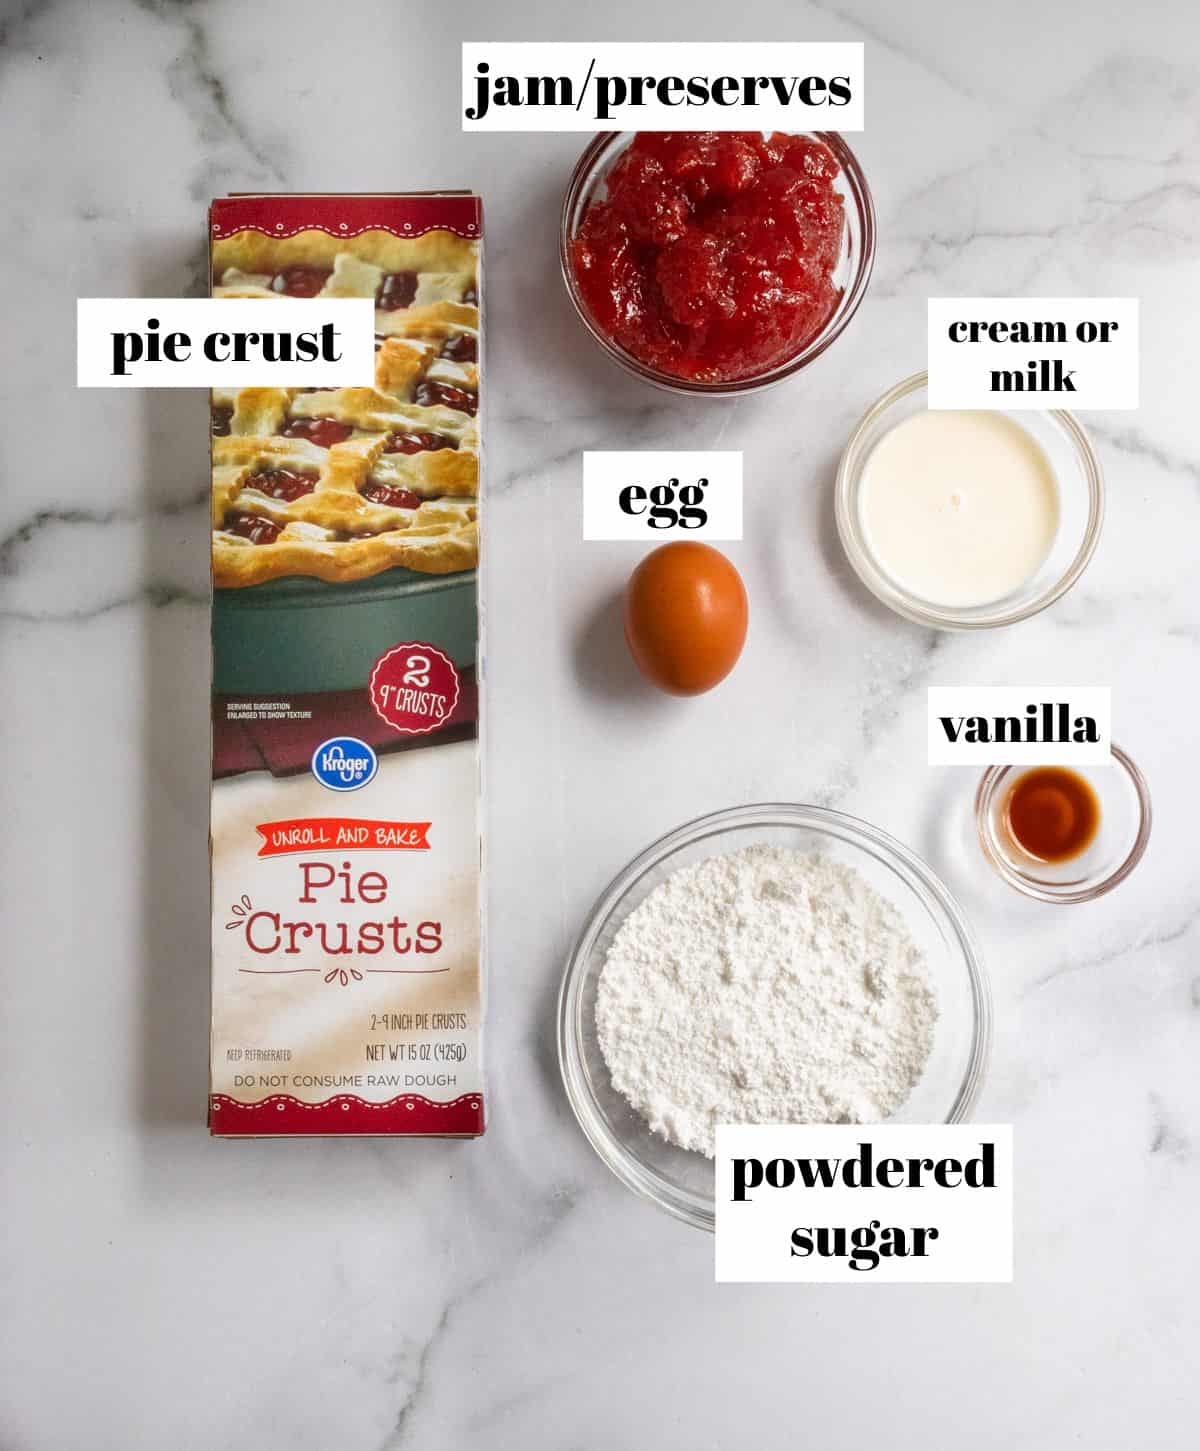
Ingredients and Substitutions:
- If you want to make your own pie crust, by all means, go for it! It will certainly add more time and ingredients, but I certainly agree that nothing beats a homemade pie crust. I use the roll and bake pie crust for these to save a lot of time and make for super easy homemade pop tarts!
- Cream or milk will work for the frosting. I have used both and they have turned out great.
- For an egg free version of this homemade pop tart recipe, you can use coconut oil, or an almond milk and agave combo to mimic the same results of the wash.
How to make homemade pop tarts:
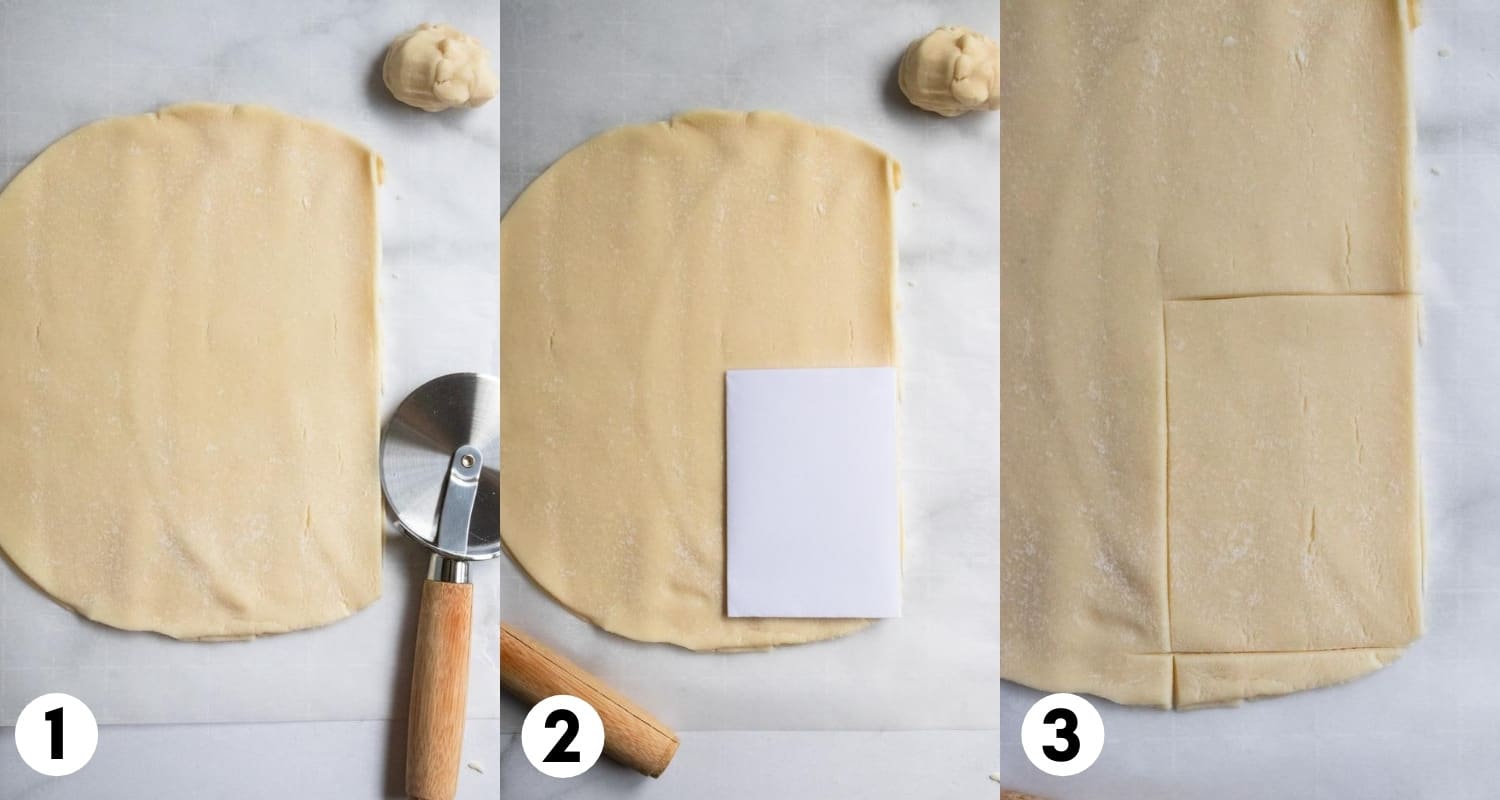
- Allow your pie crust to become room temperature. (I use the pie crust that is in circles.) Stack the two layers of pie crust on top of each other and cut the round section off of the side you plan to start on. I love using a pizza cutter for this. Whatever tool works best for you! (step 1)
- Using a cutout of a rectangle (approximately 3 inches by 4 – 5 inches) the dough into rectangles and set aside. Pull all of the scraps together and then roll this dough out into about a 1/4 inch layer and cut out remaining rectangles. I actually like to use a biscuit or cookie cutter for the remaining scraps sometimes and make other shapes. Whatever you prefer! (steps 2 and 3)
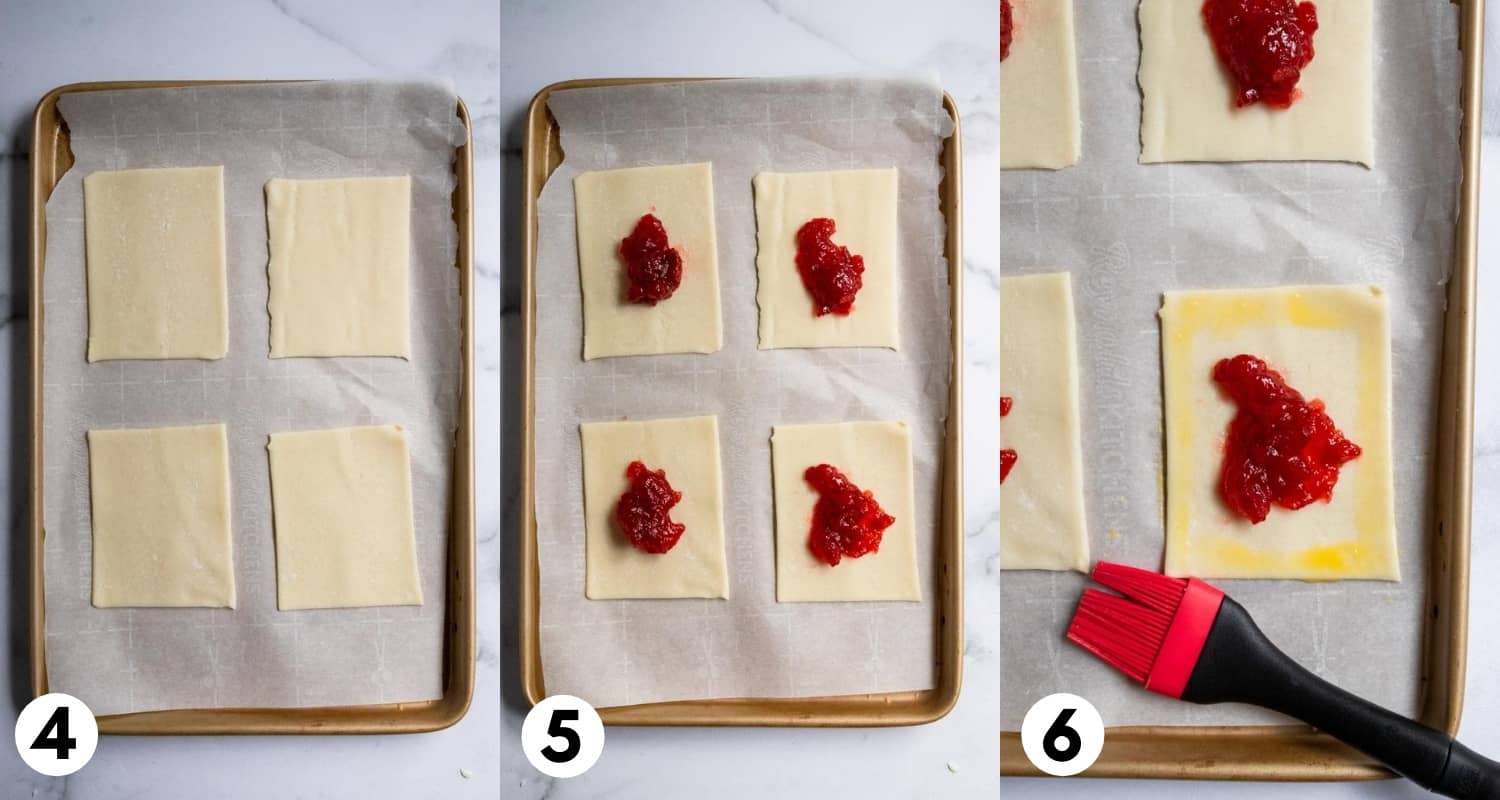
- Line the bottom layers of the pop tarts on a parchment lined baking pan. (I only placed 4 on mine to help show the images more clearly). (step 4)
- Place approximately one and a half tablespoons of jam or preserves in the center of each pie rectangle. You do not need to spread the jam out but just make sure it’s somewhat even. (step 5)
- In a small bowl, whisk the egg well for the egg wash. Using a brush, spread the egg wash on the edges of each rectangle around the jam. (step 6)
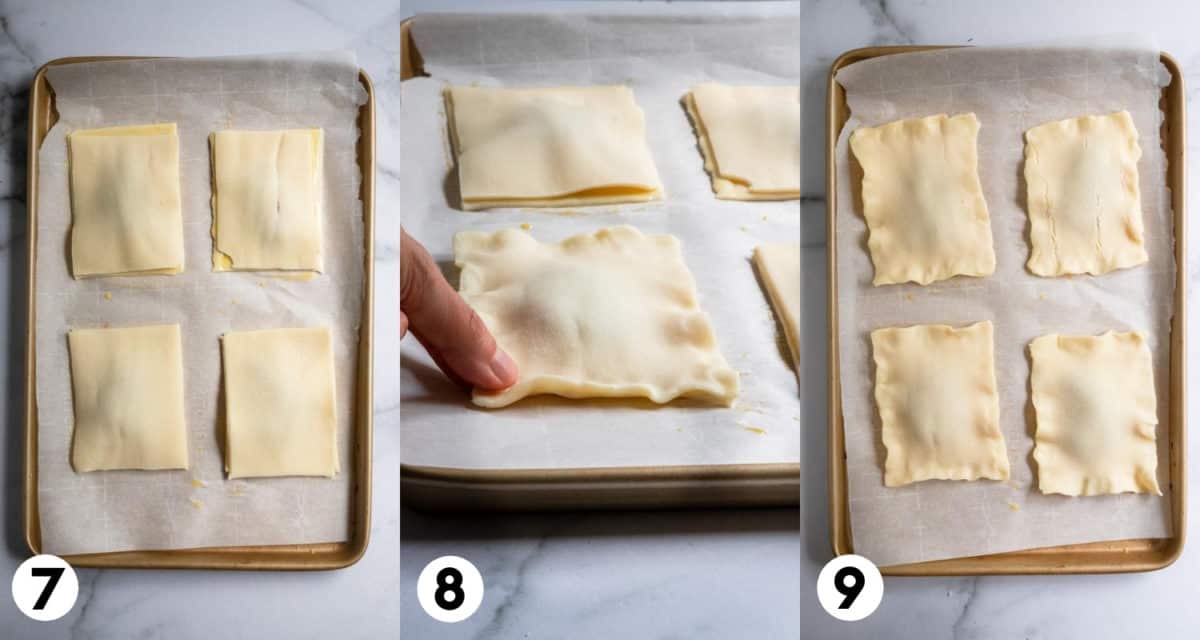
- Lay the top layer of each pop tart. (step 7)
- Using your fingers, crimp together the edges of each pastry to make the two layers into one. This is the key step in my opinion of these homemade pop tarts. The more you can crimp the layers together so that they are fully integrated, the less likely you are to have jam pop out of the edges in any way. (steps 8 and 9)
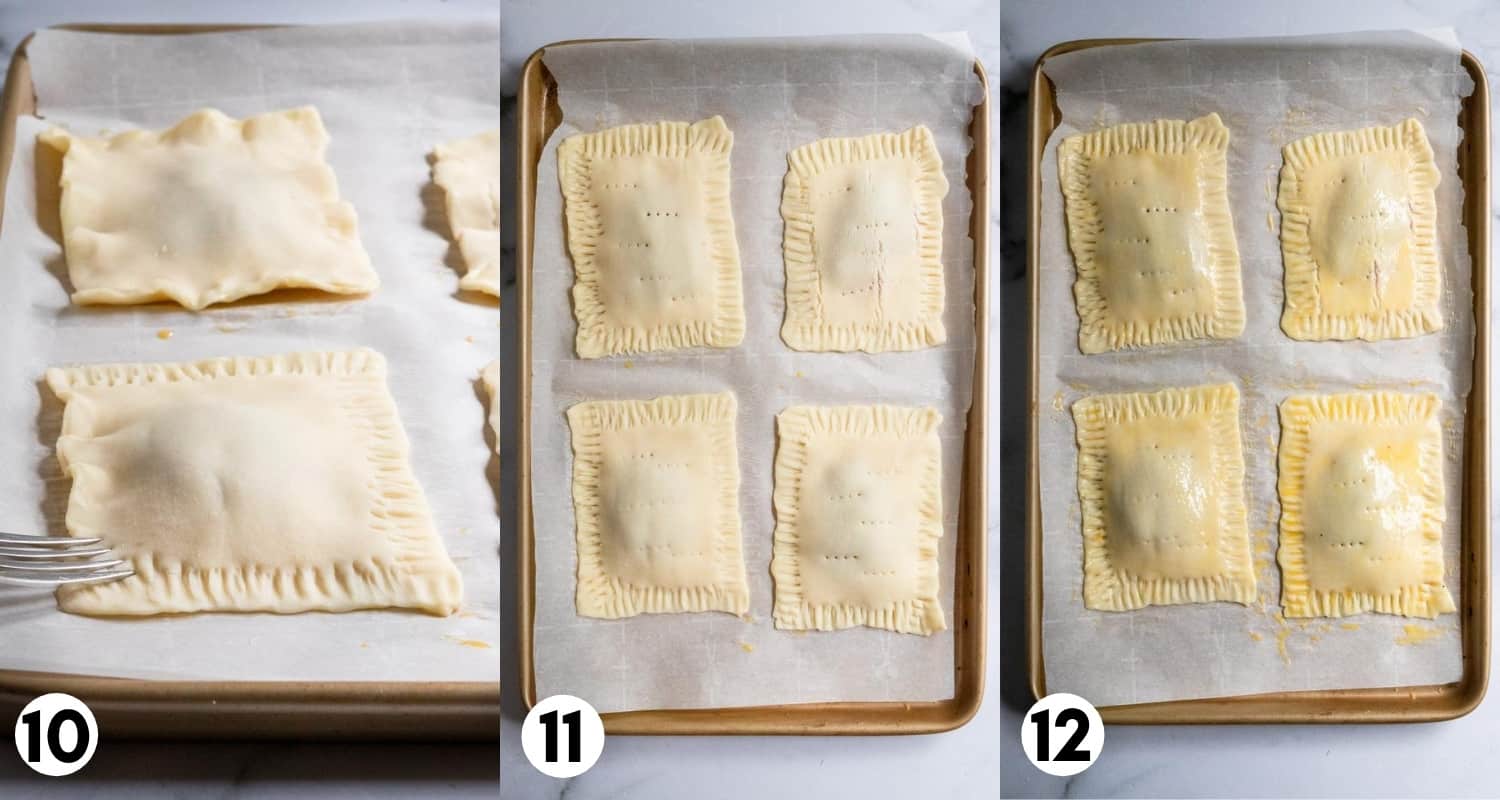
- Using a fork, crimp the edges of each pop tart once again. This gives these the perfect pastry look but also is another way to really seal these together. Poke several holes with a fork on the top of each pastry as well. (steps 10 and 11)
- Cover each of the pop tarts with the egg wash making sure to get all around the edges. You are ready for the oven now! (step 12)
- Technically after baking these delicious goodies, you could be done. But what is a pop tart without the frosting?? Wait until these are FULLY COOLED before you ice them. Otherwise the icing will melt right into them.
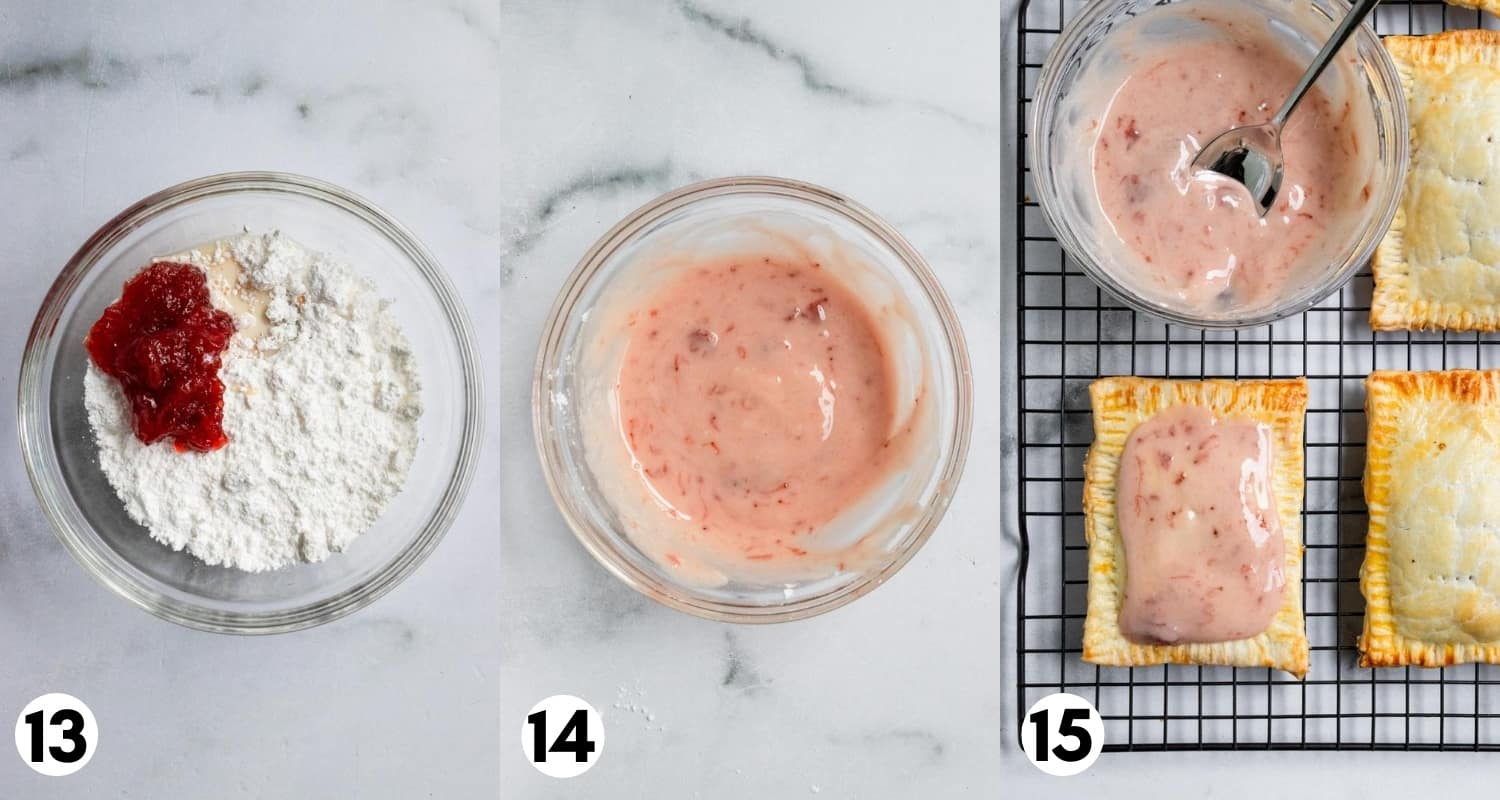
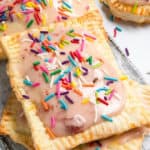
- Whisk together all the frosting ingredients and spread onto each pastry. Add sprinkles on top if desired as well. (step 13, 14, and 15)
Not only are these pop tarts the easiest, I am here to say they are also better than the boxed version.
And I love my Pop Tarts! The reason goes beyond just the fact that they are homemade. The big thing I find with Pop Tarts is that they are kind of dry.
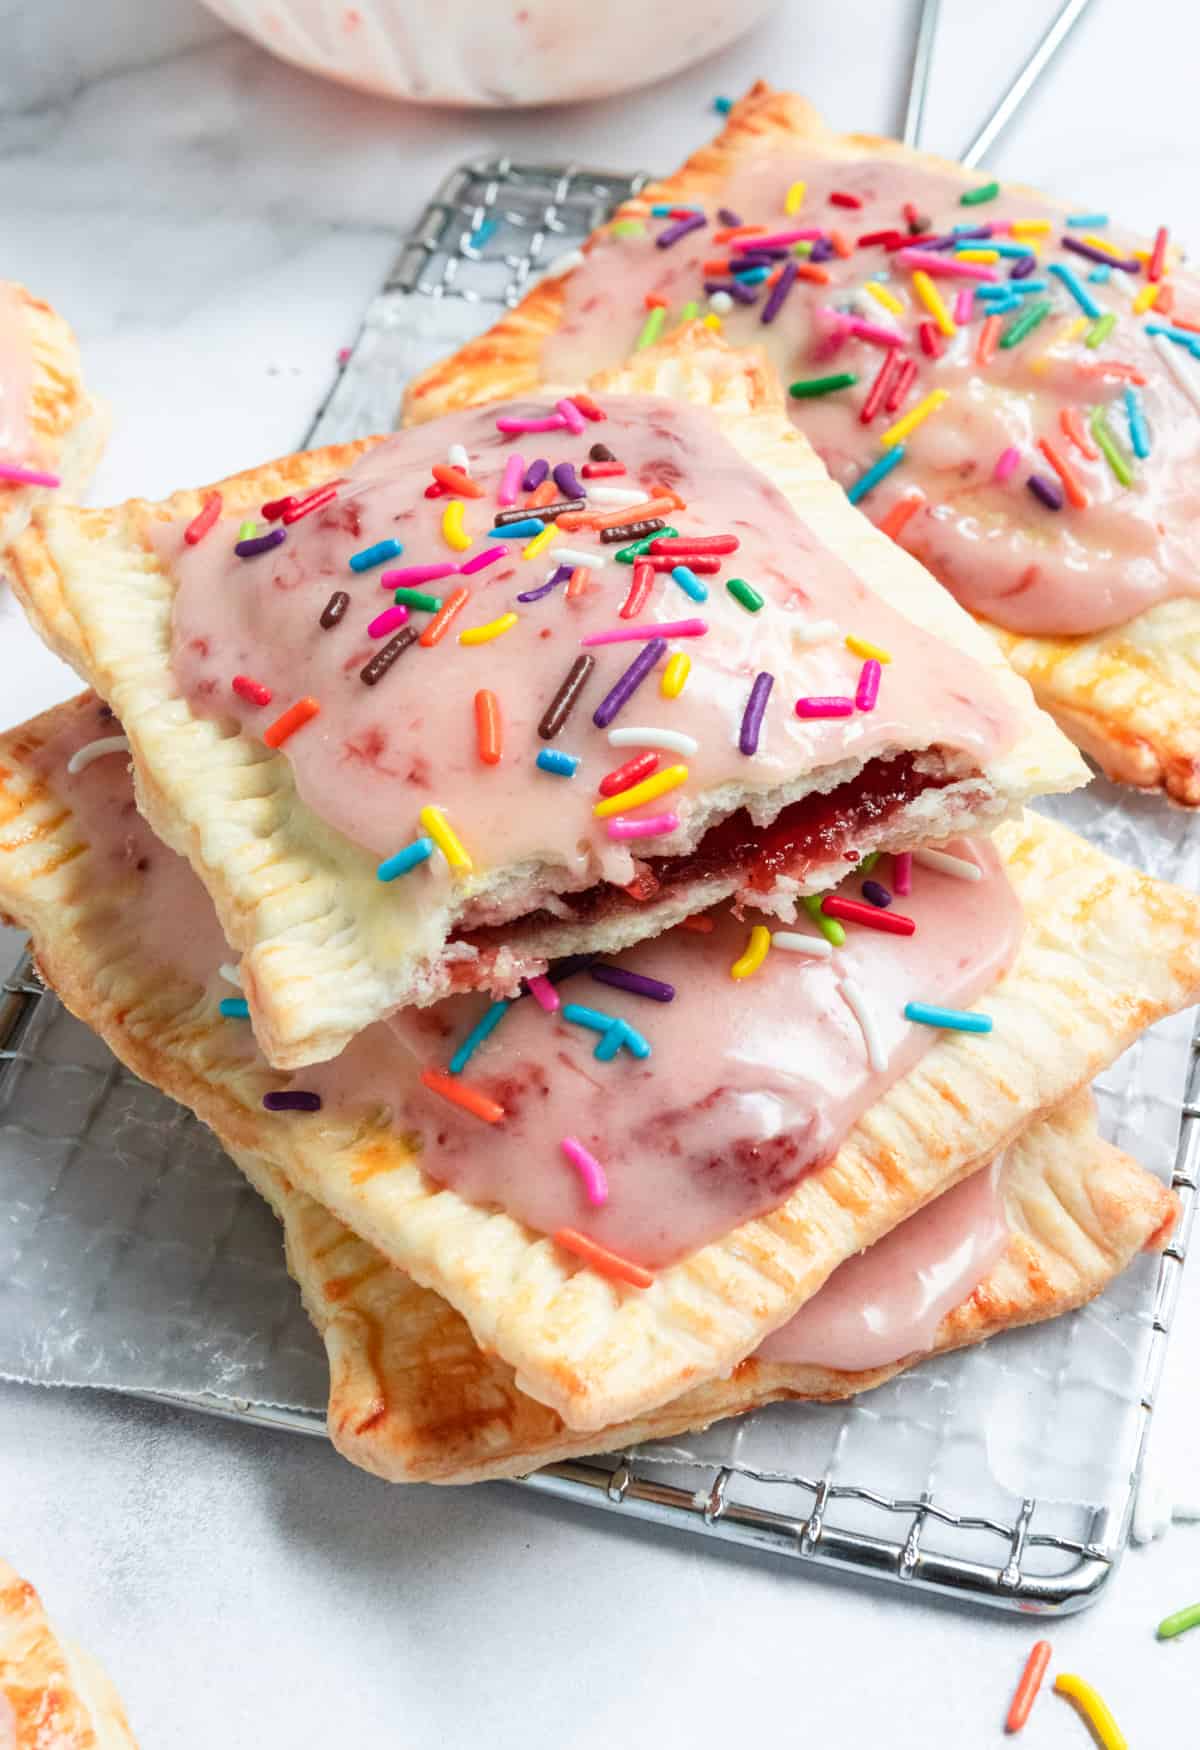
Not these little gems here–flaky and crisp on the outside but gooey gooey on the inside. Packed with delicious preserves or jam and then iced to your heart’s desire.
Notes and tips:
- Filling: You do you right here! Strawberry preserves, blackberry jam, mixed berry, apricot, raspberry, cherry–try it all! Pictured in this post is strawberry jam. You could whip up some homemade chia jam as well if that sounds like fun! Whatever your flavor for these homemade pop tarts!
- Don’t over fill these. If you do, the jam will find its way out and then they are not quite so pretty. And who wants that?!
- Really work to press the edges closed as best as you can. I pressed mine together and then used the fork–this made a difference.
- A bit of jam in the icing helps bring out the color. You could also add sprinkles if you would like.
Try these other breakfast recipes:
- Blueberry Baked French Toast Muffins
- Strawberry Crumble Muffins
- Carrot Cake Baked Donuts
- Triple Vanilla Donuts with Maple Glaze
- Banana Oat Blender Pancakes
- Coconut Almond Crusted French Toast
- Cherry Almond Pancakes
HUNGRY FOR MORE? Subscribe to my newsletter and follow me on Facebook, Instagram and Pinterest for all the latest!
Easy Homemade Pop Tarts with Pie Crust
Ingredients
- 1 package rolled pie crust (I used a 2 ct. 7.5 oz pack), or double this homemade crust
- 1 c plus 2 T jam or preserves
- 1 large egg
Icing:
- 1 c powdered sugar
- 2-3 T milk or cream
- 2 T jam
- 1/2 tsp vanilla
Instructions
- Preheat oven to 400°F.
- Lay a sheet of parchment on a baking sheet and unroll crust onto another sheet of parchment. Cut as many pieces of approx. 3 in by 5 in (you could literally use an index card as a guide!) rectangles as you can from each crust. With remaining crust, knead together and then roll out into another large, thin piece (just under 1/4 in.) to cut remaining rectangles. (You can also do this by putting each tart together as you go.)
- Beat the egg for your egg wash in a small bowl. Lay out 8 rectangles on the parchment lined baking sheet. Add 1 1/2 Tablespoons of desired jam. Brush the edges with your egg wash and then place another rectangle on top of the rectangle with the jam. Gently pinch the edges to seal and then using a fork, crimp the edges. Poke some holes in the top of the pop tart and then brush the entire top, including edges, with the egg wash.
- Continue with the rest of the pop tarts. Bake for about 12-15 minutes or until golden brown.
- Once cooled, whisk together icing ingredients and spread over each pop tart. Add sprinkles, freeze dried berries crushed, rose petals (ha, that’s what I used because I didn’t have freeze dried berries) or just eat them as is! Store in an air tight container for up to about 2 days although they are best fresh1
Video
Notes
- I get about 8 – 10 pop tarts depending on how big that I make them.
- Filling: You do you right here! Strawberry preserves, blackberry jam, mixed berry, apricot, raspberry, cherry–try it all! Pictured in this post is strawberry jam. You could whip up some homemade chia jam as well if that sounds like fun! Whatever your flavor for these homemade pop tarts!
- Don’t over fill these. If you do, the jam will find its way out and then they are not quite so pretty. And who wants that?!
- Really work to press the edges closed as best as you can. I pressed mine together and then used the fork–this made a difference.
- A bit of jam in the icing helps bring out the color. You could also add sprinkles if you would like.
Nutrition
Nutrition information is automatically calculated, so should only be used as an approximation.
Shop this post:
 Buy Now →
  Buy Now →
  Buy Now →



These were great. Since I only bought the strawberry poptarts without the frosting, I just sprinkled some red sugar crystals for cookies. Thank you!
Perfect! I love that you can really make these just like the kind you buy!
Can I use cherry or apple pie filling for these instead of jam?
Hi! Yes, that should work great as well!
hi sigmas i enjoyed this recipe and it was fun fo the entire family. one thing i liked doing was adding fried chicken on top
Now that sounds very interesting!!
How do you make the cinnamon filling and frosting?
Hi! To make the brown sugar cinnamon flavor, combine about 1/2 cup brown sugar, 1-2 teaspoons cinnamon, 2 tablespoons melted salted butter and 1 tablespoon flour. Scoop about a tablespoon and spread evenly leaving room on the edges. For the icing, add a touch of cinnamon and brown sugar in place of the jam! Hope you love them!
January 12th 2024
I was sick during the holidays couldn’t use my pie crust it had expired so I called Pillsbury they said it’s still good it might taste a little different I didn’t notice I’m still sick and I use the brand solo for the filling which is the best from what I understand no pie filling to watery I used apricot, next time I’m going to try poppy seed I love it still sick..
I only got two out of one pie crust I don’t know how small everybody else is made them…
Oh well what it looks like really doesn’t make a difference to me it’s good haha
Happy New Year…
We just mixed melted butter, cinnamon and. Row. Sugar for the filling! We out brown sugar and cinnamon in the frosting for the brownish color.
I made these with some huckleberry jam that my mom and I made this summer…. holy smokes these were DIVINE! I couldn’t wait for them to cool completely to try one. That was probably for the best, as the filling was still warm and they just melted in my mouth. It was like a toaster strudel on steroids. So so good. We will definitely be making these again. The icing recipe also produced icing with the perfect consistency, 5 stars all the way! These were a huge hit!
Oh my goodness, thank you for this great review! I am so happy you enjoy these as much as we do, because they are a regular thing in our house!
They taste great BUT the jelly all came out and I only added 1 TB. Could there be another reason besides too full?
Hi Nichole! Did the jelly come out the sides/edges or the top?
I think the sides!
Ok, good to know. So the main reason that happens is that the dough is not fully sealed. I have had that happen where I think I sealed it well and then the jam oozes out. Try to double seal the dough. Make the bottom piece slightly larger so you can fold it over and crimp it well. Then press with the fork. Or just make sure you seal it really really well when making. That should do the trick!
These are a family favorite! Thank you for these easy to follow directions.
Happy to hear this! We love making them too!
Can you batch make & freeze these?
Yes! You absolutely can!!! Flash freeze them laying in a single layer for an hour or so and then you can place in a container and freeze.
How long do they keep in the freezer for and can you put them in a toaster?
Hi! They can last up to 3 months! Wrap them in foil or plastic wrap and then place in a freezer safe bag or container. If iced, toaster is not suggested. Either air fry, bake or use a toaster oven to reheat!
Our homeschool group did these with our kiddos! It was fun, simple and super tasty. My favorite was adding Nutella for the inside. Thank you for the recipe!
Oh yes! The nutella filled pop tarts are always my favorite. So happy these were a hit!